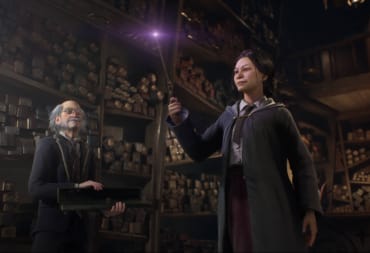
Hogwarts Legacy is teeming with puzzles that can make someone go "hmm?" trying to solve and the Halls of Herodiana Puzzle Quest is one of them. In this Halls of Herodiana Puzzle Quest guide, we will discuss how to complete all three of Herodiana's puzzles while remaining sane in the process, as well as what the reward is at the end.
How To Solve Herodiana's Puzzles
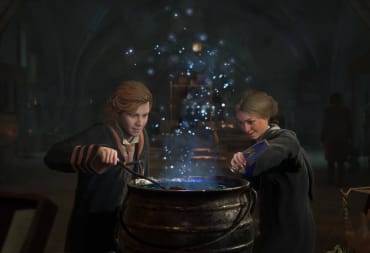
First, you need to get the quest from Sophronia. They can be found inside of the Astronomy Wing, directly in front of the Charms Classroom Floo Flame looking at a painting on the wall. Talk to them and accept the quest. The map will show you exactly where to go to begin the quest, which is to a secret door you will need to use Depulso to open. Once inside, the real fun begins.
There are a total of three puzzles to solve within the mini-dungeon area, each of them getting harder as you progress. The first one is quite simple, as just one Depulso spell is enough to solve it. You will need two spells on your bar in order to complete all three; Depulso and Accio.

How To Solve The First Puzzle in Halls of Herodiana
The first puzzle is quite simple, as you will simply use Depulso to push the first two movable blocks from one side of the room to the other. You can then climb up onto the movable blocks and reach the door above them to reach the first chest. The first chest holds the first piece of the outfit.

How To Solve The Second Puzzle in Halls of Herodiana
The second puzzle is a bit harder than the first, but not by much. For this one, you will need to use Depulso to push to moveable block to the far back wall, then use Accio to pull the moveable block over to the line of blocks on the ground. Jump onto it, and jump to the next platform. Loot the chest for the second piece of the outfit.
One important thing to note here: When using Accio remember that you must be standing in the direction you want to pull the block. So be sure for the second puzzle, you are standing either in front of the non-movable stone blocks to pull the movable blocks over to you, or on top of the line of non-movable stone blocks (or else you will pull the moveable blocks the wrong way).

How To Solve The Third Puzzle in Halls of Herodiana
This puzzle is the one that will really make you scratch your head, but luckily, this guide will take all of that guesswork out of the puzzle. To begin, you will see the moveable blocks are one block away from the stone blocks behind it, this is for a reason. It gives you room to stand to the right side of the moveable blocks and use Accio to pull them to the far right wall. Please note that if you stand in the path of the moveable blocks, you will get crushed and reset the puzzle (this is helpful if you mess up and need a quick reset!)

Once the moveable block is in this position, you will need to use Depulso to push it toward the gold orb in the center of the room (which is located on top of a non-movable stone block and becomes important in a moment.)

Once you have the block in this position, you will need to stand under it but still on the left side of the room to use Accio and pull it to the correct position. Cast Accio once you are lined up correctly and pull the moveable block to the left side of the room.

From the left side of the room, this is how the block should look. Once you have it in place here, climb back up to the starting platform with all of the non-movable stone blocks. Climbing on the blocks and making your way to the other side, you will run on top of the movable blocks and then onto the non-movable stone block in the dead center of the room across from that golden globe with a block in it.
Once you have gotten onto that stone block, you are going to reset the moveable blocks. You can do so by using Basic Cast to hit that golden globe across from you. The blocks should now be reset to their original position when you entered the room.

Now, you will use Accio once more to pull the block all the way to the opposite side of the room (under the doorway to the final treasure chest.) Once it has been pulled into the correct position, you will need to sprint and jump onto the movable blocks from the stone blocks you are standing on. There is not a lot of space here, so getting the position and timing of the jump just right is a bit tedious. Take your time and be careful or you will have to reset the puzzle if you miss it!

Once it's here, you have solves the puzzle, and just need to climb up to the door above the blocks to reach the last chest that holds the final piece of the outfit Sophronia was looking for.
That concludes our Hogwarts Legacy Halls of Herodiana Puzzle Quest guide. See something we didn't? Let us know in the comments below!
Have a tip, or want to point out something we missed? Leave a Comment or e-mail us at tips@techraptor.net

Samantha is an experienced Freelance Gaming Writer with a deep passion for all things gaming. At a young age, she was introduced to the wonderful world of… More about Samantha