Hogwarts Legacy has a wide range of puzzles to be found, not only out in the world map but in Hogwarts castle itself. If you’ve done the Hall of Herodiana puzzle, this next set of puzzles should feel familiar. They’re effectively the same and involve some clever use of the Depulso spell to get you through each room and into some rewards for your trouble.In order to take on these puzzles, you'll need to have obtained the Depulso spell from the quest "Professor Sharp's Assignment I" early on in the game.
How to Solve the Depulso Puzzle Room 1 in Hogwarts Legacy
For Depulso Puzzle Room I, take the Potions Floo and head down the stairs, through a door and follow the corridor until you see the puzzle wall on the right. You can use Revelio to further help you spot it out. Once you find the location, use Depulso and the room will open for you.
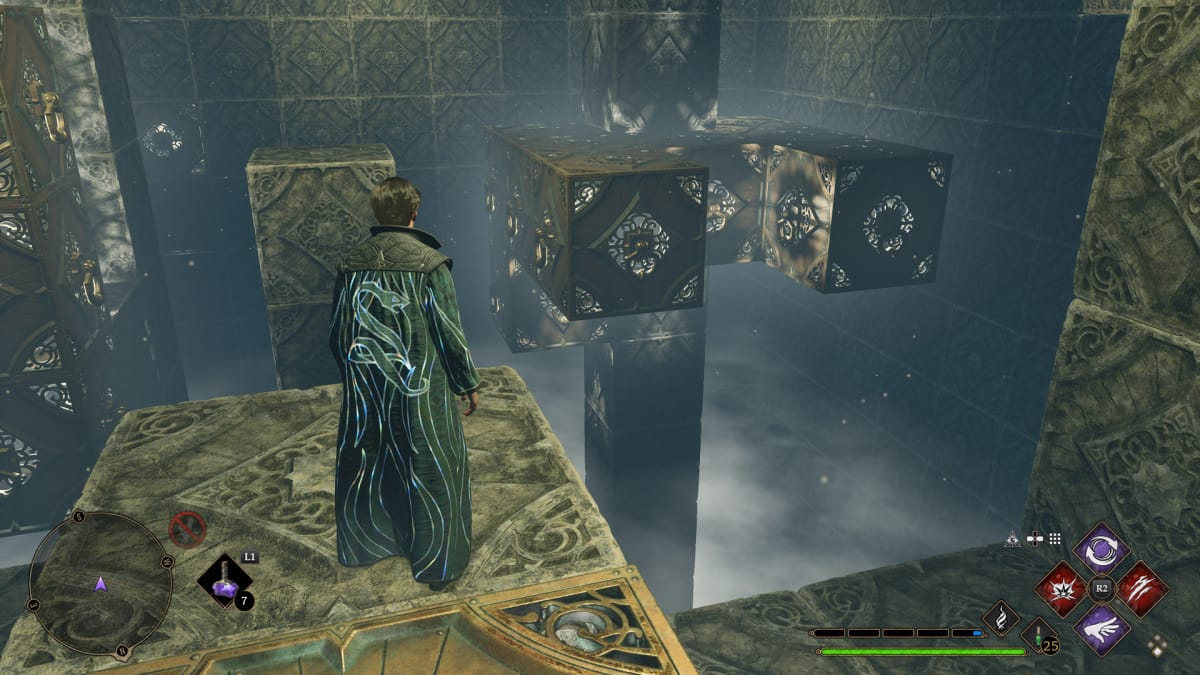
The first puzzle will have you pulling the block on the right wall underneath the reset orb. Use Depulso on the two blocks in the middle over to the right wall and climb to the top.
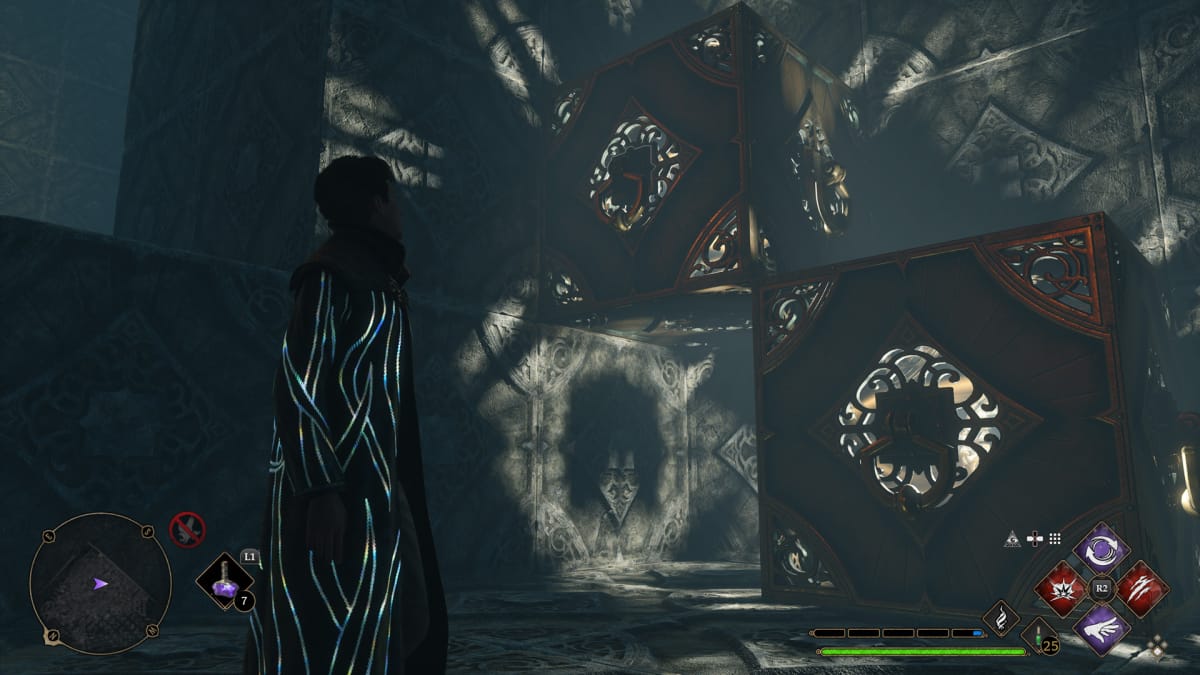
For the second puzzle, push the same block on the right wall to underneath the reset cube. Push it towards the wall you entered from. Use Depulso on it to the left wall and then Accio it forward. Next, bring the high block in the middle so it’s under the reset cube and then push it back to the wall you entered from. Then use Accio on the block on the same wall towards the block you just moved over there so that they become stacked. Use Accio to move forward the original group of blocks you made and climb on up.
For the third and final puzzle in this area you’ll need to first reset the room by using basic cast on the reset cube, then send the highest block in the middle of the room towards the reset cube and then to the very back wall from where you came in. Use Accio on that block so that it’s touching the blocks the chest is on. There is a block to the right of the column the reset cube is on, use Accio on that to the back wall. Use Accio on it again to move it to underneath the first block.
Next, move the block from the middle of the room to the reset cube and send it to the back wall so that it makes a reverse L shape. Go towards the opposite wall and use Depulso on the block by itself to the wall with two other blocks below the second chest. Push them together and then use Accio to bring all three to the opposite wall.
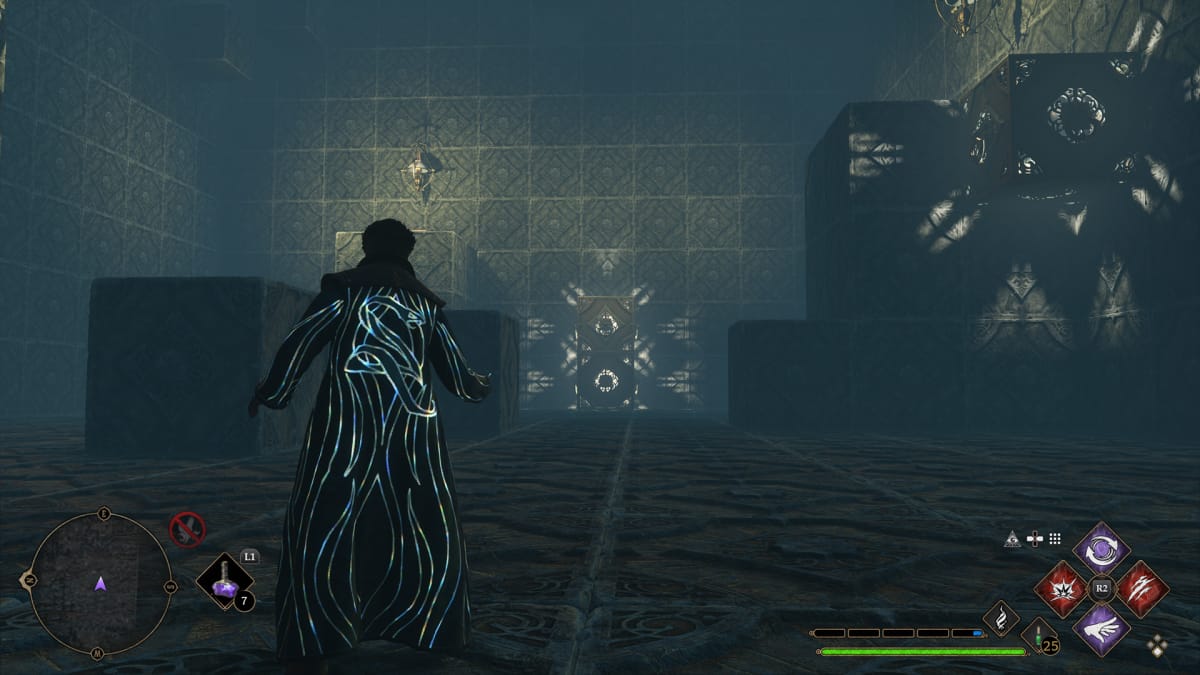
From there, push the blocks towards the back wall and then Accio them to the center of the room. Send them to the back wall again and towards the center so that they’re up against the right side of the column the chest is on. Finally use Accio to move the blocks to where you are and then send it them to the left side of the column to create a bridge to the original reversed L shape. Climb up and grab the last chest.
As a little bonus, go back to where you came in and you can grab a chest with a Conjuration on your way out.
How to Solve the Depulso Puzzle Room 2 in Hogwarts Legacy
Depulso Puzzle Room 2 is located behind the locked door in the back of the History of Magic classroom so you’ll need to have at least learned the first level of the unlocking spell Alohomora through the main scenario to get here. Find the sphinx located to the right and the puzzle room is in the back left corner to it. Use Depulso on the wall and it will let you into the room.
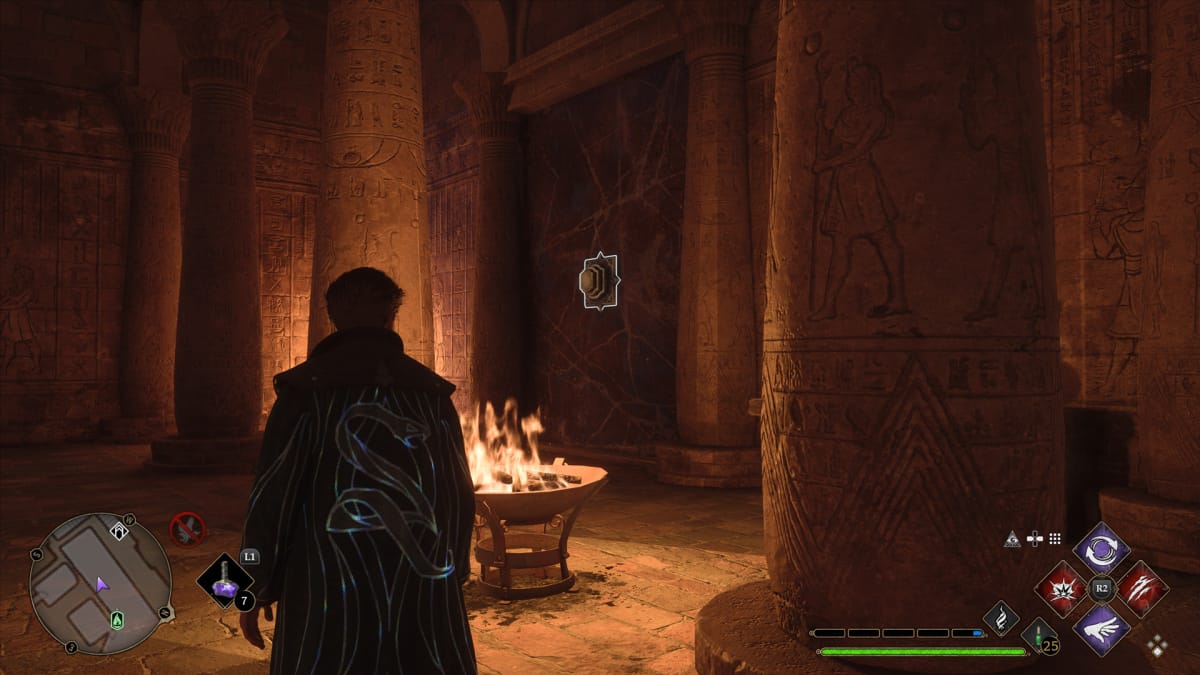
Puzzle Room 2 has several parts to it which all lead to several chests you can obtain.
To grab the chest, drop to the main floor and locate the blocks that form a large T. Accio these blocks to the front of the area by the entrance. Then use Accio on the block right behind you to move it to the back of the room. Next, use Accio to move the two blocks on the right of the room to the middle. Use Accio to then move them to the far side of the room away from the entrance and then use Depulso on the single block there to push it into the corner. After that, use Depulso again to push the section of two blocks you moved previously into the corner as well. Now use Accio to move these blocks into the middle of the room from which you can then climb to get to the chest.
After that the room will change and you can begin the second puzzle here. Move the big T block piece to the front of the room with Accio. Drop down to see two new blocks next to the T mass and use Accio on the top most one so it moves to slot against the wall. Use Accio again on that cube to move to the other side of the room. Next turn back to the other block by the T blocks and use Accio to move it to the other side of the room to join the one you just moved.
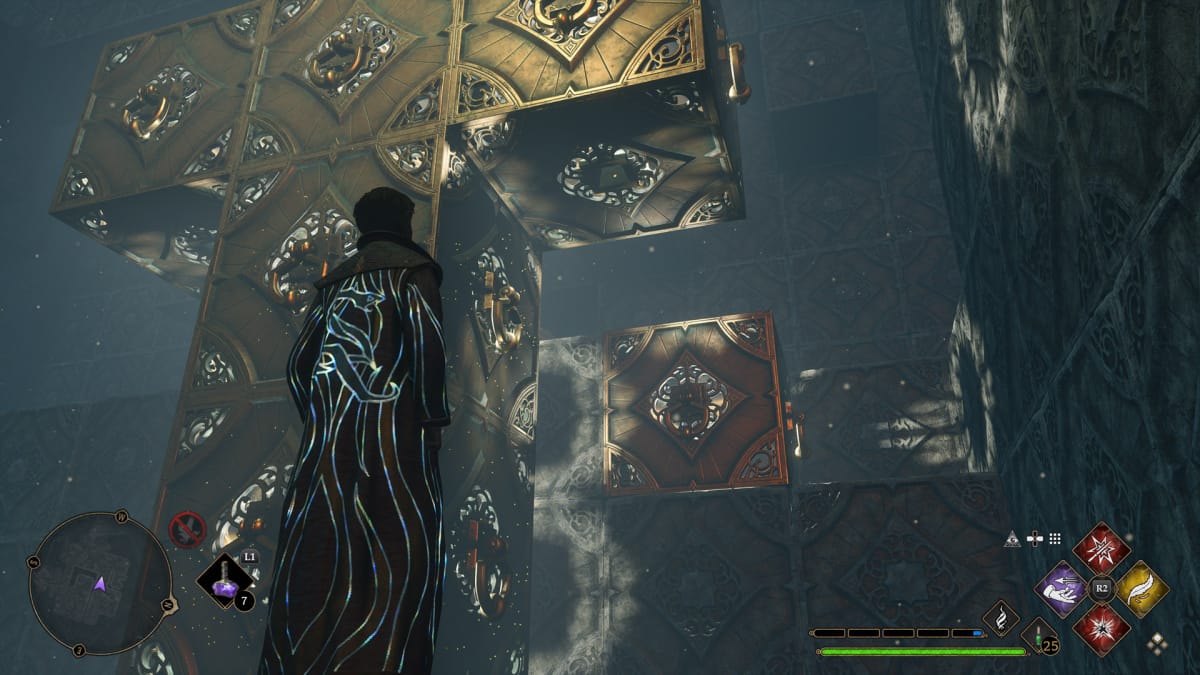
Now use Depulso on the same set of blocks and push it into the corner to connect to a single block. You should have an L shaped set if done correctly.
Next use Accio on two blocks located on the right of the room, and then Accio again on the same blocks to move them to the wall at the back of the room. Use Depulso on these same blocks to connect them to the L blocks from earlier. Use Accio to move this set on the left side wall and then Accio again to pull them to the right side of the room.
Following that, go back to the big T shaped block from earlier and use Accio to move them to the left. Use Accio again on these blocks to move them forward to the set of L blocks from just before. You should be able to climb up these blocks to the top and make your way out.
From here you’ll enter a second room with three chests. The first thing you need to do is cast Depulso on the three blocks stacked on the left. Then use Accio on the half-circle set of blocks on the right to move them towards the front. From there you can cast Accio on the three stacked blocks from earlier and move them to the right. Use these blocks to jump up to grab the first chest.
Get back down and use Depulso on the three blocks and push them into the right most corner. After that, use Accio to pull out the line of blocks on the left corner and then use Accio again to move them to the right. While in the same position, use Depulso on the same line of blocks to push them into the left wall, then use Accio to pull them up to the front.
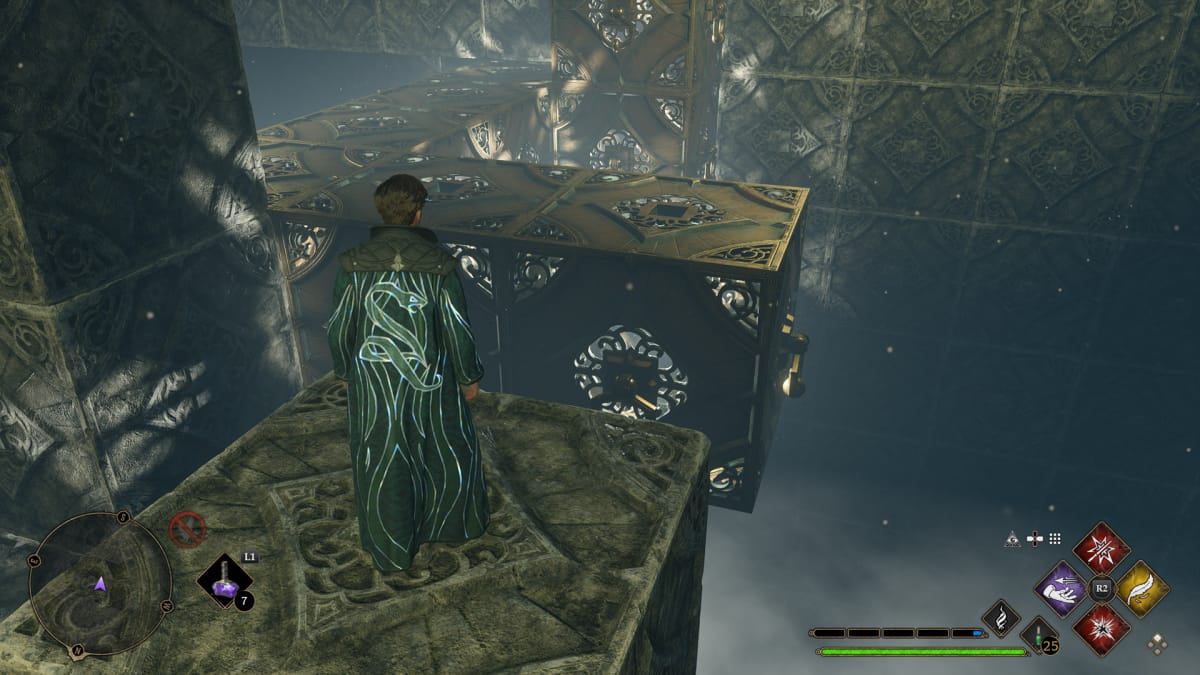
Next, use Accio on the three stacked blocks on the right over to the left corner. Accio the seven blocks there to the front of the room and climb up to retrieve the second chest.
Finally, use Depulso on those same seven blocks to move them back to the left corner of the room. Go back to the right side of the room and use Accio on those same blocks to move them to the right. From there, hit sprint and jump onto the cubes from the middle and up to the way out to find the chest with a Conjuration inside.
With that you will have completed the two Depulso Puzzle Rooms inside Hogwarts castle. They're tricky but you'll need them to gather the Conjurations for the Collector's Edition trophy/achievement in Hogwarts Legacy. Getting them out of the way will at least make way for the easier ones to find.
Have a tip, or want to point out something we missed? Leave a Comment or e-mail us at tips@techraptor.net
