Hogwarts Legacy is filled to the brim with puzzles, difficult quests, and some encounters that will leave you scratching your head. The Daedalian Keys Quest is one that not only takes patience but a lot of time to complete, as some of the keys are in very specific and hard-to-reach places. This quest is also the way to open up your house chest, which contains a nifty reward once you collect all of the tokens from the cabinets sprawled out around the school. Luckily, this puzzle can be done without ever leaving the school's grounds, but that doesn't make the quest any less tedious.
In this Hogwarts Legacy Daedalian Keys Quest guide, we will discuss where to pick up and start the quest, where each of the flying keys is located, and what reward awaits you at the very end!
Daedalian Keys Locations
There are a total of 16 keys that you must find. These keys are filled with magic that causes them to fly around and lead someone to locked cabinets around the school. These cabinets each hold a House Token, which is used to open the House Chest located in your house's common room. Each of the key locations is in fact the same for all houses, meaning this guide works whether you are Hufflepuff, Ravenclaw, Gryffindor, or Slytherin. There is also no set order to find these keys, making it much easier to discover them at your leisure.
Here is where you can find each of the 16 keys and tokens in Hogwarts Legacy in the order in which we located them:
Key 1
- This one will be in the Astronomy Tower (the quest Daedalian Keys leads you to this one, and the quest can be acquired in the Transfiguration Courtyard outside of the Transfiguration Classroom)
Key 2
- Use the Library Floom flame in the Library Annex area. Starting from the Floo Flame, make a right and run straight through the first set of bookcases that you see. The key will bring you to the far left side of the Floo Flame where you started, and the cabinet is on the same wall as the Floo Flame.
Key 3
- To the left-hand side of the Rhinoceros Skeleton statue. From the Transfiguration Courtyard Floo Flame, go through the set of double doors directly next to the Floo Flame, and up the sets of stairs leading to the statue. The key will bring you up the left set of set of stairs and straight ahead to the locked cabinet.
Key 4
- This one is also located in the Library Annex area. You will take the Central Hall Floo Flame again, but this time take the stairs up instead of down toward the statue. Run all the way up the sets of stairs until you see a set of double doors that leads to the Viaduct Courtyard bridge. Before the set of double doors, make a right towards the staircase and go underneath the stairs. The key will then lead you back down the stairway you came from (to the right side if you are facing away from those double doors)
Key 5
- Right next to the greenhouses in the Library Annex area. You will take the Floo Flame to Central Hall, run down the set of stairs towards the horse fountain and make a left toward the greenhouse doors. You will hear the key, and follow it up the steps to the other side of the fountain, down the stairs, and to the right. The cabinet is in front of one of the puzzle doors.
Key 6
- Yet again in the Library Annex area, you will need to travel to the Potions Classroom Floo Flam. From there, head straight through the double doors in front of you and make a left. The key is right there and will bring you down the set of stairs to the end of the hallway.
Key 7
- This one can also be found in the Astronomy Wing area. Take the Transfiguration class Floo Flame and turn around and ruin straight until you see the set of double doors on your left that leads to the North Hall. Run straight through those doors and up the small set of stairs toward the golden globe with a dragon holding it, and make a right at the top of those few steps. The key will then lead you all the way up the steps and to the left of a level 1 locked door.
Key 8
- This one is also found in the North Hall, but to simplify things, take the Transfiguration Class Floo Flame once again and head up the small set of steps again. Rather than going upstairs this time, you will head down the flights of stairs to the Sleeping Dragon Statue. The key will lead you back up the stairs (2 flights of stairs to be exact)
Key 9
- This one is the exact same starting area as the previous key. You will go back to the Sleeping Dragon Statue, make a right and head down the hallway and make a right at the door to the end of that hallway. Follow the key to the right of the stairwell in the room filled with kegs, around the corner, and to the cabinet on the back wall.
Key 10
- Take the Grand Staircase Floo Flame in the Grand Staircase area and head up the flight of disappearing steps. Keep going up the disappearing steps until you see and hear the key (it is up quite a few flights, but it's there). The key will bring you down a few flights of steps and down the hallway toward the puzzle door in the Grand Staircase area.
Key 11
- This one can be found inside the Great Hall area. You will take the Viaduct Courtyard Floo Flame and follow the stairs to your right, then make a left towards the archway that leads into the courtyard right before the entrance hall. Go into the entrance hall, and take either set of stairs to your left or right up and above the large Hogwarts Symbol in the middle of the room. The key is above the Hogwarts symbol, but a little further to the left side of the platform. Follow it to the cabinet to the left of the Entrance Hall door.
Key 12
- Go to the Great Hall area and take the Great Hall Floo Flame. Make a left as soon as you spawn in and run toward the large fireplace. The key will then lead you to the opposite side of the Floo Flame and up a set of stairs to the cabinet.
Key 13
- Select the South Wing area and head to the Faculty Tower. You will only be able to access this area if you have previously completed the quest “The Caretaker’s Lunar Lament” given to you by Professor Moon. You will also need to know at least level one of the Alohomora. Take the Floo Flame to the Faculty Tower and run toward the tower by where Professor Moon is standing. Enter the door to his right and run up the set of stairs ahead to the second floor. The key is right at the top of the steps and will bring you to the cabinet back down the stairs and to the right.
Key 14
- Take the Great Hall Floo Flame again, make a left, and run through the large double doors leading out of the Great Hall (to the right of the Floo Flame) and into the courtyard. Run down the stairs and past the creepy gargoyle statue and through the large triangular archway to the right of the courtyard. This is where the key is and it will lead you down the sets of stairs and to the right and around another corner to the right. The cabinet is on the back wall right next to a single door.
Key 15
- You will need to fast-travel to the Faculty Tower Floo Flame and enter the tower area right next to Professor Moon and enter the door to his right. Head up the several flights of stairs and make a left, where you will see a large hallway lined with pictures and portraits. At the end of this hall, there is a clock tower. That is where the key will be, and it will lead you to a cabinet located across from the posing wizard statue where you originally entered the room by the stairs.
Key 16
- This one is also located in the South Wing area, but you will need to take the Clock Tower Courtyard Floo Flame. To the left-hand side and across the room, there is a Level 1 locked door that opens to a set of stairs. Climb the stairs and at the top, you will need to make a left will be the key. The key will lead you to the cabinet will lead you to the top of the tower. To get there, you will see a door to the left of where the key was. Take it up to the top and on the left side of the room will be the cabinet.
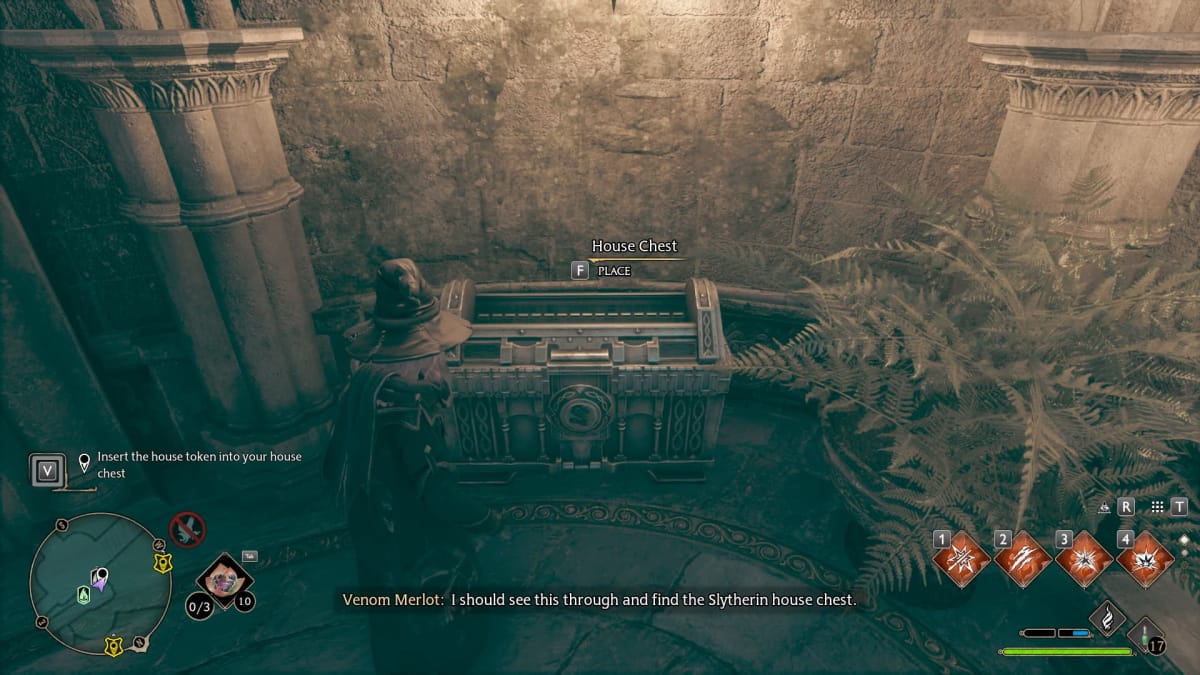
Once you have found all of the keys and tokens, you will return to your respective House Chest to turn in the quest by entering all of the Tokens into the chest. You will then be rewarded with a Relic House Uniform that is based on your selected house!
That concludes our Hogwarts Legacy Daedalian Keys Quest guide. Notice something we didn't? Let us know in the comments!
Have a tip, or want to point out something we missed? Leave a Comment or e-mail us at tips@techraptor.net
