Our Fae Farm Dungeon Guide will tell you how to unlock Dungeons, how Dungeon Seals work, and which items you can find on every Dungeon Floor!
A big part of Fae Farm's Story is exploring the Dungeons. You'll Mine valuable materials, fight monsters with Magic, and solve tricky puzzles. Read on to learn more about Dungeons!
How a Fae Farm Dungeon Works
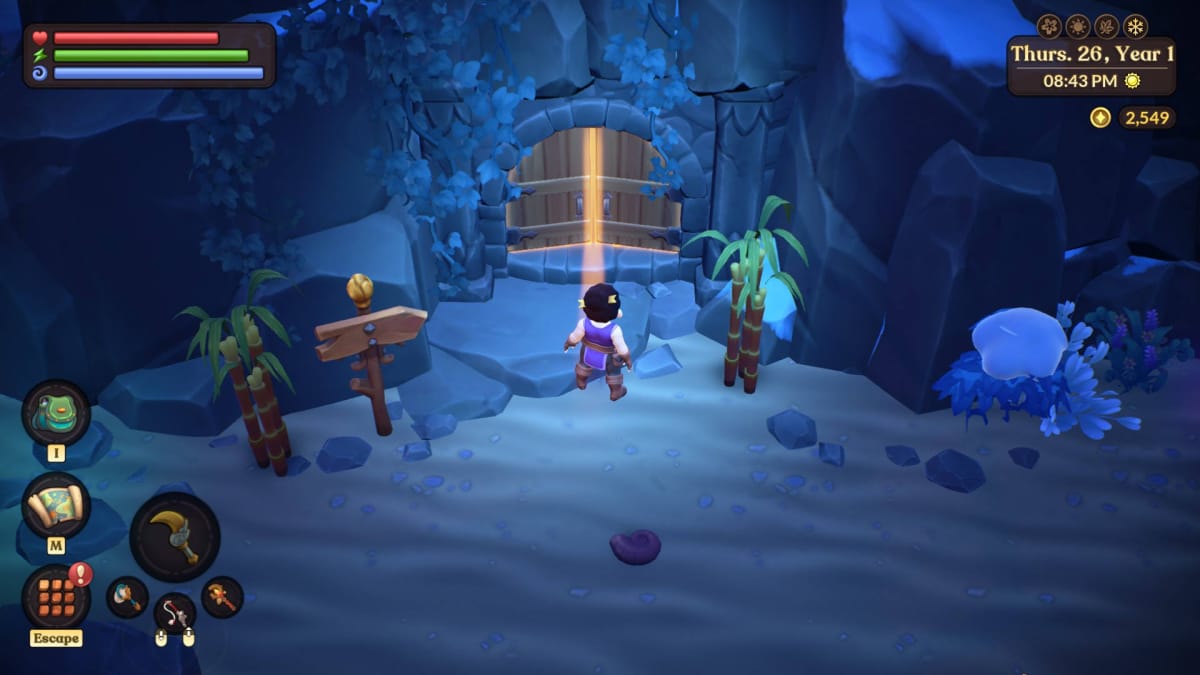
A Fae Farm Dungeon has a total of 25 Floors. Different loot is available in each Floor, and you'll typically begin to encounter tougher enemies as you head deeper into the Dungeon. Unfortunately, you can't just jump into your first Dungeon right away -- you'll have to complete quite a few Quests first!
In addition to the enemies, unlocking each Floor requires you to solve some sort of puzzle. You'll have to balance solving the Floor puzzle against defeating the enemies and collecting Resources with Mining. You have to race against the clock, too -- when it hits midnight, the day ends!
How Dungeon Seals Work in Fae Farm
Normally, you have to complete a specific puzzle for each Level of a Dungeon. However, you can bypass these puzzles through the use of Dungeon Seals.
First, you'll have to Craft a Seal Crafting Station for 20 Stone and 10 Copper Ore. Then, you'll need to make a specific Seal for each Floor of the Dungeon. (Seals are also used to unlock the Fast Travel Wayshrines on the Map.)
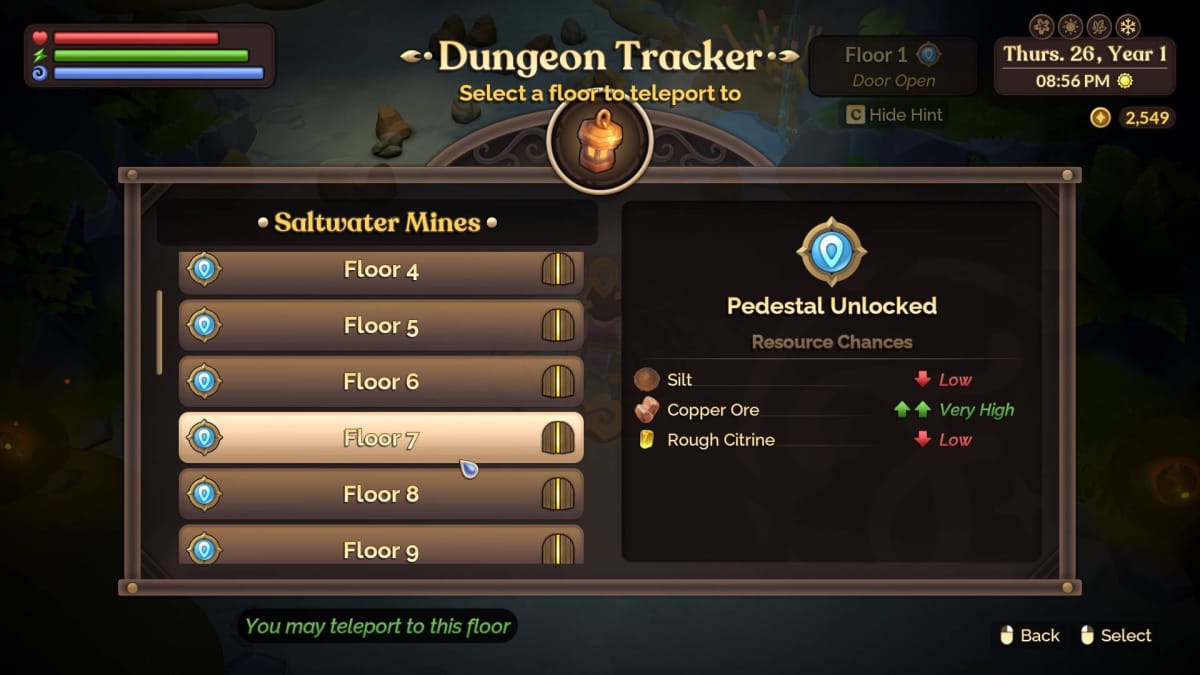
Once you have the necessary Seals made, you'll have to actually take them with you into the Dungeon. From there, you need to place the Dungeon Seal into that Floor's Wayshrine. Once that's done, you can teleport to that Wayshrine at any time.
There's just one more important note: you can't skip Floors. You have to unlock the Dungeon Seals in order. Keep that in mind when you're exploring!
Fae Farm Dungeon List
Here is a list of every Fae Farm Dungeon along with basic tips, the required Dungeon Seals for each Floor, and the Resources you can find on each Floor.
Saltwater Mines Dungeon
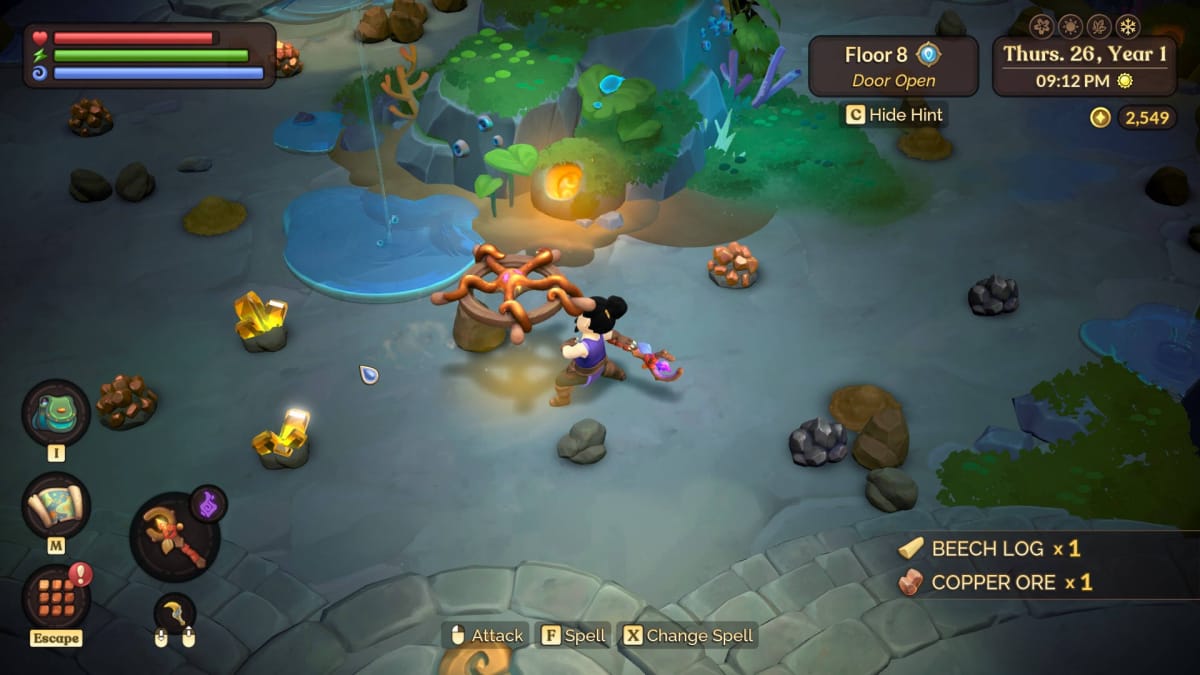
The Saltwater Mines is the first Dungeon you'll encounter in Fae Farm. It has no environmental hazards and few enemies. Each Floor can be unlocked by finding a hidden button underneath one of the Ore deposits.
How to Unlock the Saltwater Mines
You can unlock the Saltwater Mines by completing the quest "Preparing for the Mines." You can unlock this quest by progressing through all of the other Story Quests before it.
Saltwater Mines Dungeon Seals
- 1 Copper Seal
- 1 Copper Seal
- 1 Copper Seal
- 1 Copper Seal
- 1 Hammered Copper Seal
- 1 Hammered Copper Seal
- 1 Hammered Copper Seal
- 1 Hammered Copper Seal
- 1 Engraved Copper Seal
- 1 Engraved Copper Seal
- 1 Engraved Copper Seal
- 1 Engraved Copper Seal
- 1 Iron Seal
- 1 Iron Seal
- 1 Iron Seal
- 1 Iron Seal
- 1 Hammered Iron Seal
- 1 Hammered Iron Seal
- 1 Hammered Iron Seal
- 1 Hammered Iron Seal
- 1 Engraved Iron Seal
- 1 Engraved Iron Seal
- 1 Engraved Iron Seal
- 1 Engraved Iron Seal
Saltwater Mines Dungeon Loot
- Silt (Low)
- Silt (Low), Copper Ore (Very Low)
- Silt (Low), Copper Ore (Very Low)
- Silt (Low), Copper Ore (Low)
- Silt (Low), Copper Ore (Low), Rough Citrine (Very Low)
- Silt (Low), Copper Ore (Medium), Rough Citrine (Low)
- Silt (Low), Copper Ore (Very High), Rough Citrine (Low)
- Silt (Low), Copper Ore (Very High), Rough Citrine (Medium)
- Silt (Low), Copper Ore (Very High), Rough Citrine (Low), Rough Peridot (Very Low)
- Silt (Low), Copper Ore (Very High), Rough Citrine (Low), Iron Ore (Very Low), Rough Peridot (Low)
- Silt (Low), Copper Ore (Medium), Rough Citrine (Very Low), Iron Ore (Very Low), Rough Peridot (Low)
- Silt (Low), Copper Ore (Medium), Iron Ore (Low), Rough Peridot (Medium)
- Silt (Low), Copper Ore (Low), Iron Ore (Low), Rough Peridot (Low)
- Silt (Low), Copper Ore (Low), Iron Ore (Low), Rough Peridot (Low)
- Silt (Low), Copper Ore (Very Low), Iron Ore (Medium), Rough Aquamarine (Very Low), Rough Peridot (Very Low)
- Silt (Low), Iron Ore (Medium), Rough Aquamarine (Low)
- Silt (Low), Iron Ore (Very High), Rough Aquamarine (Low)
- Silt (Low), Iron Ore (Very High), Rough Aquamarine (Medium)
- Silt (Low), Iron Ore (Very High), Rough Aquamarine (Low)
- Silt (Low), Iron Ore (Very High), Rough Aquamarine (Low)
- Silt (Low), Iron Ore (Very High), Rough Aquamarine (Very Low), Rough Topaz (Very Low)
- Silt (Low), Iron Ore (Very High), Rough Topaz (Low)
- Silt (Low), Iron Ore (Very High), Rough Topaz (Low)
- Silt (Low), Iron Ore (Very High), Rough Topaz (Medium)
Floating Ruins Dungeon
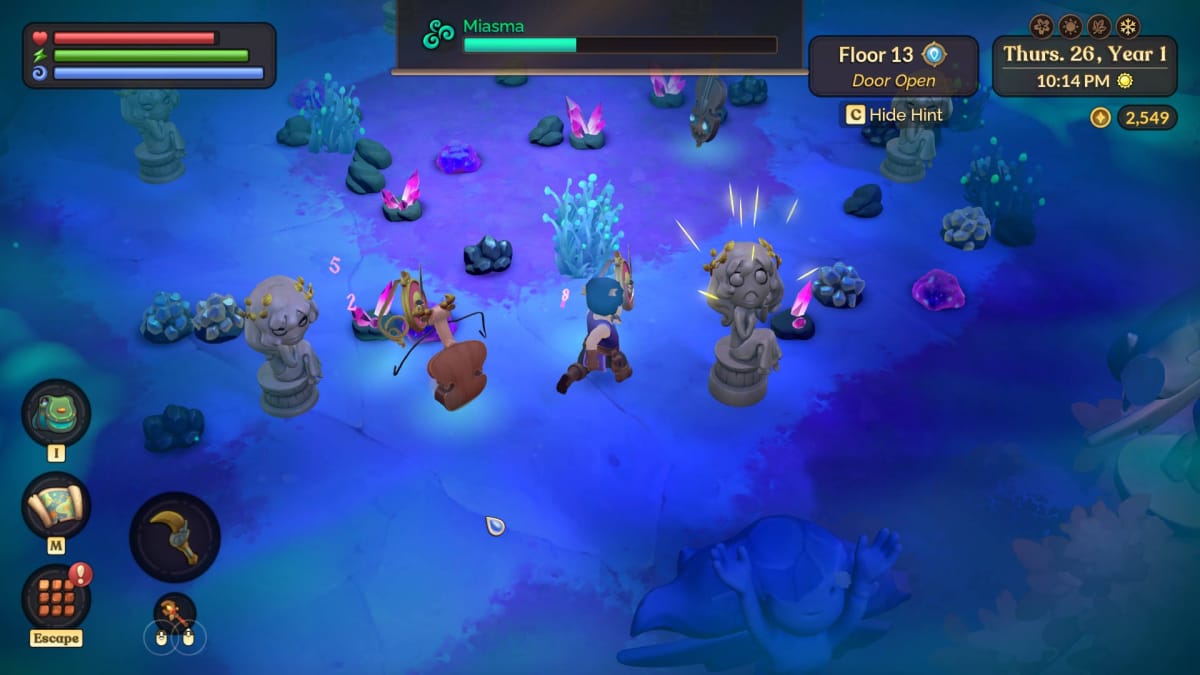
The Floating Ruins is the second Dungeon in Fae Farm and it's significantly more hazardous than its predecessor. The enemies are tougher and it's quite possible to fall off of the level, causing you to be teleported back to the Floor entrance.
In addition, the Floating Ruins are covered in Miasma which quickly builds up a negative status effect. If the Miasma Bar fills up, you'll pass out. You'll need a Fairbreath Potion in order to be able to withstand the Miasma.
How to Unlock the Floating Ruins
You can unlock the Floating Ruins by reaching Level 25 of the Saltwater Mines, completing the Quest "A Watery Wonder", and completing several follow-up Quests from The Wisp Mother.
Floating Ruins Dungeon Seals
- 1 Feyrite Seal
- 1 Feyrite Seal
- 1 Feyrite Seal
- 1 Feyrite Seal
- 1 Hammered Feyrite Seal
- 1 Hammered Feyrite Seal
- 1 Hammered Feyrite Seal
- 1 Hammered Feyrite Seal
- 1 Engraved Feyrite Seal
- 1 Engraved Feyrite Seal
- 1 Engraved Feyrite Seal
- 1 Engraved Feyrite Seal
- 1 Silver Seal
- 1 Silver Seal
- 1 Silver Seal
- 1 Silver Seal
- 1 Hammered Silver Seal
- 1 Hammered Silver Seal
- 1 Hammered Silver Seal
- 1 Hammered Silver Seal
- 1 Engraved Silver Seal
- 1 Engraved Silver Seal
- 1 Engraved Silver Seal
- 1 Engraved Silver Seal
Floating Ruins Dungeon Loot
- Shade Jelly (Very High), Feyrite Ore (Very High), Sporewood Log (Low)
- Shade Jelly (Very High), Feyrite Ore (Very High), Sporewood Log (Low)
- Shade Jelly (Very High), Feyrite Ore (Very High), Sporewood Log (Low)
- Shade Jelly (Very High), Feyrite Ore (Very High), Sporewood Log (Low)
- Shade Jelly (Very High), Feyrite Ore (Very High), Rough Amethyst (Very Low), Sporewood Log (Low)
- Shade Jelly (Very High), Feyrite Ore (Very High), Rough Amethyst (Low), Sporewood Log (Low)
- Sporeweed (Very High), Shade Jelly (Very High), Feyrite Ore (Very High), Rough Amethyst (Low), Sporewood Log (Low)
- Sporeweed (Very High), Shade Jelly (Very High), Feyrite Ore (Very High), Rough Amethyst (Medium), Sporewood Log (Low)
- Sporeweed (Very High), Shade Jelly (Very High), Feyrite Ore (Very High), Rough Rose Quartz (Very Low), Rough Amethyst (Low), Sporewood Log (Low)
- Sporeweed (Very High), Shade Jelly (Very High), Feyrite Ore (Very High), Rough Rose Quartz (Low), Silver Ore (Very Low), Rough Amethyst (Low), Sporewood Log (Low)
- Sporeweed (Very High), Shade Jelly (Very High), Feyrite Ore (Medium), Rough Rose Quartz (Low), Silver Ore (Very Low), Rough Amethyst (Very Low), Sporewood Log (Low)
- Sporeweed (Very High), Shade Jelly (Very High), Feyrite Ore (Low), Rough Rose Quartz (Medium), Silver Ore (Low), Sporewood Log (Low)
- Sporeweed (Very High), Shade Jelly (Very High), Feyrite Ore (Very Low), Rough Rose Quartz (Low), Silver Ore (Low), Sporewood Log (Low)
- Sporeweed (Very High), Shade Jelly (Very High), Rough Rose Quartz (Low), Silver Ore (Low), Sporewood Log (Low)
- Sporeweed (Very High), Shade Jelly (Very High), Rough Rose Quartz (Very Low), Silver Ore (Medium), Rough Sapphire (Very Low), Sporewood Log (Low)
- Sporeweed (Very High), Shade Jelly (Very High), Silver Ore (Medium), Rough Sapphire (Low), Sporewood Log (Low)
- Sporeweed (Very High), Shade Jelly (Very High), Silver Ore (Very High), Rough Sapphire (Low), Sporewood Log (Low)
- Sporeweed (Very High), Shade Jelly (Very High), Silver Ore (Very High), Rough Sapphire (Medium), Sporewood Log (Low)
- Sporeweed (Very High), Shade Jelly (Very High), Silver Ore (Very High), Rough Sapphire (Low), Sporewood Log (Low)
- Sporeweed (Very High), Shade Jelly (Very High), Silver Ore (Very High), Rough Sapphire (Low), Sporewood Log (Low)
- Sporeweed (Very High), Shade Jelly (Very High), Silver Ore (Very High), Rough Emerald (Very Low), Rough Sapphire (Very Low), Sporewood Log (Low)
- Sporeweed (Very High), Shade Jelly (Very High), Silver Ore (Very High), Rough Emerald (Low), Sporewood Log (Low)
- Sporeweed (Very High), Shade Jelly (Very High), Silver Ore (Very High), Rough Emerald (Low), Sporewood Log (Low)
- Sporeweed (Very High), Shade Jelly (Very High), Silver Ore (Very High), Rough Emerald (Medium), Sporewood Log (Low)
Scorched Caverns Dungeon
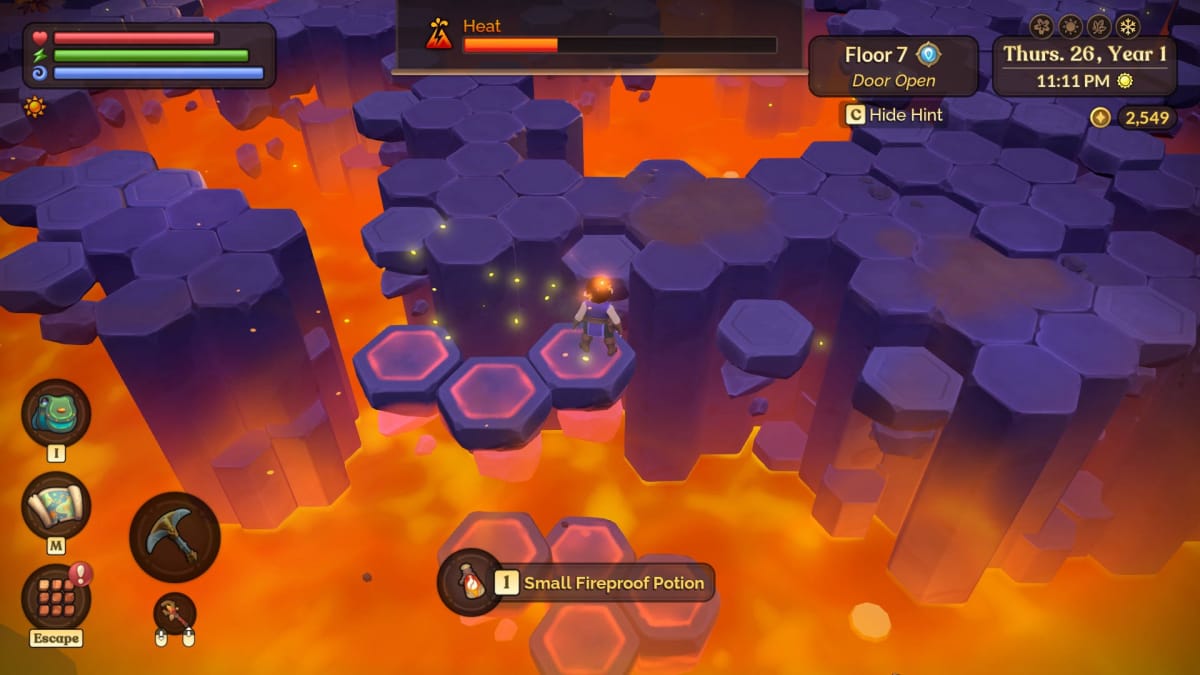
The Scorched Caverns is the third and final Fae Farm Dungeon, and it's the toughest yet. You can easily fall off of the level and parts of the floor will collapse if you walk on them.
You'll also have to deal with a "Heat" effect. As with the Miasma, you'll need a special Potion in order to survive this Debuff; you'll have to learn how to Craft the Fireproof Potion.
How to Unlock the Scorched Caverns Dungeon
You can unlock the Scorched Caverns by reaching Level 25 in the Floating Ruins, completing the Quest "Sour But Sweet," and completing several Story Quests in the Frozen Plateau Mountains from Oorlich, Grell, and Frida.
Scorched Caverns Dungeon Seals
- 1 Orichalum Seal
- 1 Orichalum Seal
- 1 Orichalum Seal
- 1 Orichalum Seal
- 1 Hammered Orichalcum Seal
- 1 Hammered Orichalcum Seal
- 1 Hammered Orichalcum Seal
- 1 Hammered Orichalcum Seal
- 1 Engraved Orichalcum Seal
- 1 Engraved Orichalcum Seal
- 1 Engraved Orichalcum Seal
- 1 Engraved Orichalcum Seal
- 1 Gold Seal
- 1 Gold Seal
- 1 Gold Seal
- 1 Gold Seal
- 1 Hammered Gold Seal
- 1 Hammered Gold Seal
- 1 Hammered Gold Seal
- 1 Hammered Gold Seal
- 1 Engraved Gold Seal
- 1 Engraved Gold Seal
- 1 Engraved Gold Seal
- 1 Engraved Gold Seal
Scorched Caverns Dungeon Loot
- Volcanic Ash (Very High), Orichalcum Ore (Very High)
- Volcanic Ash (Very High), Orichalcum Ore (Very High)
- Volcanic Ash (Very High), Orichalcum Ore (Very High)
- Volcanic Ash (Very High), Orichalcum Ore (Very High)
- Volcanic Ash (Very High), Orichalcum Ore (Very High), Rough Ruby (Very Low)
- Volcanic Ash (Very High), Orichalcum Ore (Very High), Rough Ruby (Low)
- Fireweed (Very High), Volcanic Ash (Very High), Flame Salts (Very High), Orichalcum Ore (Very High), Rough Ruby (Low)
- Fireweed (Very High), Volcanic Ash (Very High), Flame Salts (Very High), Orichalcum Ore (Very High), Rough Ruby (Medium)
- Fireweed (Very High), Volcanic Ash (Very High), Flame Salts (Very High), Orichalcum Ore (Very High), Rough Ruby (Low), Raw Garnet (Very Low)
- Fireweed (Very High), Volcanic Ash (Very High), Flame Salts (Very High), Orichalcum Ore (Very High), Gold Ore (Very Low), Rough Ruby (Low), Raw Garnet (Low)
- Fireweed (Very High), Volcanic Ash (Very High), Flame Salts (Very High), Orichalcum Ore (Medium, Gold Ore (Very Low), Rough Ruby (Very Low), Raw Garnet (Low)
- Fireweed (Very High), Volcanic Ash (Very High), Flame Salts (Very High), Orichalcum Ore (Low), Gold Ore (Low), Raw Garnet (Medium)
- Fireweed (Very High), Volcanic Ash (Very High), Flame Salts (Very High), Orichalcum Ore (Very Low), Gold Ore (Low), Raw Garnet (Low)
- Fireweed (Very High), Volcanic Ash (Very High), Flame Salts (Very High), Gold Ore (Low), Raw Garnet (Low)
- Fireweed (Very High), Volcanic Ash (Very High), Flame Salts (Very High), Gold Ore (Medium), Raw Garnet (Very Low), Rough Diamond (Very Low)
- Fireweed (Very High), Volcanic Ash (Very High), Flame Salts (Very High), Gold Ore (Medium), Rough Diamond (Low)
- Fireweed (Very High), Volcanic Ash (Very High), Flame Salts (Very High), Gold Ore (Very High), Rough Diamond (Low)
- Fireweed (Very High), Volcanic Ash (Very High), Flame Salts (Very High), Gold Ore (Very High), Rough Diamond (Medium)
- Fireweed (Very High), Volcanic Ash (Very High), Flame Salts (Very High), Gold Ore (Very High), Rough Diamond (Low)
- Fireweed (Very High), Volcanic Ash (Very High), Flame Salts (Very High), Gold Ore (Very High), Rough Diamond (Low)
- Fireweed (Very High), Volcanic Ash (Very High), Flame Salts (Very High), Gold Ore (Very High), Rough Diamond (Very Low), Rough Obsidian (Very Low)
- Fireweed (Very High), Volcanic Ash (Very High), Flame Salts (Very High), Gold Ore (Very High), Rough Obsidian (Low)
- Fireweed (Very High), Volcanic Ash (Very High), Flame Salts (Very High), Gold Ore (Very High), Rough Obsidian (Low)
- Fireweed (Very High), Volcanic Ash (Very High), Flame Salts (Very High), Gold Ore (Very High), Rough Obsidian (Medium)
We're at the end of the Fae Farm Dungeon Guide -- check out our other guides below!
Have a tip, or want to point out something we missed? Leave a Comment or e-mail us at tips@techraptor.net


