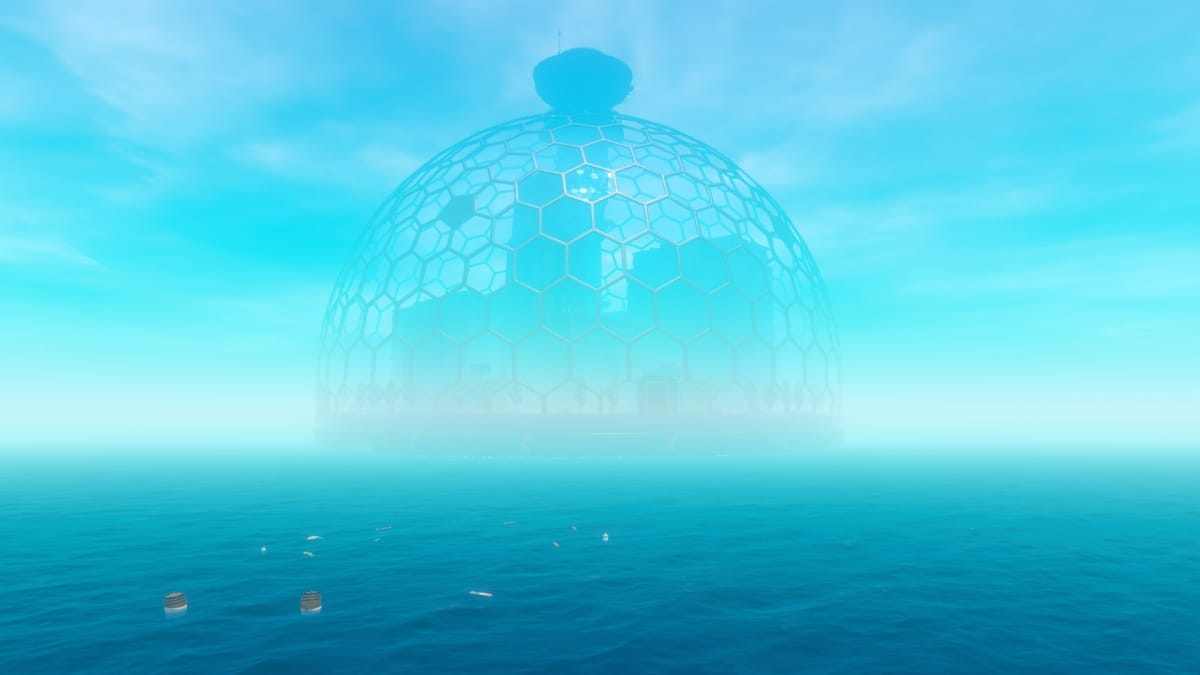
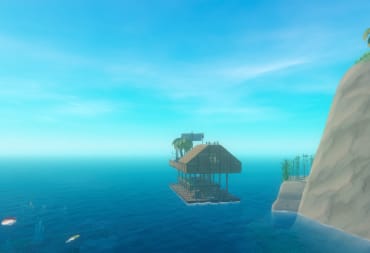
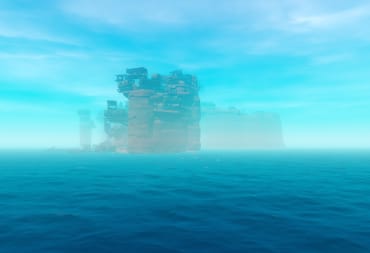
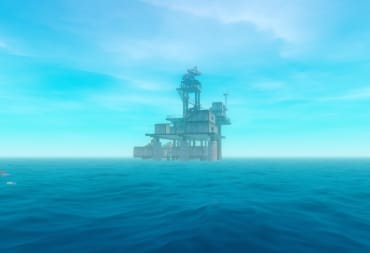
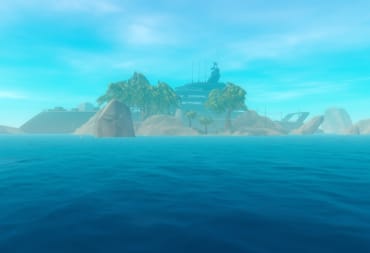
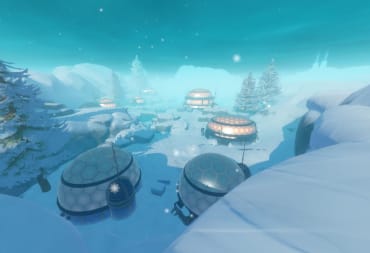
Tangaroa is a massive floating city. It's lighter on enemies than some other locations, but there's plenty to explore here. This Raft Tangaroa Walkthrough Guide is here to help you make your way through this abandoned city and not only find the next code you need, but the engine blueprint too!
< Previous: Raft Caravan Town Walkthrough | Raft Tangaroa Walkthrough | Next: Raft Varuna Point Walkthrough >
Preparing for Tangaroa
Here's what you should bring with you to Tangaroa:
- At least 2 Head Light
- Food
- Water
- Basic Bow
- 30 Arrows
- At least 2 Metal Spear
- Machete
- Food
- Water
- Zipline Tool
- Leather Armor (optional)
- Backpack (optional)
Approaching Tangaroa
When you approach Tangaroa, you'll see some arrows on the outside of the building pointing you towards a dock. That's your entrance point.
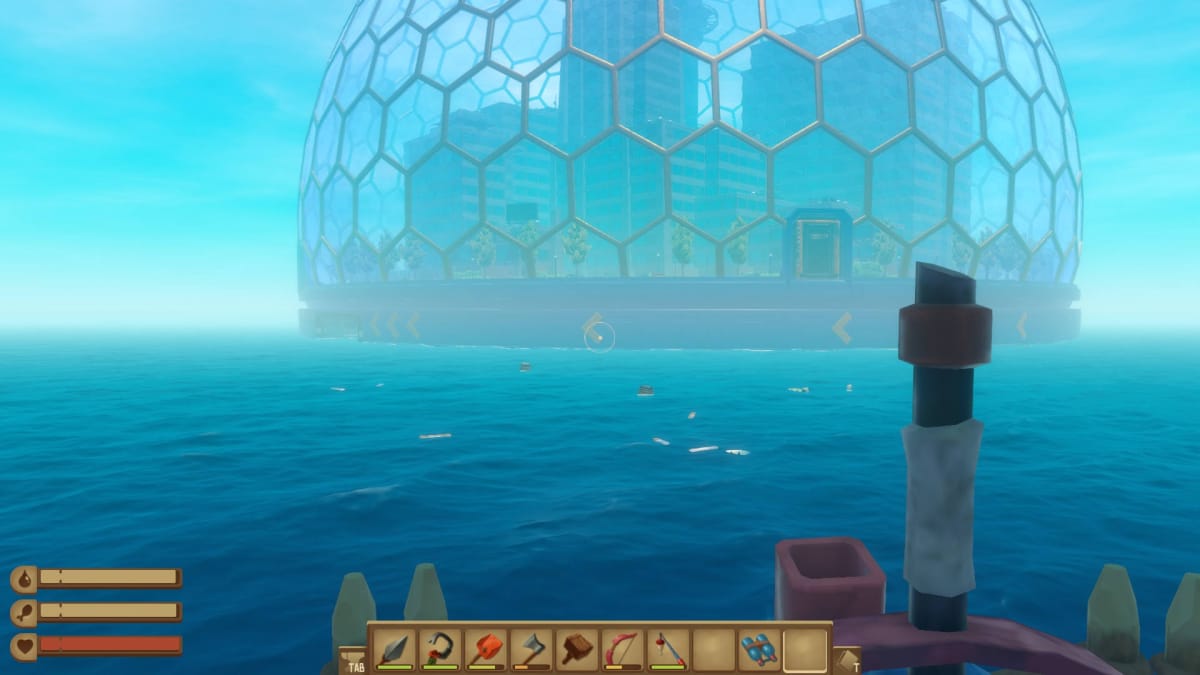
Unfortunately, many Rafts won't actually fit into this dock, especially if they're 2 stories high. Odds are, you're going to have to pull up to the gate, anchor there, and jump off or swim in. Then, you'll have to go inside:
Entering The City - Tangaroa Walkthrough
Step into Tangaroa and you'll see a sign directing you to various locations in the city.
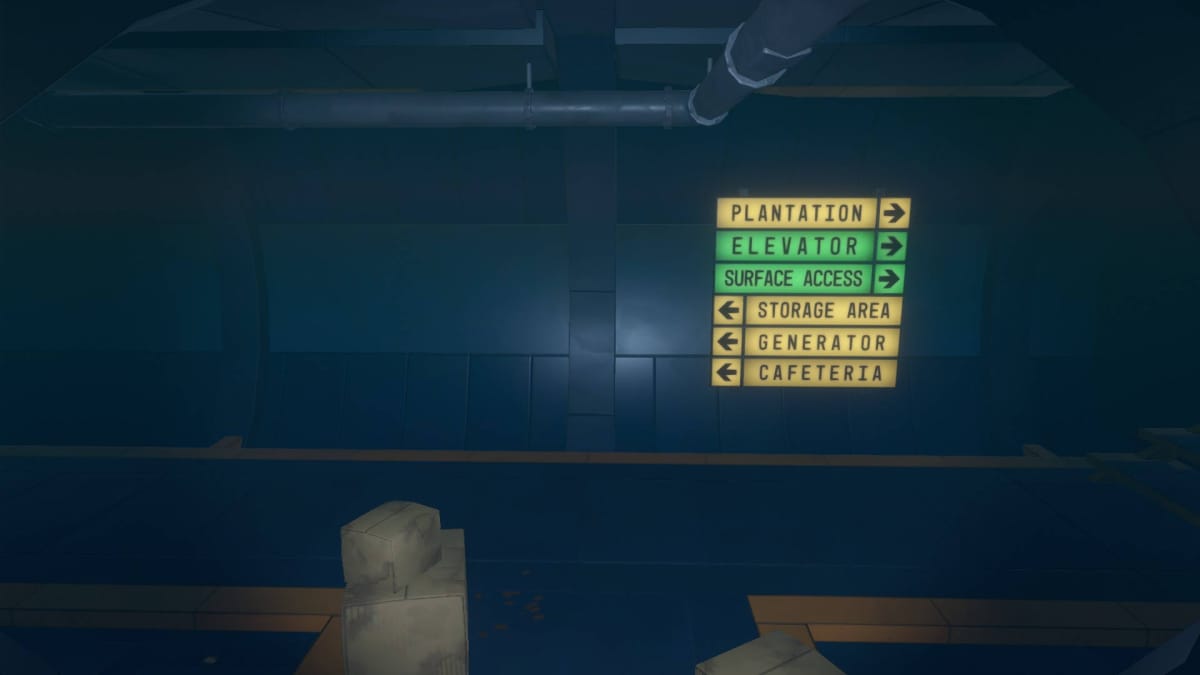
Tangaroa is absolutely massive, so there will be a lot to go through here. You should be prepared for a lengthy expedition, and it's a good idea to return to your Raft every now and again to offload loot and resupply.
We're gonna start by going to the left towards the Storage Area, Generator, and Cafeteria. Walk down the tunnel to the left and head down the ladder into the floor below.
The Cafeteria and Generator Part #1
There are Lurkers (giant rats) down here, so be ready for a fight. We'll take a left toward the Cafeteria first. This tunnel will take you down some stairs into a lower level. Follow the signs and you'll find a massive open space filled with tables, chairs, and debris.
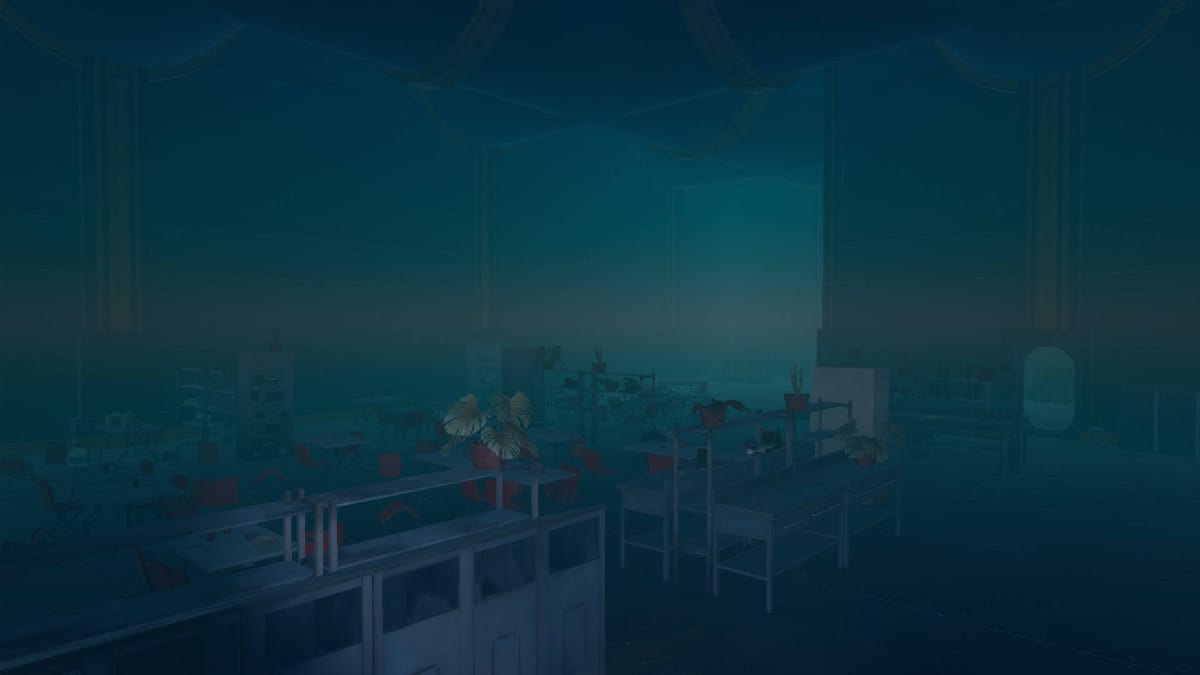
The Cafeteria has a tougher version of the Lurker with a purple tail. Make sure to pay attention to what kind of Lurker you're fighting -- this new variant takes 5 hits to kill with the Metal Spear instead of 3 hits with the other kind of Lurker you just fought a level above.
First, head to the right and grab a Note off of the serving counter. This Note is a message from Ruben talking about how Tangaroa is pushing its engines and trying to flee from a flotilla of Rafts.
Behind this note is an unmarked, open door to the kitchen. Head inside and clear out any Lurkers. You can find various loot in here along with Generator Part #1 on the floor by some boxes.
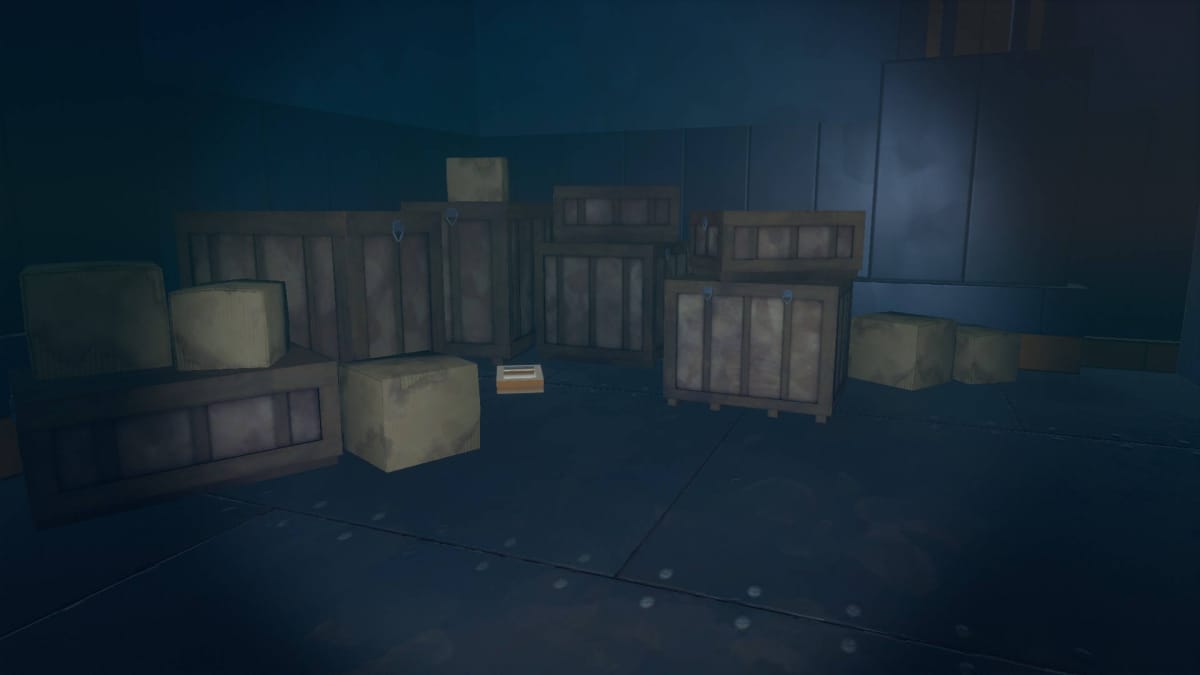
Exit the kitchen, turn right, and turn right again. You'll see a door exiting the Cafeteria. The other side of the door has signs pointing toward the Generator and Storage Area to the right.
Heading to The Storage Area and Generator Part #4
Head straight out this door and then make a right at the pile of crates with two pipes on it. Go straight and you'll find Generator Part #4 on the ground next to some bars blocking the tunnel.
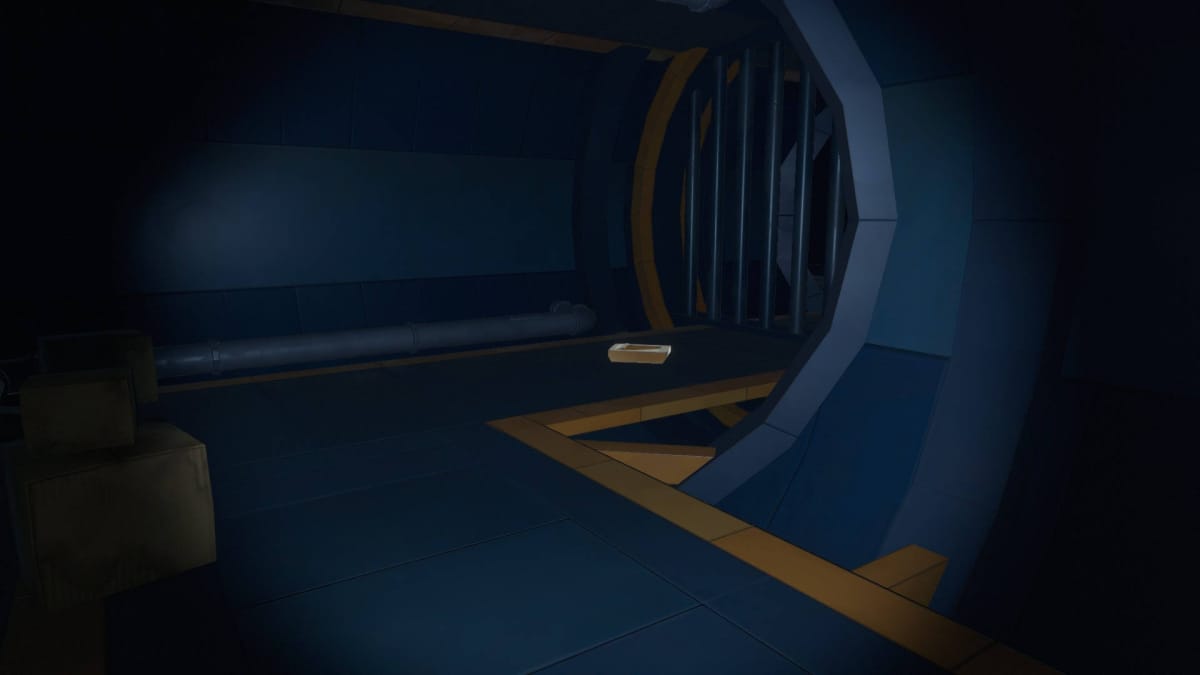
Return to the Generator and Storage Area sign and make a left. When you reach the T-intersection, there's a locked door on the left. Go right, then make a left and go into the door marked "Storage Area."
The Storage Area and Generator Part #2
When you enter the Storage Area, look to your left -- you'll see another Generator Part face-down on the ground. This is Generator Part #2. Pick it up.
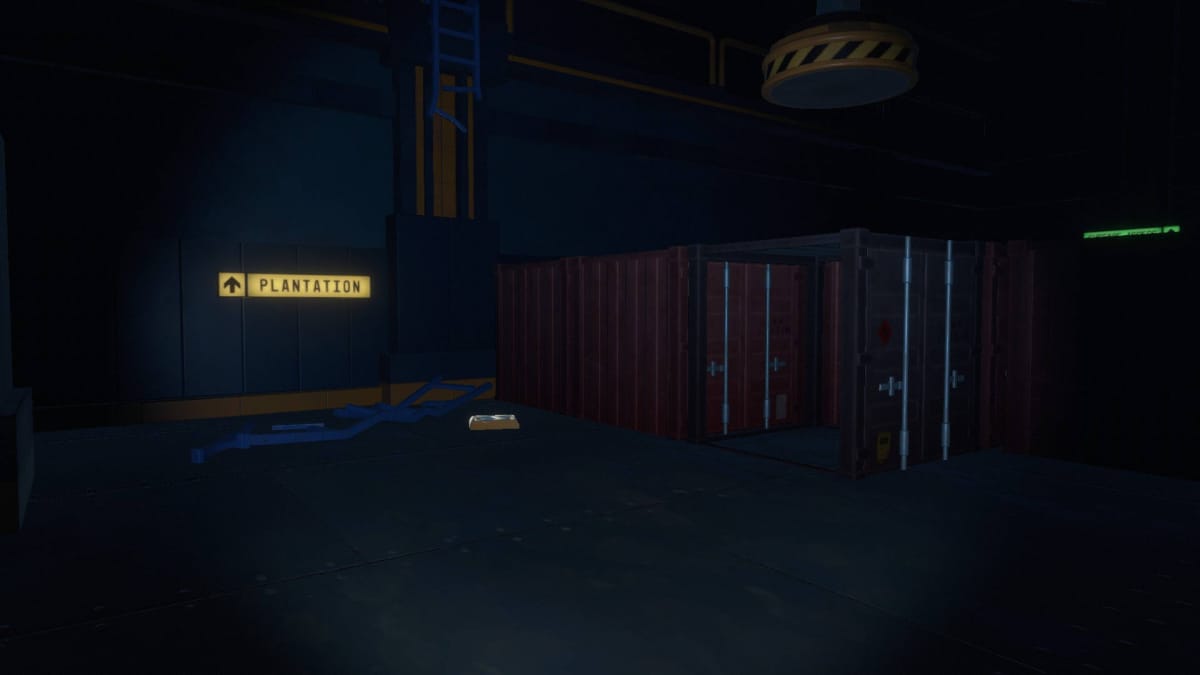
There are some Planks you can grab on the right, so go ahead and pick those up. Then, climb up the blue ladder with arrows pointing up to "Crane Controls" and "Generator."
The first thing you'll see ahead of you is a big yellow box -- this is the Generator. You can replace all three of the missing parts by interacting with the slots, so do so. The Generator will come to life.
There are several food packages in this room. Pick them up, then head to the left and walk up to the Crane Controls.
Tangaroa Storage Room Crane Puzzle
The Tangaroa Storage Room crane puzzle is like one of those sliding puzzles you played when you were a kid -- you have to slide the crates around to open up a path:
You can pick up pieces and shuffle them around in order to open up a path. First, we're going to open up access to a secret area where we can get some loot. Focus on moving pieces one at a time starting from one end. It's not too hard to figure out. Here's one potential solution for getting to the room filled with loot:
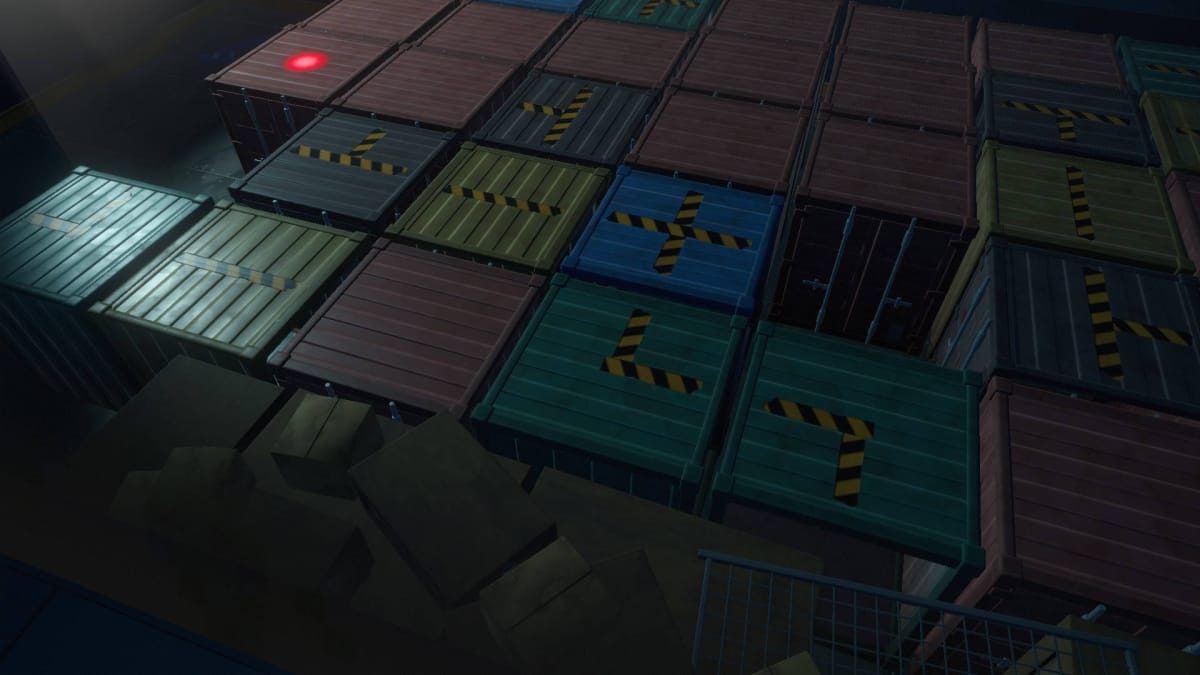
Climb down the ladder and follow this new path you just created to the room with the grate.
Inside this room, you'll find:
- A Machete
- 5 Pieces of Titanium
- 2 Crates containing various materials (Hinges, Bolts, Copper Ore, etc.)
Try to avoid using Machetes for combat here -- you'll need them in order to open up some taped-off doors later in the city.
Head back out and go back up to the Crane. Now, we're gonna move the containers around again until we open up the area to Surface Access. Remember, move pieces one at a time, starting from your destination. Here's what I ended up with after I opened up the secret area:
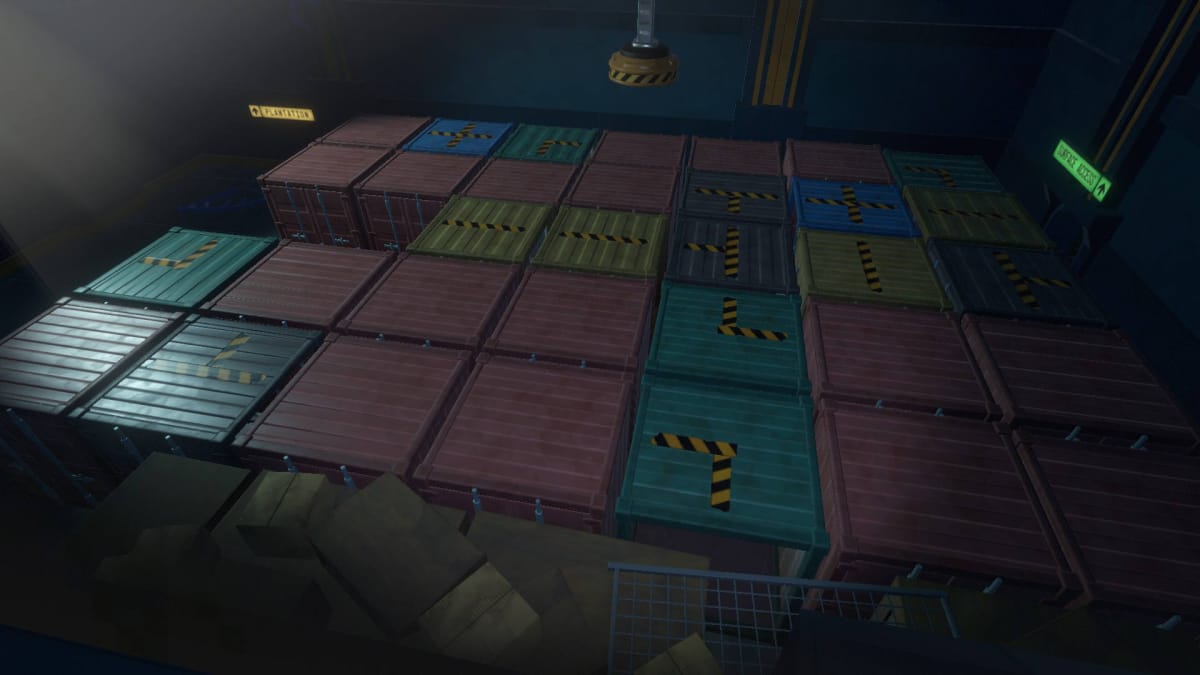
However you do it, jump back down and go through the Surface Access doorway. You'll find the Water Pipe Blueprint and a Note on the other side. The Note talks about Tangaroa's engines dying and how Ruben sealed up the reactor.
Surface Access and the Plantation
The previous room with the containers also has a ladder going up to the Plantation. Unfortunately, you can't quite make it up there. We're about to change that.
A note of warning: opening up Surface Access will flood this entire lower level. Make sure you've thoroughly looted everything before you do. This is also your last chance to farm Lurkers for Raw Meat in the tunnels. If you're low on food, you may want to spend some time running around killing Lurkers before opening up Surface Access.
Once you're sure you've looted everything and you're done farming Lurkers, follow the path to the Surface Access ladder.
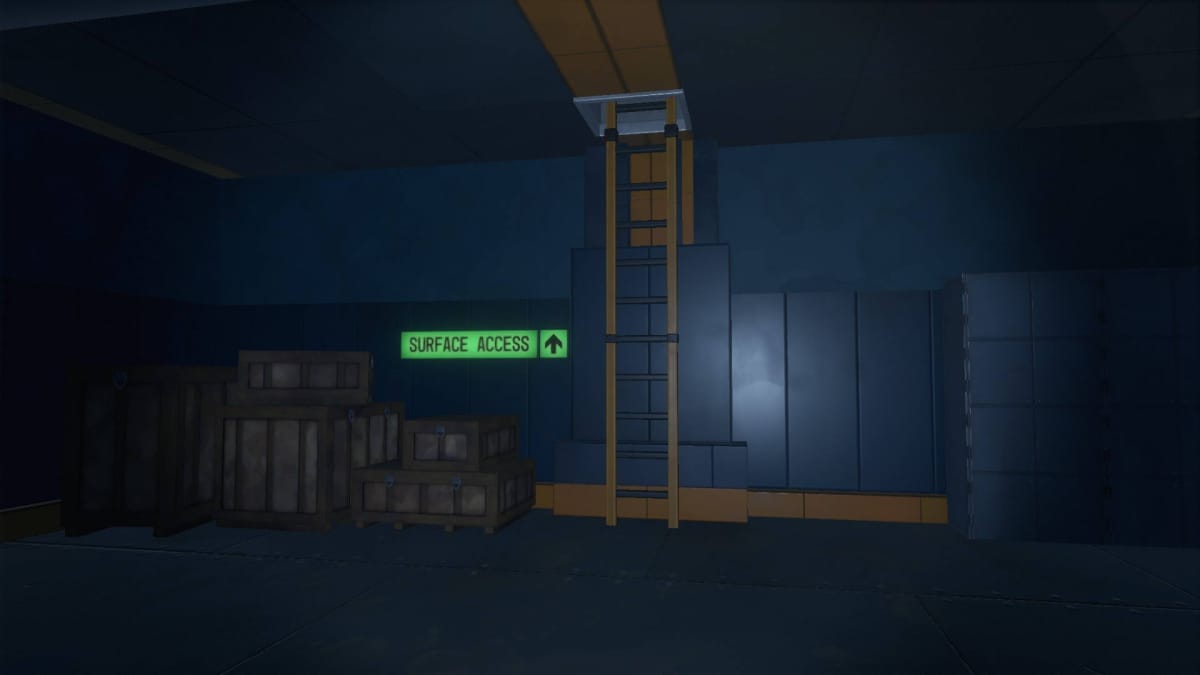
The flooding will begin when you open up the door at the top of the ladder. The door to the right (which you came through) will be automatically sealed and the door to the left will open, so you're going to have to take a different route back to the crane room.
Climb the ladder and open the Surface Access door. Then, run through the door to the left and follow the tunnel. You'll find a closed door at the end of the tunnel.
Open the door and run (or swim) through. You'll see a sign that says the Generator, Storage Area, and Plantation is to the left. Go to that sign and turn left and you'll be back in the Storage Room. Swim up to refill your Oxygen.
Swim up the Plantation ladder and climb up, then enter the next room. The door to your right will lead you back the way you came. The door to the left has a sign that helpfully points you towards the Plantation. Before you go, grab the loot in the room and the Note. The Note talks about how Tangaroa is falling apart and a riot is going on, so they're abandoning the city. Once you have the Note and you're done looting the room, head to the ladder on the left and climb up to get to the Plantation.
Plantation
The Plantation is partially flooded, and that's not the only problem -- an electrical short is electrifying the water on a periodic basis.
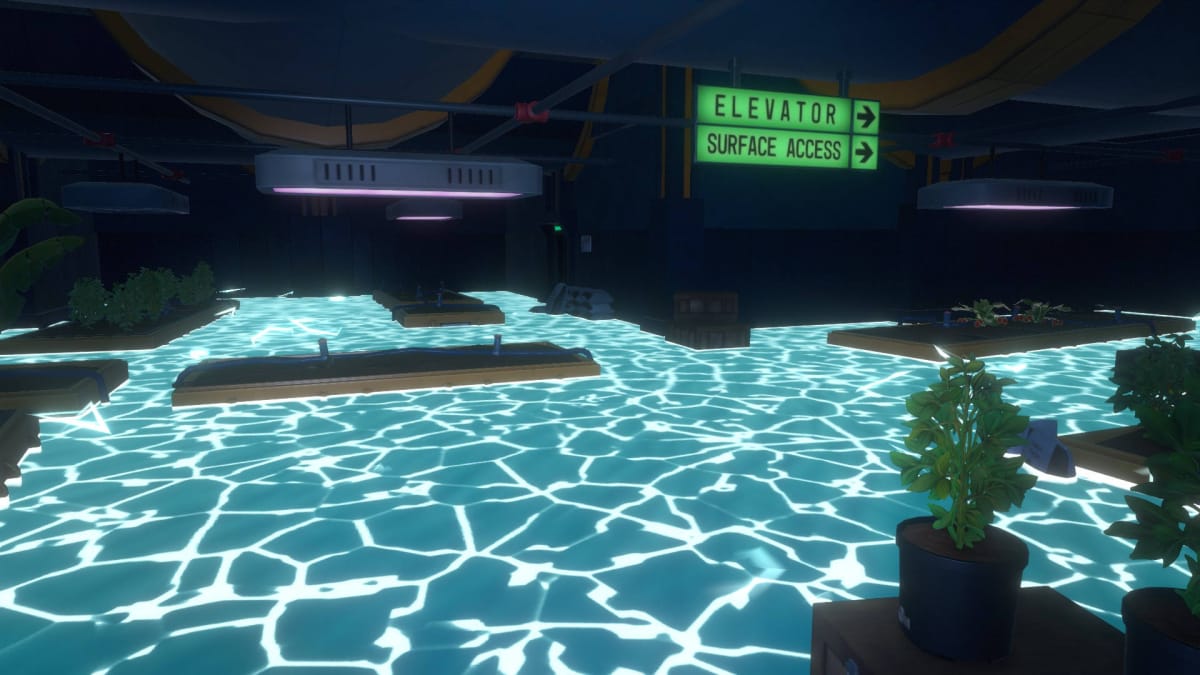
You're going to have to jump on the planters to stay out of the water. There are two Banana trees and two Strawberry plants that you can grab here, both of which will give you seeds. Chop down the trees and grab the Strawberries, taking care to stay out of the water.
Next, head to the room on the left. You'll find two pieces of Tape inside. Grab them and exit the room.
Go back to the main room and then head to the door on the right. You'll find a piece of tape on the right side of the door on some crates along with a Note. Grab the third piece of Tape and the Note. The Note talks about how there won't be enough food to last the year.
Hop over to the switch on the left side of the door and interact with it. You'll expand three pieces of Tape to repair it. This opens the door, although the electricity will remain a hazard. Move into the next room.
The next room has some more Banana and Strawberry plants. Grab them, then head toward the Surface Access door. Grab the Note to the left of the door and exit the room. The Note talks about the ongoing riot and how a kid is MacGuyvering a working Raft together for them to escape.
There's another device to repair with Tape in this room, but we don't have enough just yet -- we'll have to come back later. For now, follow the Surface Access tunnel. In a short time, you'll be in the city and you'll get to see just how big it is firsthand.
Opening Up the City and Resupplying
You'll hear robotic voices when you get up to the surface -- these are the Butler Bots that were talked about in a note. First things first, take off your Head Light -- no need to waste the battery when you have good ol' daylight illuminating things.
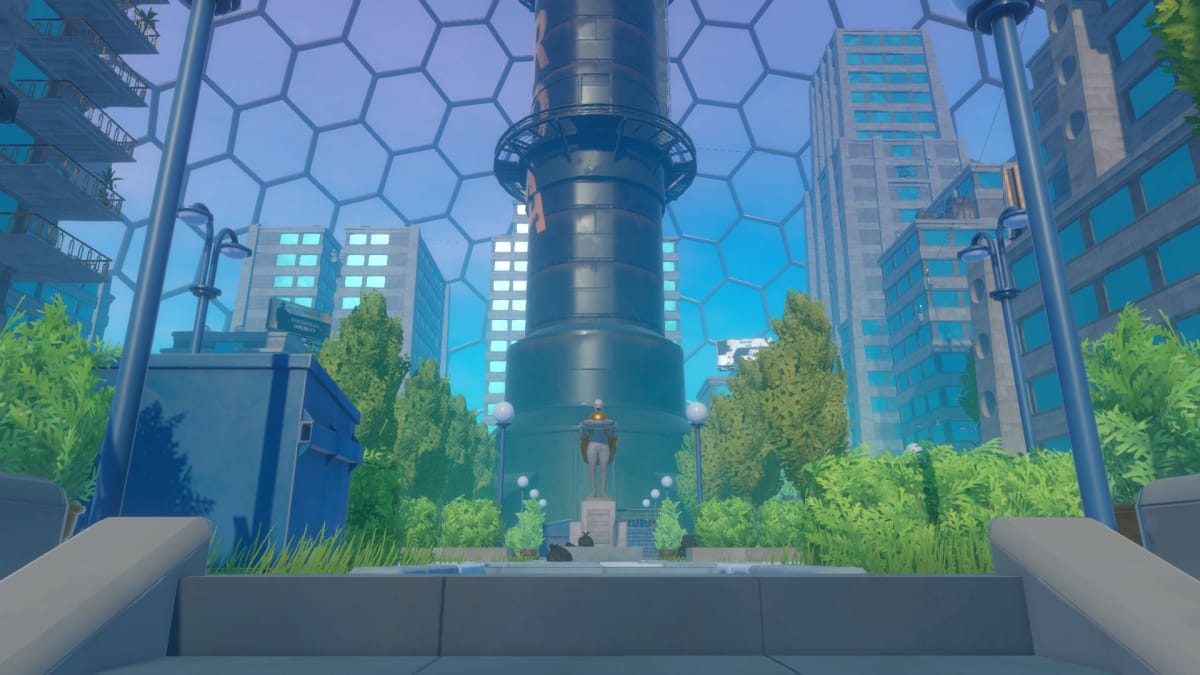
There are five Exits around Tangaroa, including one right behind you. First, open up the Exit directly behind you. Then, follow the wall along the right. This Exit is right next to your Raft, so jump on board, offload your loot, and grab whatever other supplies you need.
Head back into the city. Continue following the right wall and open up the other three Exits so you have the maximum number of options for entering or exiting the city if needed. Once you're done, continue following the wall right until we're back at the statue with the golden cape and golden model of the city.
Best Way to Fight Butler Bots in Raft
The best way to fight Butler Bots is Raft is to circle strafe them while sprinting and poke them with your Spear. This is the cheapest option, although it can be a little dangerous if you make a mistake or don't have room to move around.
Alternatively, you can sprint backward and shoot them with Stone Arrows or Metal Arrows. You'll be able to recover most (if not all) of the Arrows you used on the Butler Bots.
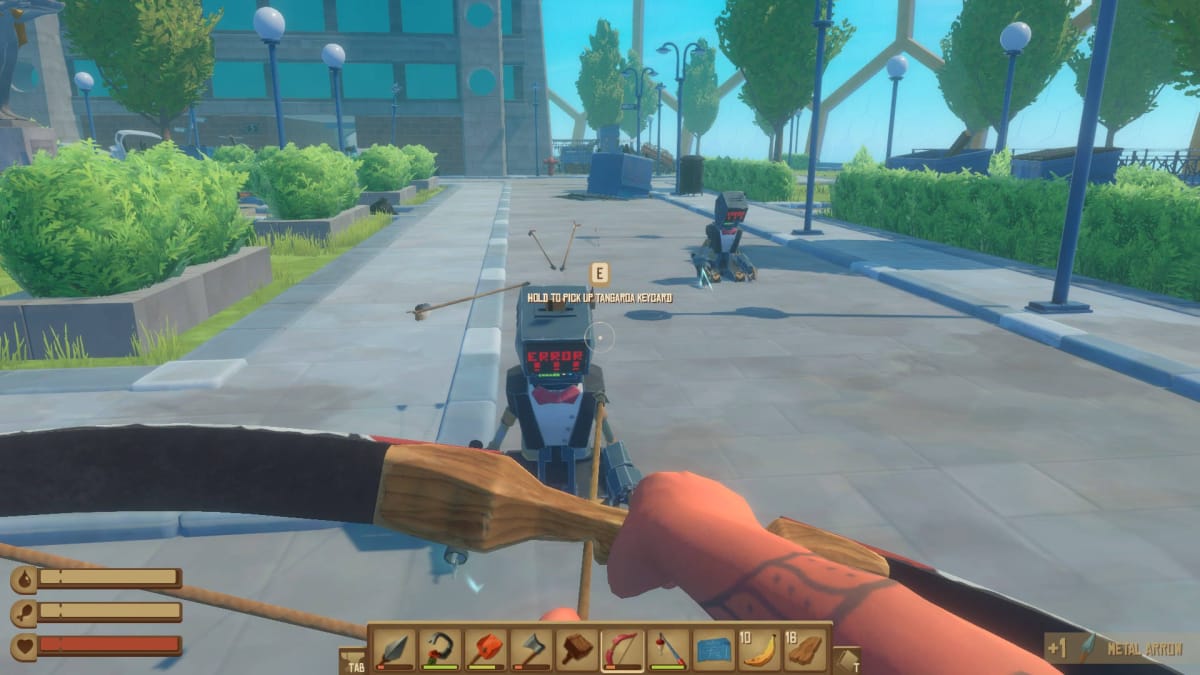
As one of the Notes you found implied, these helpful robots have been equipped with stun guns that can damage you. They'll roll up to you to try to help, but the poor little guys will inadvertently cause you damage with the stun gun.
Killing a Butler Bot will give you a Tangaroa Keycard, an item that is used to open doors in the city.
Unfortunately, you cannot actually kill Butler Bots. Defeating them will only disable them for about a minute and then they'll automatically revive.
You don't need to hunt Butler Bots down (unless you're in dire need of a Tangaroa Keycard), but you should disable them if they're anywhere near you just to be safe.
The Golden Statue and Tangaroa Vending Service
Return to the golden statue near the staircase where you came in. Walk up to it and you'll find a Note -- you'll discover that Detto survived the trip from Caravan Town and is helping build a usable Raft for the Tangaroa citizens to escape.
Keep walking straight ahead and you'll see four Tangaroa Vending Service Vending Machines.
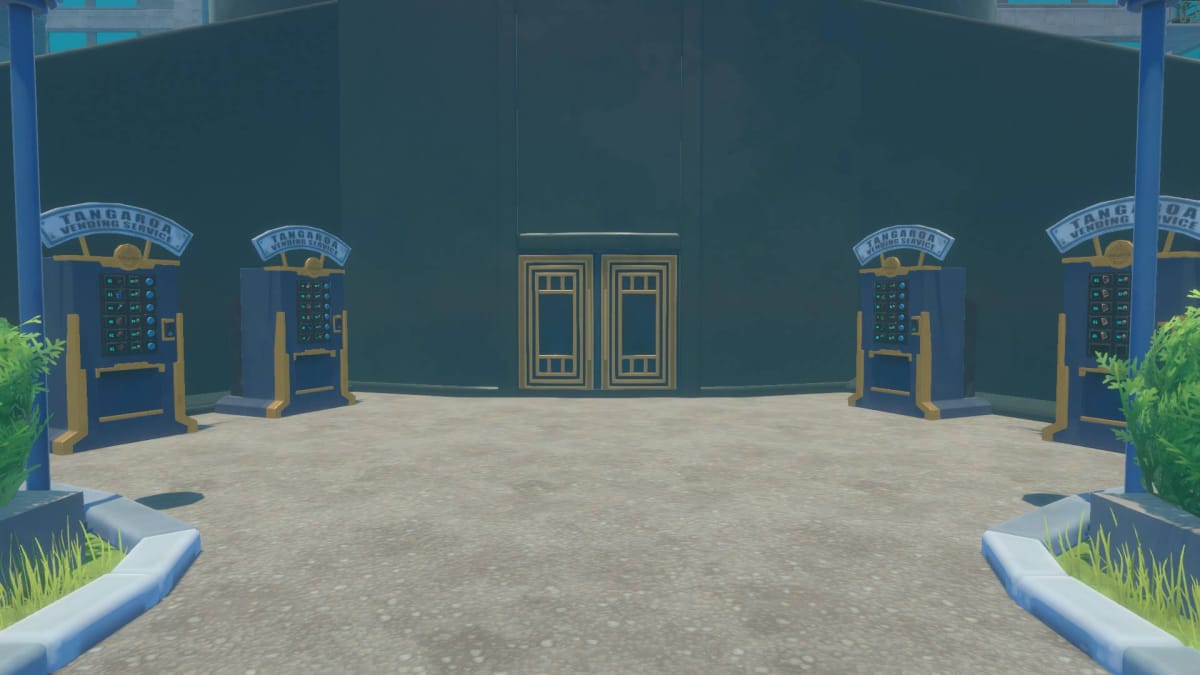
These machines use Vending Machine Tokens that you'll find in the city, and each machine has something different. Here's what's in the Tangaroa Vending Service machines outside of the center tower:
- Left Machine 1
- Piano
- Radio
- Machete
- Backpack
- Leather Body Armor
- Leather Greaves
- Left Machine 2
- Coconut Chicken
- Steam with Jam
- BBQ
- Shark Dinner
- Cup of Fresh Watter
- Bottle of Fresh Water
- Right Machine 1
- 6 Different Tangaroa Plants (decorative)
- Right Machine 2
- 5 Different Tangaroa Paintings (decorative)
Don't spend any of your Vending Machine Tokens on things you can get yourself. You can Cook the food and you can Craft the equipment. If you buy anything, I'd recommend spending it on the Piano, Tangaroa Plants, and Tangaroa Paintings since they are unique to this area.
Keep in mind that Vending Machine Tokens can be used in later areas of the game, too. You don't have to spend them now, and there are opportunities to get other unique cosmetics for your Raft if you desire.
We don't have any Vending Machine Tokens for now, so let's move on to 1 Memory Lane.
1 Memory Lane
Tangaroa has several large buildings. Entering one will require a Tangaroa Keycard, so disable a Butler Bot and take one if you haven't already. Once you have a Tangaroa Keycard, our first destination will be 1 Memory Lane -- you can find it to the left of the Golden Statue.
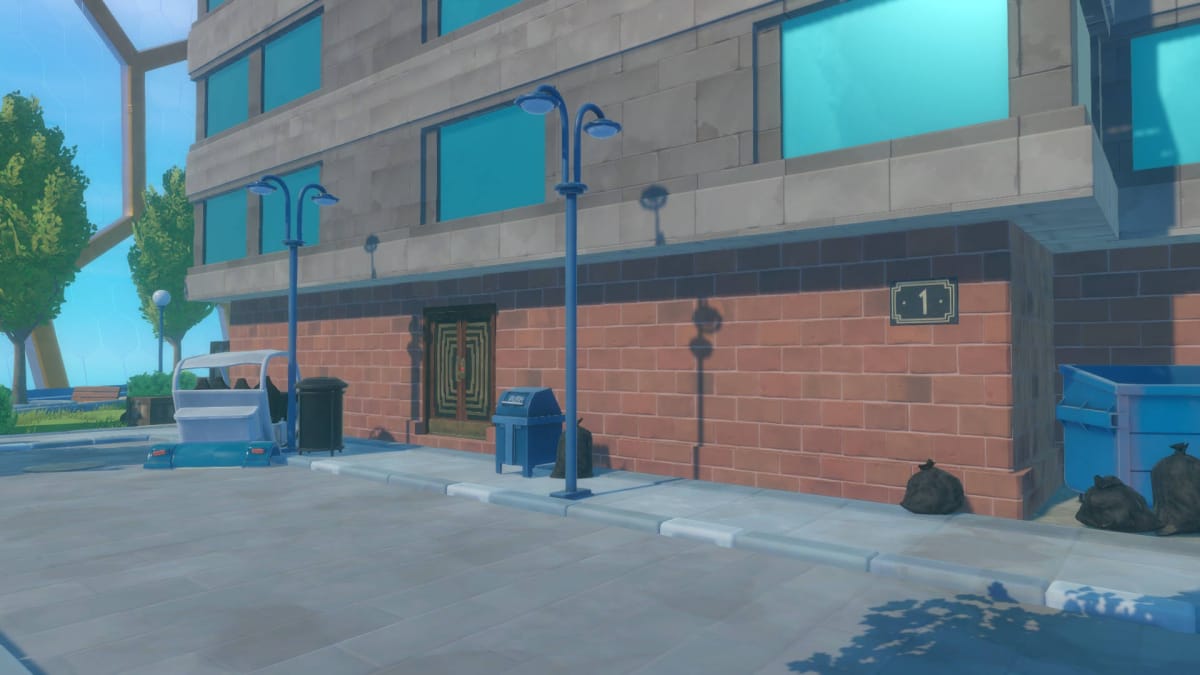
Open the front door with a Tangaroa Keycard and walk inside. You'll see an elevator with two options: Floor 0 (where you are) and Floor 8. Push the button for 8.
Floor 8 has an apartment on either side. First, we're going to go into the apartment on the right. You'll find a purple-tailed Lurker in there, so kill it with your Spear. After the Lurker is dead, go into the bathroom to the left of the front door. You can find a Vending Machine Token sitting on top of a gold vase.
Go to the next door down on the left and you'll find a piece of Tape in the bedroom. Then head out into the living room and you'll find another Vending Machine Token on the sofa. Turn around and check the kitchen cabinets for any loot.
The final door in this apartment opens up to a balcony. You can see a box on another balcony across the way. You may be tempted to jump across, but don't try it -- you won't make the jump and you'll fall. (The fall won't kill you, but you can lose as much as half of your health in one shot.) We'll get to that other apartment later.
Go back into the hallway and enter the other apartment. Go into the kitchen on your left and check for loot. You can find a Vending Machine Token on top of the refrigerator. You can find another Vending Machine Token in the bathroom on a shelf to the left of the sink.
To the right of a bathroom is a door blocked by a lot of Tape.
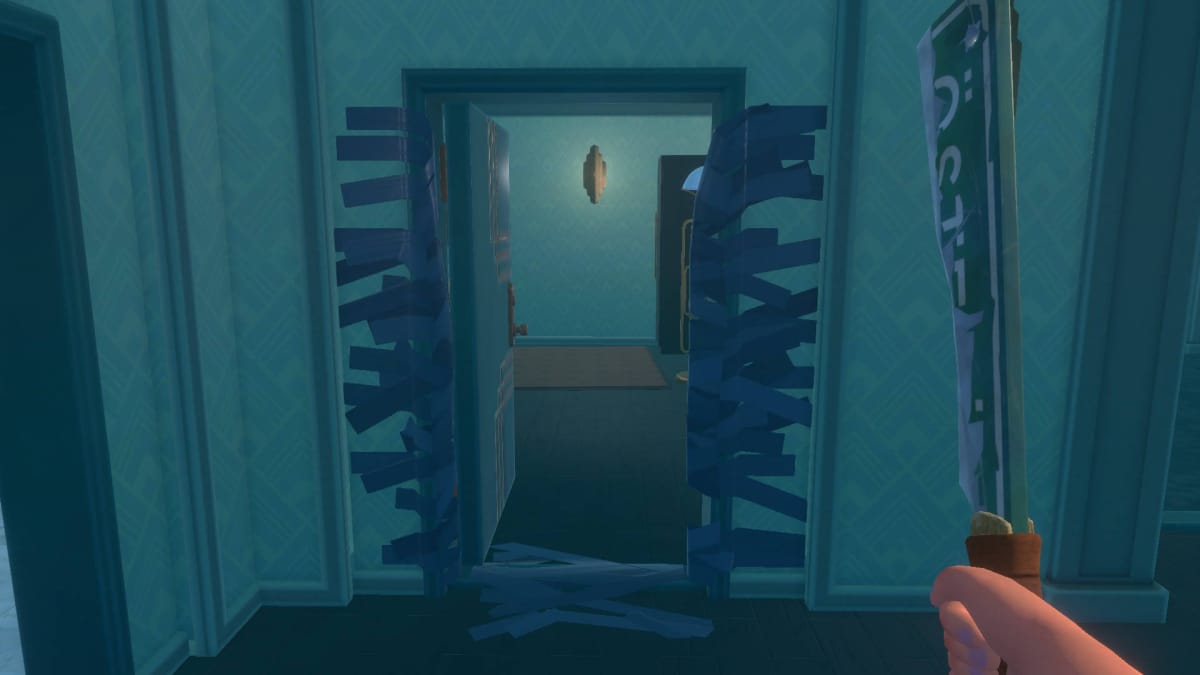
Cut the Tape open with your Machete, go inside, and you'll find another piece of Tape inside.
You can head out to the balcony and get a nice view. You can jump onto an air conditioner and get up to the roof, but there's nothing worth getting up there. Return to the elevator and go back to Floor 0.
2 Exterio Lane
2 Exterio Lane can be found behind 1 Memory Lane on the opposite side of 1 Memory Lane's entrance.
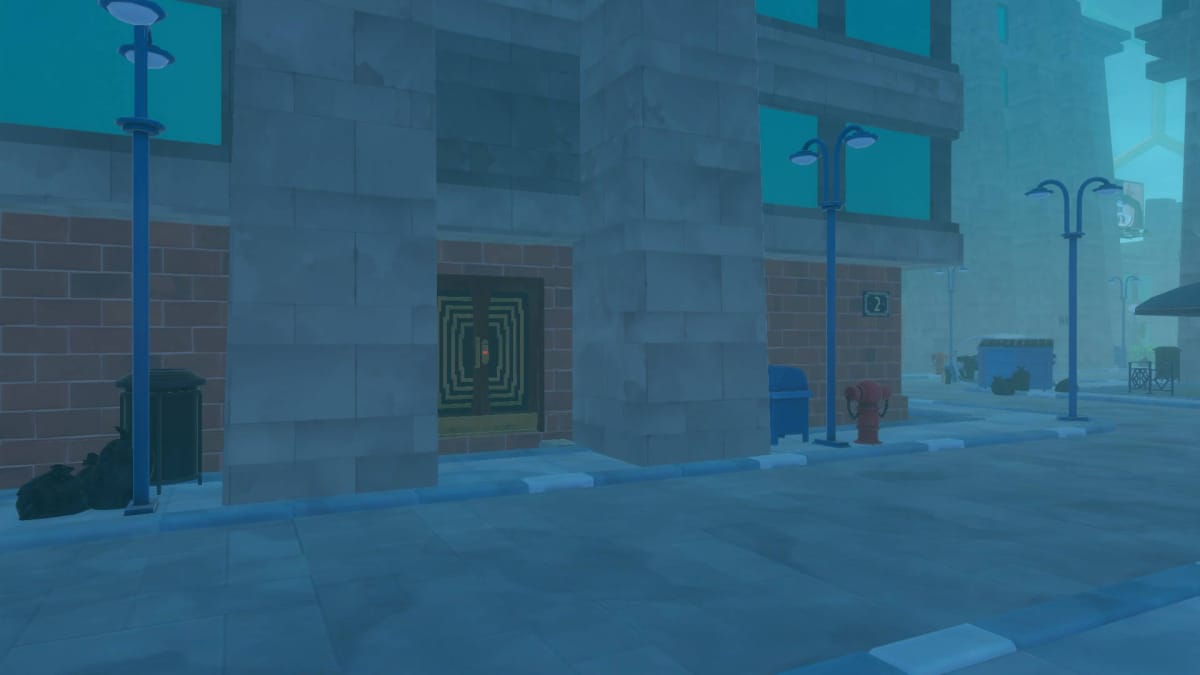
Open the door with a Tangaroa Keycard and head inside. We can go to Floor 6 or Floor 8 -- let's start with Floor 6 for now.
Floor 6 has two apartments on either side. Go into the apartment on the right and you'll have to fight yet another purple-tailed Lurker. This apartment has some junk in the Kitchen and a taped door -- destroy the Tape with your Machete and you'll find a Crate inside with some loot (and not much else). The balcony is empty, too, so go back out to the hall and enter the left-hand apartment.
The left-hand apartment has the usual junk in the kitchen cabinets and drawers. It also has a piece of Tape on the balcony and another piece of Tape in the bathroom. Return to the elevator and go to Floor 8.
We'll continue with our usual pattern on Floor 8 -- enter the right-hand apartment. First, you can get a Crate and a Vending Machine Token out on the balcony -- this was the Crate you saw from 1 Memory Lane. The railing is broken here, so be careful not to fall off the ledge.
You can find a piece of Tape in the kitchen. The door behind the kitchen leads to a bedroom where you can find another Vending Machine Token sitting on a yellow chair. Check the kitchen drawers and cabinets for loot, then across the hall to the left-hand apartment.
The left-hand apartment has nothing of interest outside of the junk in the kitchen cabinet. The balcony, however, has an opportunity to use the Zipline Tool.
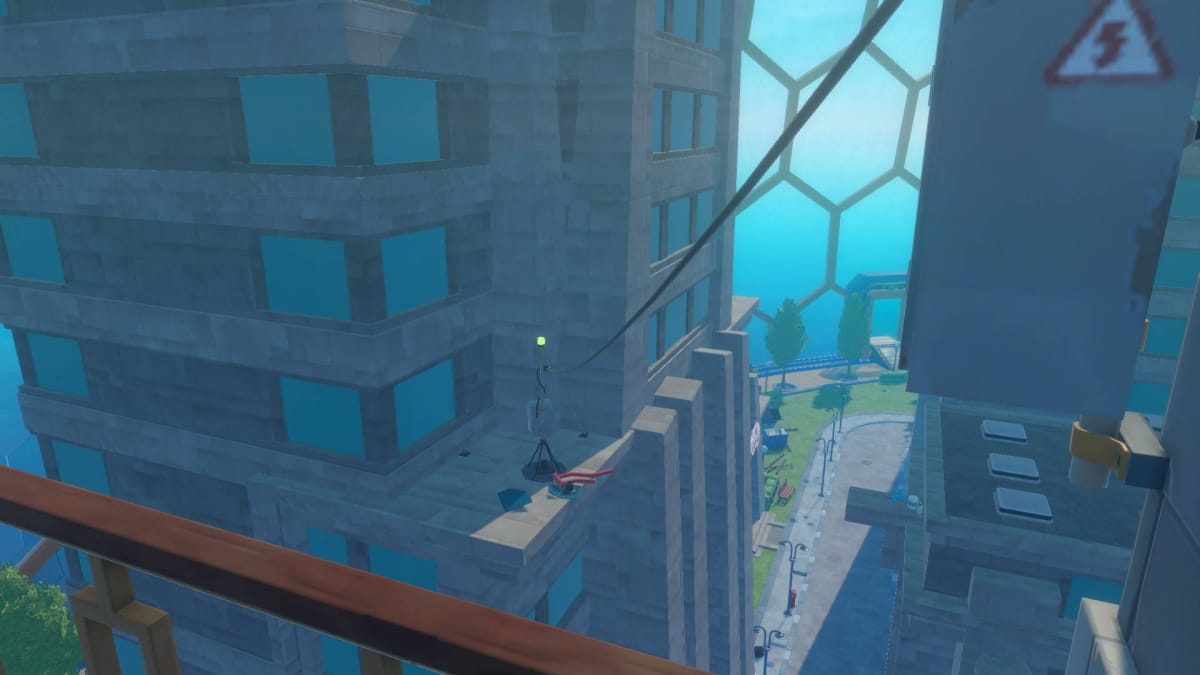
Ride the Zipline down to a power box where you'll see some Scrap that you can collect.
Look to the side and you'll see a couple of ledges sticking out from the building.
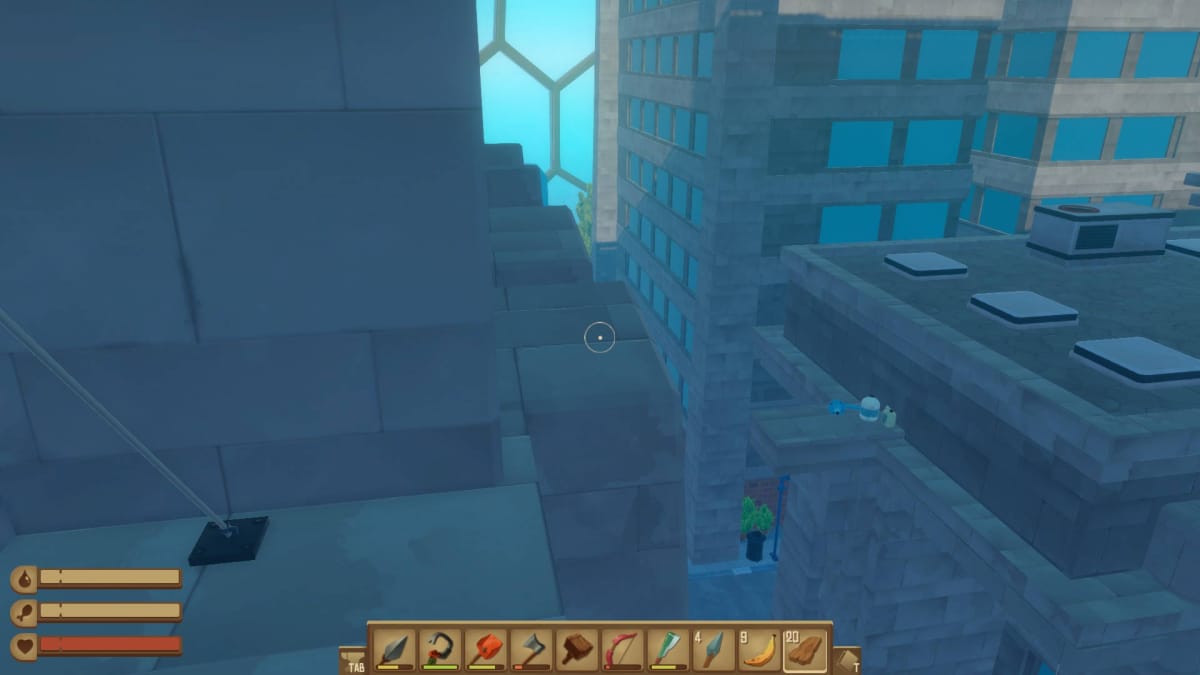
Jump down onto this ledge. Then, work your way up to the roof above. You'll find a piece of Scrap and a piece of Tape on one of the roofs. Go up one more roof and you'll see a billboard -- you can find a Crate with more loot inside.
Hop back down to the lower level of the roof and look around for a blue awning. You can safely drop down onto it and then back to street level. That's the end of 2 Exterio Lane -- now it's time to move onward to 3 Rotary Rd.
3 Rotary Rd.
3 Rotary Rd. is found on the opposite side of the golden statue. The entrance has been hastily barricaded with dumpsters and tires. Run through this tunnel and you'll find the 3 Rotary Rd. entrance in another tunnel to the left.
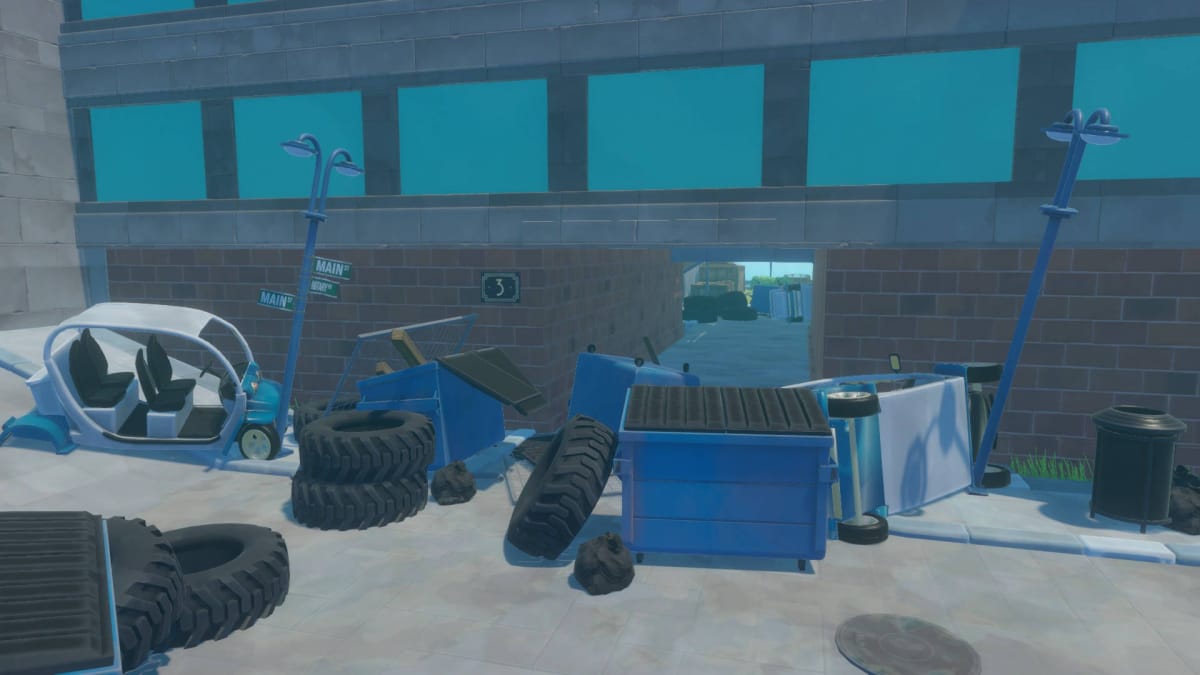
Open the door and grab some Plastic in the lobby. Then, go into the elevator and go up to the 8th floor.
This time, there's only one apartment straight ahead. Walk into the apartment, turn left, and then turn right. You'll see a door with tape on the left and another door on the right. Go into the door on the right and you can get a Vending Machine Token on the sink counter and a piece of Tape on the shelf with the towels.
Next, use your Machete to open up the taped-off door. You'll find a Crate on the floor with loot and a piece of Tape in the bookshelf behind you.
Head back towards the entrance and open the final door. This leads into a kitchen; you can get the usual loot in the drawers and cabinets. Open the other door in the kitchen and you'll enter a living room. There's nothing in the living room, so keep going and open up the last door to the balcony.
You'll find some Plastic on the right side of the balcony. Go to the left and you can climb up some boxes to the roof. Go around the side and you'll find another set of boxes taking you even higher; you can find some Scrap up here.
You'll also see a roof across a gap with some Scrap and a Zipline:
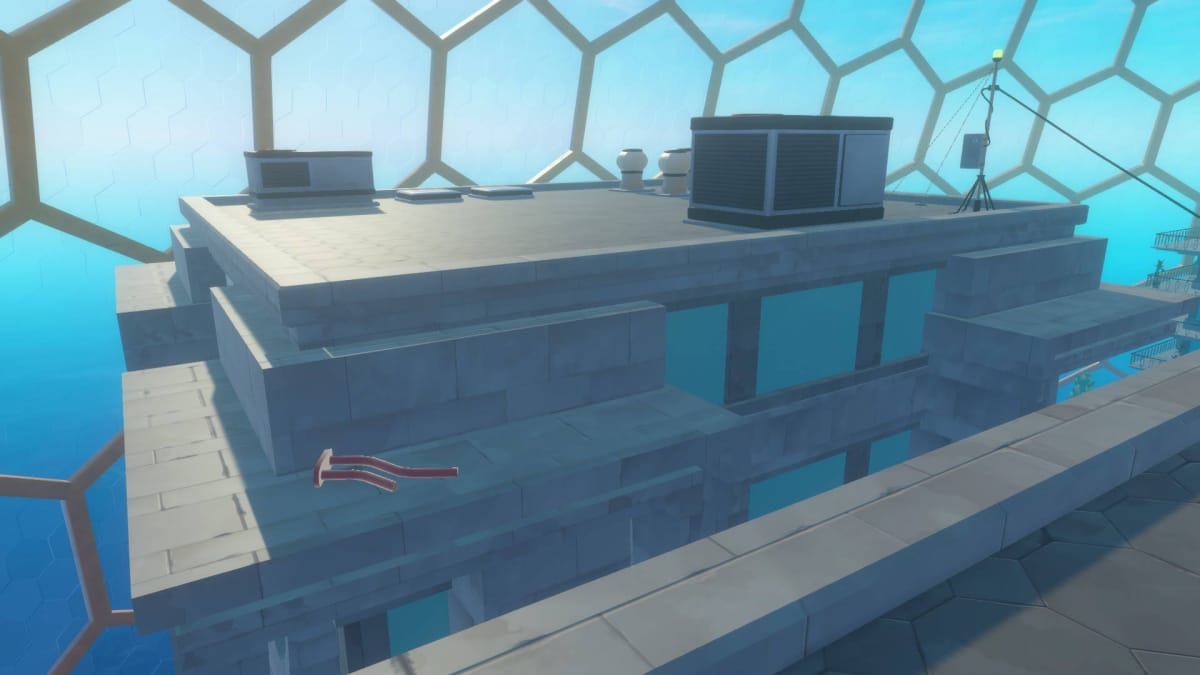
Make a running jump onto this roof. There's a Crate on a ledge on the opposite side of the roof.
Then, it's time to ride the Zipline -- and make a leap of faith.
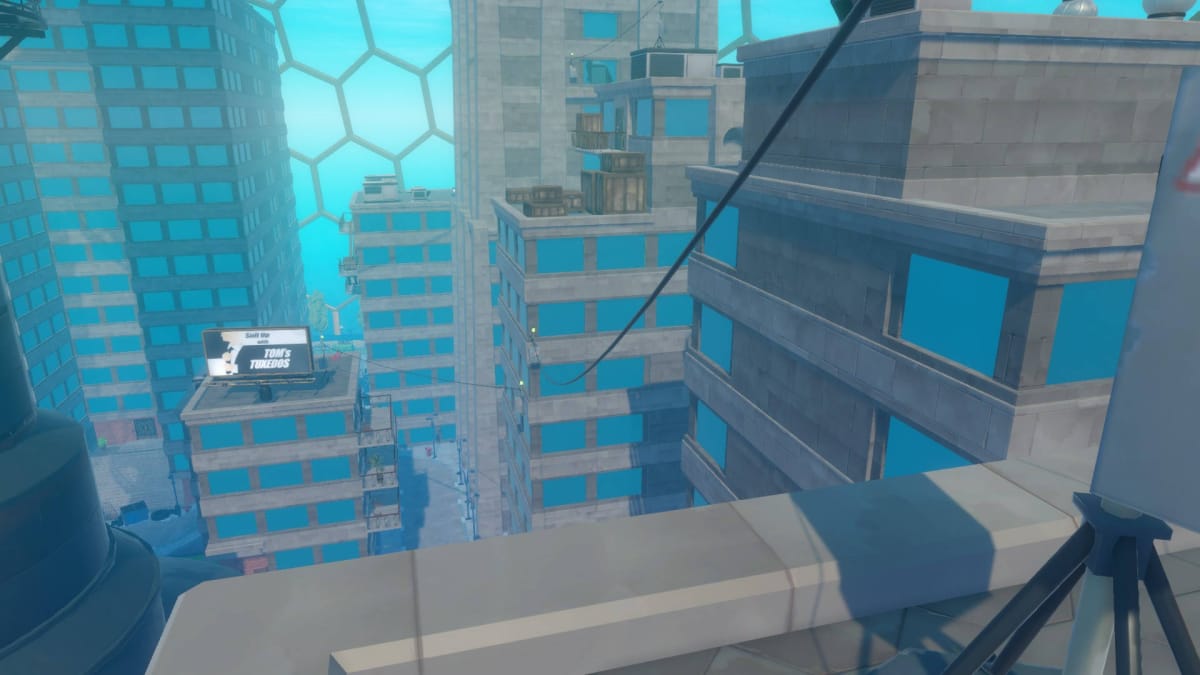
You're going to have to ride the Zipline to the corner of the building on the right. Then, you'll jump onto the other Zipline on the left and land on the roof with the Tom's Tuxedos billboard. You'll find a Crate and some Scrap on the roof there. You can drop down to lower roofs and balconies and collect more loot on your way back to street level. It's time to move on to 5 Tranquil St.
5 Tranquil St.
As with most of the buildings so far, 5 Tranquil St. only goes up to the 8th floor. Open the door, hop into the elevator, and go up.
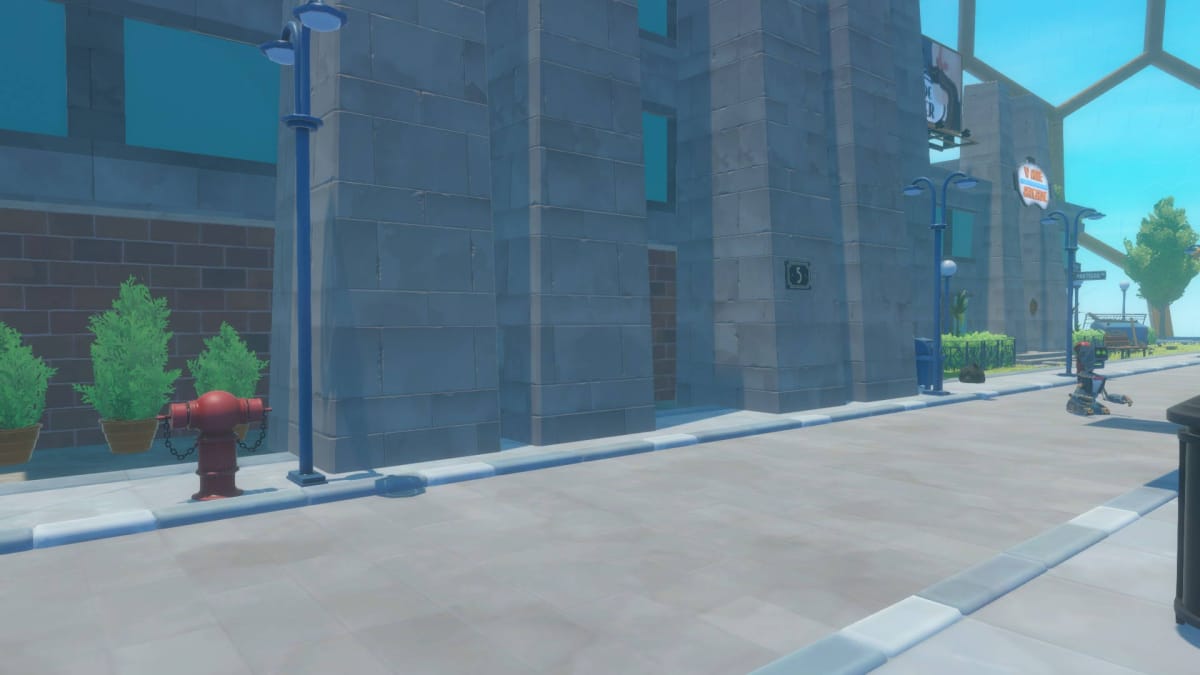
This time, we'll enter the apartment on the left first. This only has one room. You can find a piece of Tape on the bed, a Vending Machine Token on top of the refrigerator, and the usual loot in the kitchen.
Go across the hall to the right-hand apartment. Open the taped-up door to the right and you can get a Vending Machine Token on the bathroom sink and a Crate on the floor.
Turn right when exiting the bathroom and you'll enter the main area of the apartment. To your left, you'll find a piece of Tape next to the bed. To your right is a kitchen and a door to the balcony. After looting the kitchen, head out onto the balcony and you can find a Vending Machine Token on a bench.
That's it for 5 Tranquil St. Head back down the elevator. Next up is 2 Rotary Rd.
2 Rotary Rd.
Just down the block is 2 Rotary Rd.
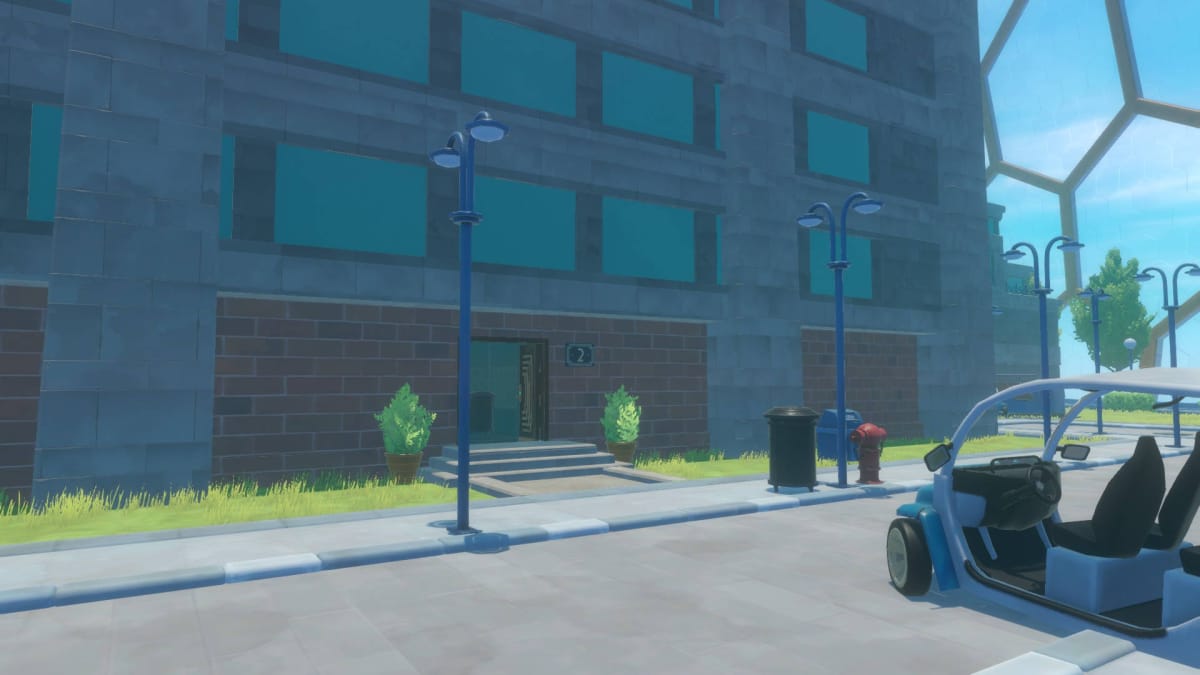
The elevator for this building goes up to the 4th floor only and has two apartments -- one on the left and one on the right.
Enter the right-hand apartment first. Make a right into the kitchen and loot it. To your right is a taped-up door. There's a piece of Tape on the bookshelf behind next to it. Grab the tape and then cut open the taped-up door with your Machete. This room will have a Crate on top of an armoire.
There's a bathroom in this apartment, too, but there's nothing in it. Head back out into the hall and enter the left-hand apartment. There's nothing of value in any of the rooms here except for the usual junk in the kitchen, so grab it and then exit the building.
8 Main St.
Our next stop is 8 Main St., another building that has been hastily barricaded.
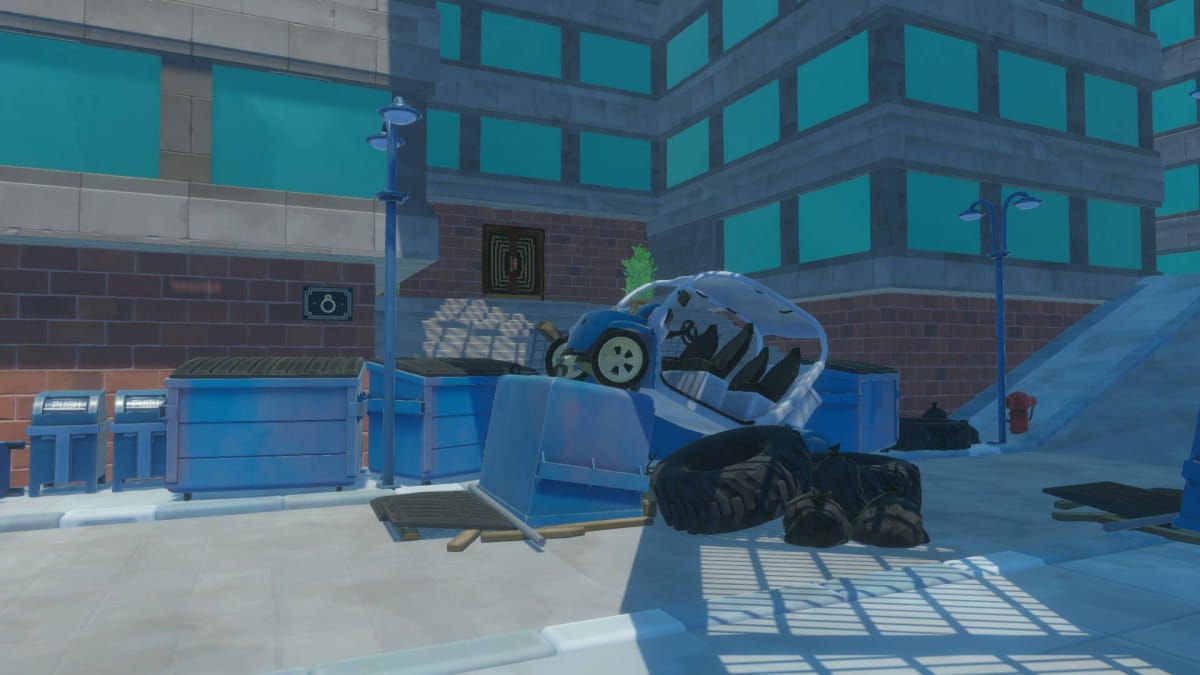
Maneuver around the debris, open the front door with a Tangaroa Keycard, and take the elevator up to floor 12 first.
While it looks like there are two apartments, this entire floor is actually an office -- both doors lead into the building. Open the right-hand door and you'll find a purple-tailed Lurker in the cubicles to kill.
This floor is massive, but it's pretty light on Tokens and Tape. You can, however, loot the drawers of the cubicles and the office kitchen for standard junk.
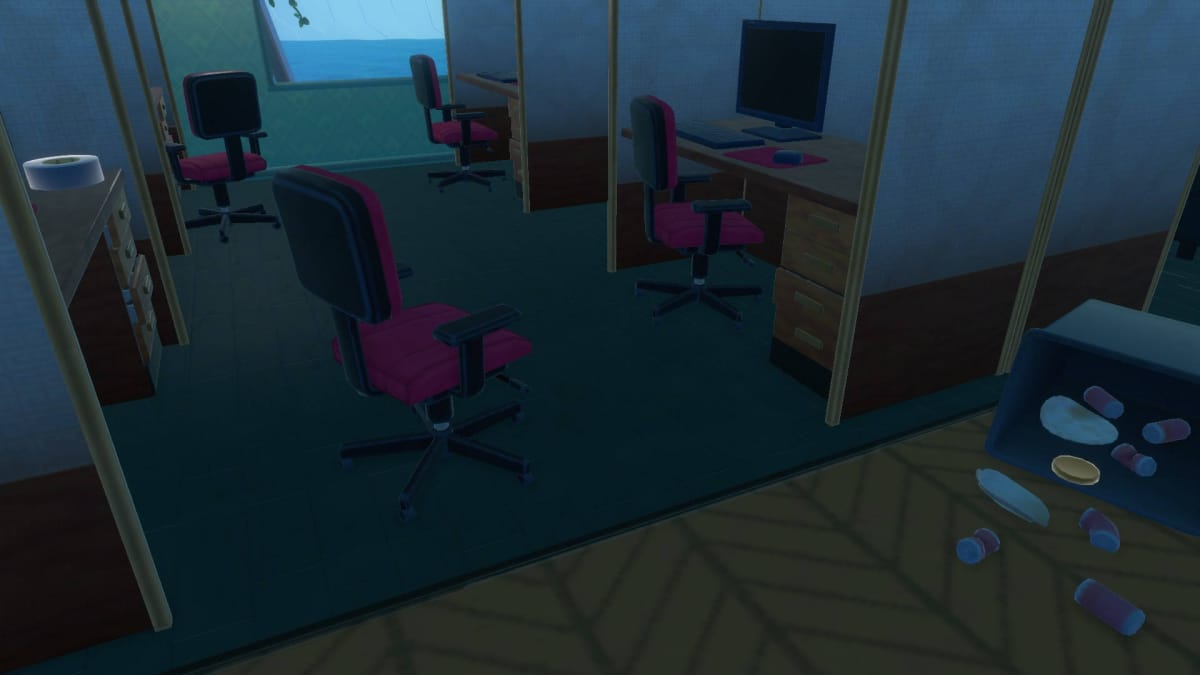
You can find one piece of Tape and one Vending Machine Token in the cubicles towards the back. You can find another Vending Machine Token in a side office with a taped-up door. The taped-up door leads to a conference room with two Crates, one of which includes food.
Return to the elevator and head up to the 14th floor. The 14th floor is another large office, so either door goes into it. You'll find a purple-tailed Lurker to fight in here as well.
This, too, has a lot of cubicles you can loot and not too much in the way of Vending Machine Tokens and Tape. Here's what you can find and where:
- 1 Vending Machine Token by the coffee machine
- 2 pieces of Tape in the conference room
- 1 piece of Tape in another conference room
- 1 piece of Tape on an office chair
Once you've looted this area to your satisfaction, go to the elevator and return to street level. There's only one more building to go before we can move on.
9 Main St.
Our final stop in the Tangaroa city tour is 9 Main St. Open the door with a Tangaroa Keycard and go up to the 11th floor.
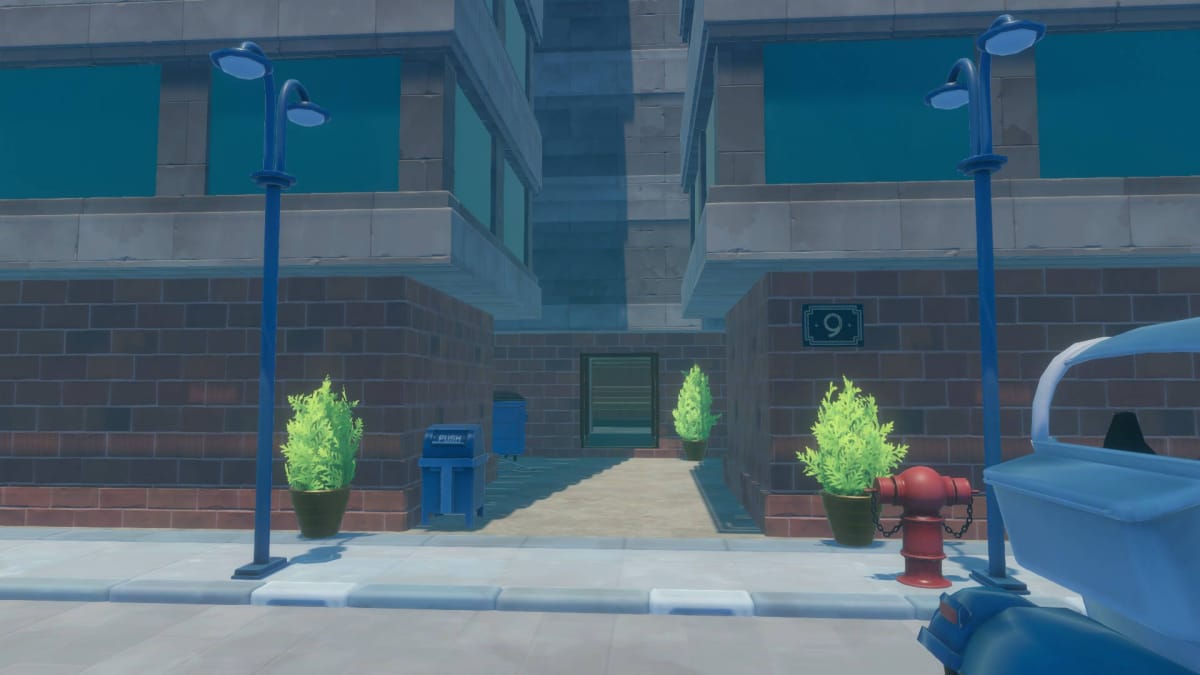
We're finally back to apartments. Go into the left-hand apartment and you'll find a Vending Machine Token on the kitchen counter. There's nothing else of value in this apartment except for the usual stuff in the kitchen, so grab that and go across the hall to the right-hand apartment.
After you enter the right-hand apartment, you'll see a piece of tape in a white bowl to the right. Turn to the left and open a door into a living room with a taped door to the back right.
Cut open the taped door and you'll find a food Crate and a Vending Machine Token on the bathroom sink. Grab the kitchen cabinet loot on your way out, then take the elevator up to the 13th floor.
Enter the apartment on the left. You'll find a Vending Machine Token in the bathtub and a piece of Tape on top of the refrigerator. Open up the taped door with your Machete and you'll find a Crate with loot. Clear out the kitchen and head down to the street.
Back Underground
By now, you'll have plenty of Tape to fix the problems underground. It's time to return to the staircase opposite the golden statue.
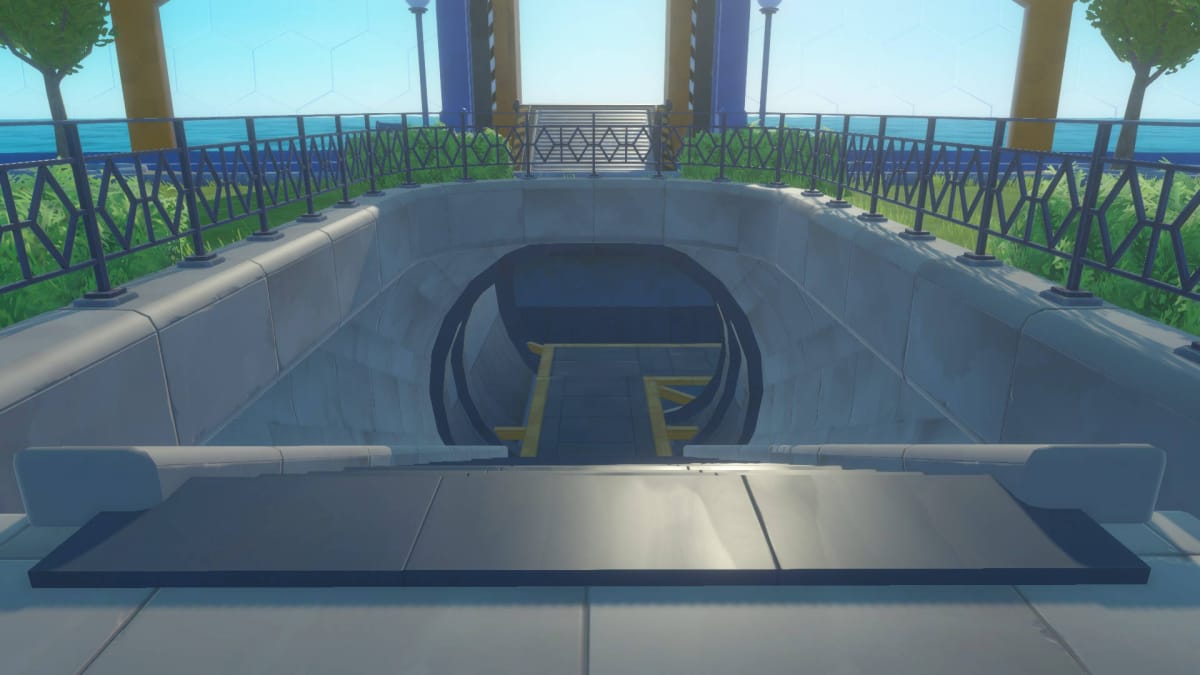
Go down and walk up to the Plantation Door, then hop in and land on the crop planters.
First, we're going to make our way to the electrical box to the right. Repair it with 3 pieces of Tape.
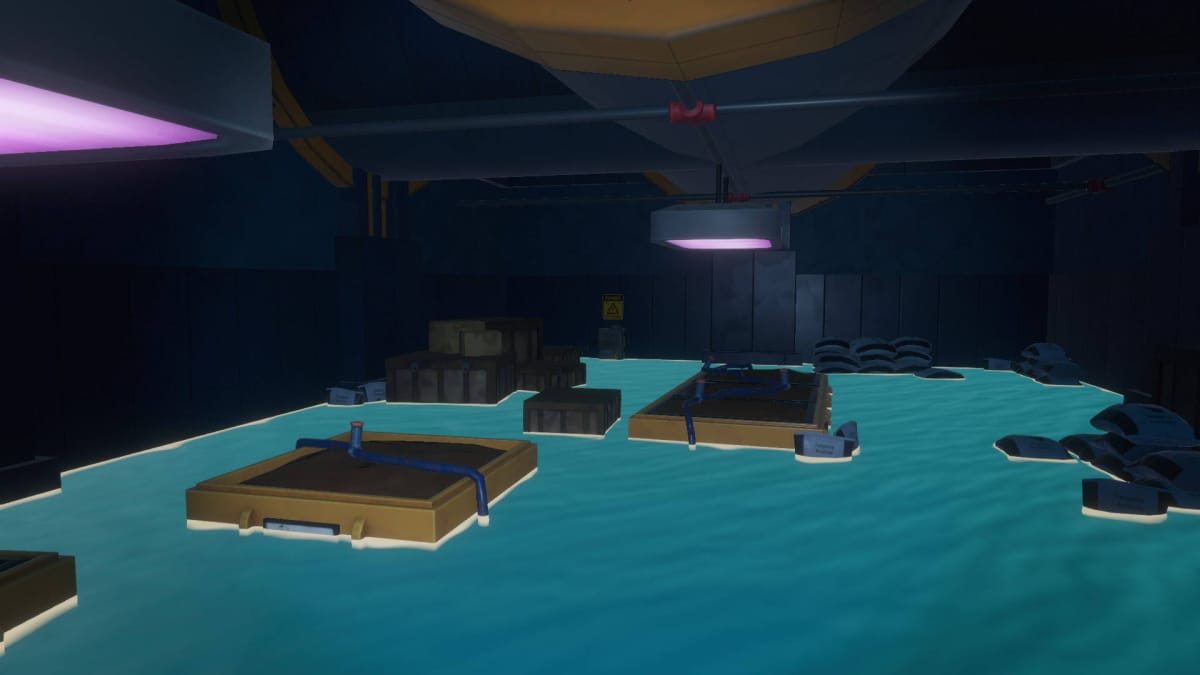
Next, go back to where you came into the room. Look around for a sign that points toward the Elevator, Loading Bay, and Surface Area. We're going to follow the sign towards the Loading Bay by going to the right.
The next room has a locked door straight ahead labeled "Elevator" and an unlabeled locked door to the left.
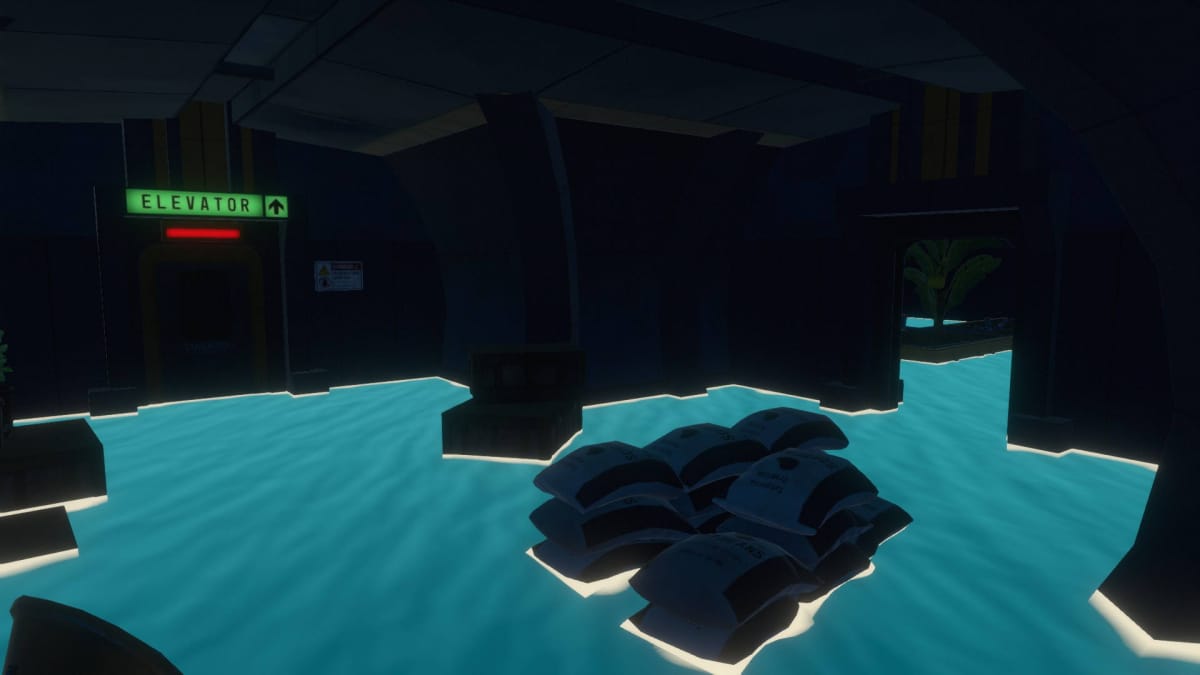
The door to the right is open, so head that way while doing your best to stay out of the electrified water.
In this next room, you'll see an electrical box at the back of the room along with various pieces of junk:
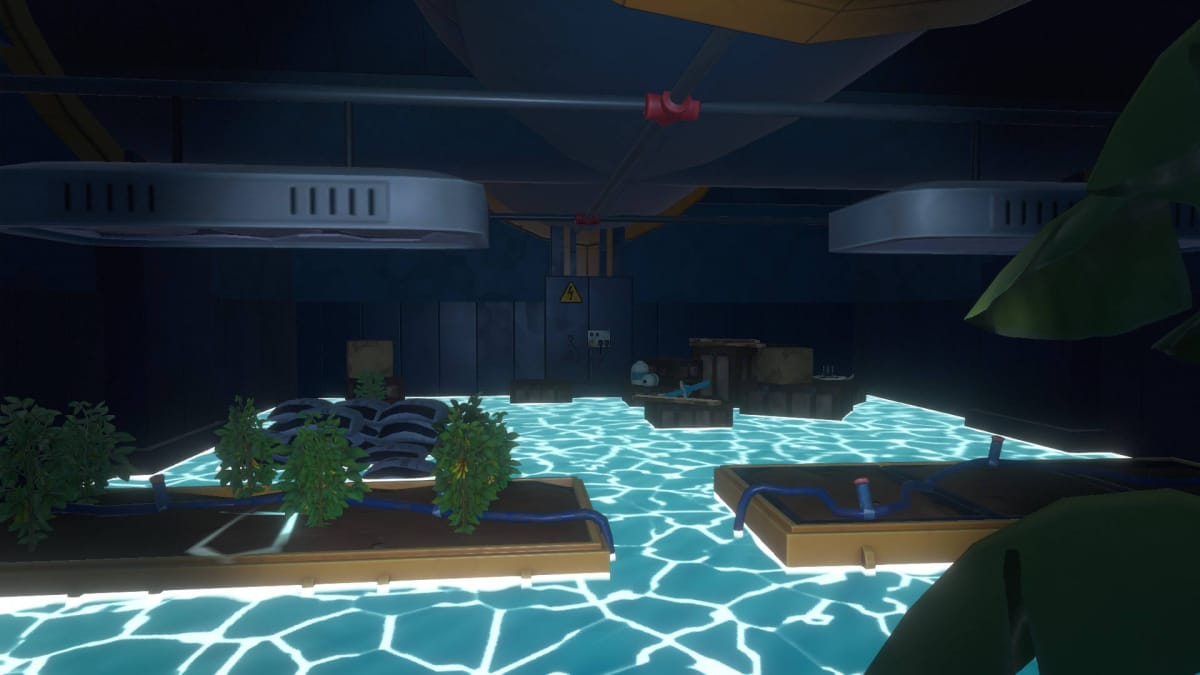
Repair that box and the door to the left of the elevator will now be open. Go through the door.
You'll see another electrical box on the right-hand wall:
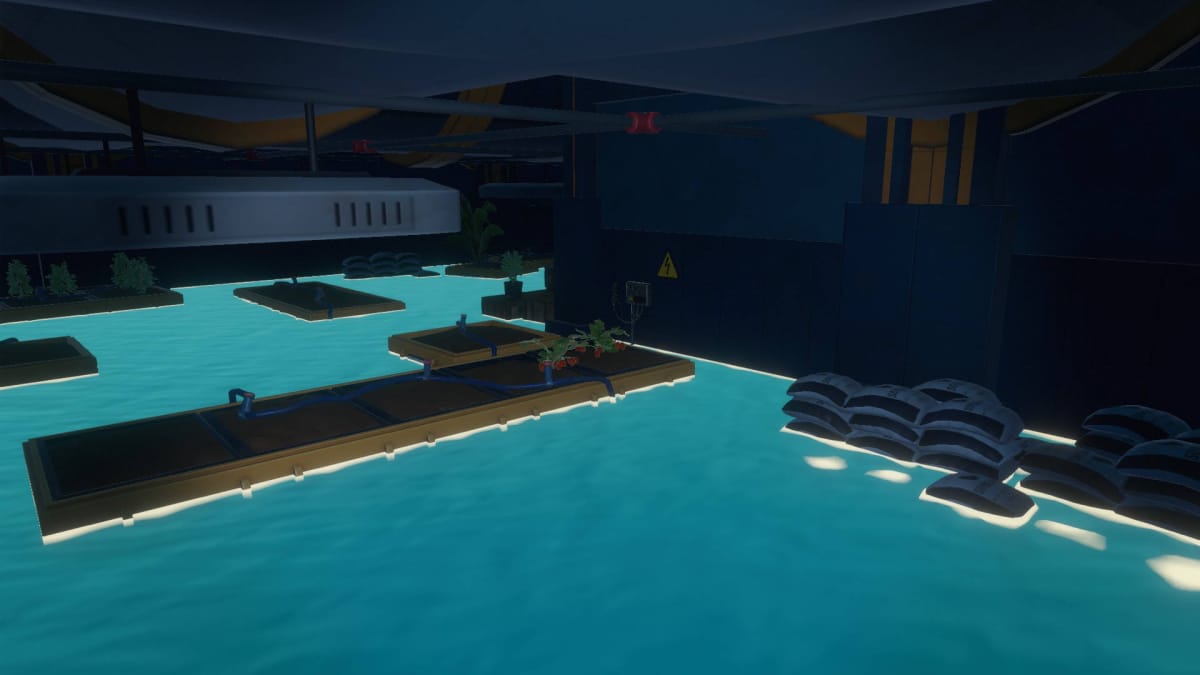
Repair this box and the electricity will no longer be a threat.
Open the door and you can head towards the elevator. You'll see the Blueprint for the Electric Purifier on your way out:
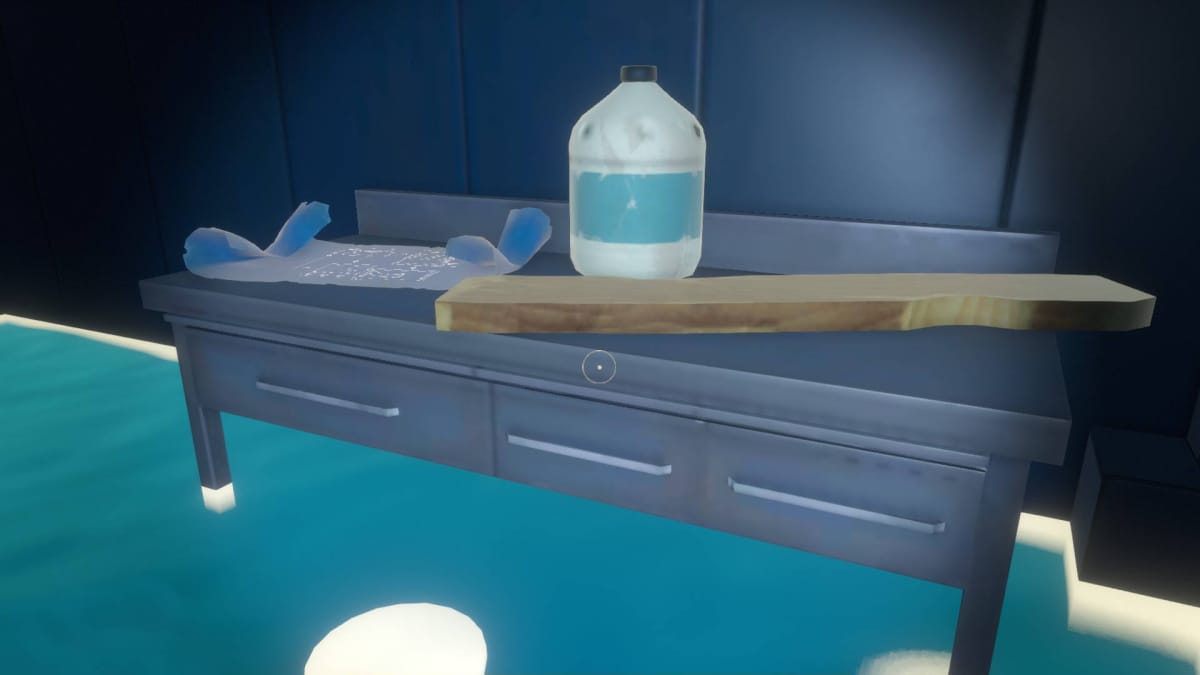
Follow the path to the elevator and push the button to call it. This is the elevator for 6 Rotary Rd. -- but we're not going there just yet.
The Secret Basement
Look at the top-left of the elevator and you'll notice an odd circle that isn't on other elevators. This is a button that you can push:
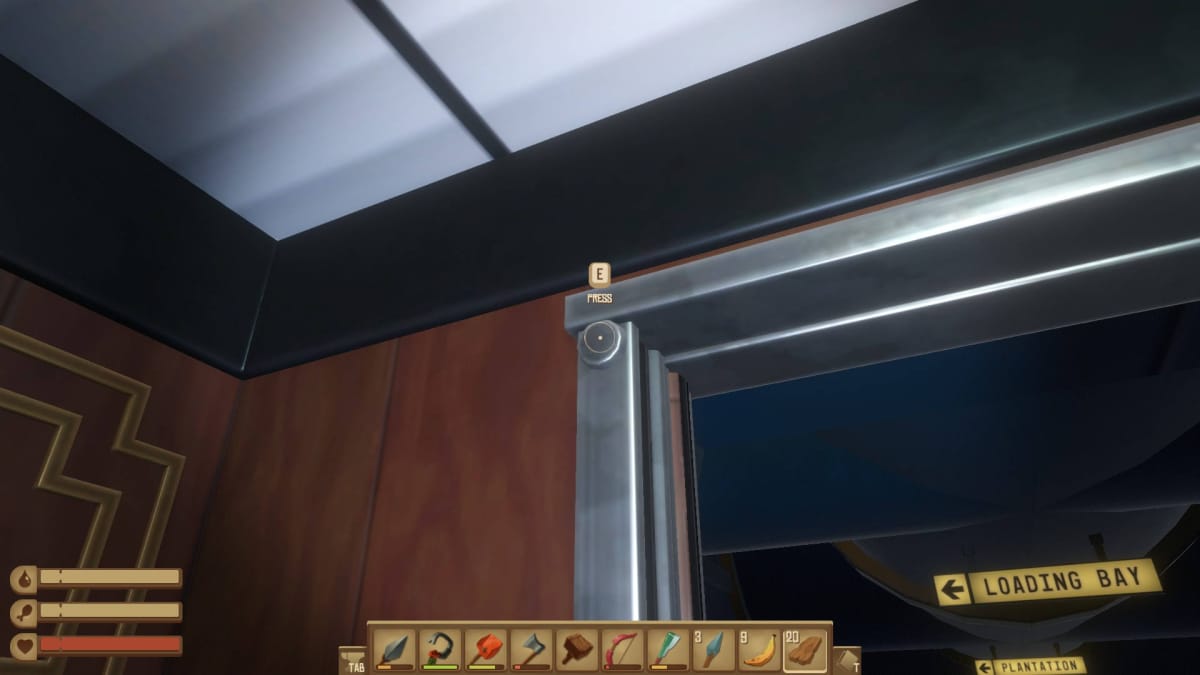
Press the button and you'll be taken deep within the city to a secret area. This area has 3 Crates full of loot and the Elevator Cassette, a tape that lets you play elevator music in a Radio if you have one.
Head back up to the elevator -- we're going up to the 8th floor of 6 Rotary Rd.
6 Rotary Rd.
Since you're entering 6 Rotary Rd. from the bottom, you don't have to worry about having a Tangaroa Keycard. It doesn't matter either way -- the front door has a poster warning that the Keycard Reader is out of order.
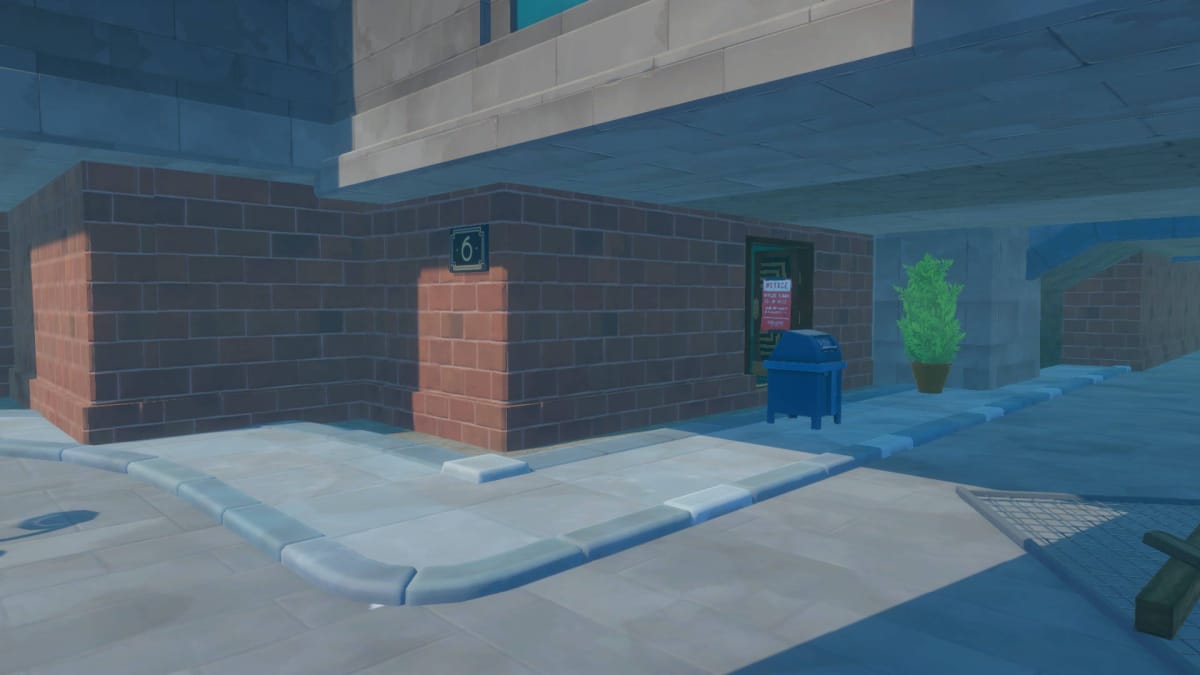
Go up to the 8th floor. The people in this apartment were apparently having a birthday party when all of the bad stuff happened in Tangaroa. Unfortunately, an invited guest is in the apartment -- you'll have to kill another purple-tailed Lurker.
Kill the Lurker and then head past the pool table to the dining table. You'll find an open present with 3 Vending Machine Tokens inside.
Head back towards the door. Stop at the kitchen on your right to loot it, then continue back toward the entrance. Take a left and you'll exit onto a balcony. Go out onto the balcony and turn right and you'll see a bar. There are 2 Vending Machine Tokens on the Bar and one on the refrigerator behind the bar.
There are stairs behind the bar that lead up to another apartment. Take these stairs and go inside; you'll find your way to a broken window. Step out the window and you can climb some crates to get onto the roof, which had a Zipline leading to another building:
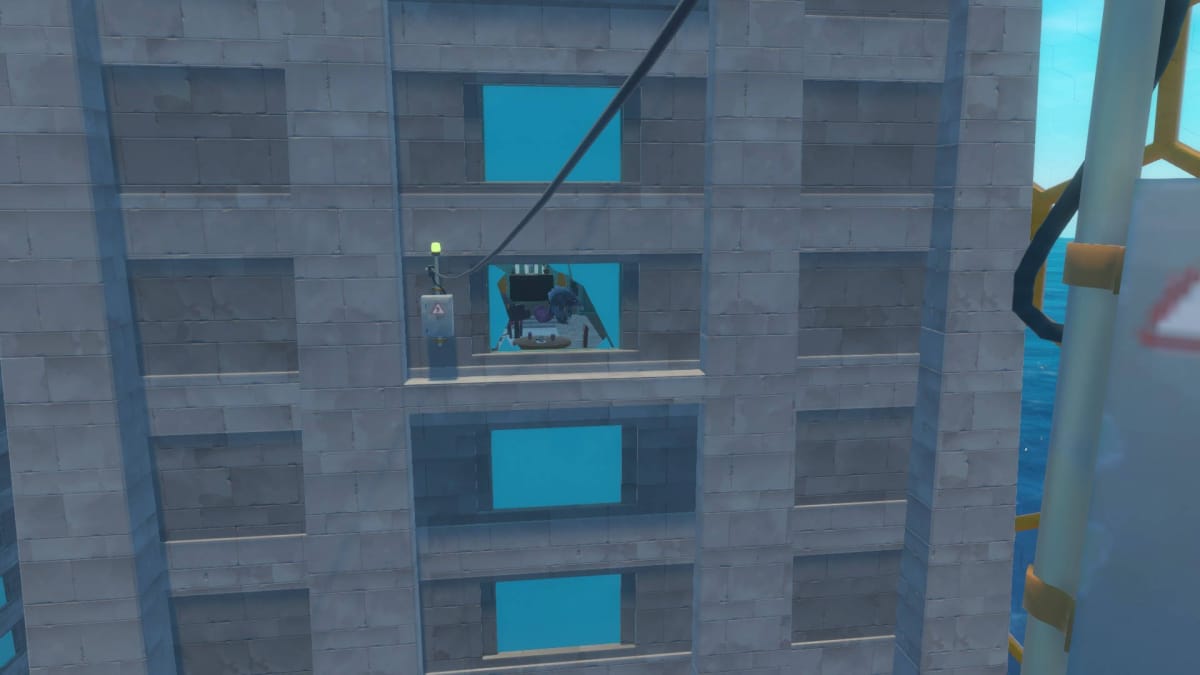
This next building has a Lurker in it, so take a potshot at it with your Basic Bow if you can. Then, ride the Zipline across and go into the broken window.
This space appears to have been some kind of private lounge with a piano on the bottom floor. Look around for a staircase and work your way upstairs floor by floor, where you'll find:
A Vending Machine Token on a table on the 2nd floor and a Vending Machine Token on a table and a nearby Crate on the third floor. The 4th floor doesn't have loot, but it does have a Zipline that will take you to your next destination: The Blue Tower.
The Blue Tower
The Blue Tower in the middle of Tangaroa is your final destination. We're almost done with this part of the Raft Walkthrough and Story Guide!
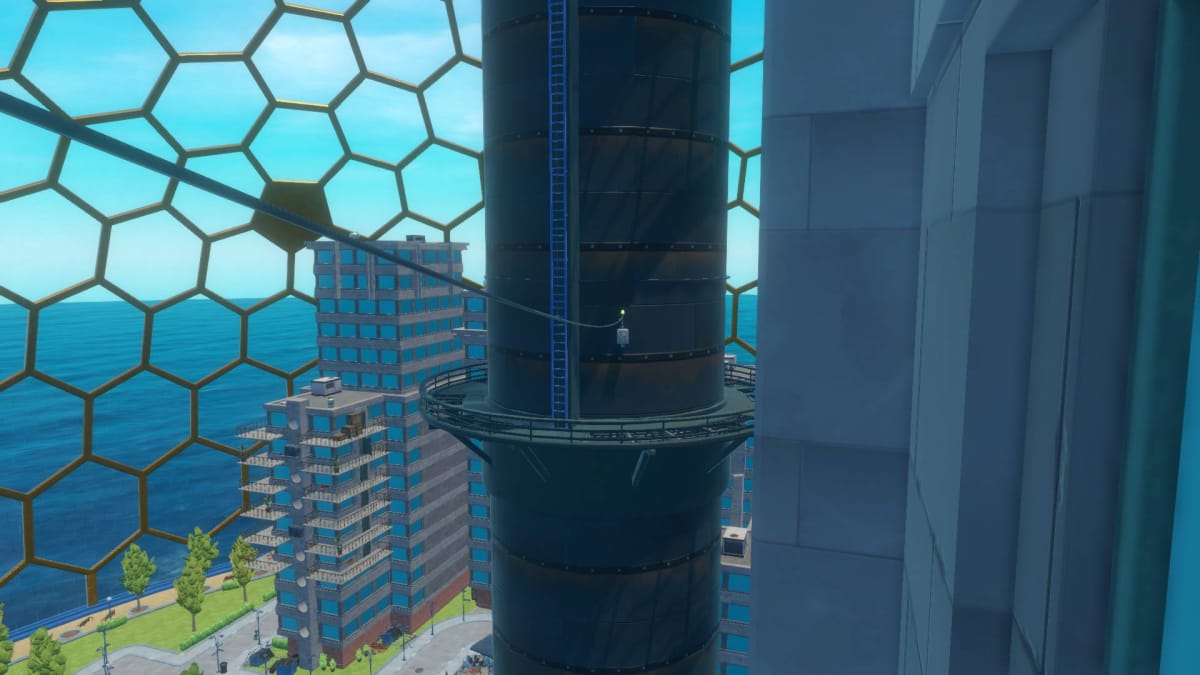
Take the zipline down to the middle deck of the Blue Tower. There's no loot here; find a ladder and climb up it. You'll find a room with an elevator and some loot.
Grab the loot and then call the elevator -- we're going up to floor 2. Floor 2 has some loot and two items of import: the Blueprint for Large Storage and a note.
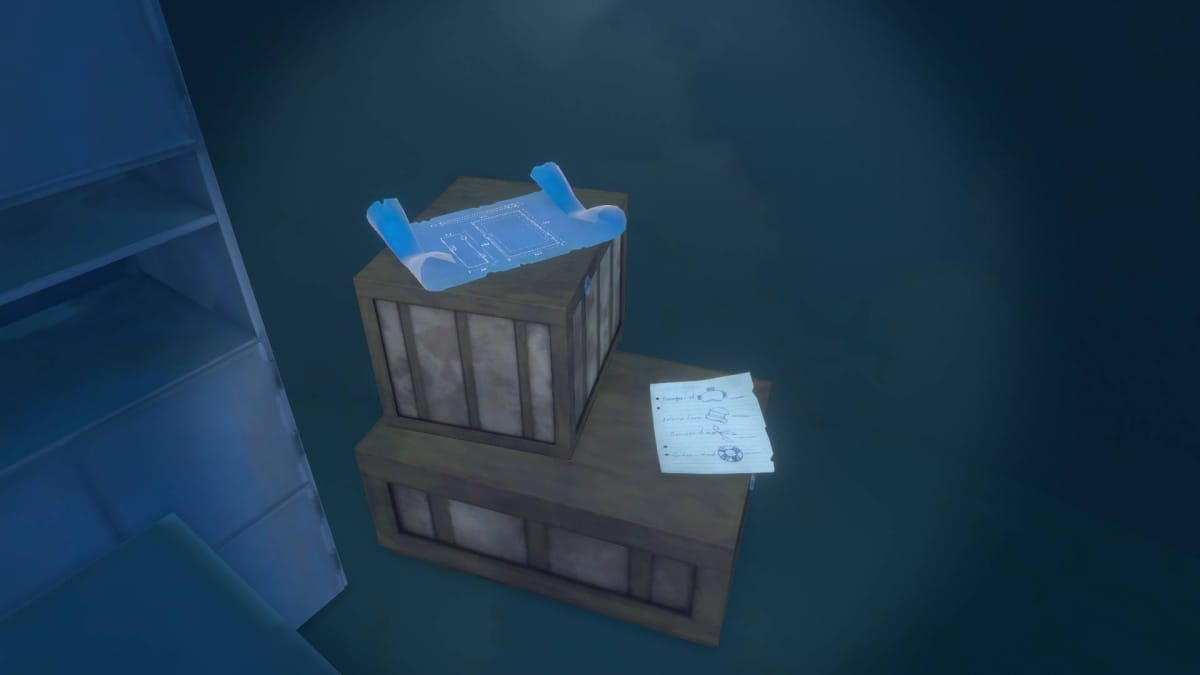
Grab the note and take a look at it. This note shows drawings representing four shops found in the main city. Each shop represents a number of the code.
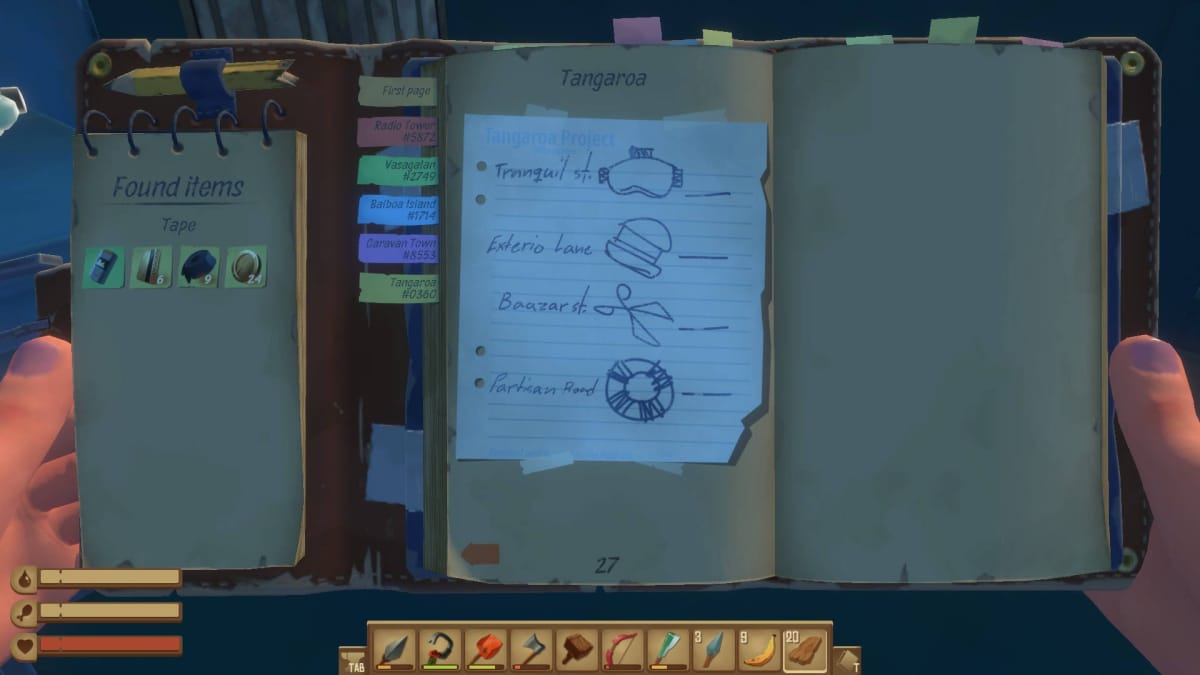
Take the elevator down to floor 0. You'll find a Note cassette talking about ongoing riots and some loot. Open the doors and you'll be at the street level right in front of the Tangaroa Vending Service machines.
You can go to the four businesses listed on the note to find the code:
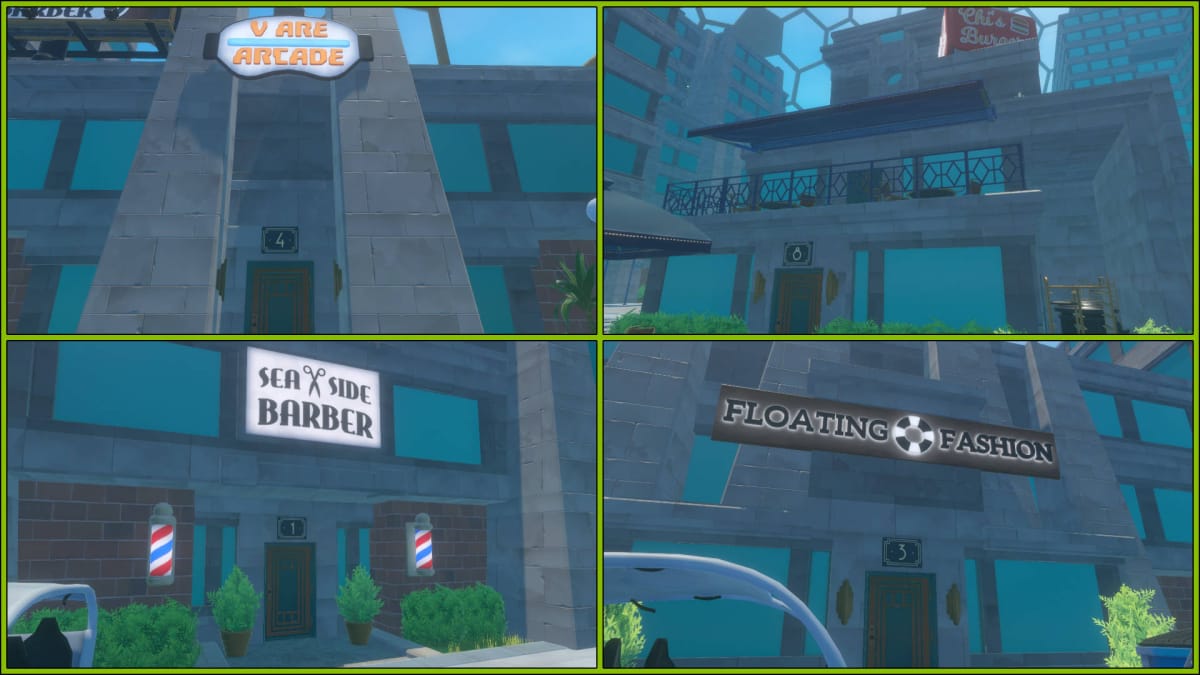
Input the code and you'll find that the Emergency Bridge Launch is quite literal -- the entire Bridge pod rockets off of the tower and lands in the ocean nearby.
The Bridge
From here, you can opt to return to your Raft. Alternatively, you can slide down the side of the dome to get to the Bridge. Either way, make your way over there -- this is where you'll meet Elaine, the next unlockable character.
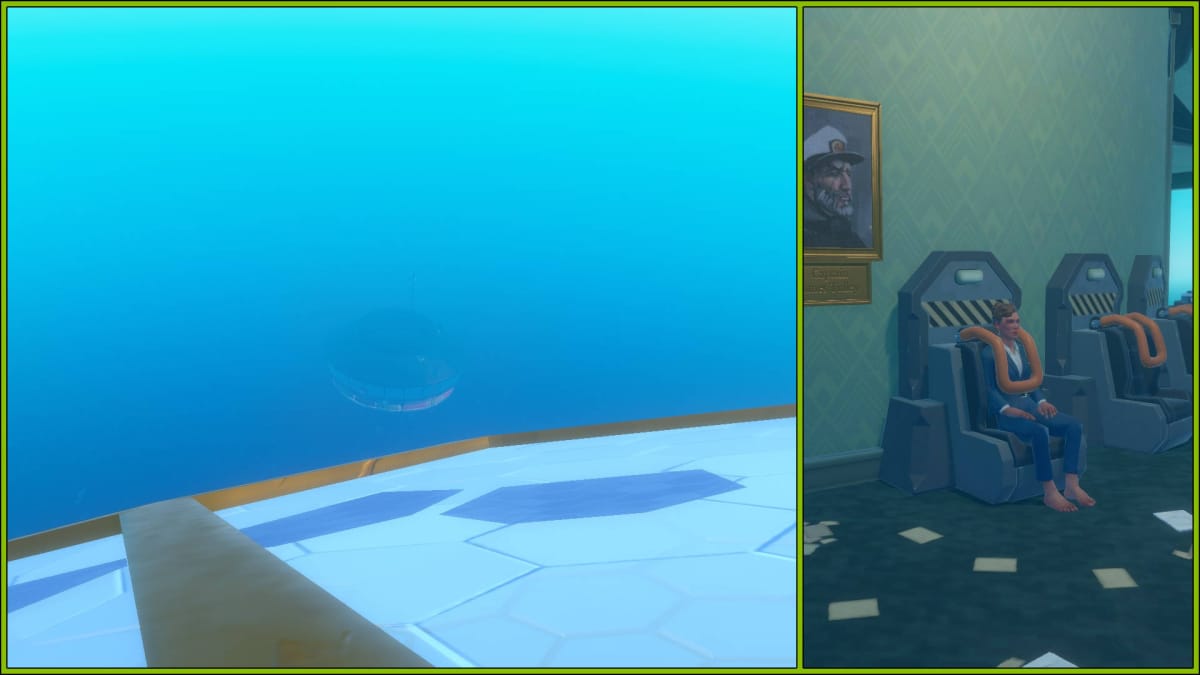
You'll notice that there's a Crate next to Elaine. Explore the area -- there's another Crate on the bridge elsewhere, giving you one more chance to get some easy loot.
The Bridge also has the final important pieces you're looking for: the Water Tank Blueprint, the code to Varuna Island, and the final Note from the captain.
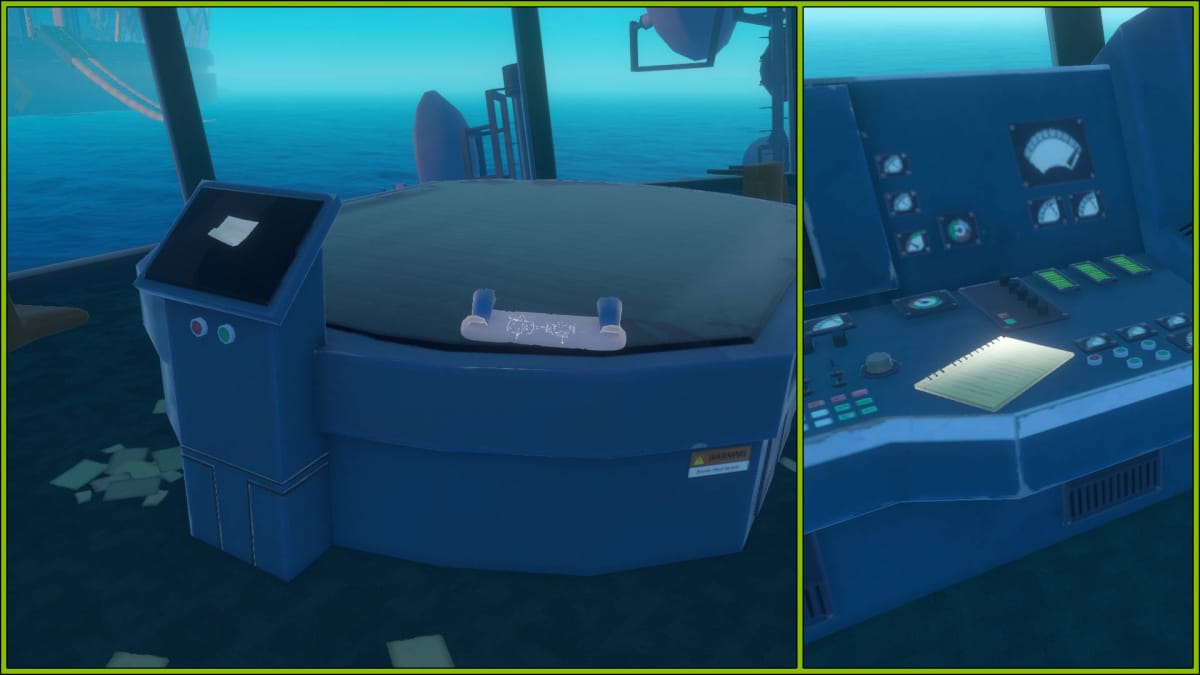
Return to your Raft.
Leaving Tangaroa
It's now time to leave Tangaroa, although you don't have to go just yet. You've built up a good stock of Vending Machine Coins, so why not spend some of those on items in the city?
You may also want to further explore the apartments. While the loot won't respawn anytime soon -- you'd have to get far away from Tangaroa and come back to reset it -- you may be able to kill more Lurkers for Raw Meat.
Whatever you decide, get ready to move on when you're done. Your next destination is Varuna Point.
< Previous: Raft Caravan Town Walkthrough | Raft Tangaroa Walkthrough | Next: Raft Varuna Point Walkthrough >
Have a tip, or want to point out something we missed? Leave a Comment or e-mail us at tips@techraptor.net
