Our Atomic Heart Scientific Testing Ground 10 Guide will tell you how to get access to this location and solve the puzzles inside.
Quicklinks: Scientific Testing Ground 10 Location | How to Open Scientific Testing Ground 10
Bronze Challenge | Silver Challenge | Gold Challenge | Loot
Where is the Atomic Heart Scientific Testing Ground 10?
You can find the Atomic Heart Scientific Testing Ground 10 in the middle of some farms, roughly in the middle of the open world map. As is typical, you'll have to find a Volan in the area nearby in order to open it up.

How to Open Scientific Testing Ground 10 in Atomic Heart
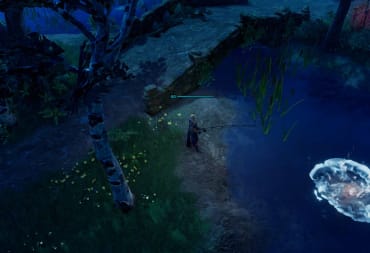
You can open up Scientific Testing Ground 10 in Atomic Heart by making your way to the rear of this building:

Climb up the ladder. You'll find a Volan inside the small second floor.
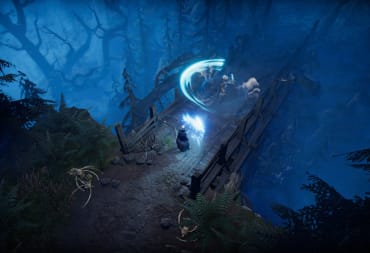
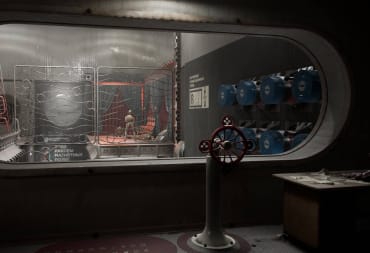
Once you get into the Volan, you'll have to interact with one of the cameras and target the nearby pig pen. An elevator will appear, just like the one you saw at the beginning of the game. This elevator will take you down to Scientific Testing Ground 10.
Atomic Heart Scientific Testing Ground 10 Bronze Challenge
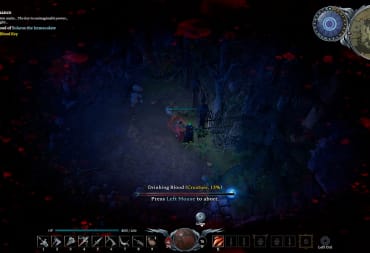
Your first challenge starts off in a similar fashion to Scientific Testing Ground 9 -- you'll have to use Polymer fluid to electrify a switch. Unfortunately, the second puzzle in the Bronze Challenge is broken, so you'll need to have some specific Skills. You'll need the Polymeric Jet Skill so you can properly energize the pillar.
Go back to the Breakroom and make sure that you have the following Skills:
- Character / Morning Exercise
- Character / Second Wind
- Polymeric Jet / Polymeric Jet
Once you're all set up, make your way back to the switch outside of the locked door. Leave a trail of Polymer on the ground, electrify it with Shok, and make your way through the door.

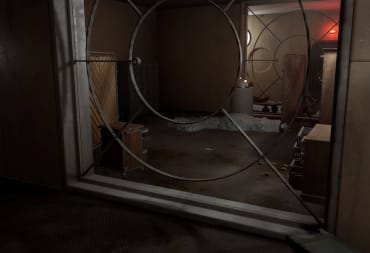
In the next room, you'll see a Candle above the doorway, a receptacle in the ceiling, and some magnets in the ceiling. Grab the Candle from the doorway and throw it with Telekinesis into the ceiling, then activate the magnets. A second Candle is supposed to drop down the chute, but an invisible wall makes it unreachable.
The inability to get the second Candle is likely a bug. Fortunately, the Skills that you picked up earlier will let you get by. Push the button, then dash twice toward the door and you'll be able to just barely make it through.
The next room is a slightly more complex puzzle. There is one Candle available. First, you'll have to grab it and toss it into the receptacle on the left side of the ceiling.

Once the platform with the second Candle has raised up, retrieve the Candle from the ceiling with Telekinesis. Then, put the Candle in the receptacle on the right side of the room. Hit the magnets on the right side of the room with Shok and make it across the gap with the lowered platform.
You'll see another magnetic platform on the opposite side of the room. Stand on it and use Shok again to raise yourself up the catwalk. Grab the chest up there, then move closer to the other Candle and retrieve it with Telekinesis.
Carry the Candle back to the platform where you jumped over. Use Telekinesis to throw it on the other side of the gap. Then, use Shok to lower the platform and jump across.
Put both Candles in the receptacles above the door. Push the button and you'll be able to go through the door. Straight ahead, you'll find a Bronze Comrade Lootyakin with the Kalash - Extended Magazine Upgrade.
There's one more puzzle to solve. You'll see a room with two pillars on either side. The idea is that you'd have to energize both of them, but you really don't have to -- instead, leave a trail of Polymer from the left pillar out into the hallway. Stand in the right-hand room, hit the Polymer with Shok, and then move over the metal cage and through the second door.
You'll find a Breakroom up ahead. Make sure to save your game -- as always, the next challenge is going to be a fight.
Atomic Heart Scientific Testing Ground 10 Silver Challenge
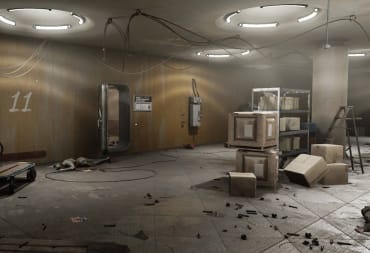
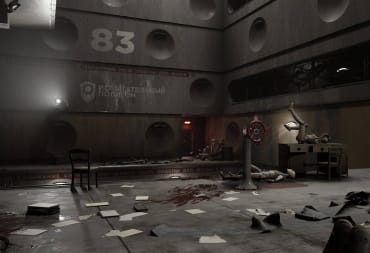
At first glance, the next challenge might seem like a climbing puzzle. That's not the case -- as usual, you'll have a fight ahead. The pods on the other side of the stacked containers have robots inside of them.
Jump up on the containers and then hop onto the upper deck. You'll face a mix of Doc robots and Lab Tech robots, along with one or two smaller robots. Strictly speaking, you don't need to fight them, but all of the enemies have ranged attacks and you won't be able to solve the climbing puzzles safely until they're dead.
After you've killed all of the robots, you're going to want to follow this path:

Jump up on the box, then slowly walk forward until you're standing on the light. You can dash jump onto the catwalk above.
Work your way around the upper catwalk and you'll reach some climbing points.

Dash jump to the climbing points, then move left through the gap in the fence. Drop through the hole on the floor on the other side. You'll find the MP - Collimator Upgrade in the Silver Comrade Lootyakin in a nearby room, along with a Breakroom.
Atomic Heart Scientific Testing Ground 10 Gold Challenge
The final challenge in Scientific Testing Ground 10 is a straightforward magnet platform puzzle. Use Shok on the ceiling once and you'll see your goal:

Work your way in a clockwise circle around the room, starting from the right. Pushing the button will open the door on the opposite side of the room. Head through the door and you'll find a Gold Comrade Lootyakin ahead with the Fat Boy - Trap Mine and Dominator - High-Intensity Modulators Upgrades.
Make sure to save your game in the nearby Breakroom. An MA-9 "Belyash" robot patrols the area outside of the elevator and you might get caught in a fight with it. Once you're outside, you're all done with Scientific Testing Ground 10.
Atomic Heart Scientific Testing Ground 10 Loot
- Kalash - Extended Magazine Upgrade (Bronze Comrade Lootyakin)
- MP - Collimator Upgrade (Silver Comrade Lootyakin)
- Fat Boy - Trap Mine Upgrade (Gold Comrade Lootyakin)
- Dominator - High-Intensity Modulators Upgrade (Gold Comrade Lootyakin)
- Various loot
We're all done with our Atomic Heart Scientific Testing Ground 10 Guide, but there's plenty more to explore -- check out our other guides below!
Have a tip, or want to point out something we missed? Leave a Comment or e-mail us at tips@techraptor.net
One of my earliest memories is playing Super Mario Bros. on the Nintendo Entertainment System. I've had a controller in my hand since I was 4 and I… More about Robert N