The land, sea, and skies of Hyrule are filled to the brim with things to do and if you've managed to make it all the way to the far North-East of the map you'll have discovered Lomei Labyrinth. This labyrinth with its high unclimbable walls is a test for players to survive the many confusing halls to make your way to the central chamber. Players will encounter all kinds of danger within the Labyrinth but in this Tears of the Kingdom Lomei Labyrinth guide we'll teach you how to avoid all of those dangers and make your way to where you need to be. Depending on your confidence we'll offer a number of ways to make it through.
The reward that you obtain from completing this Labyrinth is one part of three. By traveling to and completing each of the three Labyrinths; South Lomei Labyrinth in the South West, Lomei Labyrinth Island in the North East, and North Lomei Labyrinth in the North West you'll be able to obtain all three armor pieces giving you a resting defense of 12 and a huge boost to your stealth abilities.
How to get to Lomei Labyrinth Island in Tears of the Kingdom?
Getting to the island looks challenging but it's one of the easier portions of this quest to complete. In true Tears of the Kingdom style how you get there can be dealer's choice. You could make a boat over to the island and either climb or fly up with a balloon, make a flying contraction and head over from Akkala Ancient Tech Lab, or do as I did and spawn a Wing in midair after launching from the Ulri Mountain Skyview Tower and just coast over.
Tears of the Kingdom Lomei Labyrinth Island Solution
The Hard Way
The first part of this quest has you traveling through a labyrinth filled with enemies like Floor Masters and avoiding Gloom. At the doorway into the labyrinth, there's a note from a researcher who mentions that they plan to drop nuts and acorns as they make their way through the path. The hard way to find the Lomei Labyrinth Island Solution is to just head into the labyrinth and follow the trail of items. I would highly recommend not picking up any of these items as you go through because you don't want to lose your trail and get lost along the way.
The Easy Way
The easy way to clear the labyrinth is to find somewhere that you can use Ascend and rise to stand on top of the Labyrinth. From there you just need to drop down to where there's a star on the below map and you'll be able to walk right in to the final room and activate the Dragon Ring and complete a Shrine.
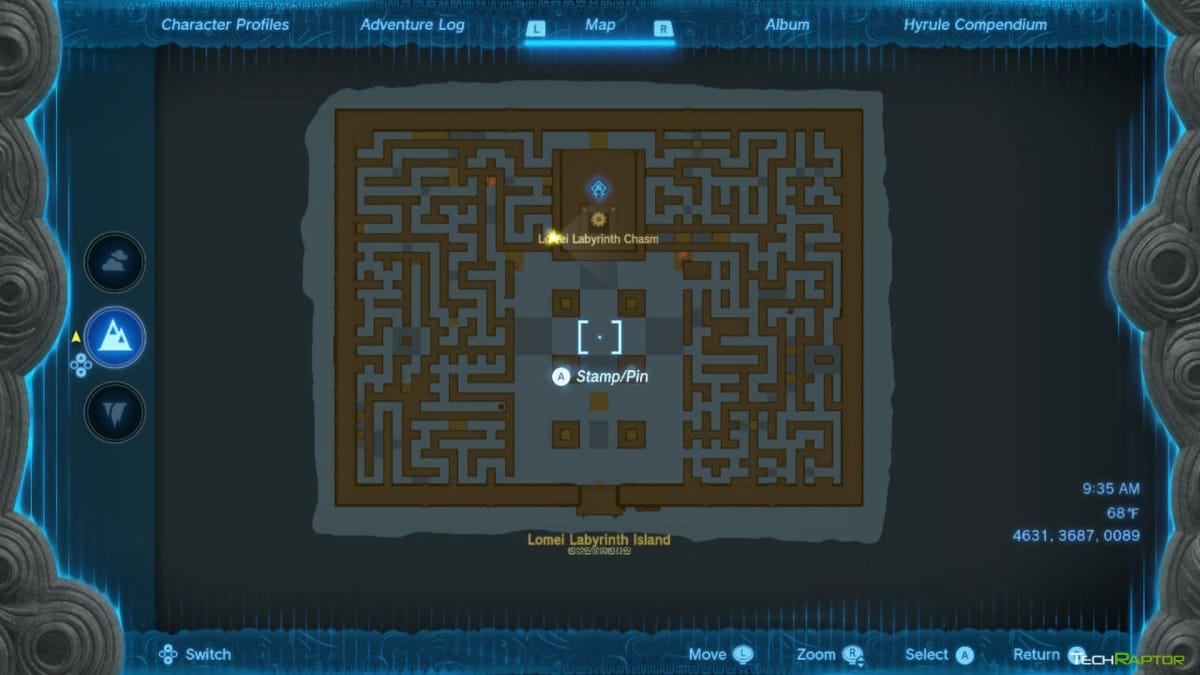
Once you complete the Lomei Labyrinth Island you'll receive the following message:
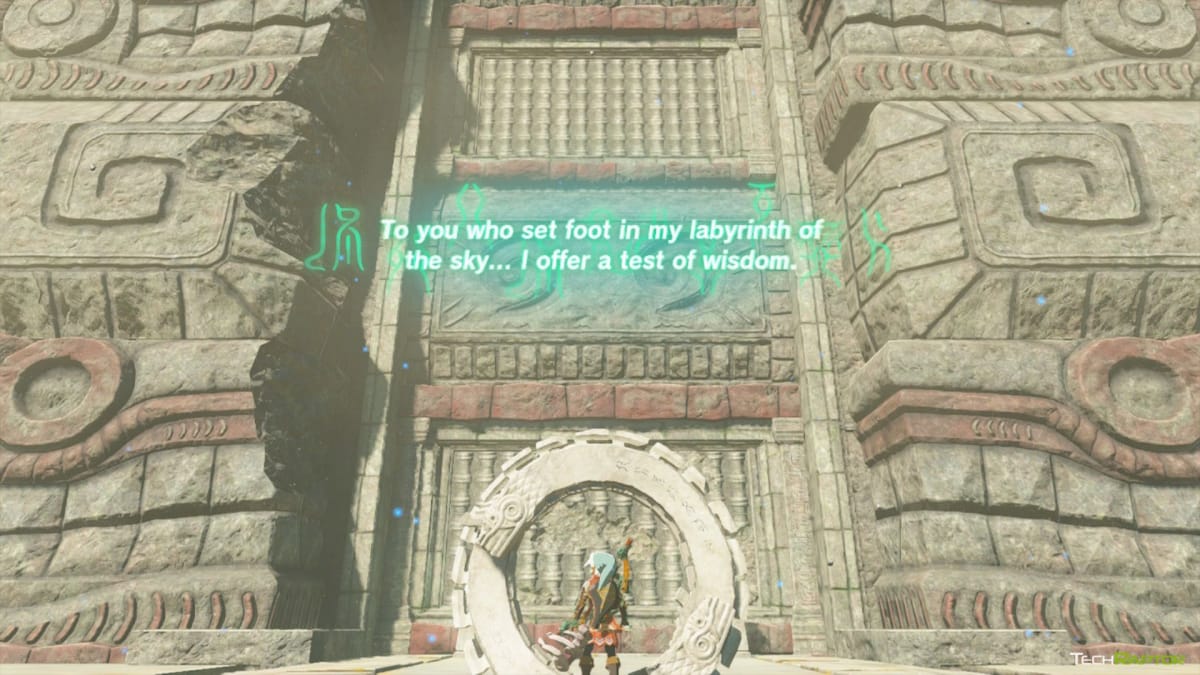
For you who conquered this labyrinth of the land, I, the ruler of dragons, have unlocked a door.
The door that the disembodied voice is referencing is that of the door to the Lomei Sky Labyrinth. This Sky Labyrinth is sitting hundreds of feet above the Labyrinth that you're currently in.
How to reach the Lomei Sky Labyrinth in Tears of the Kingdom?
From the central chamber of the Lomei Sky Labyrinth use Ascend to reach the top of the Labyrinth. From there you'll need to create a contraption that lets you rise towards the Sky Labyrinth. An easy recommendation would be a balloon, flamethrower, and cart. About halfway up a ring will flash across your screen, when this happens you'll find yourself in a low-gravity setting. From here keep using your balloon to rise up, or use Ascend and the floating platforms to make it to the entrance of the Lomei Sky Labyrinth. Once you're up there there's another Shrine for you to unlock.
Tears of the Kingdom Lomei Sky Labyrinth Terminal Locations
The Lomei Sky Labyrinth is different as it's harder to get on top of the Labyrinth. Instead you'll float through the labyrinth being careful to watch your stamina so you don't fall back to land. Upon opening the door you'll be informed that there are four terminals located around the labyrinth. Use the map below to see the location of each of the terminal's marked with a Star icon. The leaf icon indicates the location of the secret passage to reach the lower right star.
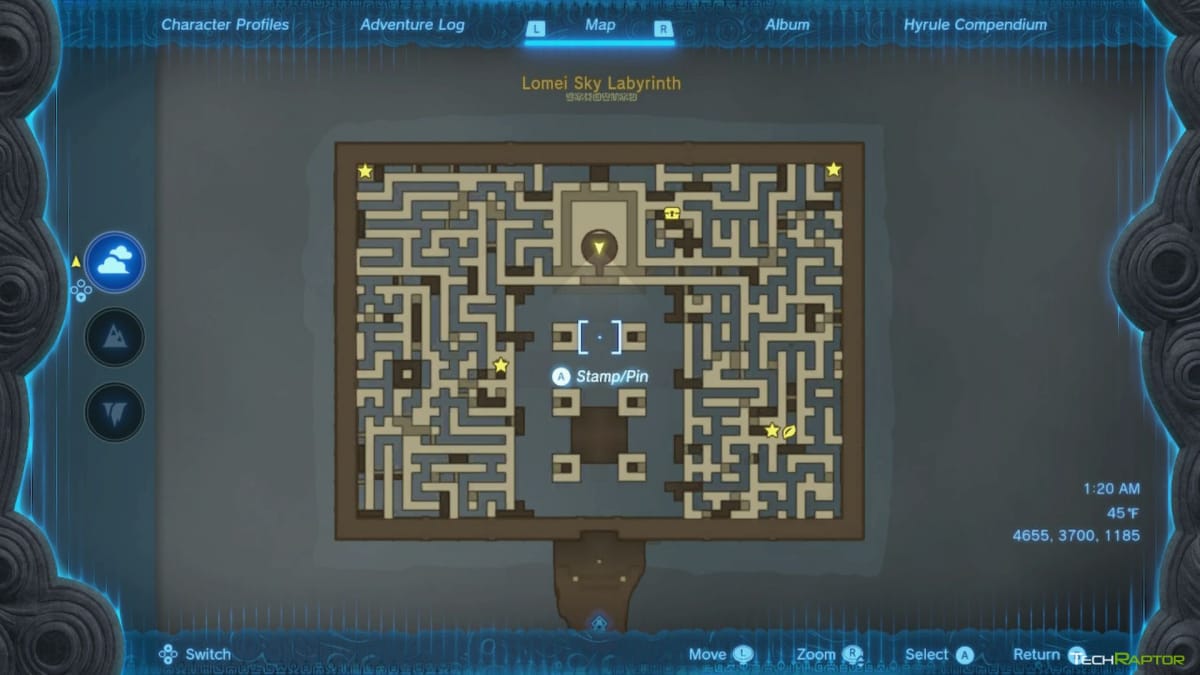
Once you've activated all four terminals a new Dragon Ring will activate on the roof of the Lomei Sky Labyrinth. Use your Paraglider to get to the top immediately. After activating the Dragon Ring you'll receive the following message
You who have traversed this maze, mark well my words.
I have pulled apart the bars in the labyrinth of the land that obstructed your path below ground.
From high above, to far below... Prove your courage by diving into the depths of the earth.
The final way shall open to you.
Once the message has cleared use the jump platform to drop down past the Sky Labyrinth, through Labyrinth Island, and into the Lomei Depths Labyrinth.
Tears of the Kingdom Lomei Depths Labyrinth Boss Battle and Reward
The Lomei Depths Labyrinth isn't a Labyrinth but instead, a small passageway to go down before you have to fight Flux Construct III. To defeat this Flux Construct you'll need to locate his primary cube, this is the one that's glowing, and separate it from the rest of his body. When you do it will fall to pieces and you'll get your chance to deal prolonged damage on the cube. During the whole fight this cube will be swapping places with other cubes, if it's not in a good location for you to grab chances are you can wait a few seconds and you'll get another chance. This boss fight has three different forms:
- Humanoid Form - In this form, he will recreate himself in front of you and slam down for high damage. Your aim here is to simply grab the Core Cube and pull it away from the body.
- Cube Form - Here the Flux Construct will become a 3x3 cube and roll after you, he will also make larger jumps towards you so be ready to run and jump away at a moment's notice. Much like the Humanoid Form, your goal here is to get his Core Cube and separate it from his body
- UFO Form - The Flux Construct will rise into the sky and become a flat platform. In this form, his Core Cube will be hidden above and you won't be able to reach any of his blocks. Wait until he throws 5 blocks at you. Stand on top of one when it's on the ground and use Recall to ride it back up to his UFO body. Hop on top and start wailing on his Core Cube
After defeating the Flux Construct III the disembodied voice will reach out to you once more:
You who have traversed this labyrinth of the Depths...
This trial was a test of your talents. In overcoming it, you have shown yourself to be strong of body, skill, and mind.
In my name as the ruler of dragons, I commend your achievement and offer a fitting reward.
Armor wreathed in otherworldly evil, hidden away since days of old... Take it now.
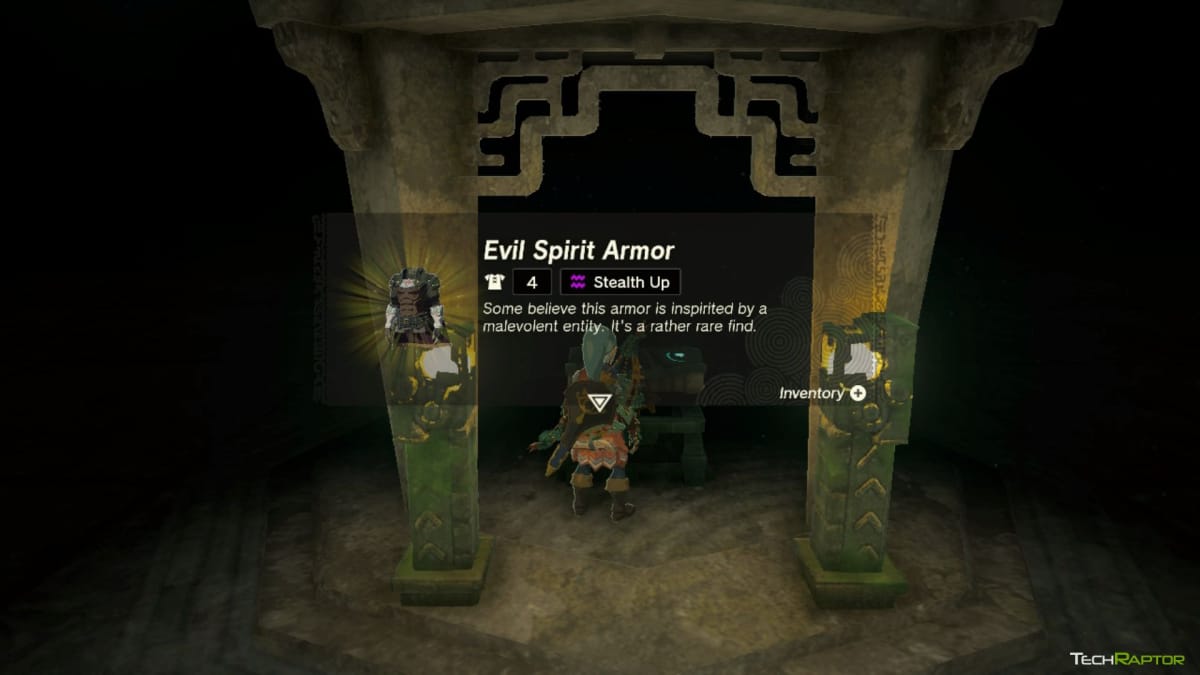
Approach the chest that has now appeared in the middle of the room to obtain the Evil Spirit Armor. This chest armor is modeled after Ganondorf's look in The Legend of Zelda: Ocarina of Time. It offers 4 defense and as an added bonus offers up the Stealth Up ability. This is far more reasonable than 5,000 Rupees for Shiek's Armor in Kakariko Village. Make sure not to immediately teleport away either, if you leave this chamber by walking out and into the Depths you'll also walk by a 43 damage Soldier III Blade.
Have a tip, or want to point out something we missed? Leave a Comment or e-mail us at tips@techraptor.net
