Our Zero Sievert Guides will teach you the basics and give you some tips for success for this top-down Tarkovlike and extraction shooter.
Quicklinks: Zero Sievert Guides | Zero Sievert Map and Location Guides
Zero Sievert Starter Guide | F.A.Q.
Zero Sievert Guides
- Crafting Guide
- Weapons and Attachments Guide
- Skills Guide
- Modules and Base Building Guide
- Cooking and Food Guide
- Medication Guide
Zero Sievert Map and Location Guides
- Forest Map and Locations Guide
- Makeshift Camp Map and Locations Guide
- Industrial Area Map and Locations Guide
- Swamp Map and Locations Guide
- Mall Map and Locations Guide
Zero Sievert Starter Guide
Zero Sievert is a Tarkovlike/extraction shooter (albeit from a top-down perspective). Don't let the cutesy pixel art fool you, though -- this can be an exceedingly tough game. You'll die quickly if you're not cautious.
All About Your Stats
Here is a basic rundown of your stats:
- HP - This is your life bar. If it goes to zero, you die.
- Wounds - Taking damage accumulates Wounds which reduces your maximum HP. They can only be treated with certain Medications.
- Bleeding - A Bleeding effect will slowly drain your HP until you die. Make sure to apply a Bandage ASAP or you're toast.
- Stamina - You can only sprint for as long as your Stamina lasts.
- KG (Weight) - The bottom left of your inventory screen shows how much weight you have available. Carry too much stuff and you'll be unable to sprint (or move at all, if you're severely overburdened).
- Fatigue - A measure of how tired you are. You can restore it with some items, but the best way to restore Fatigue is by sleeping in one of the side rooms (at least until you build a Bedroom).
- Hunger - Unsurprisingly, you need to eat Food to stay alive. Keeping your Hunger full lets you carry more stuff. Letting it get too low reduces your maximum Weight capacity.
- Thirst - As with Hunger, keeping this meter full allows you to carry more stuff and letting it get too low reduces your Weight capacity.
- Radiation - The post-apocalypse is very much a radioactive one, and pockets of Radiation are all over the maps. High Radiation will cause spontaneous Bleeding to appear. Radiation can be cured by returning to the bunker.
Skills to Pay the Bills
You have four primary Skills and three Secondary Skills, the latter of which can affect what you can and cannot Craft. You won't need to worry about these too much in the early game. Check out our Skills Guide for more details on each of the Skills!
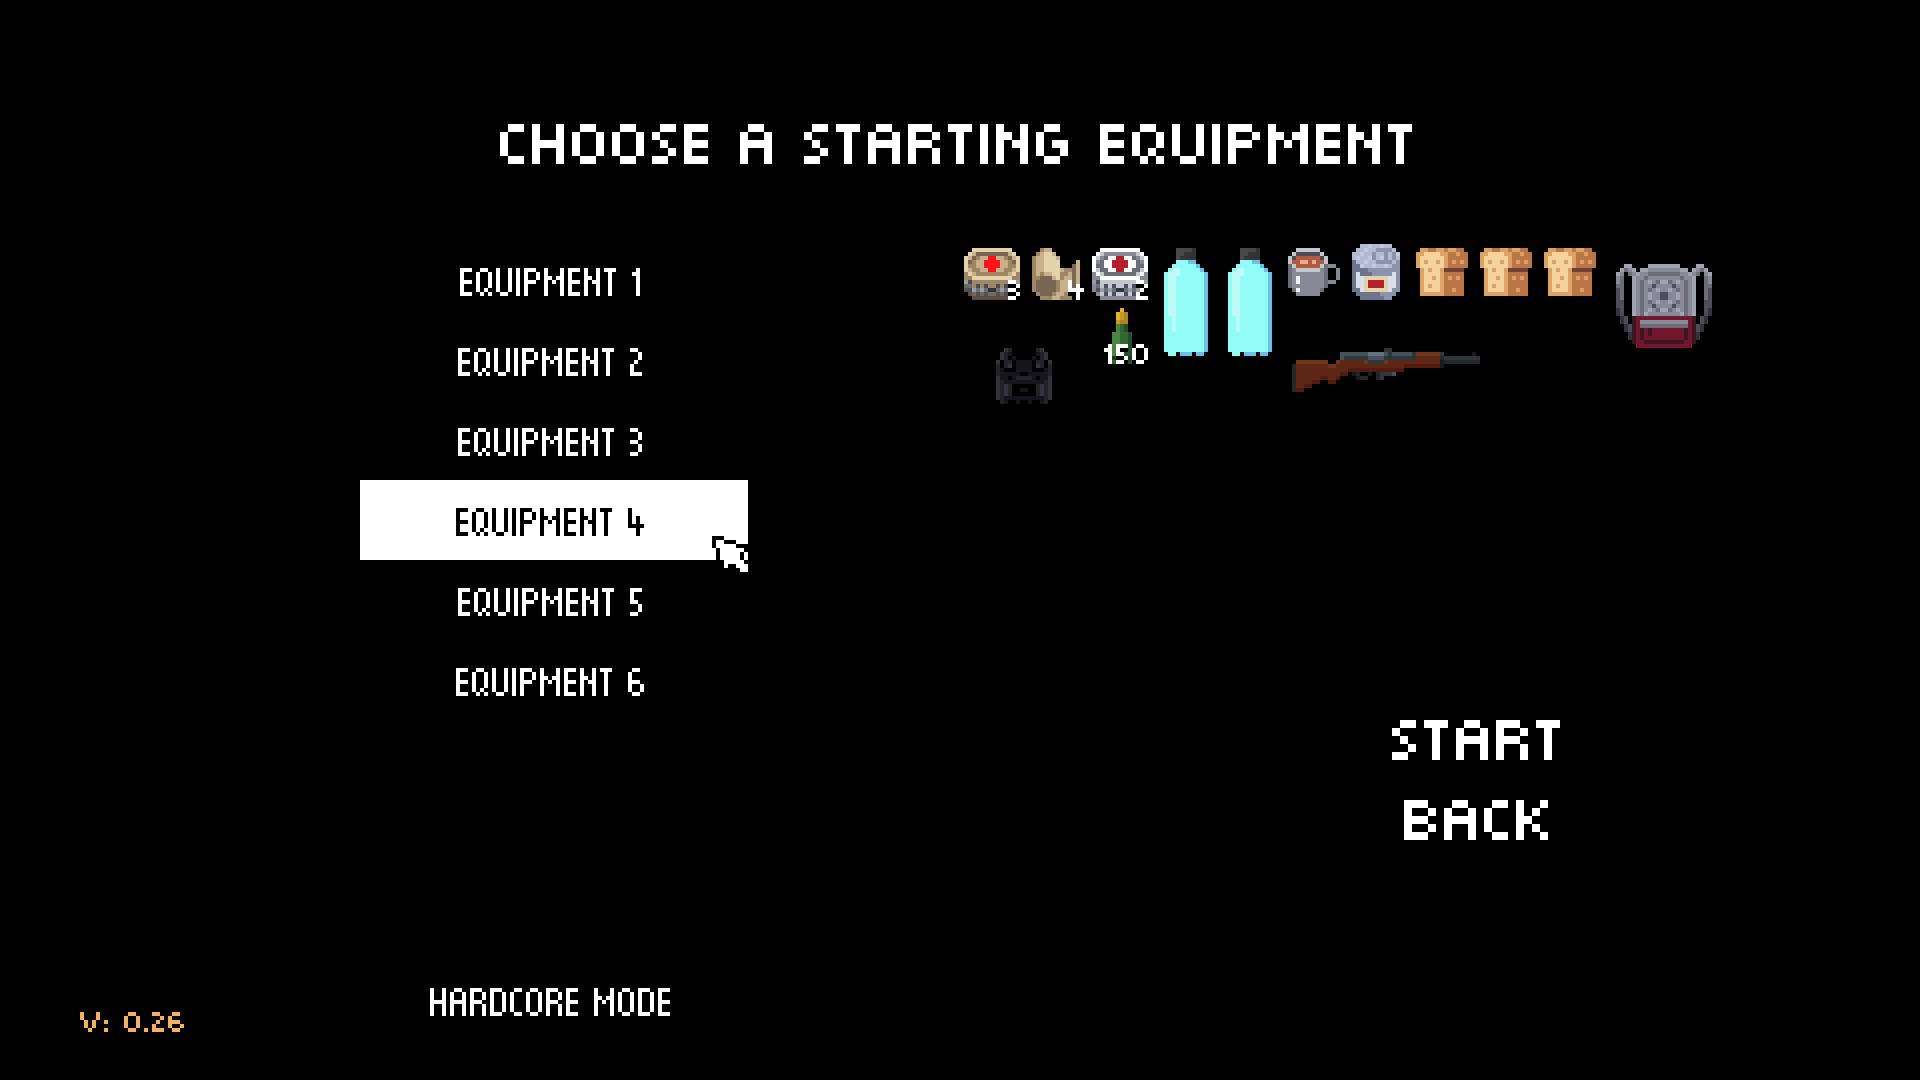
Choosing Your Starting Equipment
You have six choices for equipment when you start a new game of Zero Sievert. Each loadout has its own advantages and disadvantages. Some will provide you with Armor. Others will provide you with more Food.
I strongly recommend selecting "Equipment 4" for your first playthrough. It has a good balance of Food, Water, and Medical Supplies. The semi-automatic rifle will help you conserve ammo until you get something better, too.
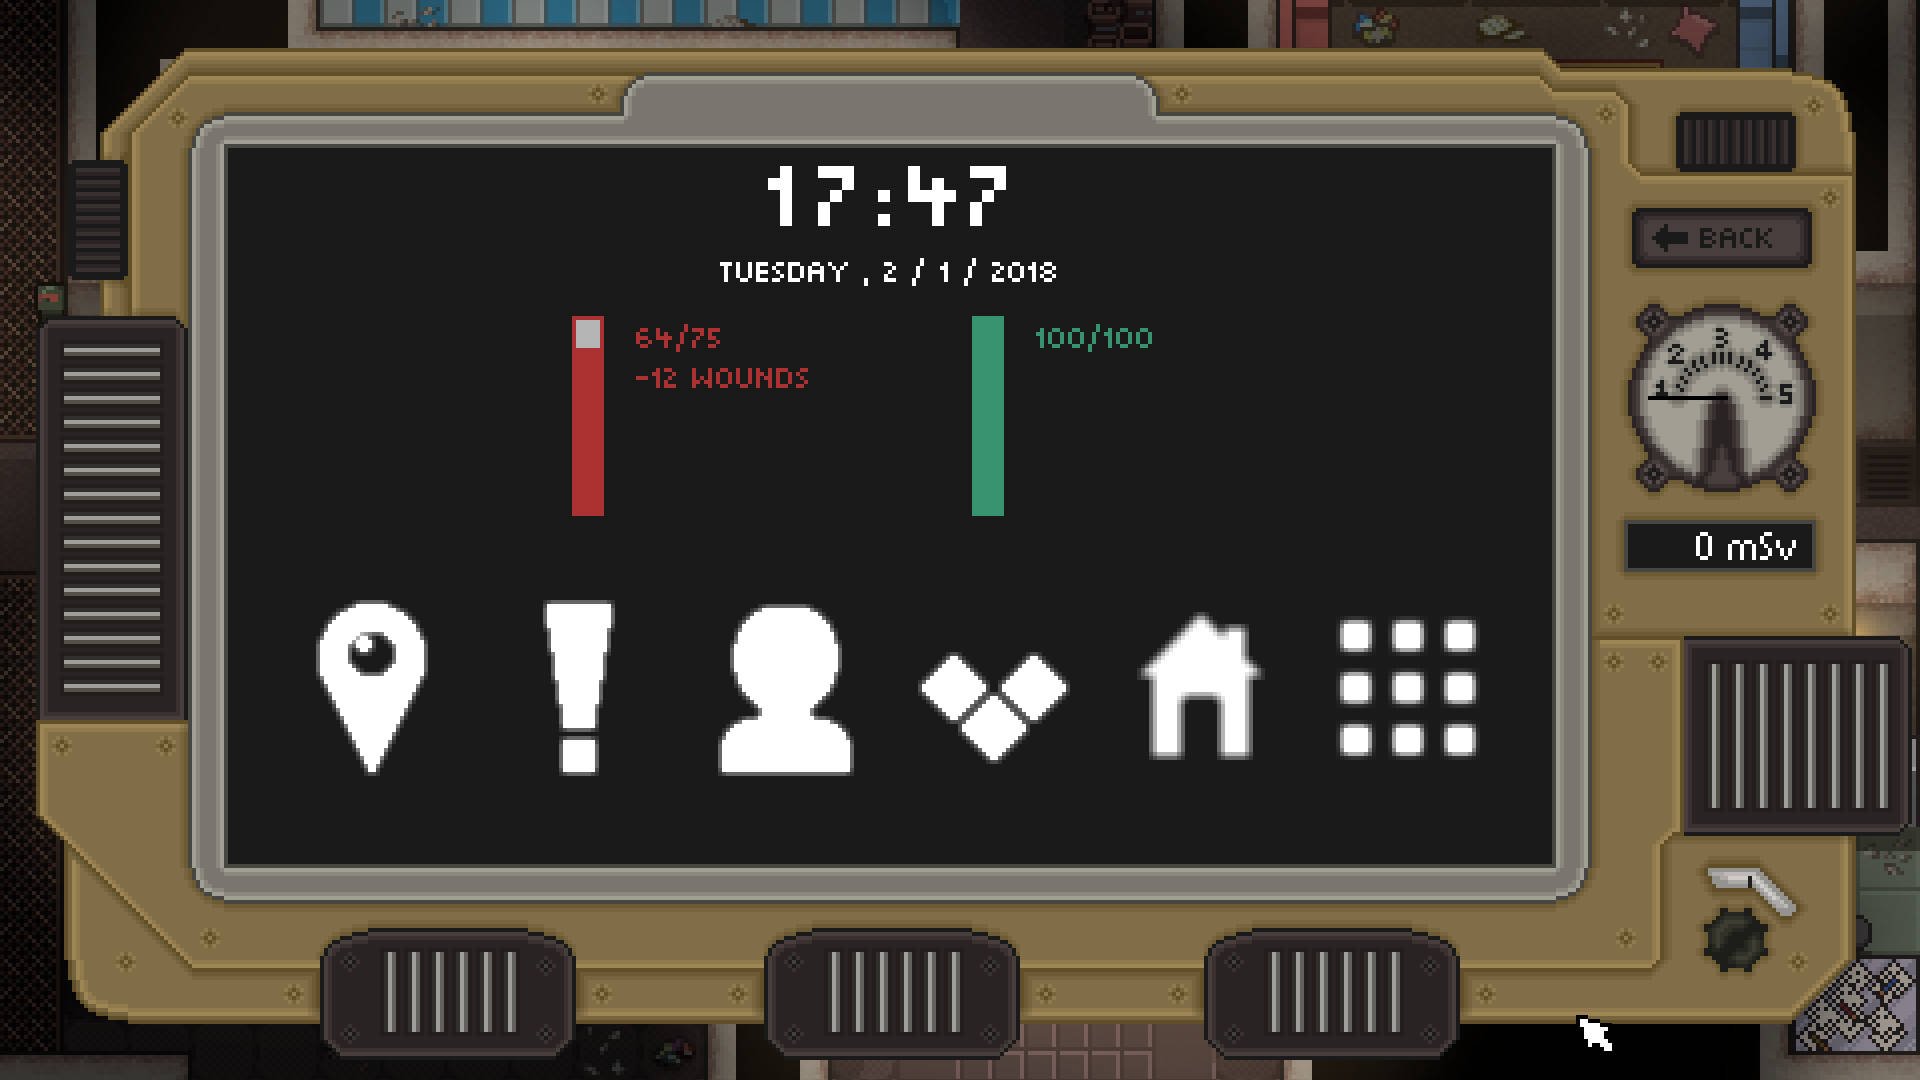
Using The Device
There's one final key piece of equipment to go over: the Device.
The Device is where you'll find critical information, including the time of day, the date, and your health. You also have six icons on the bottom. They are, from left to right:
- The Map - A map of the area you're exploring.
- Tasks - A list of your current Tasks and their progress.
- Stats - Shows your statistics such as enemy kills and looted containers.
- Skills - A breakdown of your Skills -- check out our Skills Guide for more details on how they work.
- Base Setup - A menu to set Modules for your base in the bunker. Go to our Modules and Base Building Guide for more info.
- Relations - Your relationship with the various factions. Not yet implemented as of v0.26.
You can bring up the device with J. It's a pretty useful tool, so take advantage of it!
Exploring the Bunker and Taking on Tasks
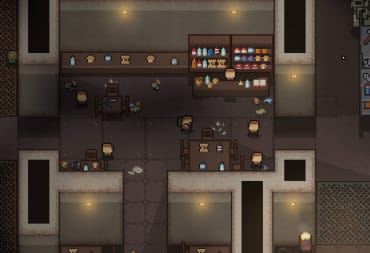
Once you've watched or skipped the opening cutscene, you'll be deposited into the bunker at the bar. It's time to get moving.
Start by talking to the Barman and taking on the Task "First steps p.1." This is a fairly simple Task -- all it requires you to do is go to the Forest and come back. Take the quest.
Next, head to the left and open your Stash. Equip your weapon(s) and armor. Take one bottle of Water, one piece of Bread, all of your Medical Supplies, and any ammo you have; put the leftover Food items in your Stash. Make sure to reload your gun(s) so it actually has ammo in it!
With your items stashed away, it's time to head to the Doctor. Go all the way to the right and down. Take on the Task "Radioactive Meat" which requires you to collect 12 pieces of Raw Meat. You likely won't be able to get it all in one trip, so complete this Task little by little.
Finally, head outside and talk to the train conductor. Take on the Task "Materials." This requires you to get the following items:
- 40 Scrap Material
- 20 Screw Nut
- 20 Nail
- 1 Screwdriver
- 1 Drill
- 1 Propane Tank
The Drill and Propane Tank will be the most difficult items to find -- you should definitely take those with you if you find them when you're exploring the Forest. As with the Radioactive Meat Task, you'll likely need several trips to complete this Task.
You have a loaded gun, some supplies, and three Tasks ahead of you -- it's time to head to the Forest.
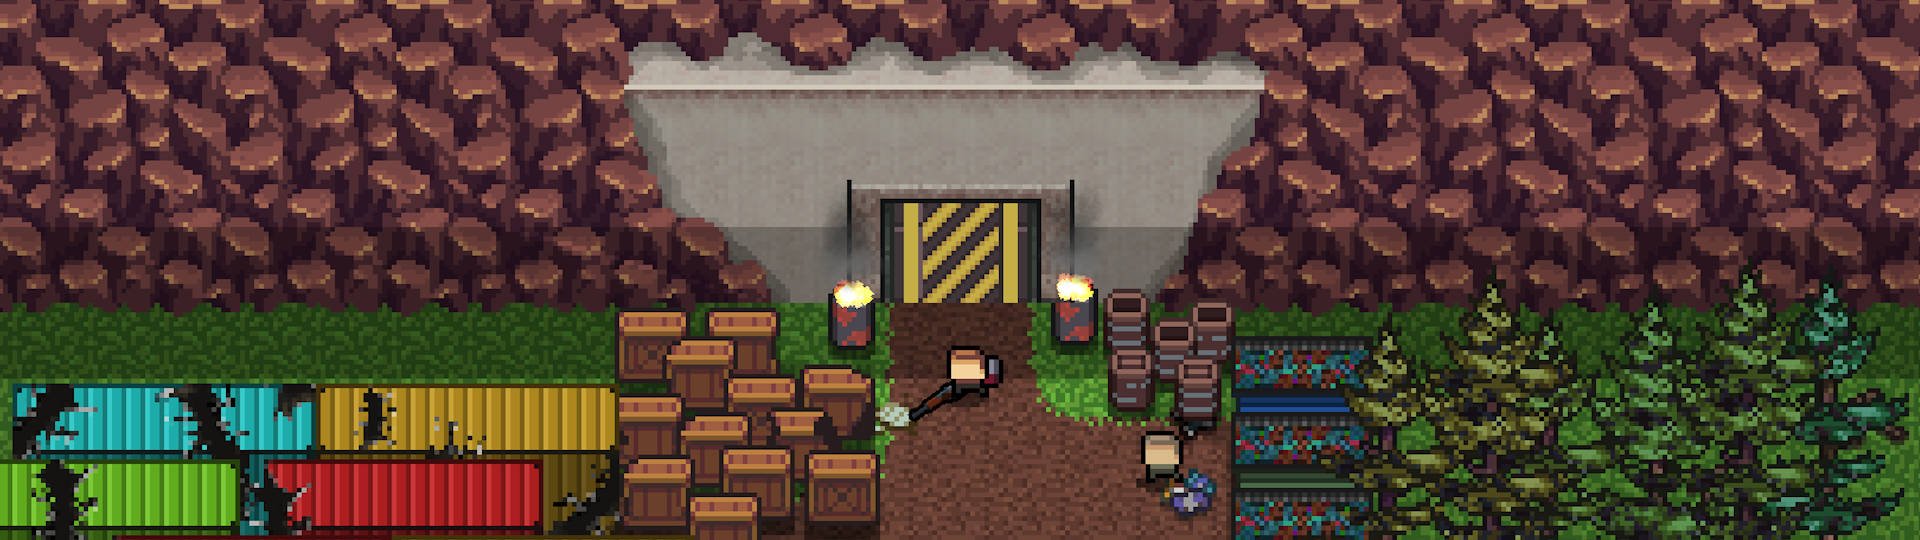
Heading to the Forest
Speak with the Conductor, select "I want to leave," and select the Forest map. You'll be treated to a short loading screen.
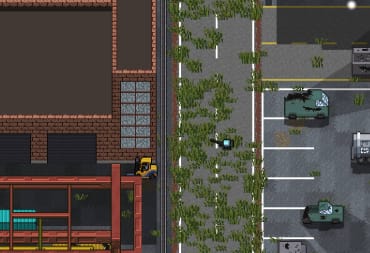
Based on my experience, it seems that every map is slightly different when you visit it on successive runs. However, they tend to share the same broad strokes. For example, the Forest will always have a road going down the middle from north to south, a factory in the Northwest, and a small town in the center.
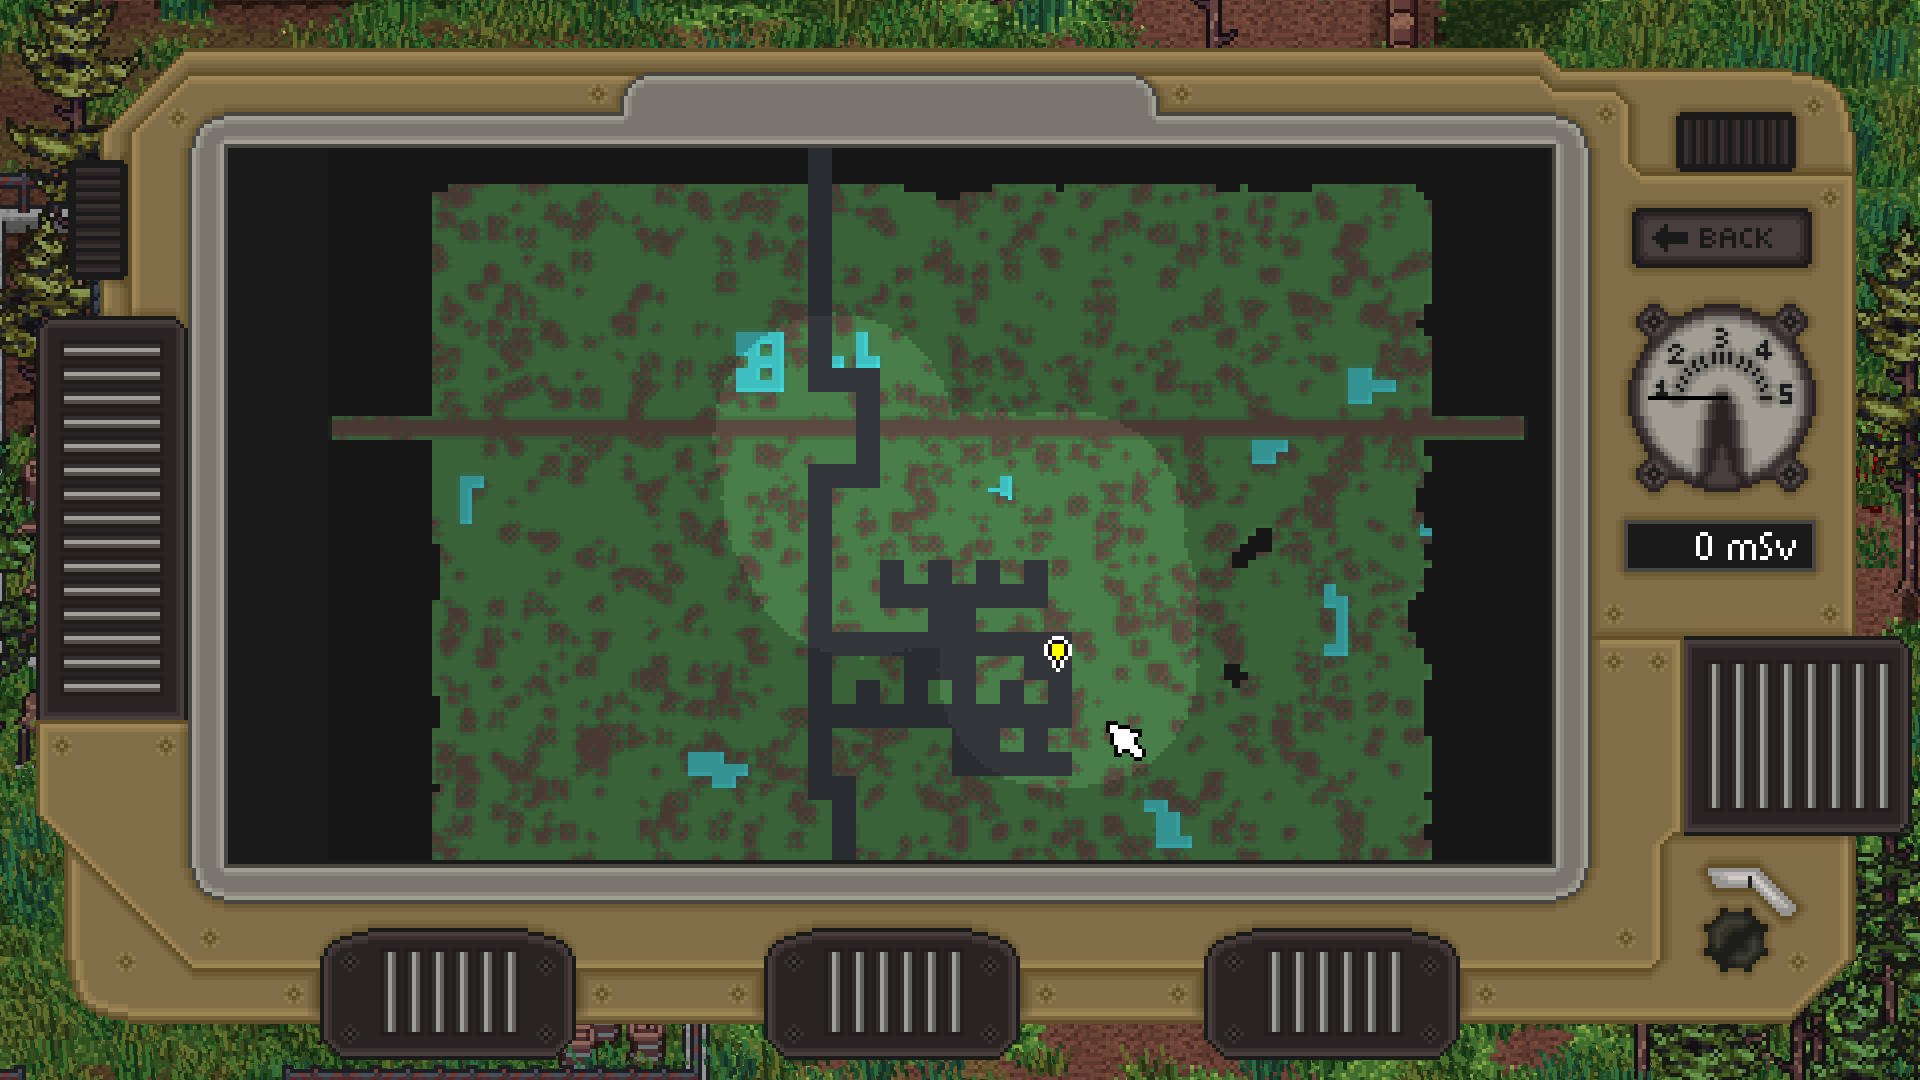
Take note of the green circles on the map -- those are your Extraction Points. You have to reach these points in order to escape.
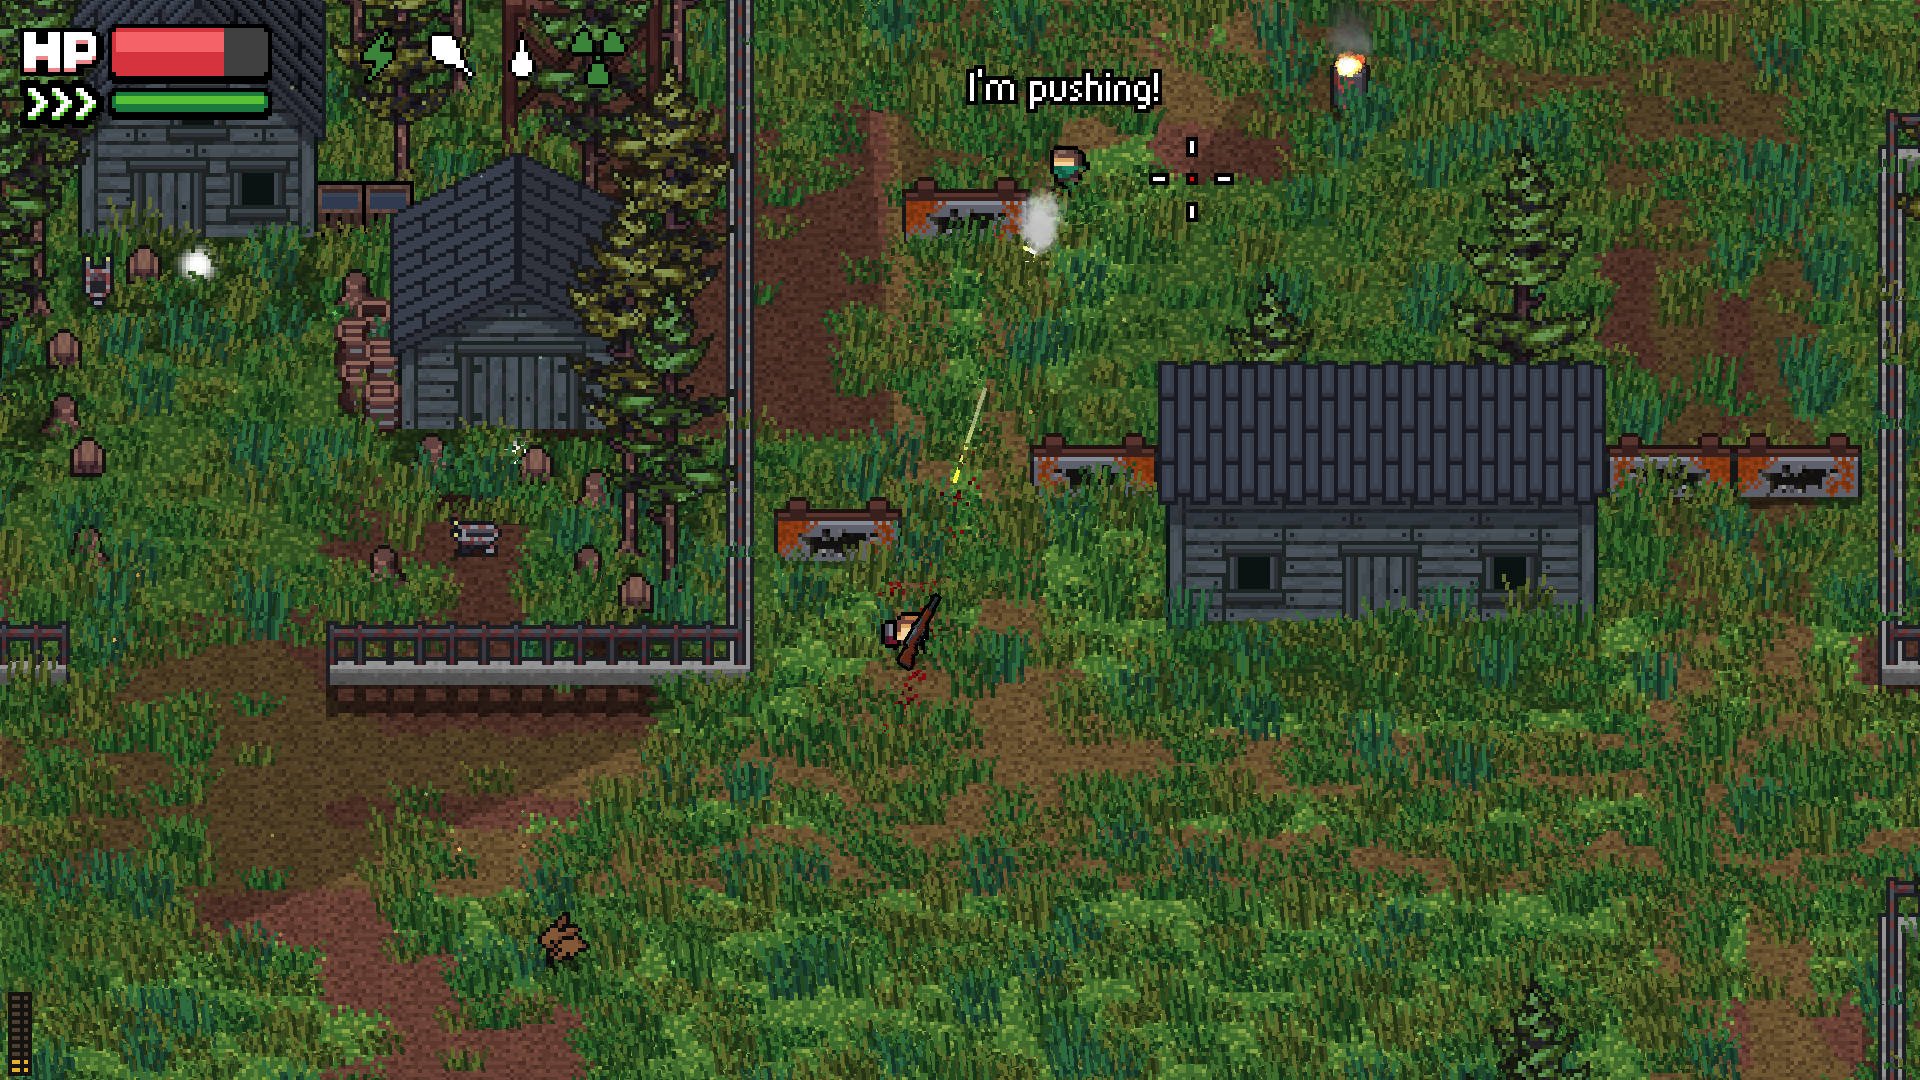
The small town (represented by black roads) is as good a place to start as any. You have a good chance of finding useful supplies in the buildings. Unfortunately, it's also riddled with hazards.
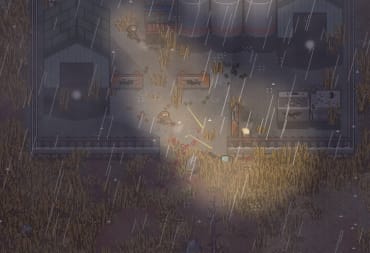
First and foremost, Ghouls roam around the buildings. They're not particularly difficult to take down, but you can still be hurt if you're not careful.
The outside of the town can have Hunters, Bandits, or packs of Wolves. All of these can be significant threats, so use cover smartly and eliminate them if they're a danger to you.
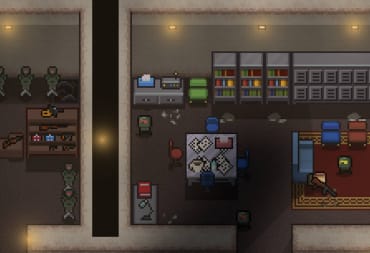
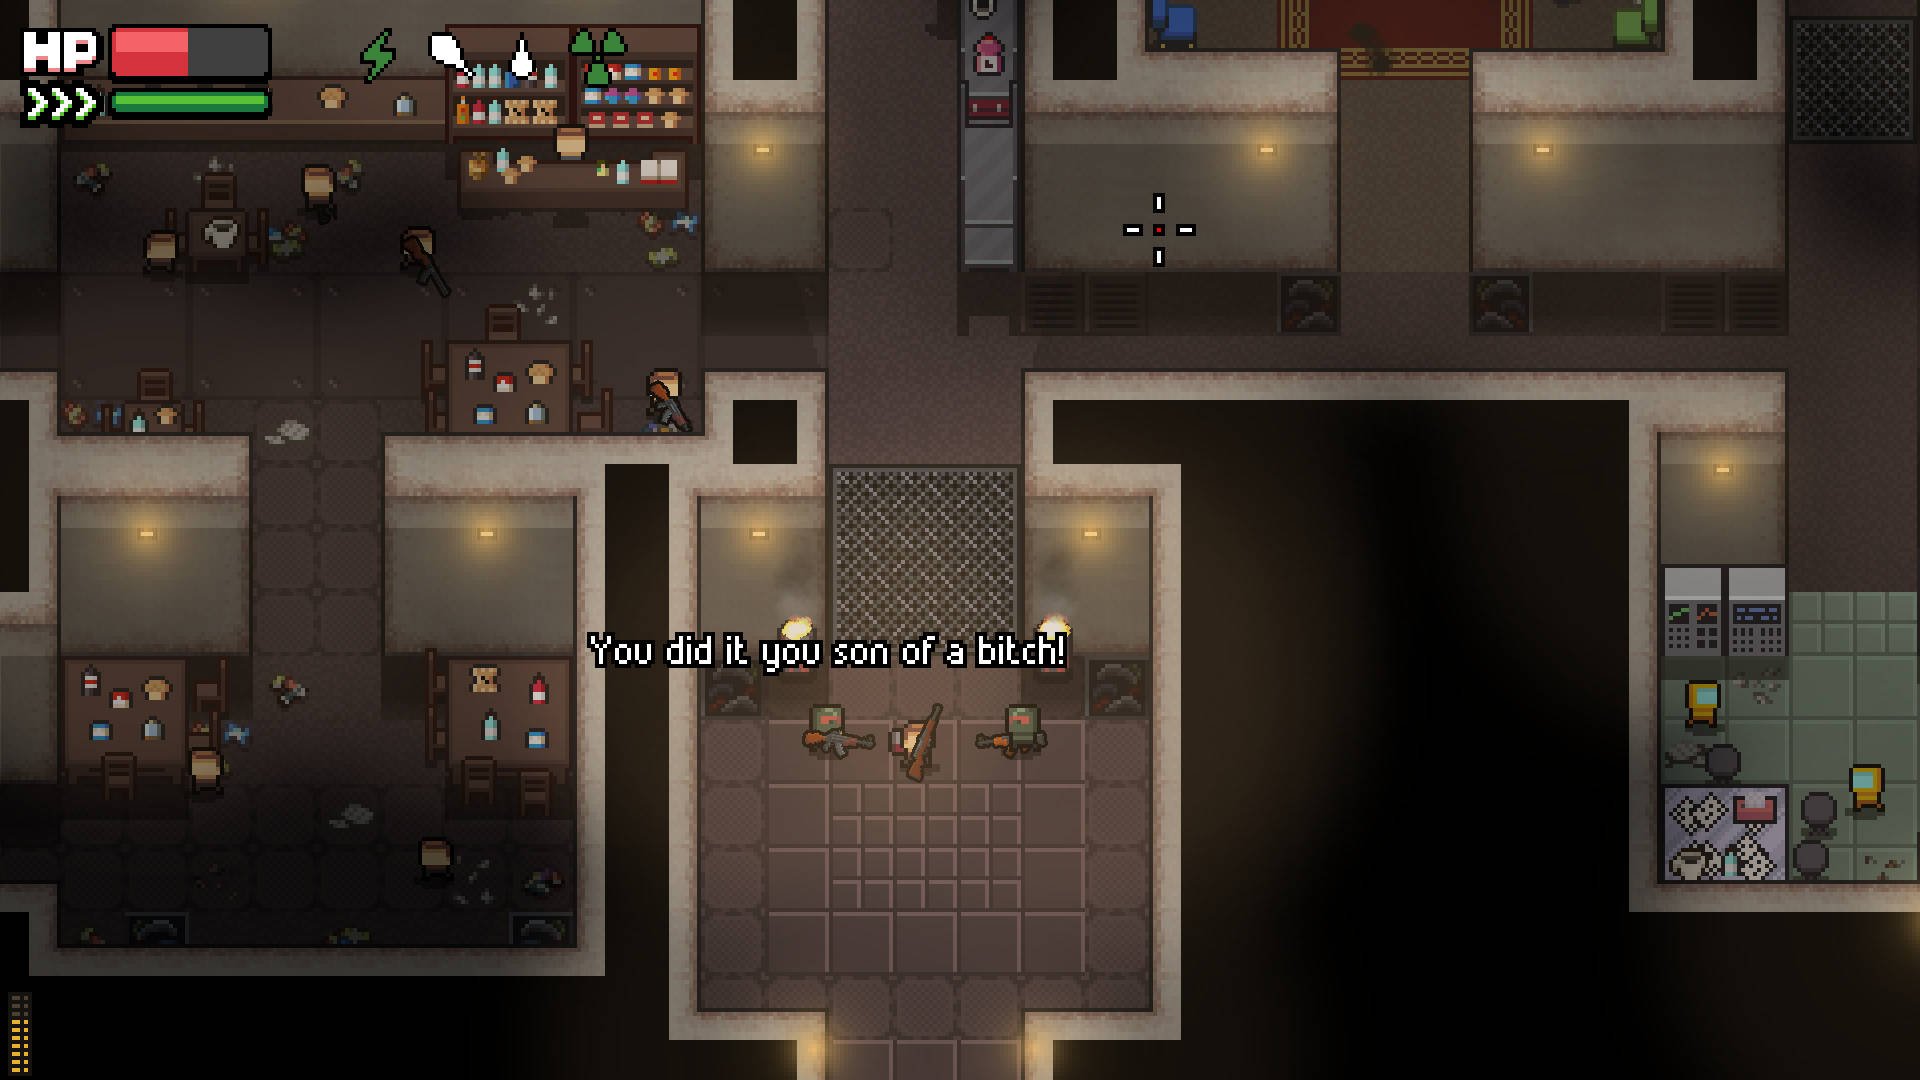
The biggest threat, however, is in the center of the town:
This is the Police Station. The Police Station is protected by a bandit named Lazar and his elite guards. All of them are armed with some beefy weapons and you really don't want to try to fight them the first time around.
It's a good idea to loot the town (sans Police Station) a few times in search of some supplies. You can complete all three of your Tasks without ever confronting Lazar.
You should, however, fight Lazar at some point. Aside from having some nice equipment, he holds the key to the Police Station which will get you access to some nice Weapons and Attachments, Medical Supplies, and more.
For now, focus on carefully looting the safer areas and hunting any animals you can for Raw Meat. Then, head to an Extraction Point and return home.
Back and Forth
Once you've returned home, head immediately to your Stash and deposit any stuff that you'd like to keep. Turn in any Tasks you may have completed.
By now, your Hunger, Thirst, Fatigue, or Radiation may not be in tip-top shape. Eat, drink, and rest as needed, and prepare to leave for another trip to the Forest. Make sure to wait until it's early morning (at least after 08:00 AM) -- you don't want to be in the Forest at nighttime, especially without a flashlight.
Going forward, you're going to want to do the following:
- Find better equipment
- Craft Modules to improve your base
- Complete Tasks for people in the Bunker
- Improve your Skills
- Explore new areas
Keep in mind that there are still some unfinished systems in the game. The Reputation System, for example, isn't yet working as of v0.26. You should expect things to change and get a little more complex in the months following its initial release.
You now have the basics of the game down -- check out our other guides for more advanced tips and details on the other areas of the game!
Zero Sievert F.A.Q.
What is Zero Sievert?
Zero Sievert is a top-down, single-player Tarkovlike/extraction shooter where you have to explore the wasteland, fend off enemies, and complete quests for other people in the bunker.
Is Zero Sievert Multiplayer?
No, Zero Sievert is not multiplayer. There are "no plans" for multiplayer according to one of the developers, but he also says that multiplayer "may be a possibility in the future."
Where is the Zero Sievert Save File?
The Zero Sievert save file is located in:
C:\Users\USERNAME\AppData\Local\ZERO_Sievert
Where "USERNAME" is your Windows 10 username.
What Happens When You Die in Zero Sievert?
If you die in Zero Sievert, you'll return to the train at the bunker. You won't lose any ammo or equipment durability, but you won't get to keep any loot you've found and some time will have passed. However, a "Hardcore Mode" is in development and this will likely have different rules for death.
Have a tip, or want to point out something we missed? Leave a Comment or e-mail us at tips@techraptor.net
One of my earliest memories is playing Super Mario Bros. on the Nintendo Entertainment System. I've had a controller in my hand since I was 4 and I… More about Robert N