Our Sea of Stars Rainbow Conch Guide will show you where to find each of these collectables, along with what they are used for.
Rainbow Conches are a collectable found in unique chests (blue with a shell on the front) or via short sidequests. While they don't offer any direct benefits on their own, they do have a purpose once you make your way further through the game.
What are Rainbow Conches Used For in Sea of Stars
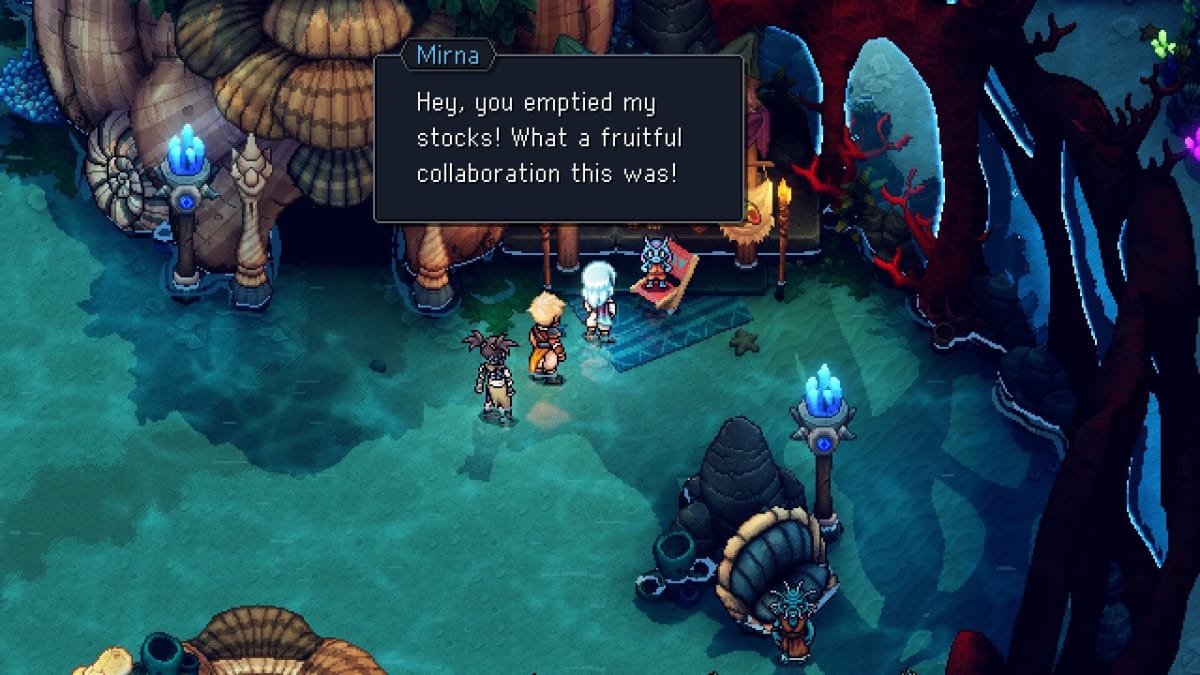
Rainbow Conches can be traded into Mirna, a small fishman residing in the village at Lake Docarria. This area is found midway through Sea of Stars, and can be revisited freely. Mirna will give you rewards based on the total number of Rainbow Conches you have found, though they'll always remain in the key items section of the inventory to help you keep track.
How many Rainbow Conches Are There?
There are 60 Rainbow Conches in Sea of Stars, spread across every area of the game. None are missable, and they can still be collected even if you defeat the final boss.
All Sea of Stars Rainbow Conch Rewards
- 4 - Inn Plans
- 11 - Cornucopia accessory
- 19 - Shop Plans
- 22 - Fishing Hut Plans
- 27 - Falcon-eyed Parrot Relic
- 35 - Poutine cooking recipe
- 39 - Spa Plans
- 47 - Pudding Chomeur cooking recipe
- 60 - Rainbow Star
The plans are all used to create buildings in Mirth, an area made available before reaching Lake Docarria. The Falcon-eyed Parrot Relic is another useful reward, telling you if you've missed any conches, treasure, or other collectables when selecting an area on the map.
After handing in all 60 Rainbow Conches, you'll get the Rainbow Star. The Rainbow Star is one of the requirements that must be met to unlock the True Ending of Sea of Stars.
All Sea of Stars Rainbow Conch Locations
X’tol’s Landing - Near Start
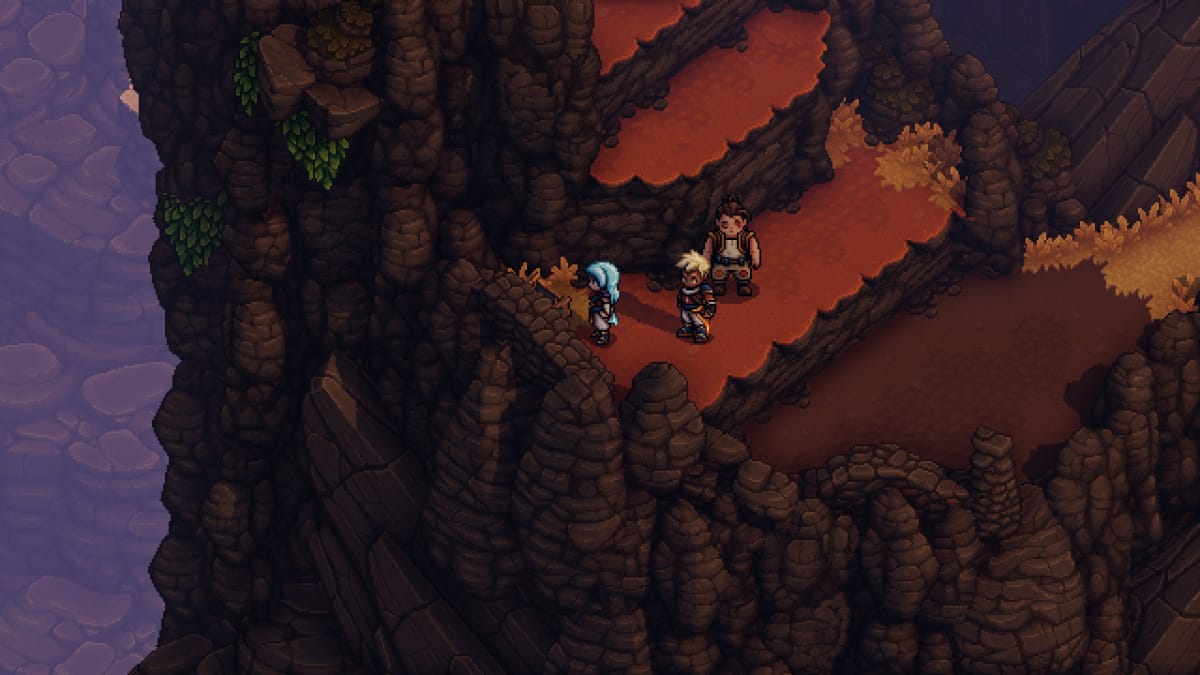
X’tol’s Landing - Midway, requires item obtained later in the story to move crystal and create platform up.
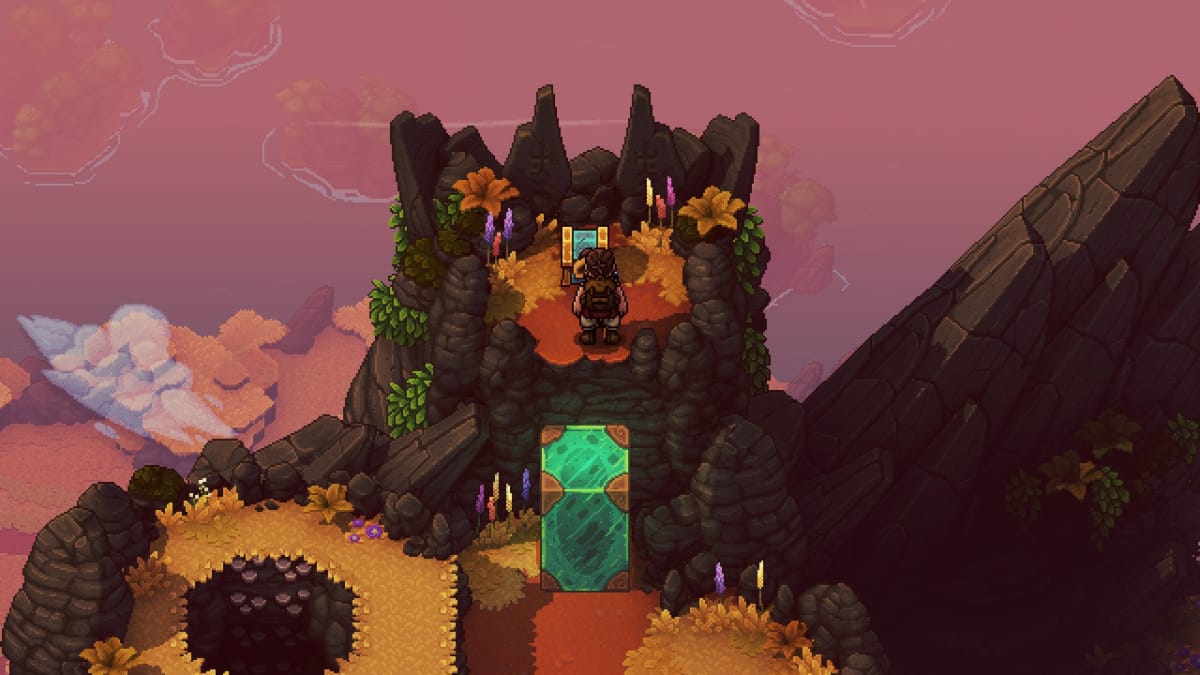
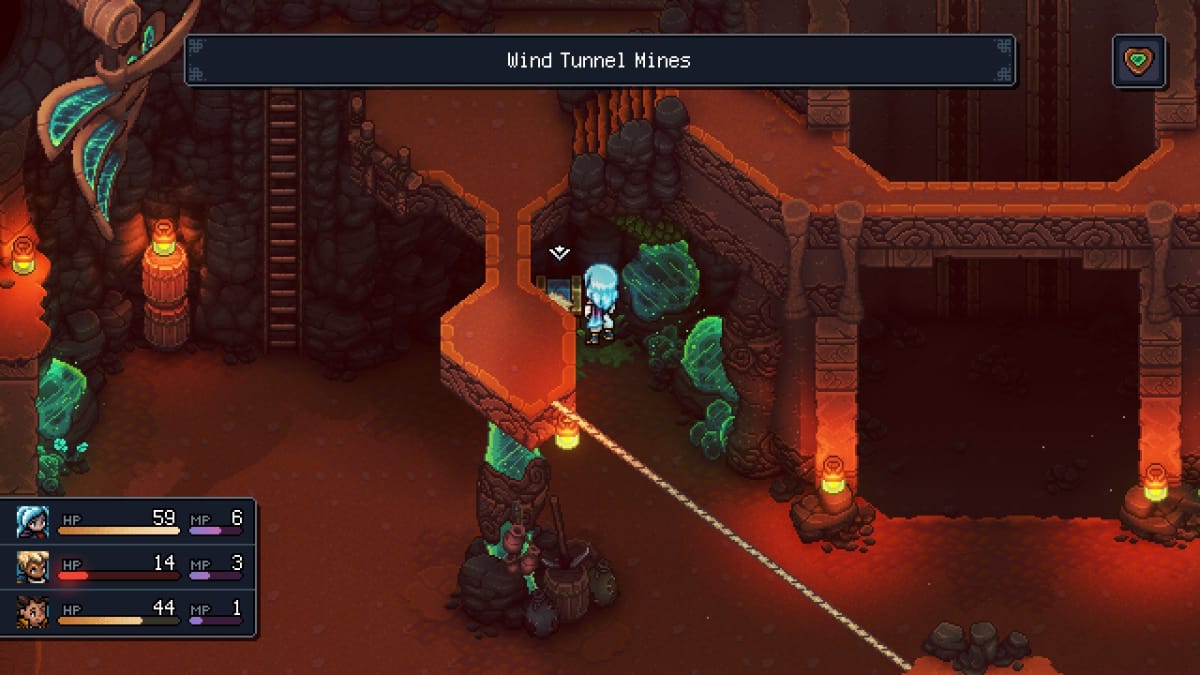
Wind Tunnel Mines - At the bottom of the main mine area
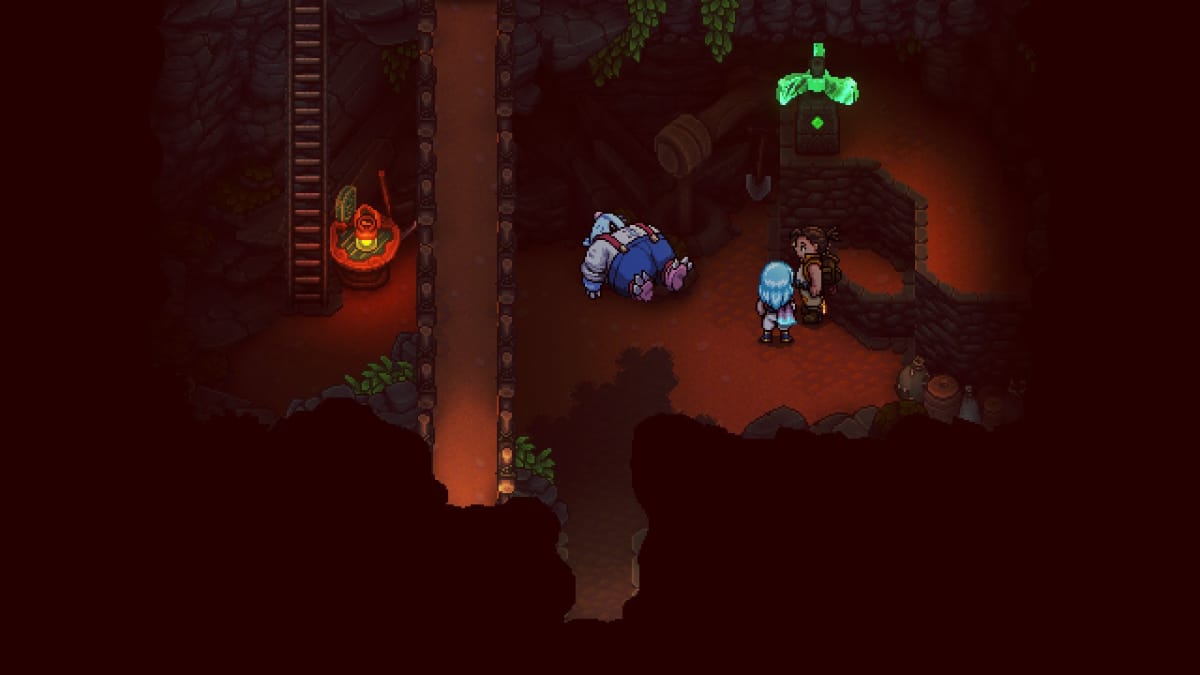
Stonemason's Outpost - Activate wind crystal inside the center building then talk to person having a bath
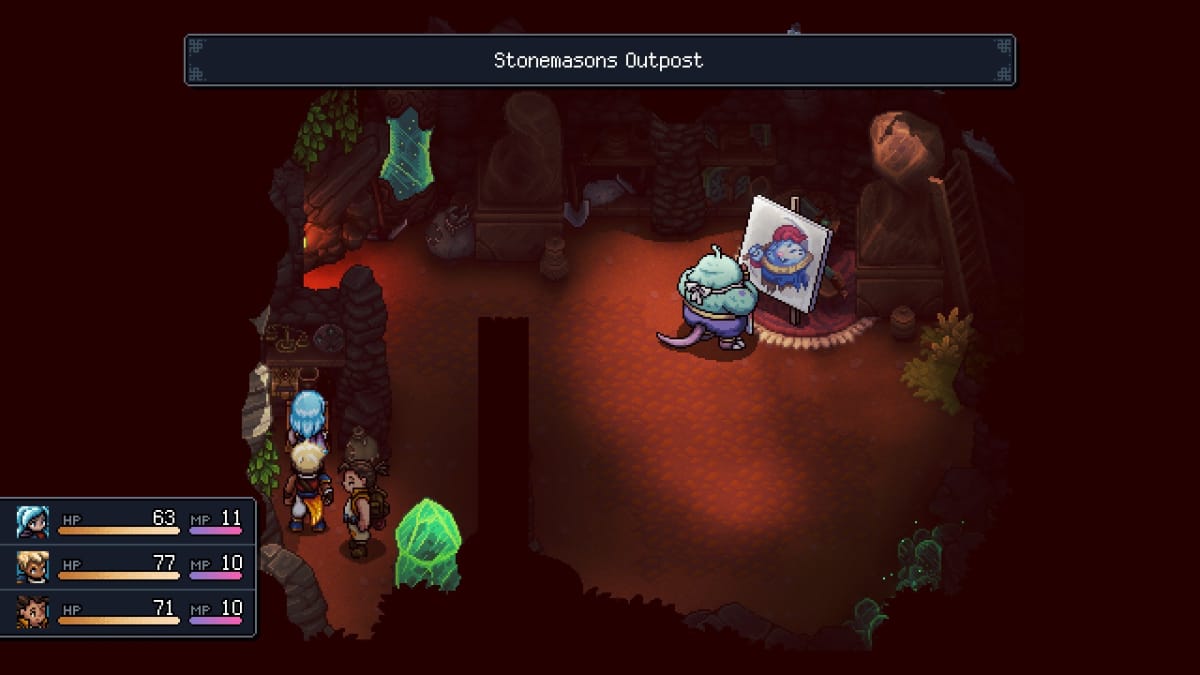
Stonemason's Outpost - Inside building with 2 doors (head into left door, then through the gap at the back right). Requires Mistral Bracelet to move crystal.
Coral Cascades - Head right at the 3-way waterfall split, use crystal.
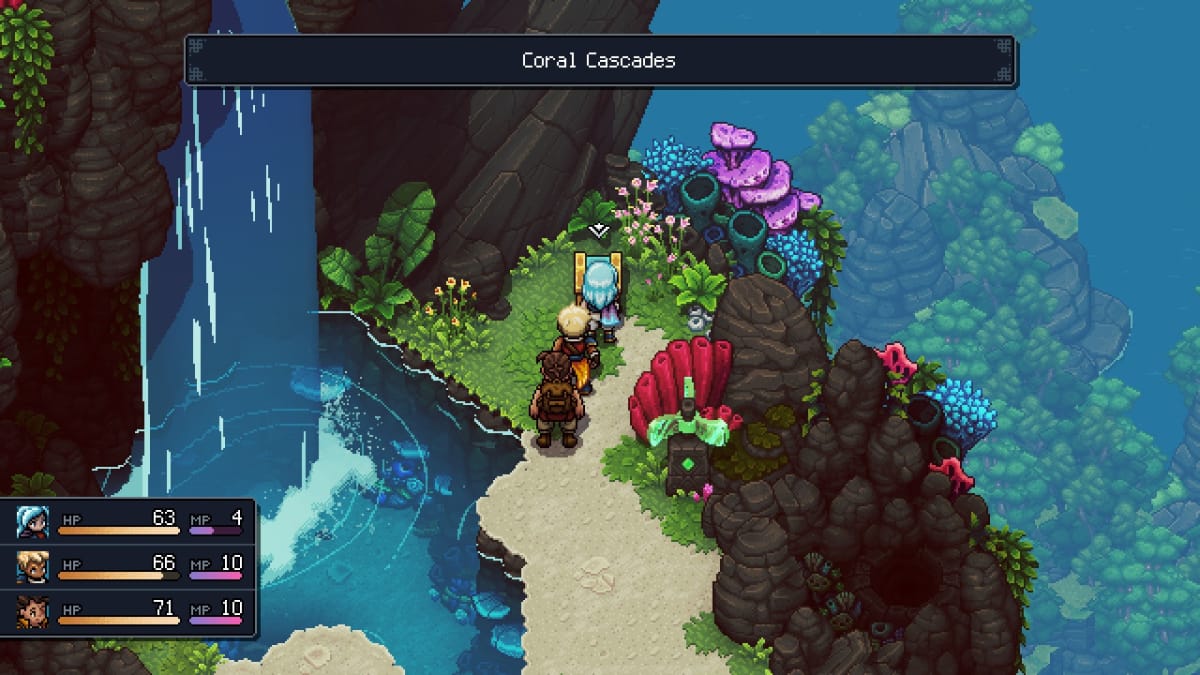
Coral Cascades - Jump from above into the breakable floor at the bottom of the mini waterfall
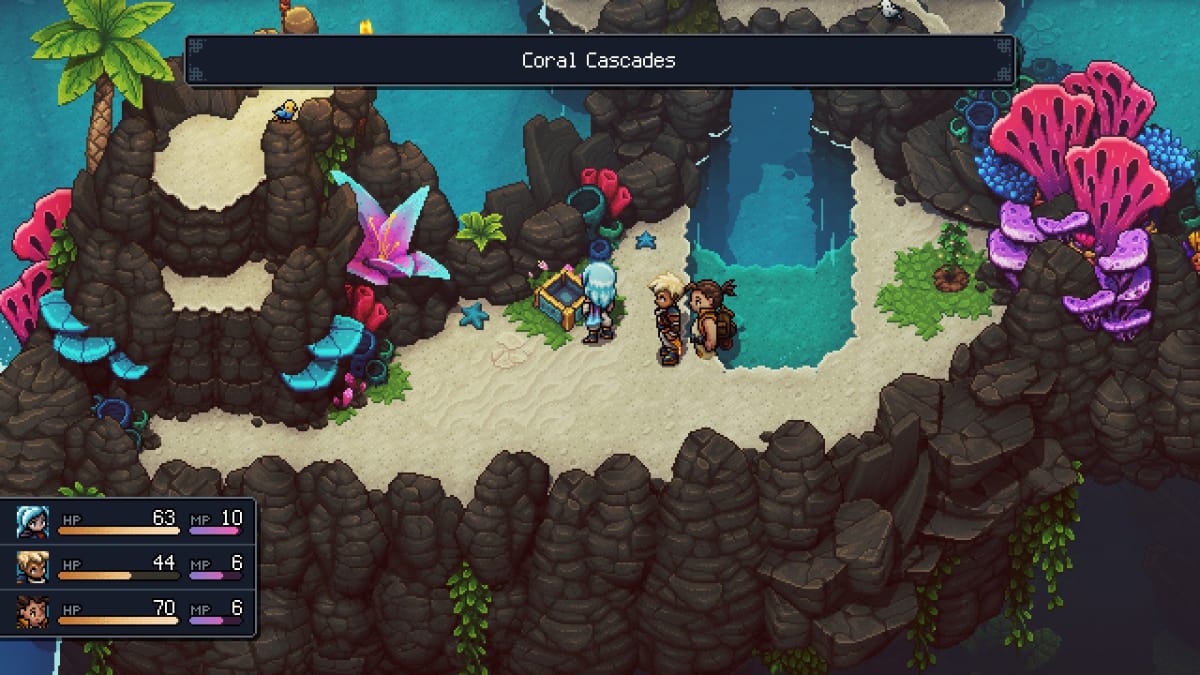
Port Town of Brisk - Left side
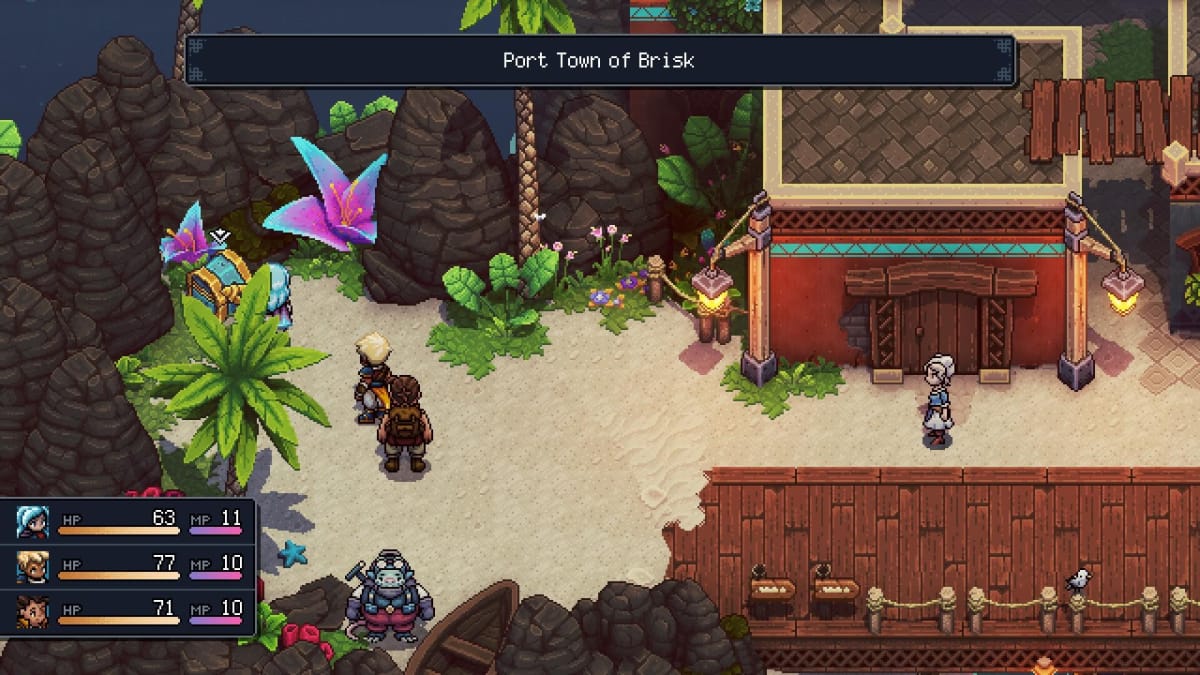
Port Town of Brisk - Upper left, inside building with 3 chests. Have to pick the chest with 10 gold in it 5 times, costs 5 gold each time. Completely random, so just keep picking the left one until you get it.
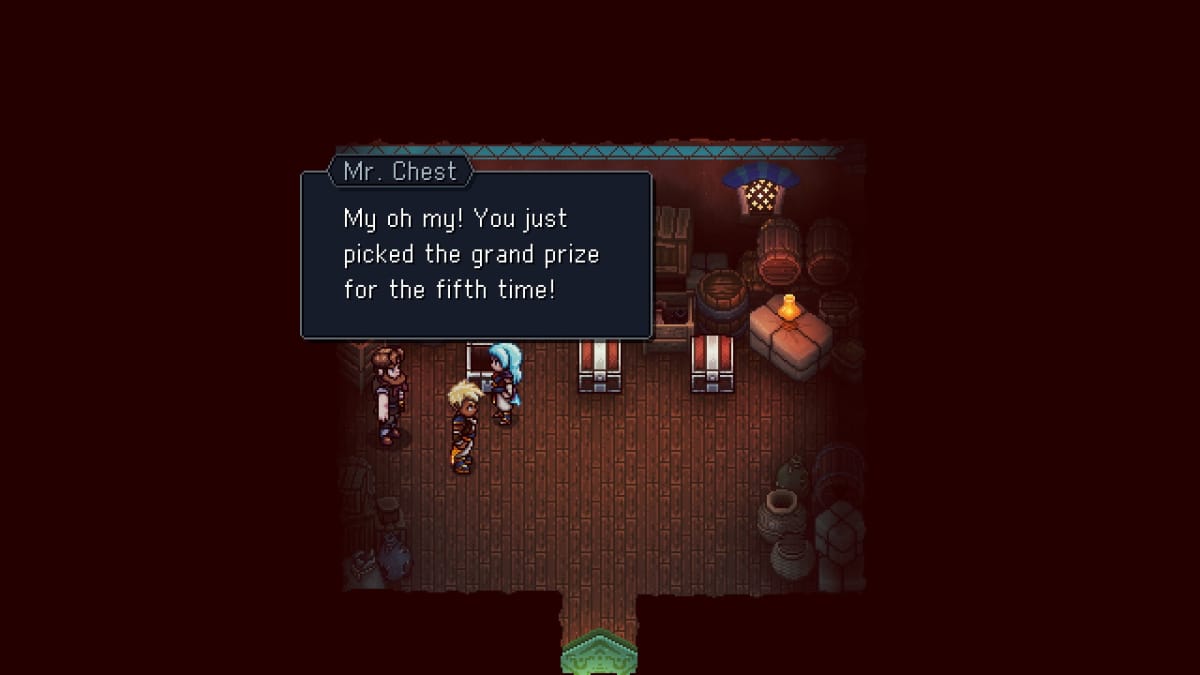
Port Town of Brisk - Under the docks
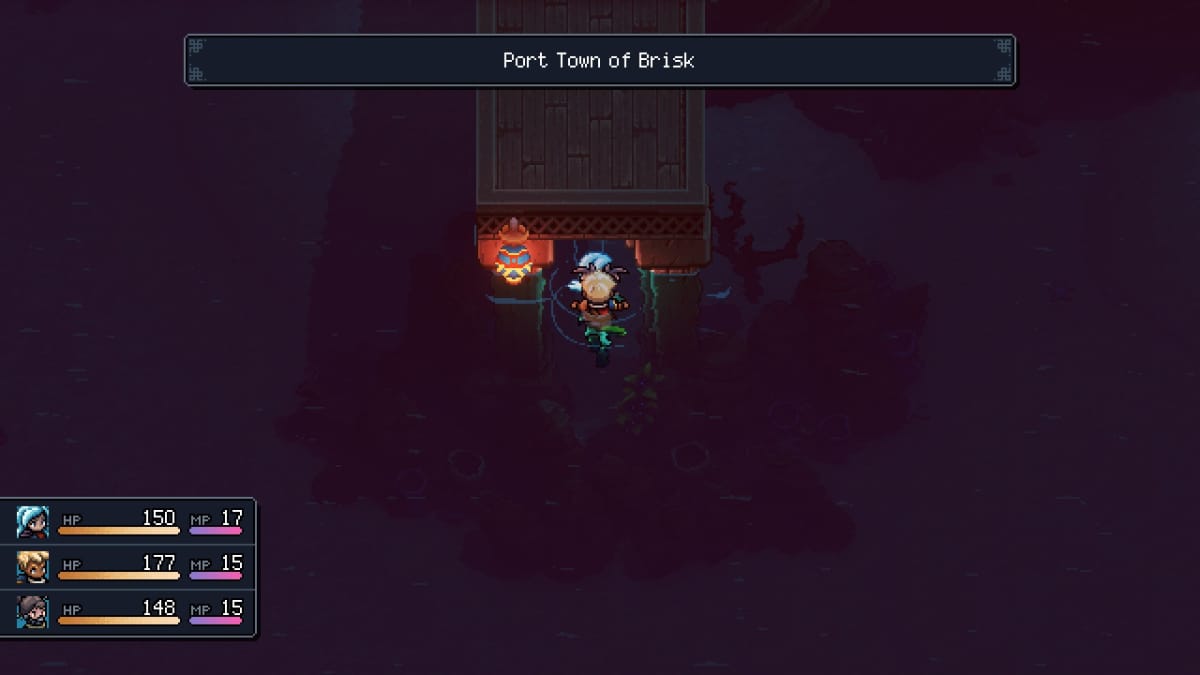
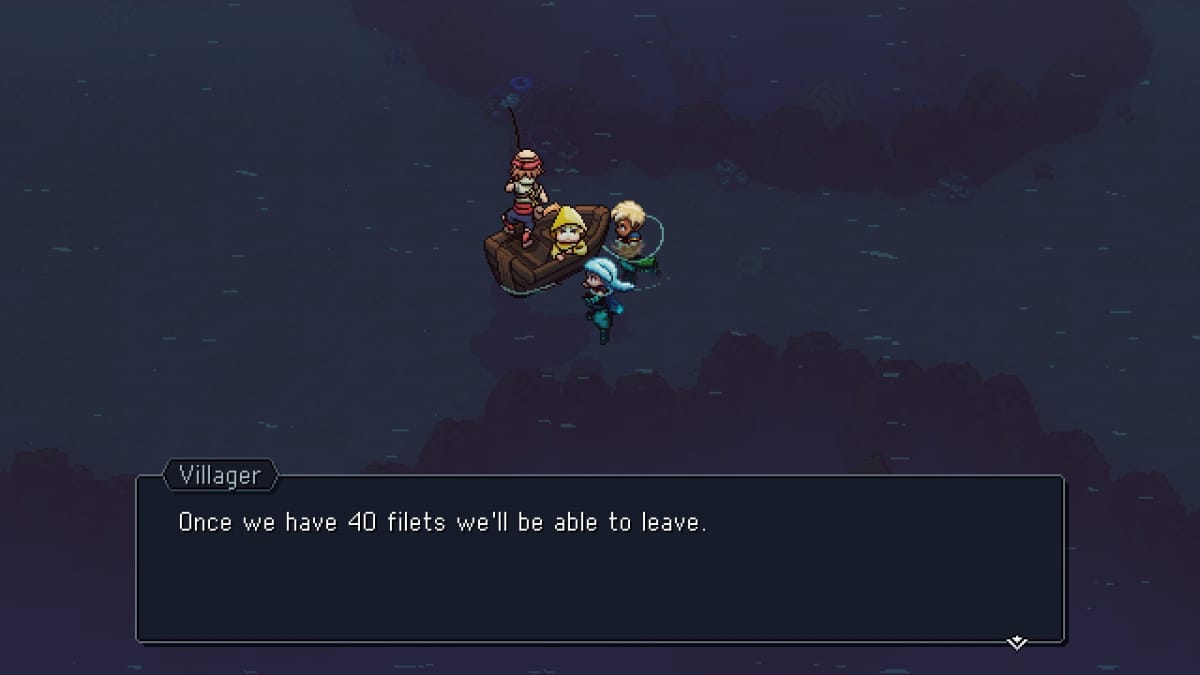
Port Town of Brisk - Swim to left side. Give the man on the boat 40 fish.
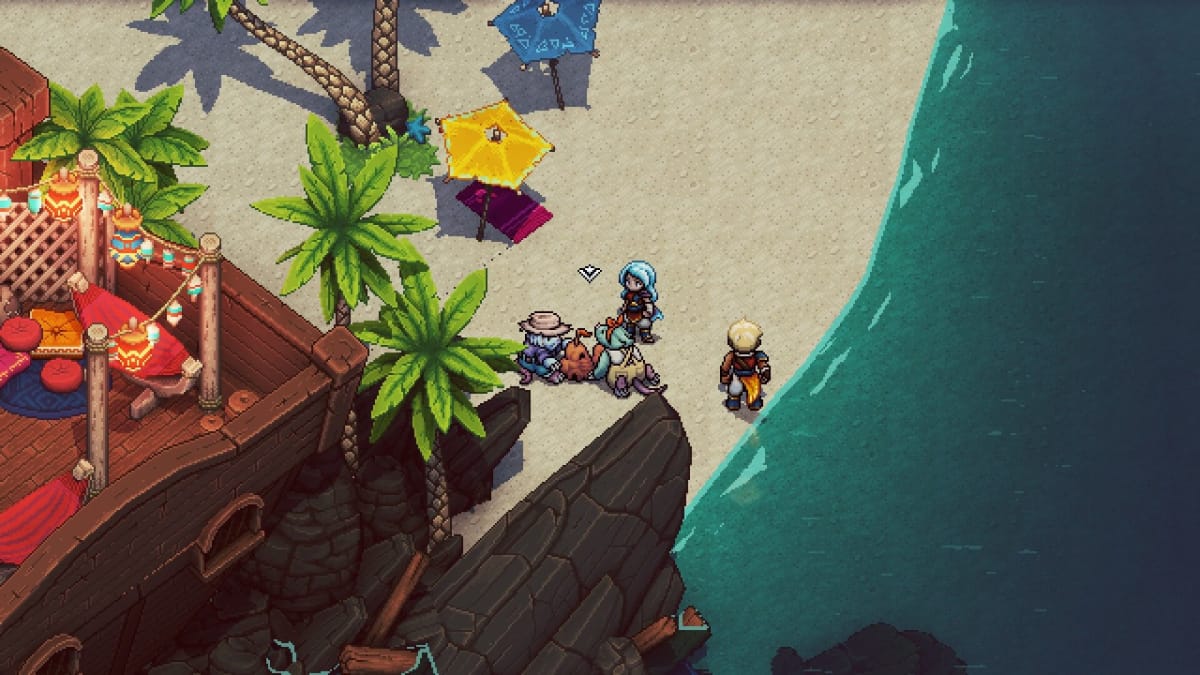
Port Town of Brisk - Right side, on small beach. Talk to kids making a sandcastle.
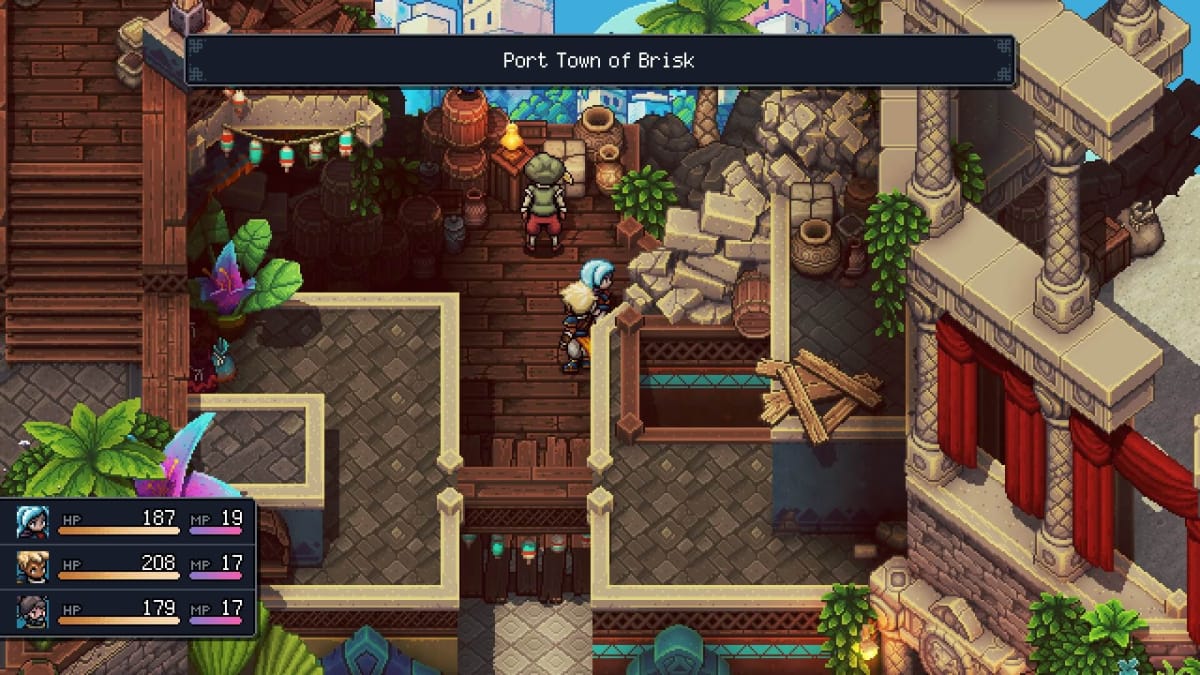
Port Town of Brisk - North side, head right at the dead end to find a secret room.
Port Town of Brisk - Talk to the villager eating icecream, then go back to Stonemasons Outpost and talk to the painter. Return to Brisk and talk to the painter.
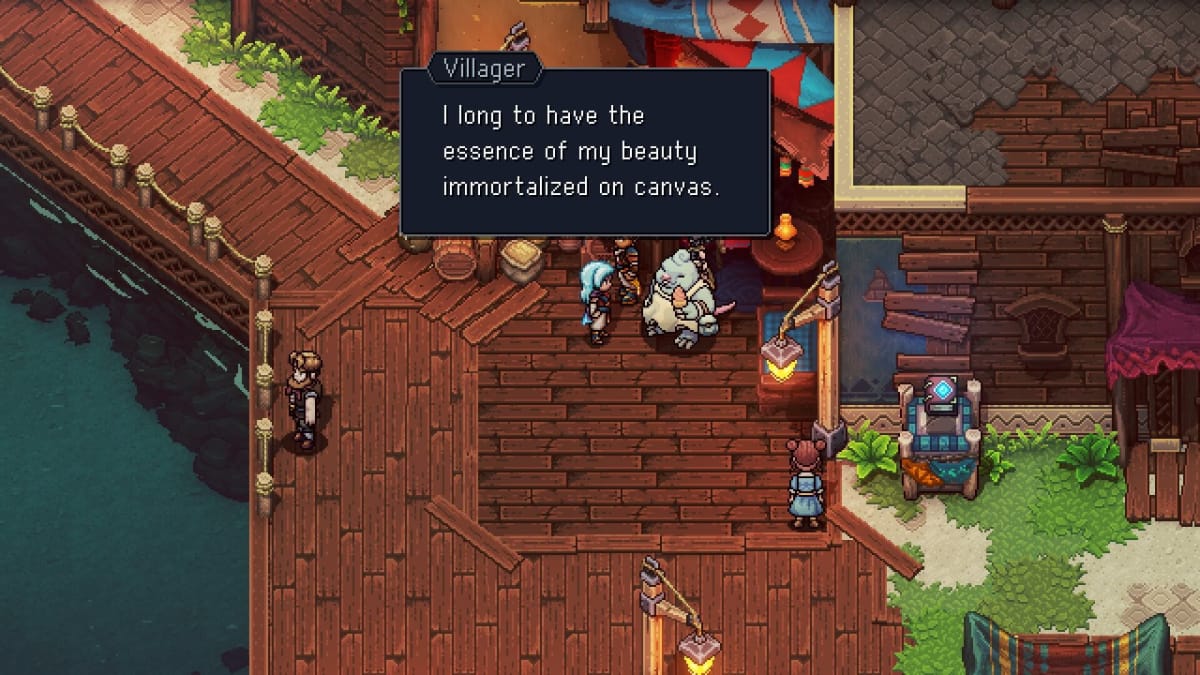
Abandoned Wizard's Lab - Light blue portal, under wooden platform
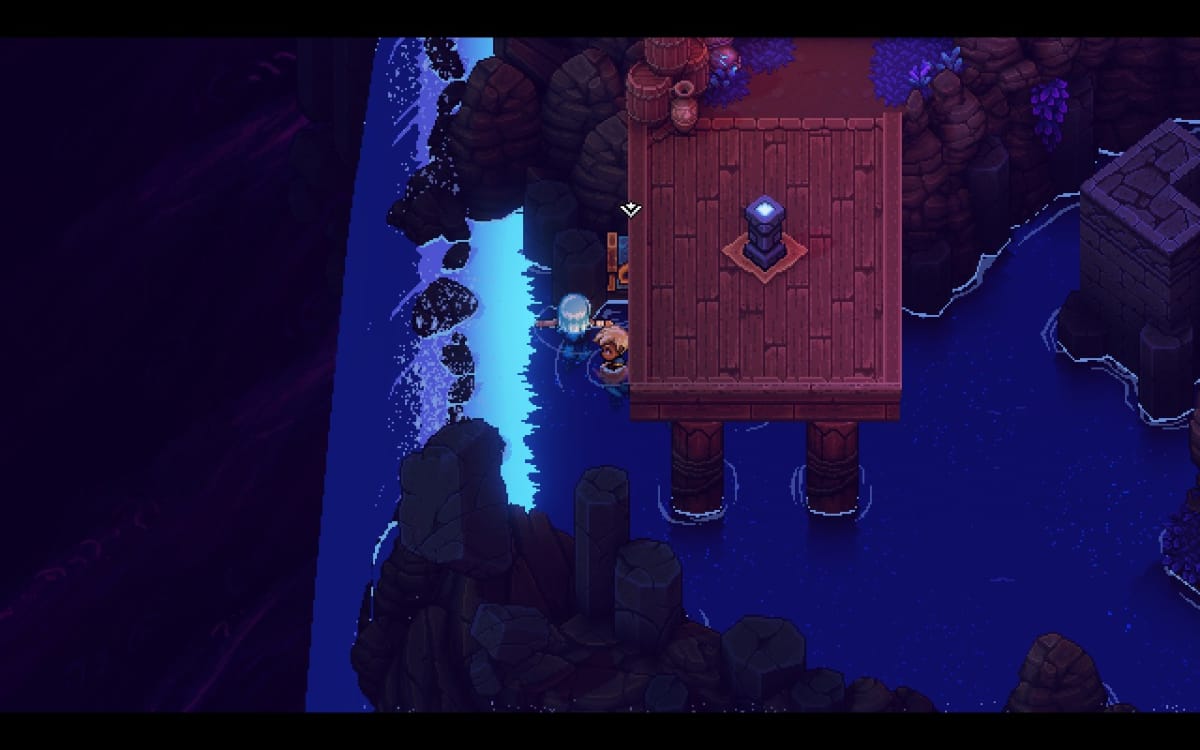
Abandoned Wizard's Lab - Red portal, after solving puzzle
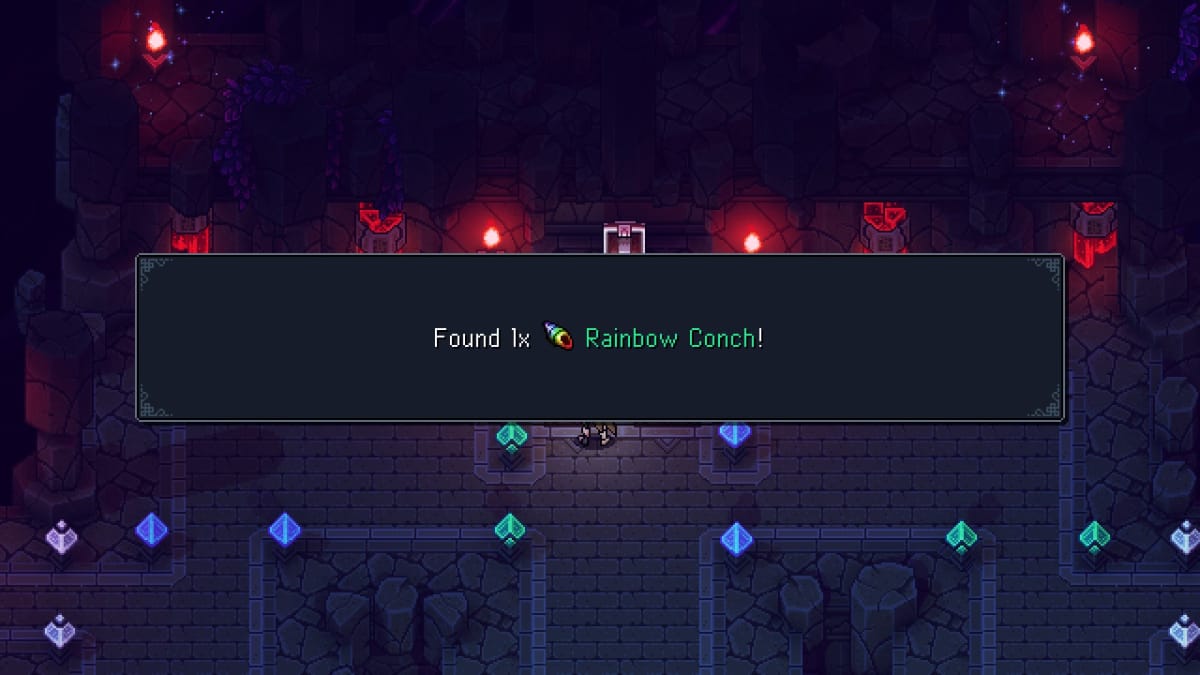
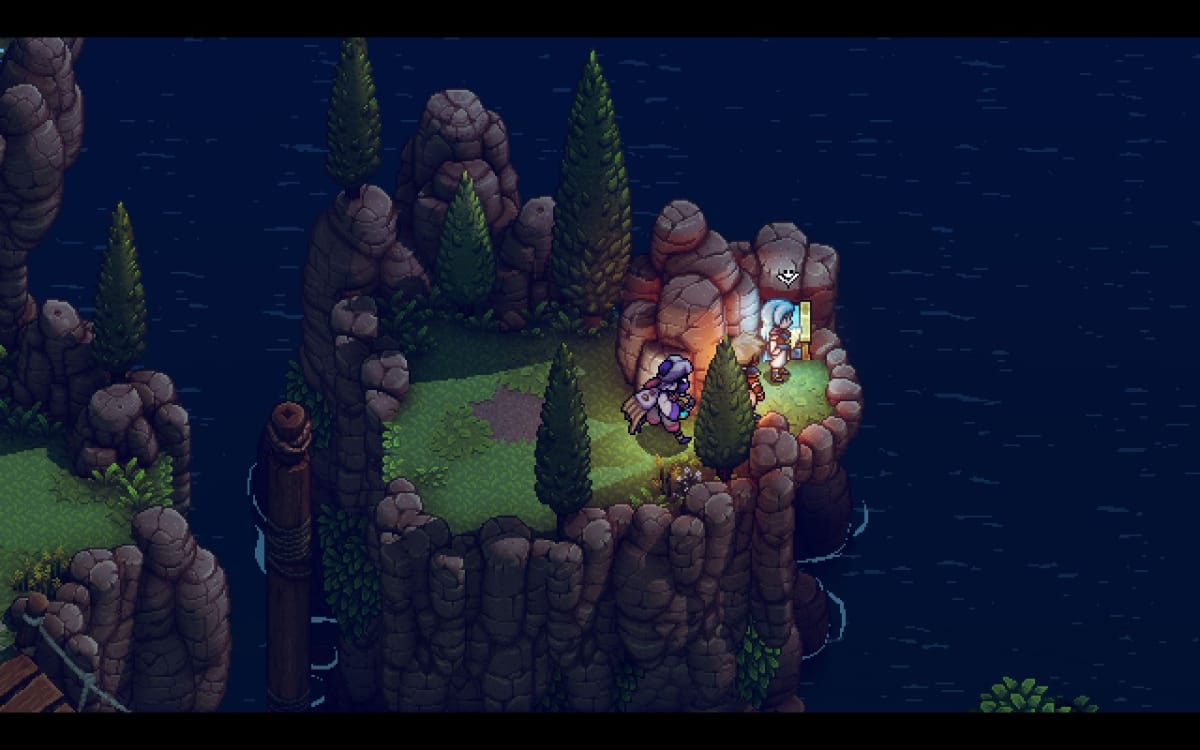
Wraith Island Docks - Under log bridge
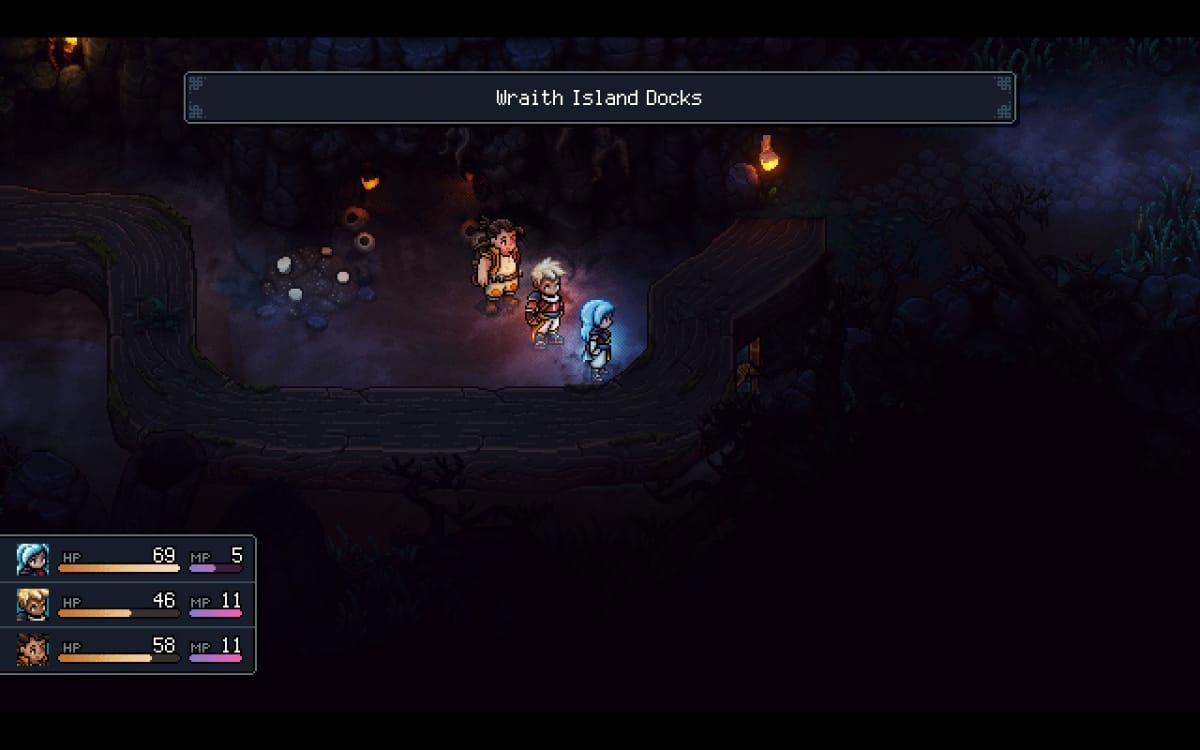
Town of Lucent - Talk to the painting inside the first building to the left of Lucent's entrance. Then talk to the painting in the building left of the tavern. Head back to the first painting and give it Berry Jam.
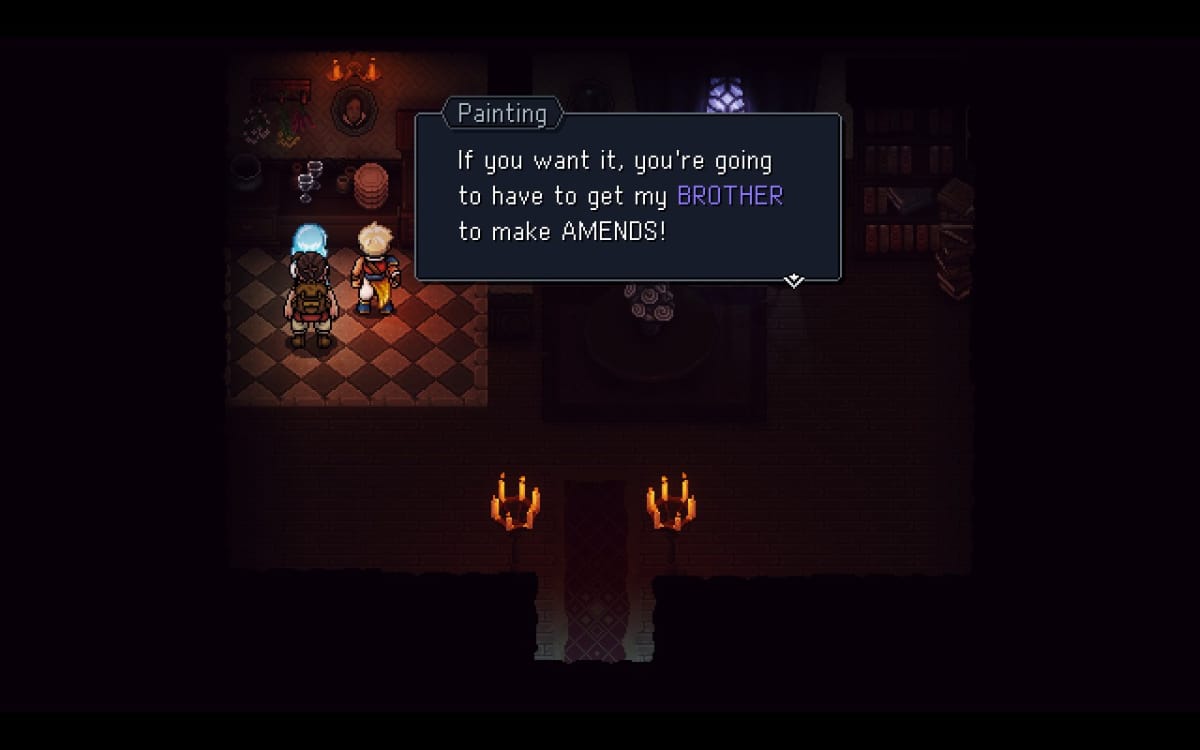
Town of Lucent - North east side
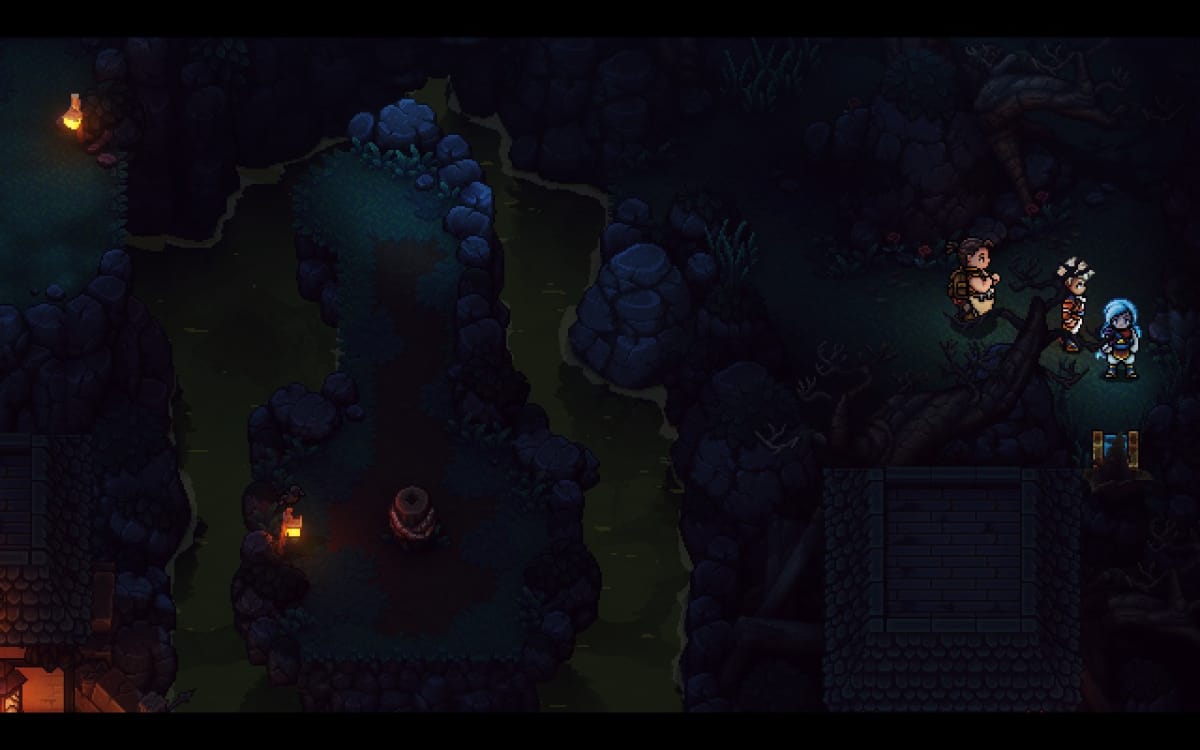
Cursed Woods - Hidden in cave
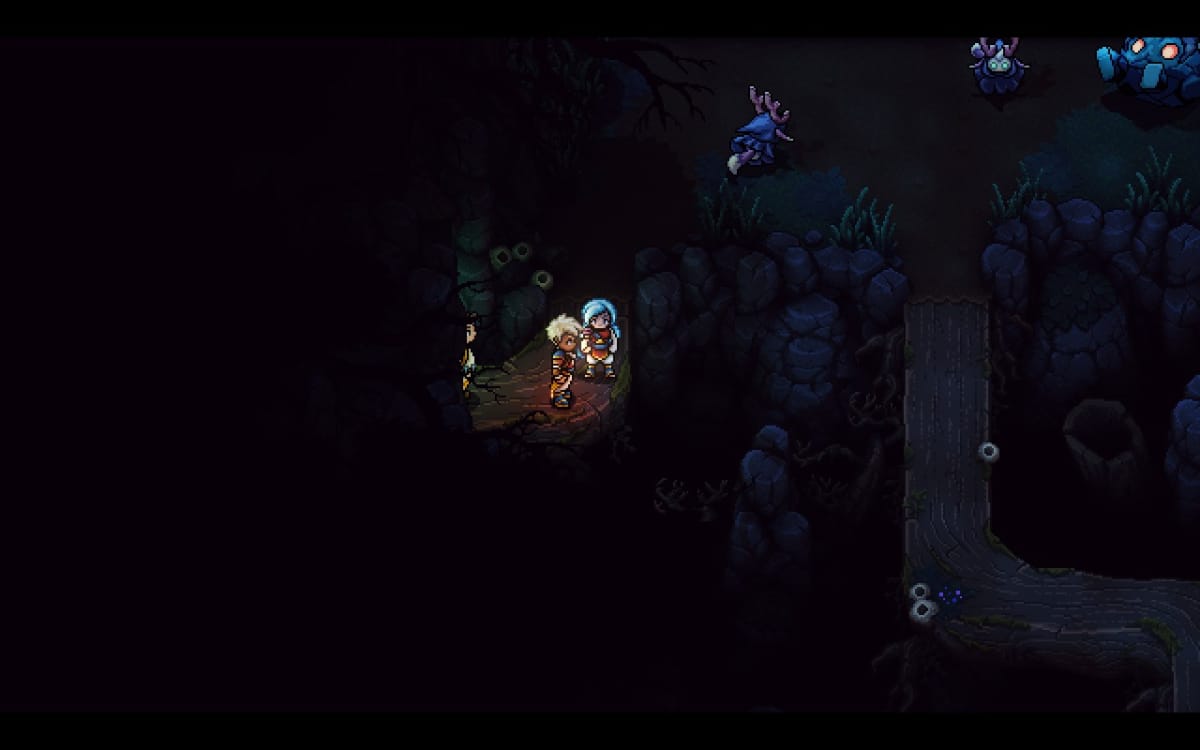
Flooded Graveyard - In water to the right of Necromancer's lair
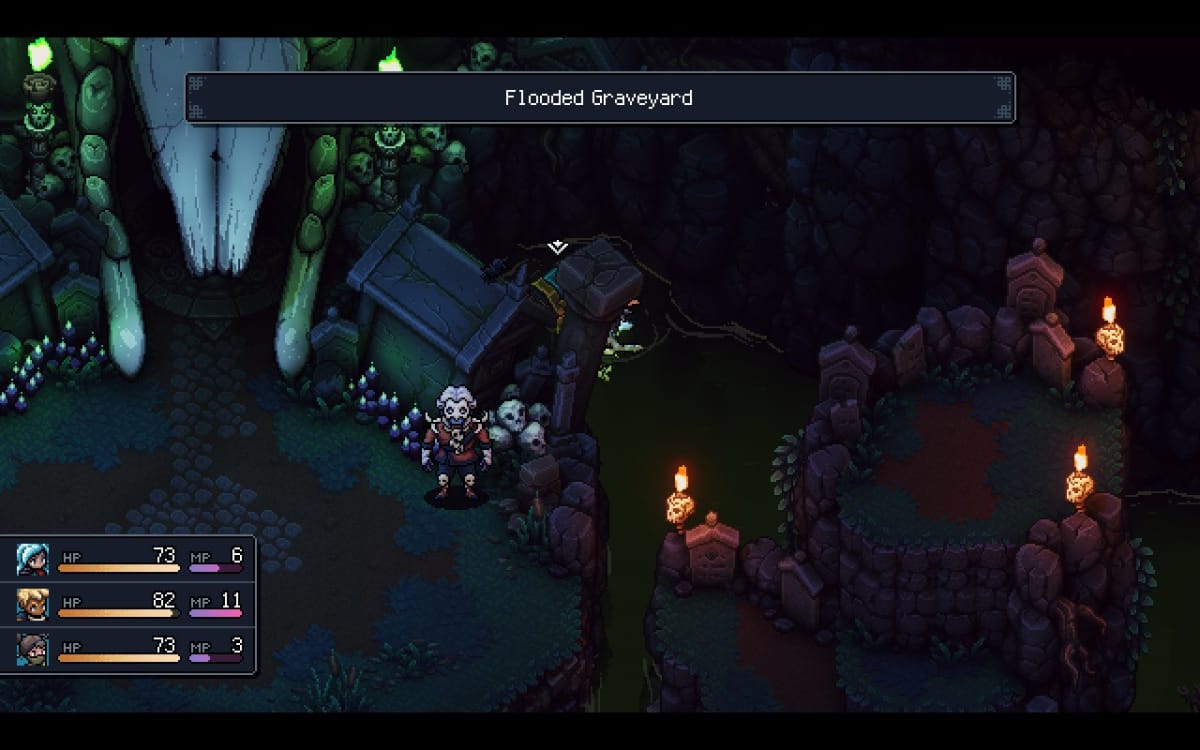
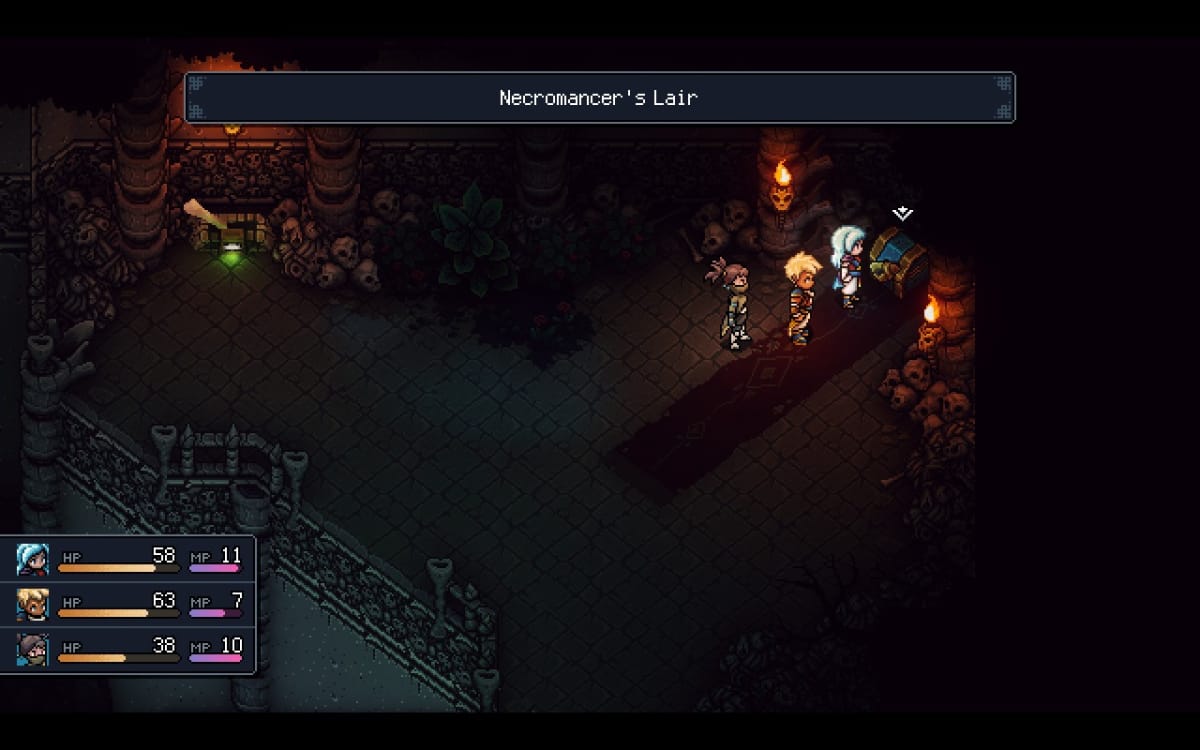
Necromancers Lair - Right room at 3 way split. Top right, grapple onto wizard enemy
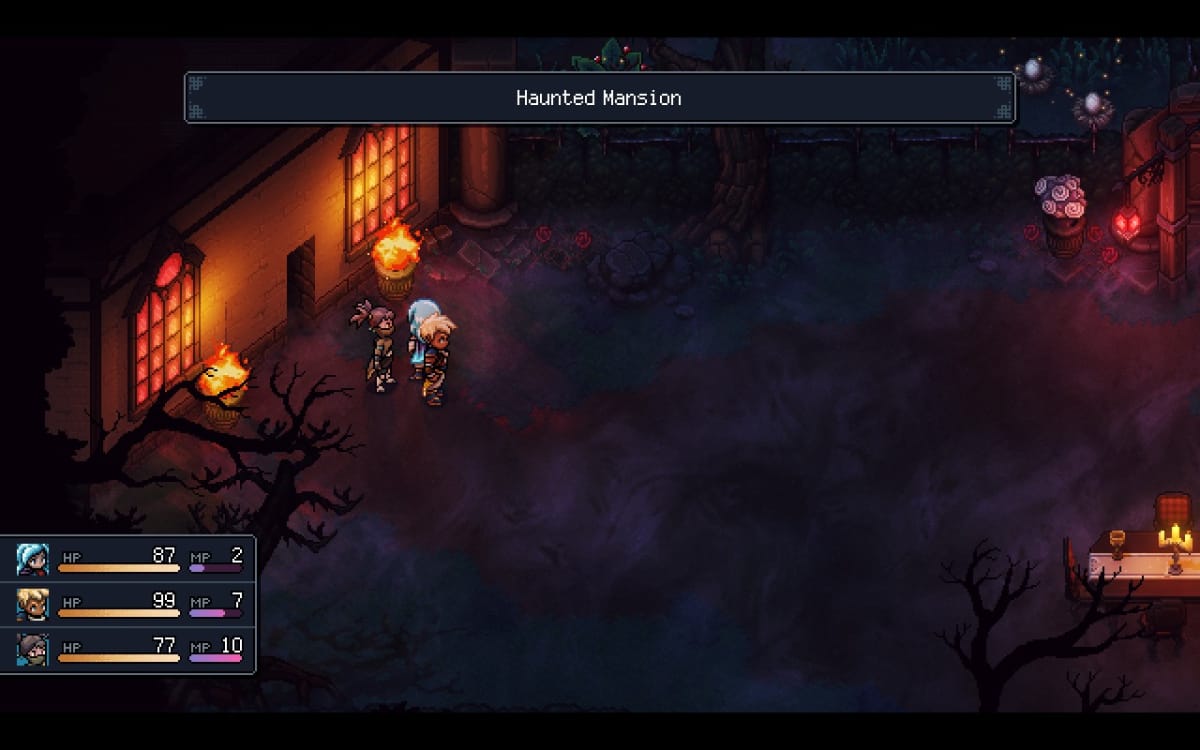
Haunted Mansion - Light torch in garden
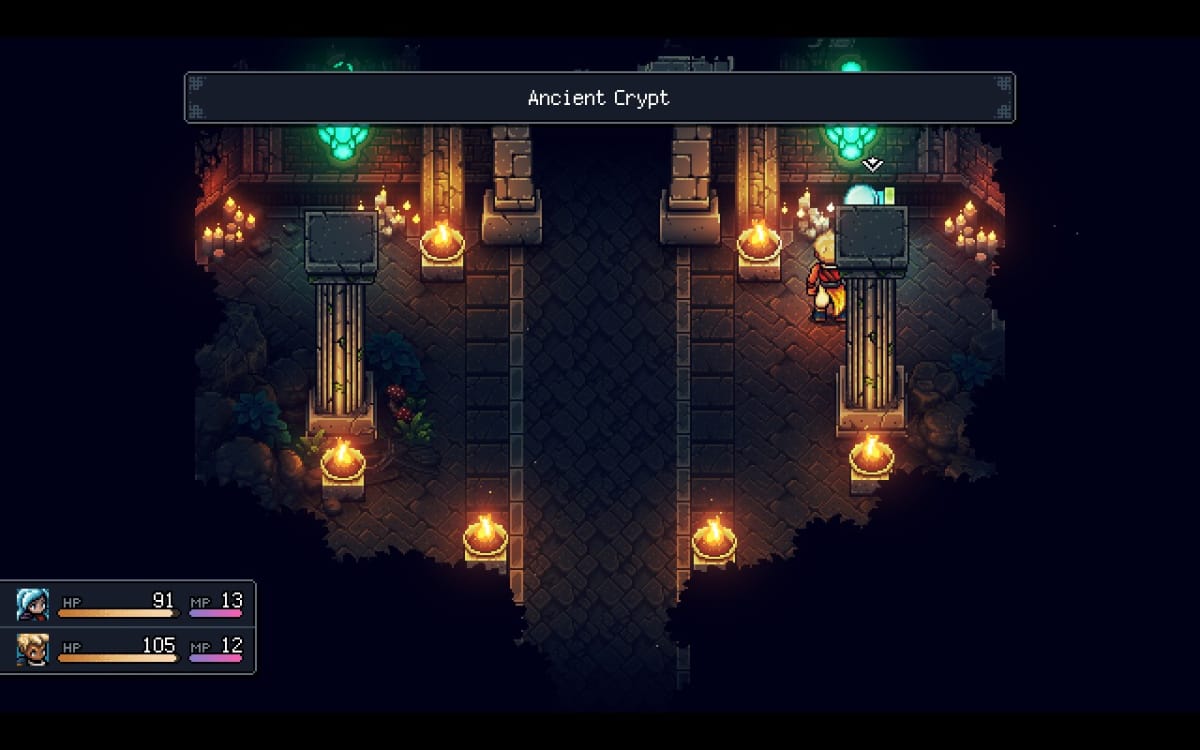
Ancient Crypt - Hidden behind right pillar
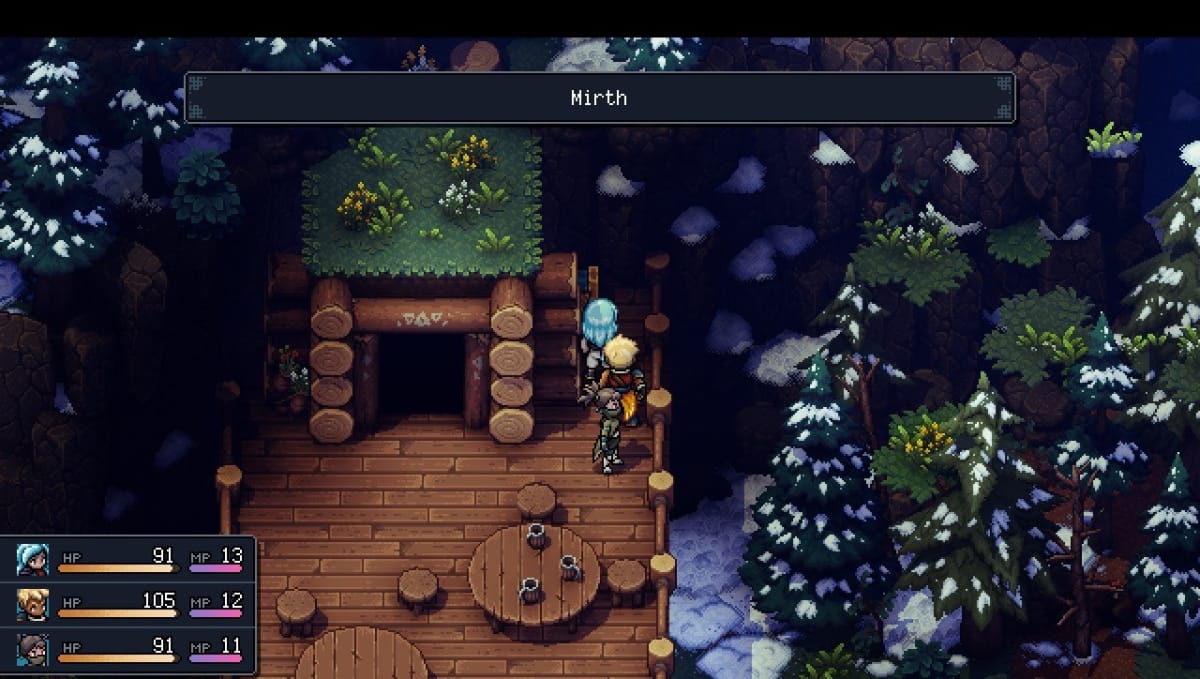
Mirth - On top of main building
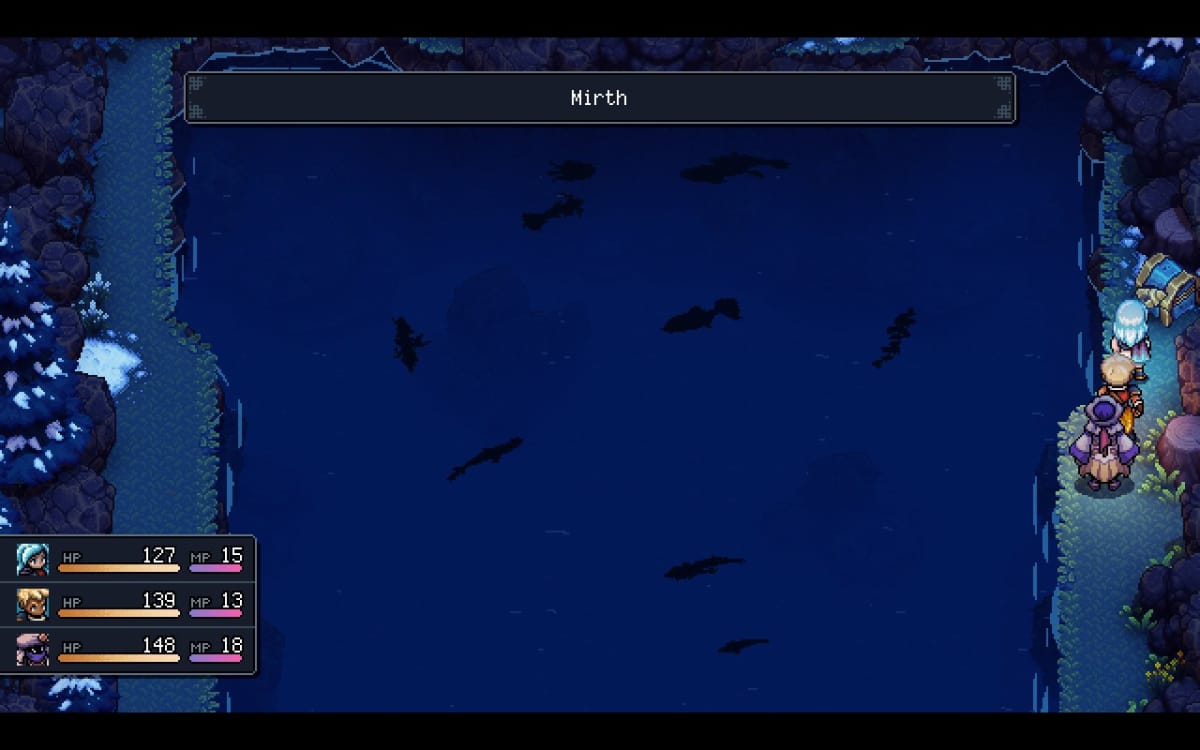
Mirth - Side of the pond (requires Fishing Hut)
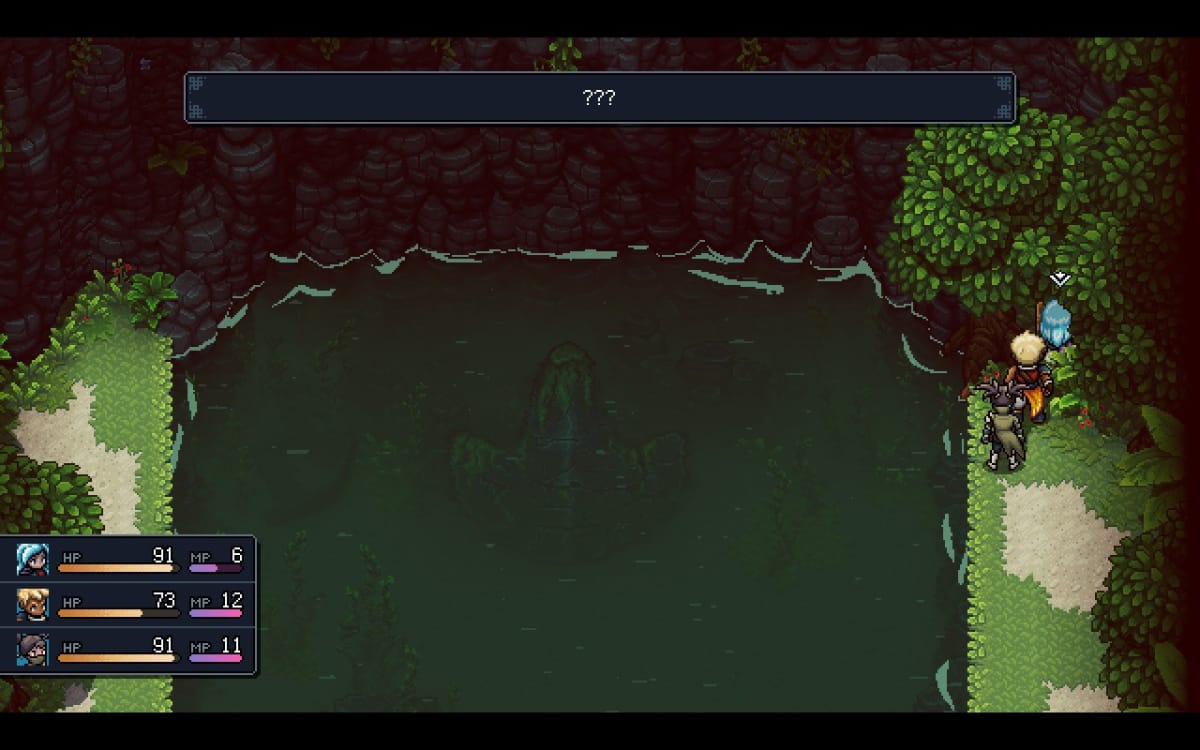
??? (Island at bottom of map) - Top right
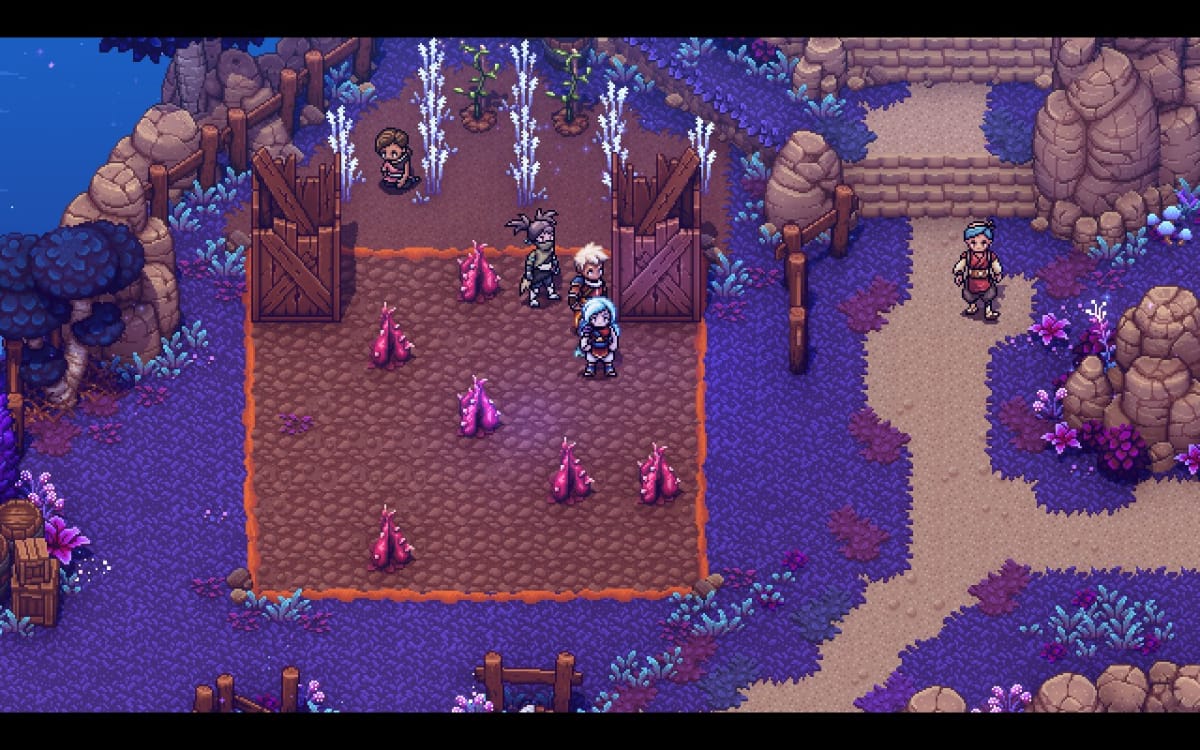
Mooncradle - Bottom-left building with farmer. Push boxes around outside to clear roots
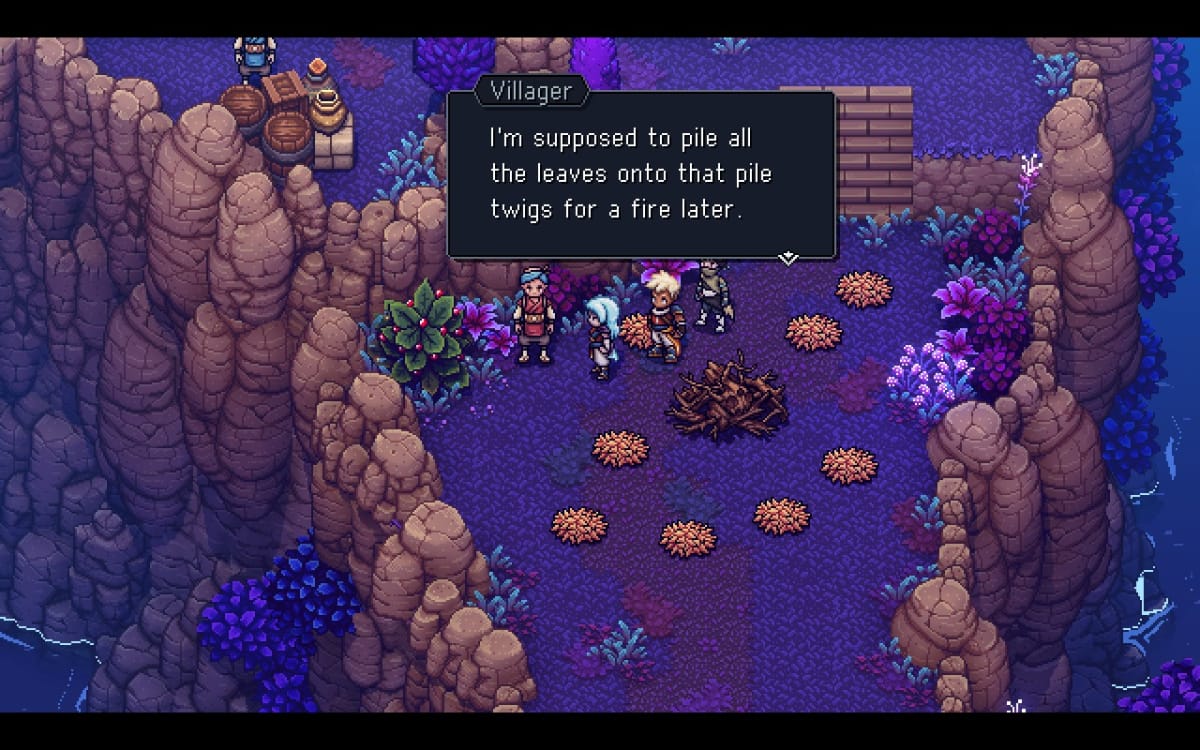
Mooncradle - Right side. Use wind to push leaves into pile of sticks
Jungle Path - Complete mirror puzzle (requires an ability unlocked after you visit this area for the first time)
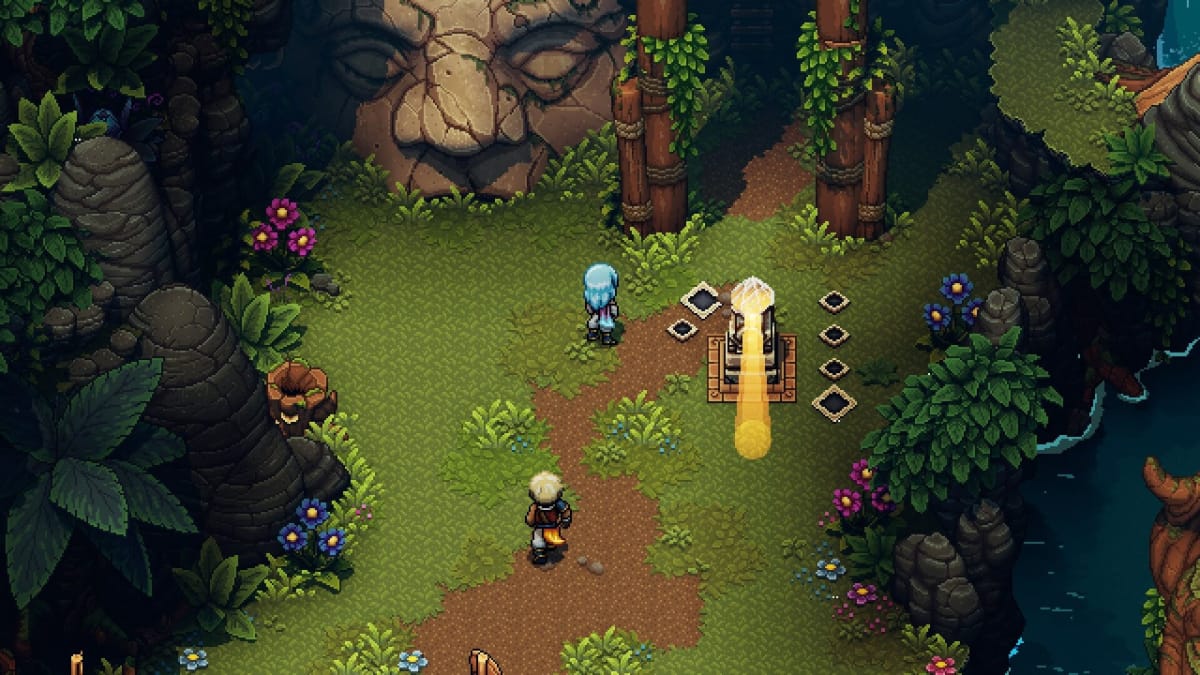
Sacred Grove - Under the waterfall
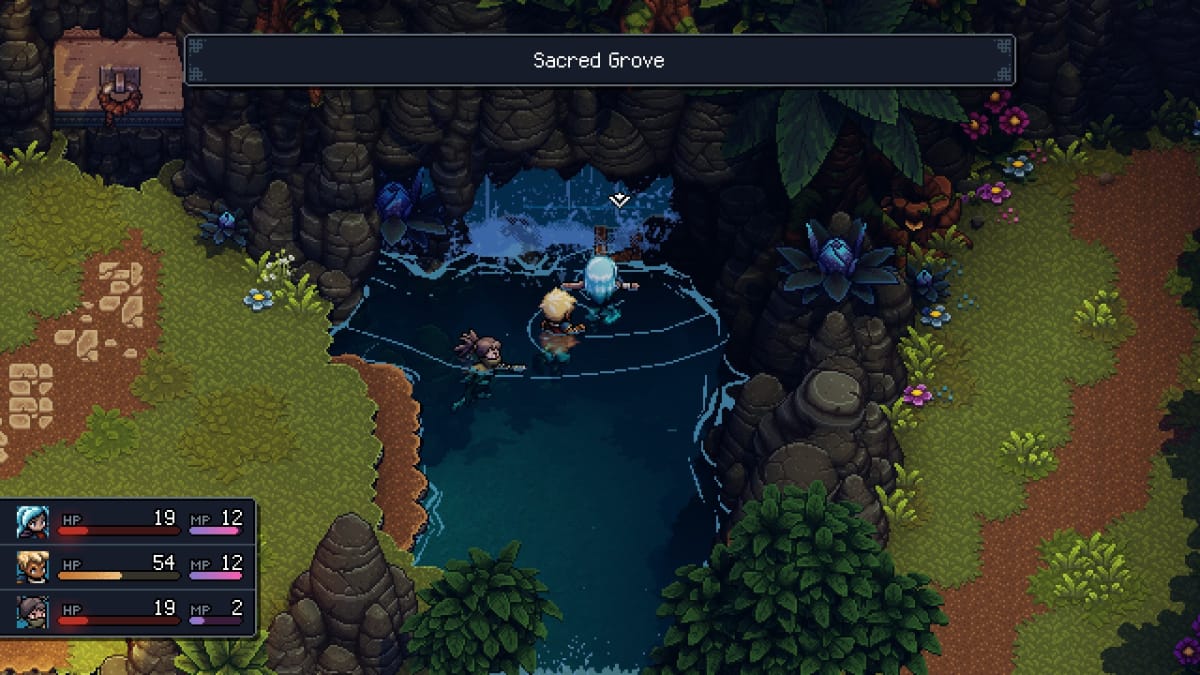
Lake Docarria - In the village. Building southeast of entrance whirlpool.
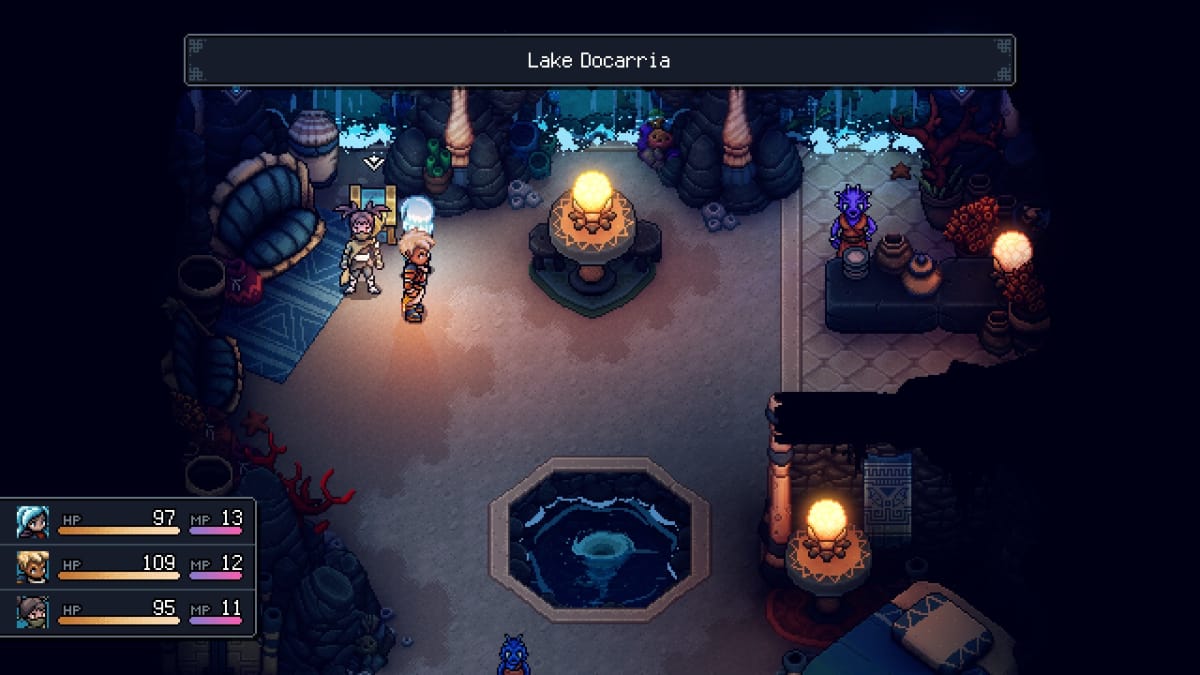
Lake Docarria - In the village. Use whirlpool at the back of the store nearby, then go past the first underwater whirlpool and head north.
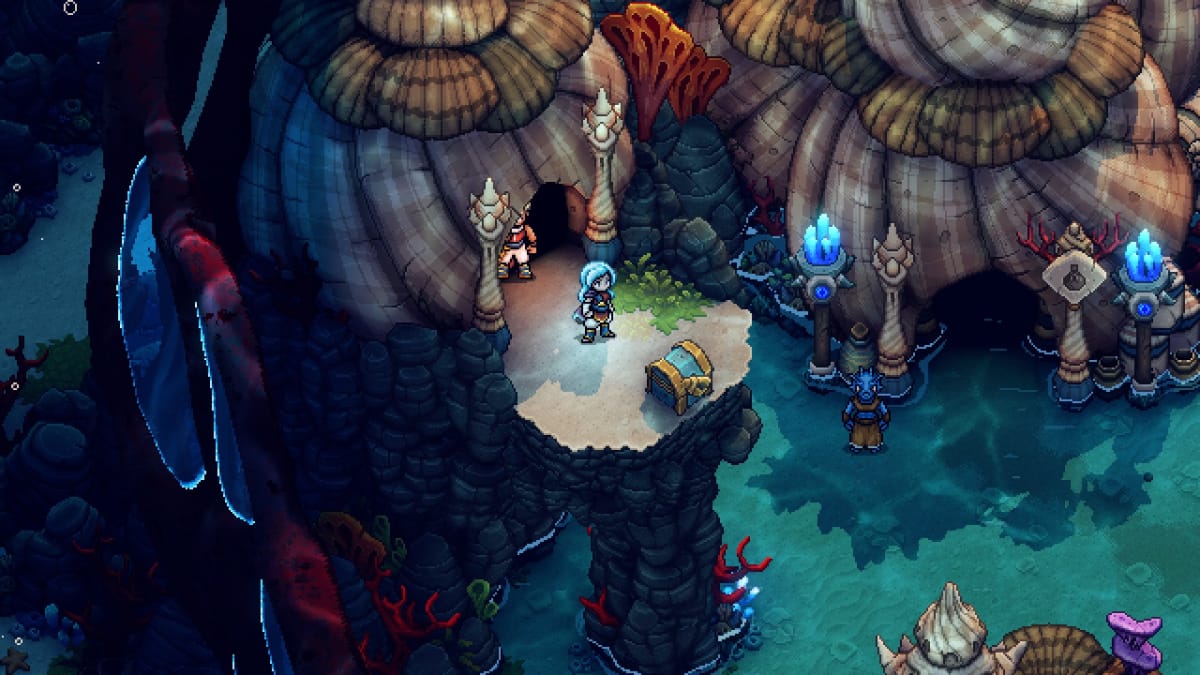
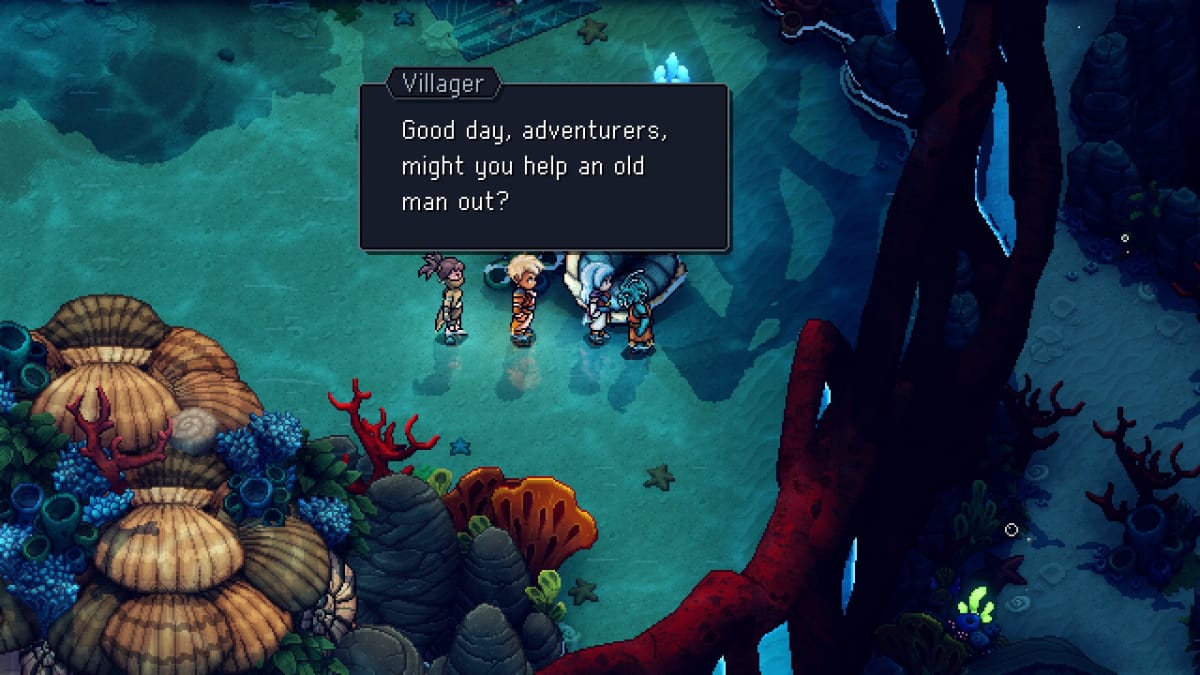
Lake Docarria - In the village. Help the old man to the right side of the village find 3 kids:
- Use whirlpool at the back of the item store, then take the first whirlpool
- Then go back into the whirlpool and head north.
- Northeast house, through the whirlpool
Antsudlo - Third floor, bottom right
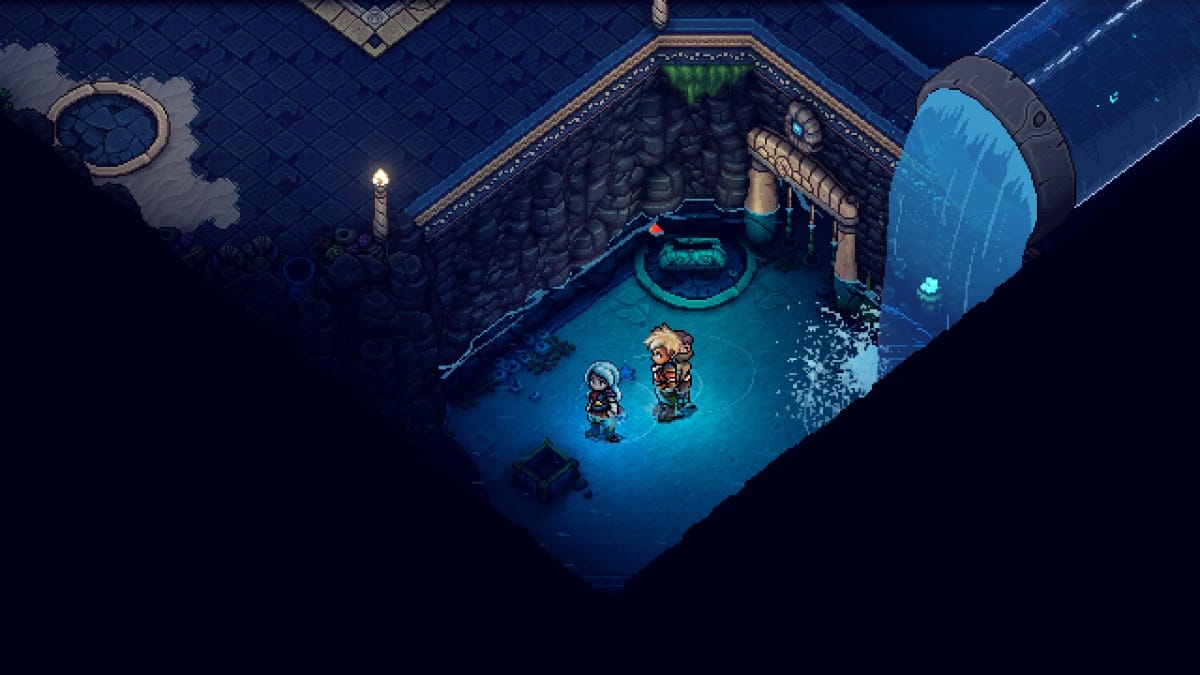
Glacial Peak - Head left after melting large ice block and going down the ladder
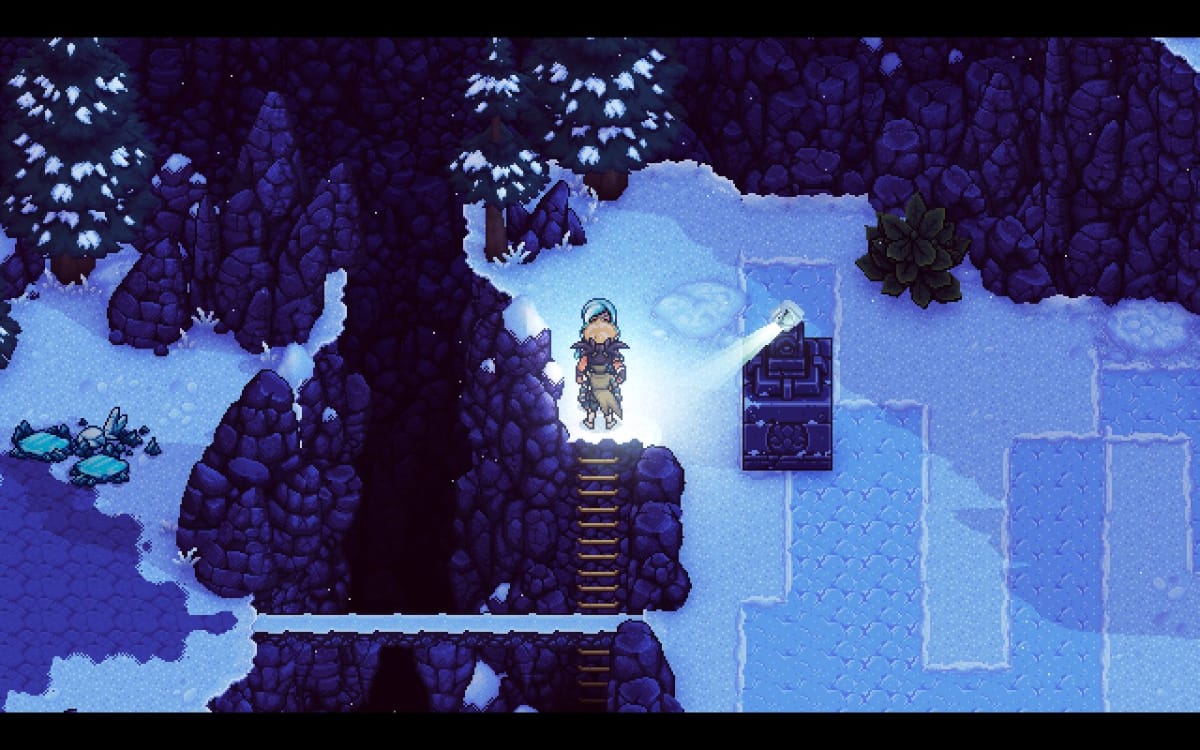
Torment Peak - Head down the vines and into the cave
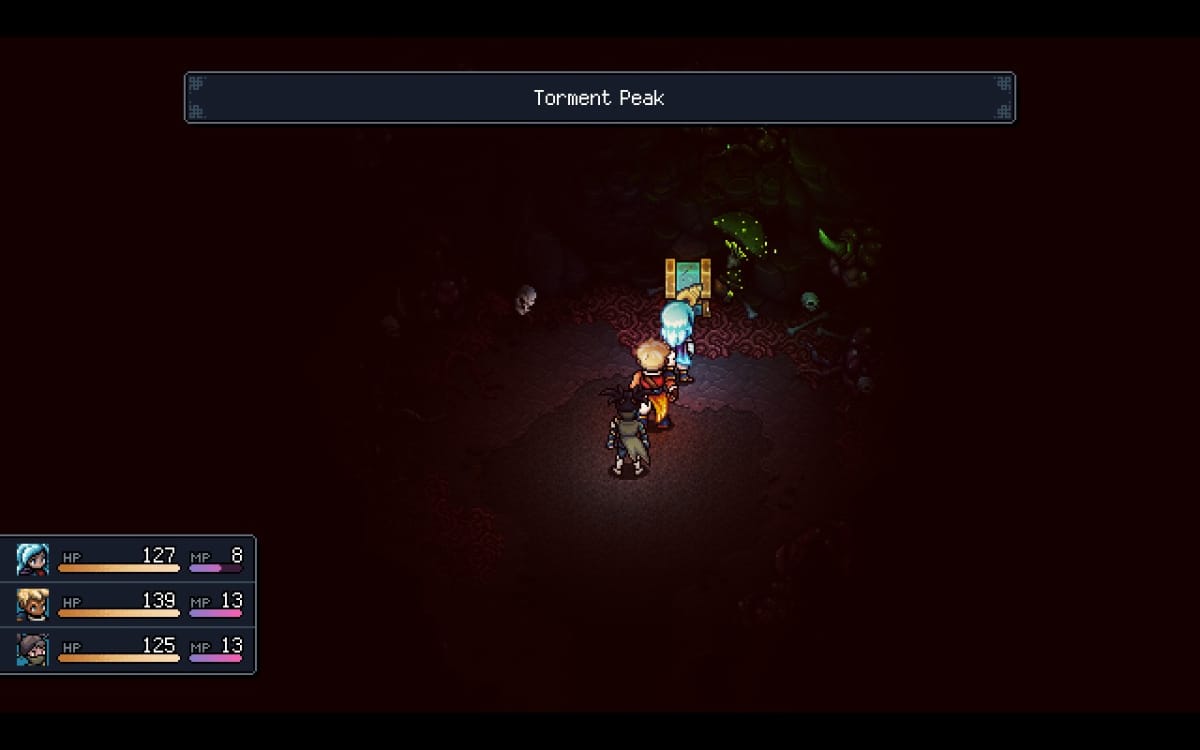
Mossy Cache - Left side
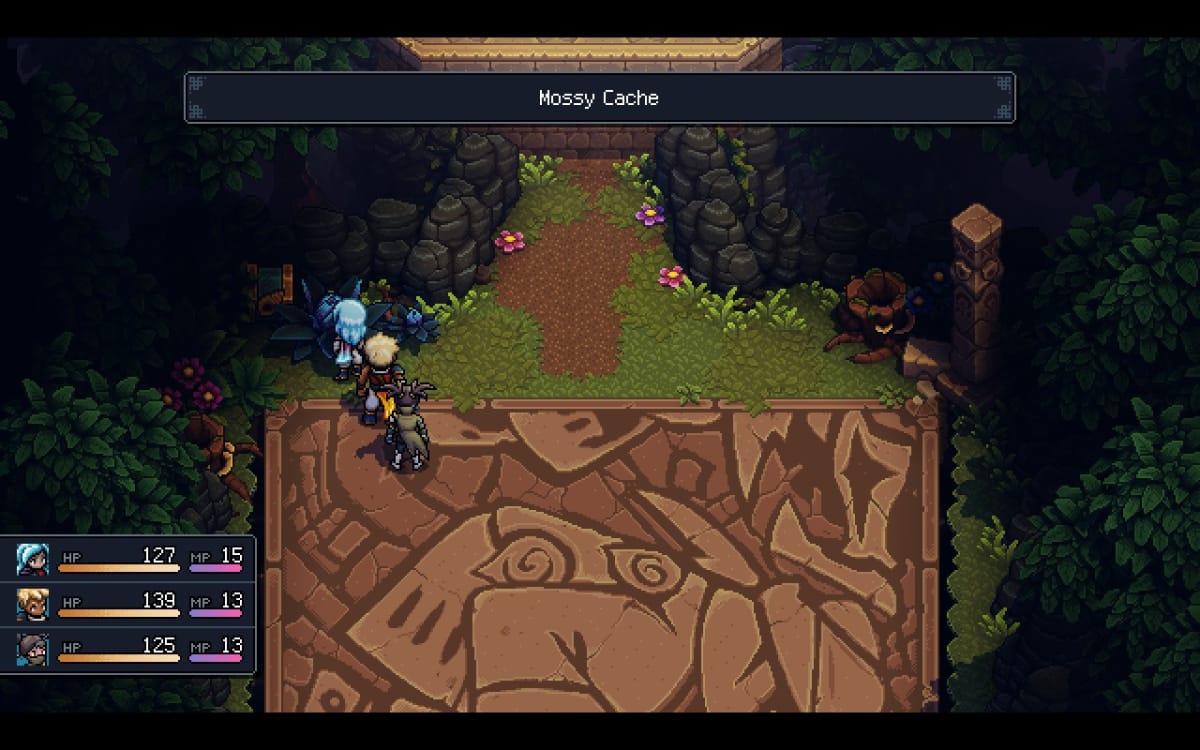
Autumn Hills - Top of the tall tree
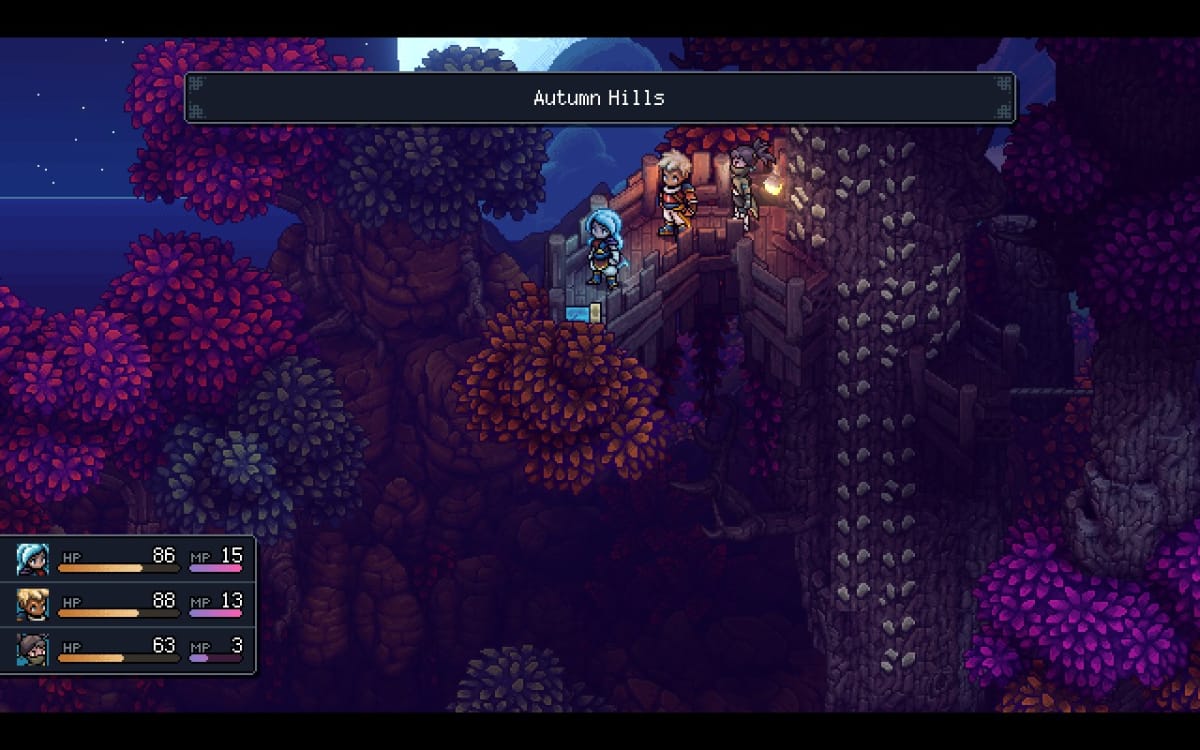
Bamboo Creek - North of Songshroom Marsh on the world map
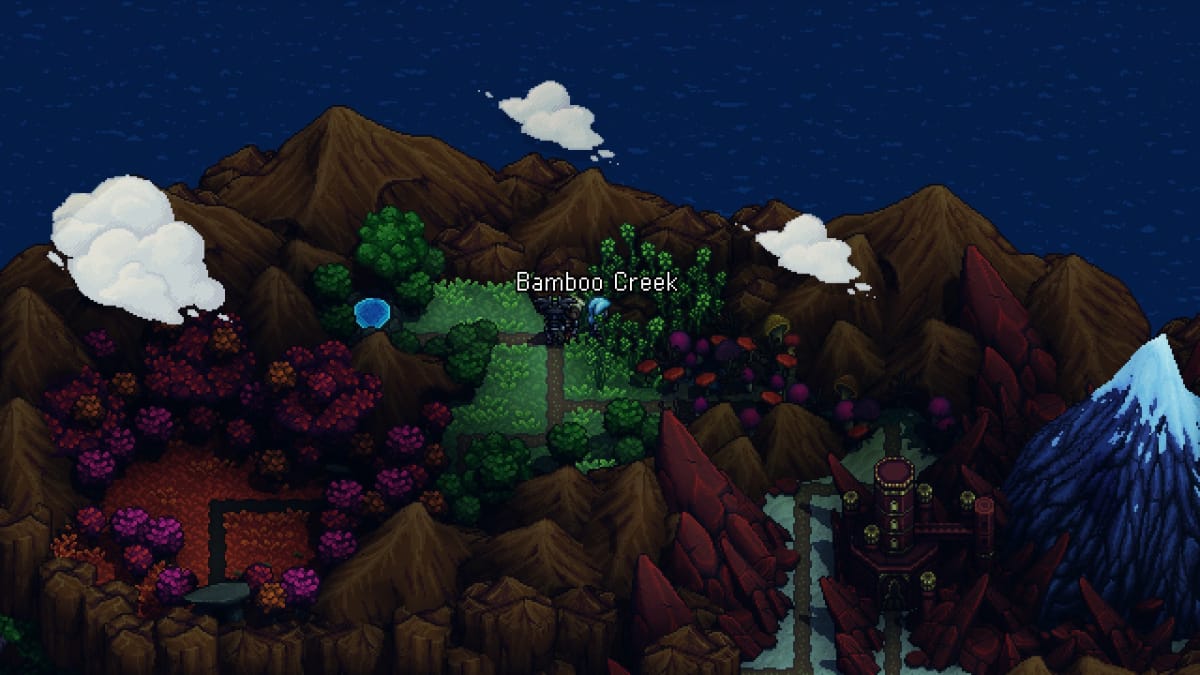
Songshroom Marsh - Behind the hut, go around from the left side
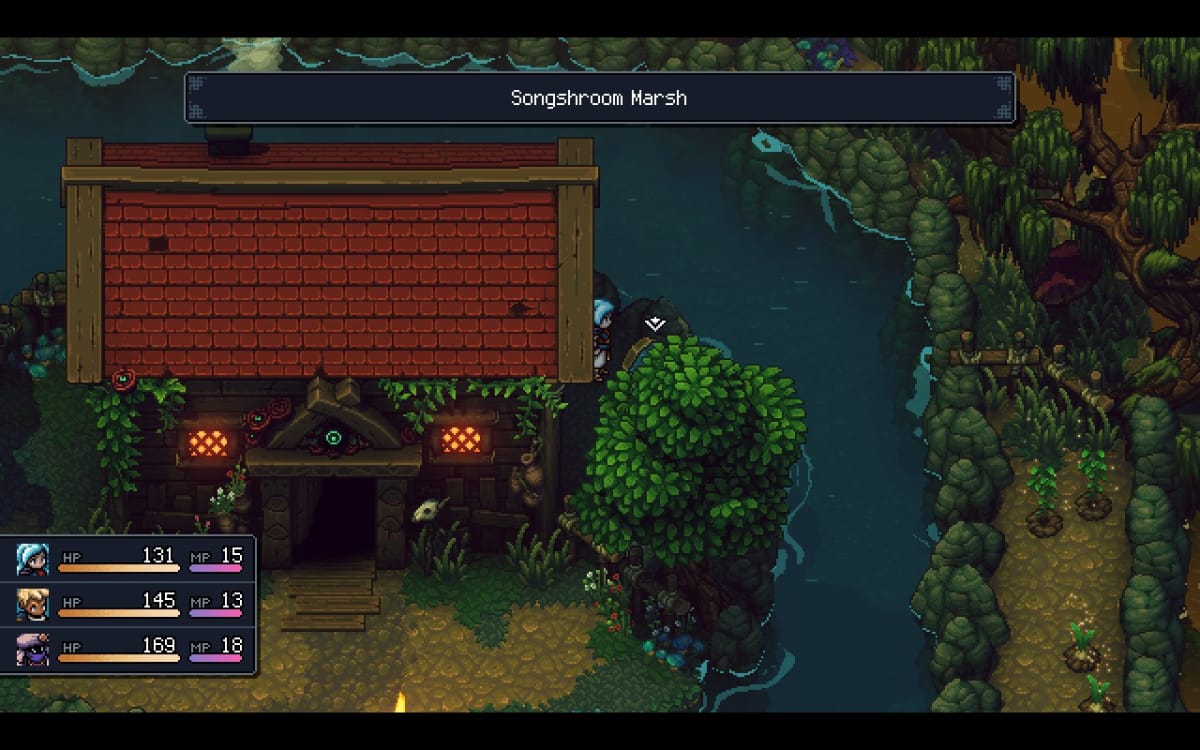
Clockwork Castle - Sliding ladder puzzle room
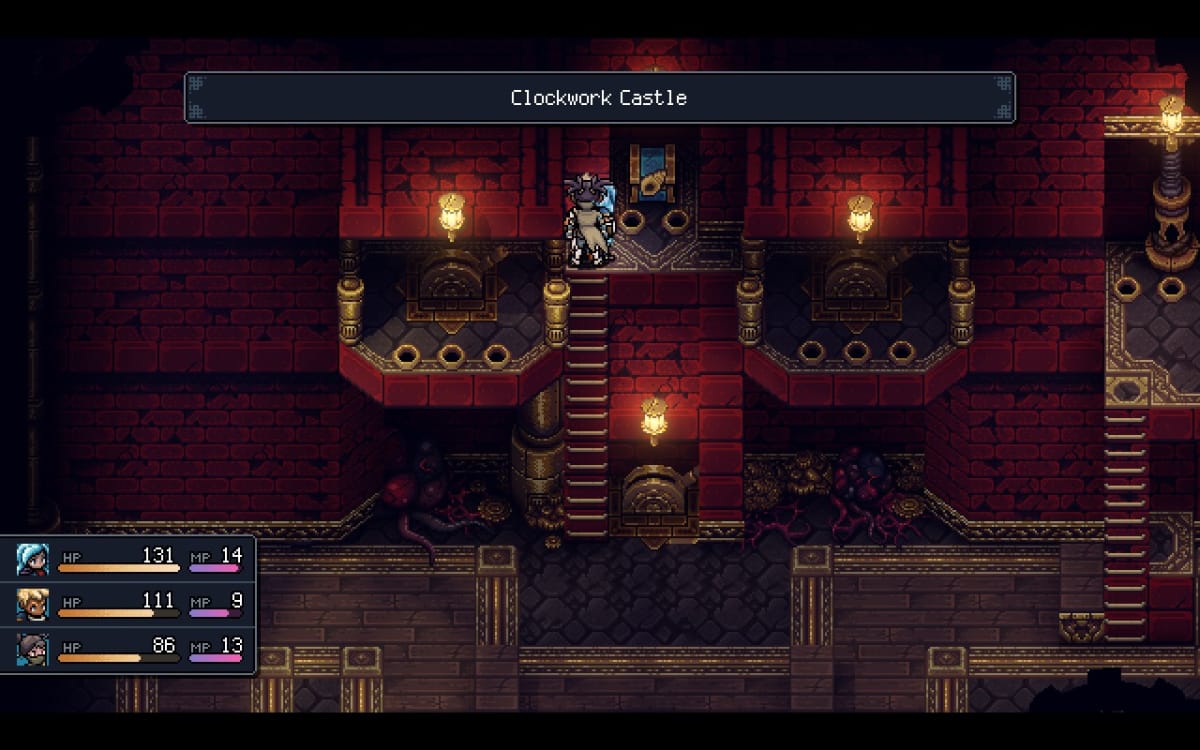
Mountain Trail - Right side, near the start. Requires grappling hook
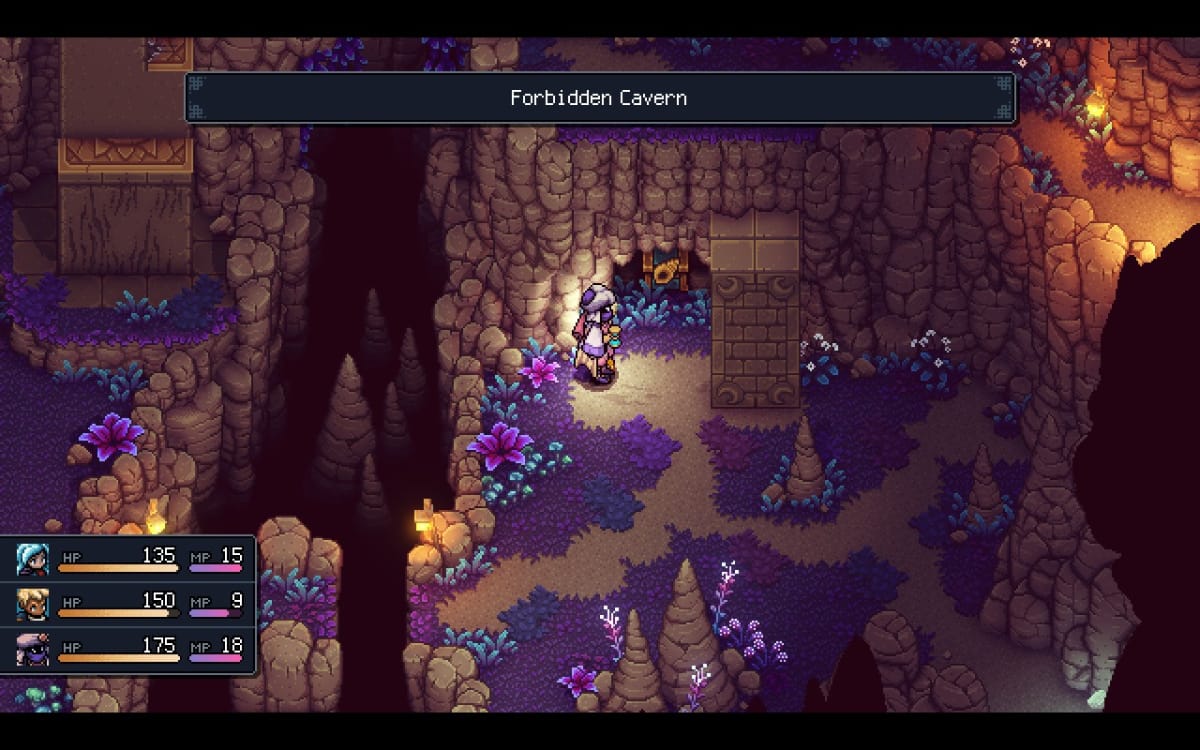
Forbidden Cavern - Left cave at start. Use wind to move the stone pillar
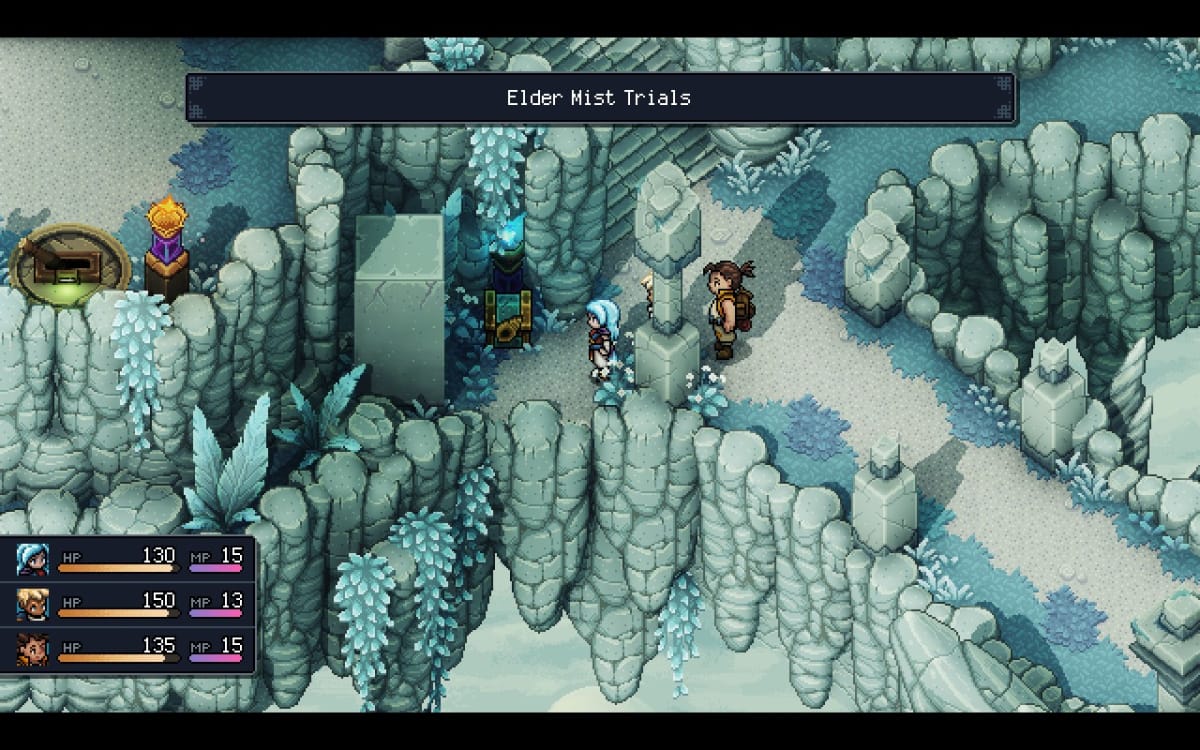
Elder Mist Trials - Left portal. Use wind to move the stone pillar
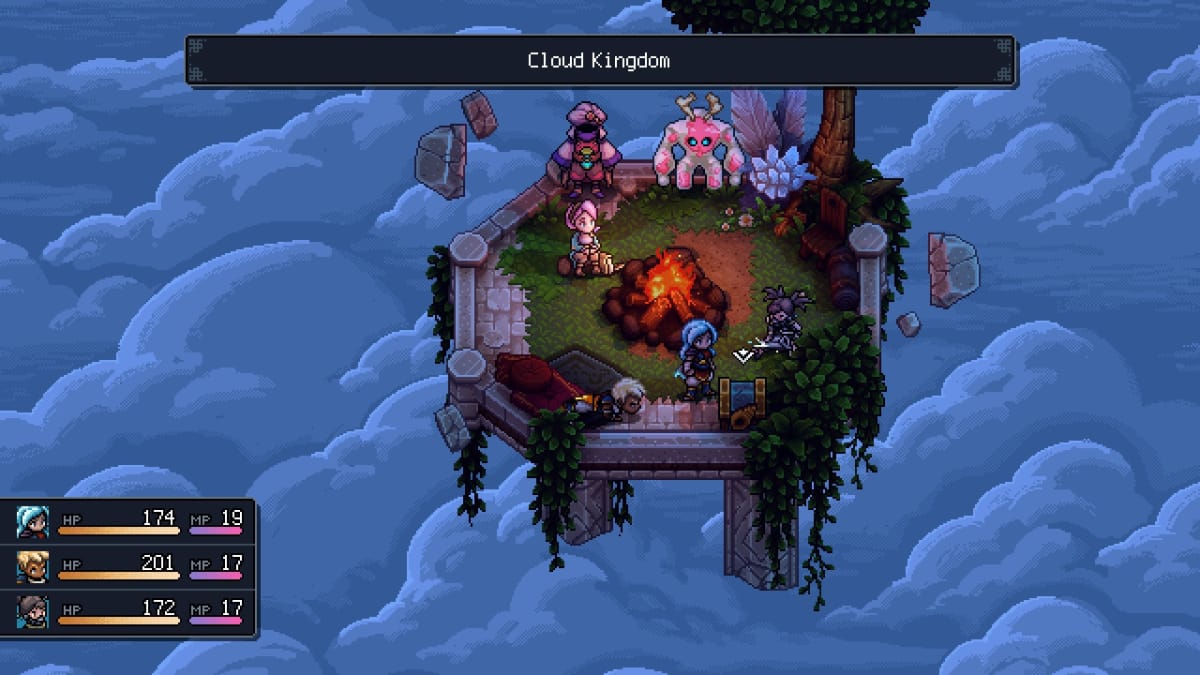
Cloud Kingdom - “Inn” room
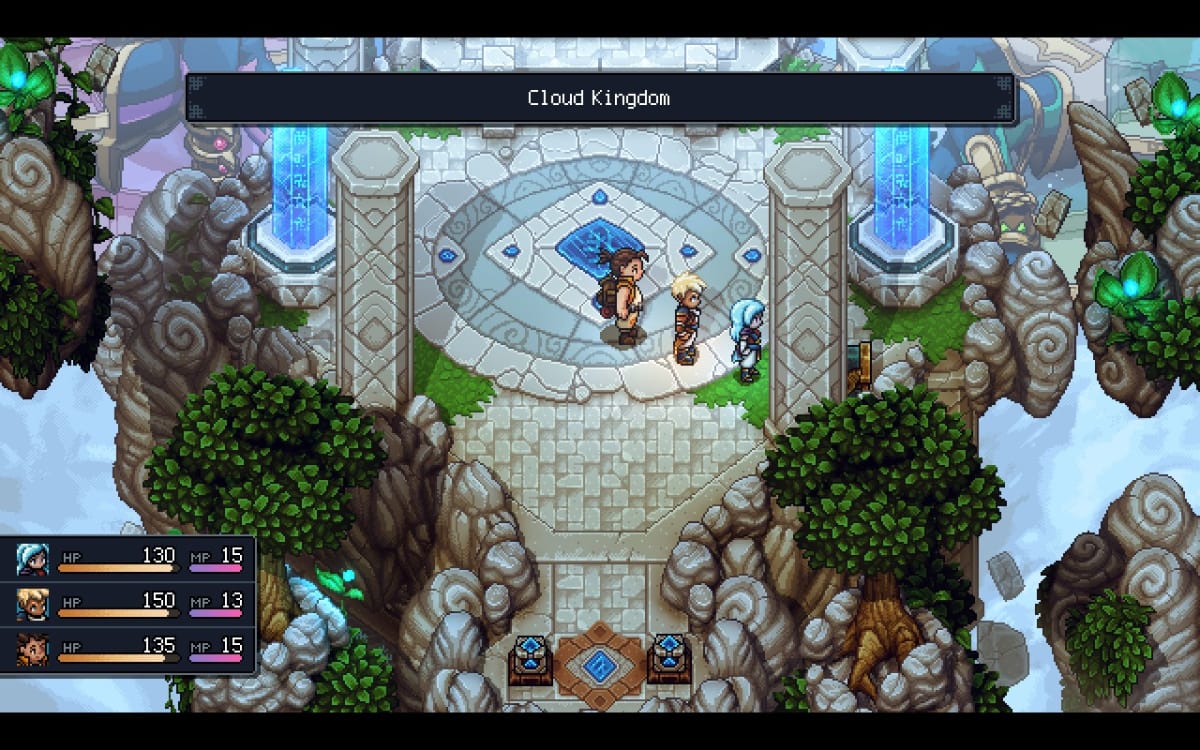
Cloud Kingdom - Council room behind pillar
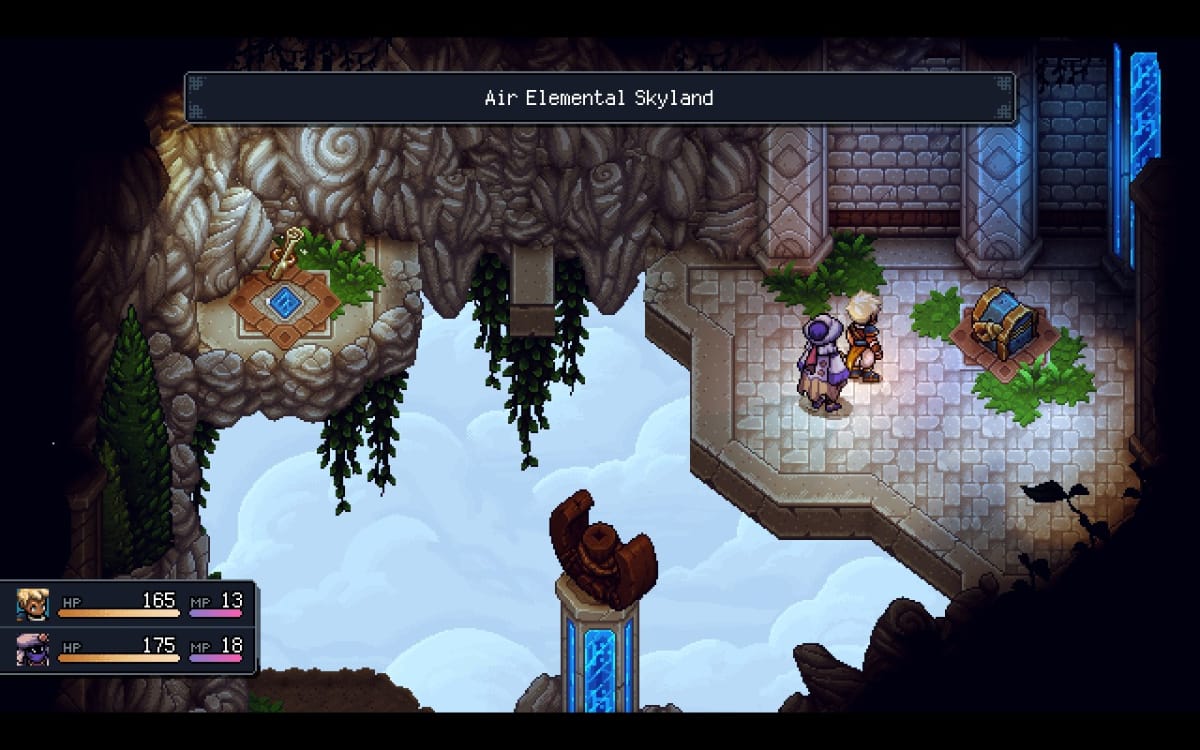
Air Elemental Skyland - Inside cave
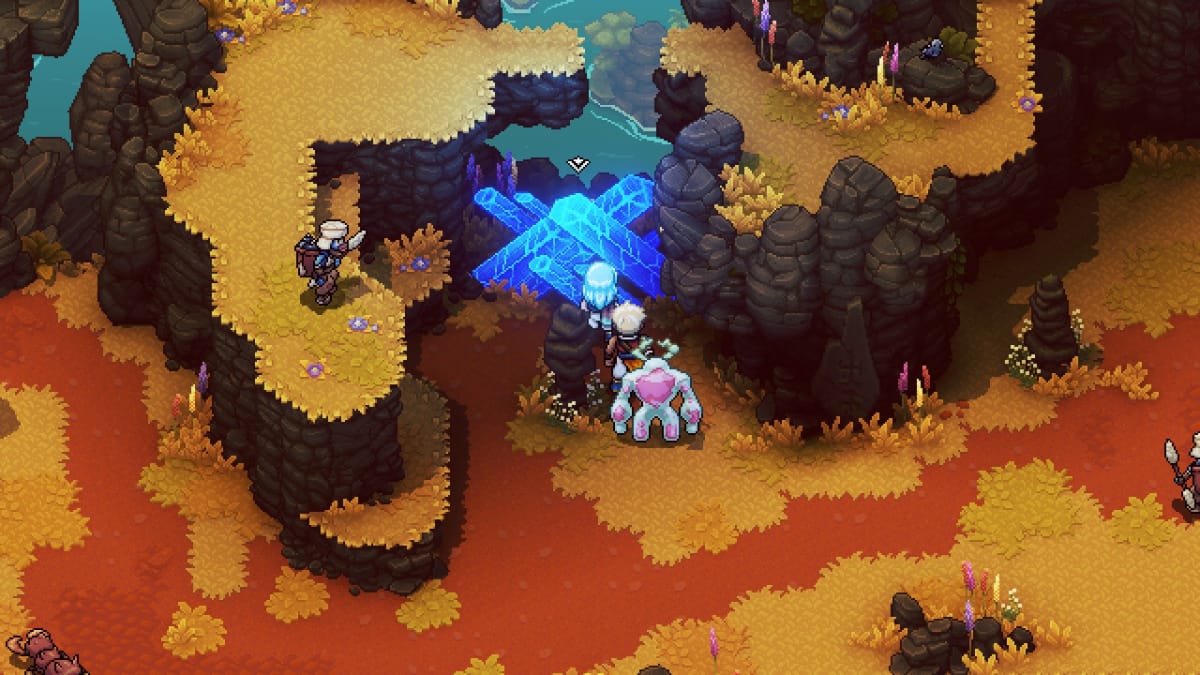
Moorlands - Break the blue crystal east of the starting point
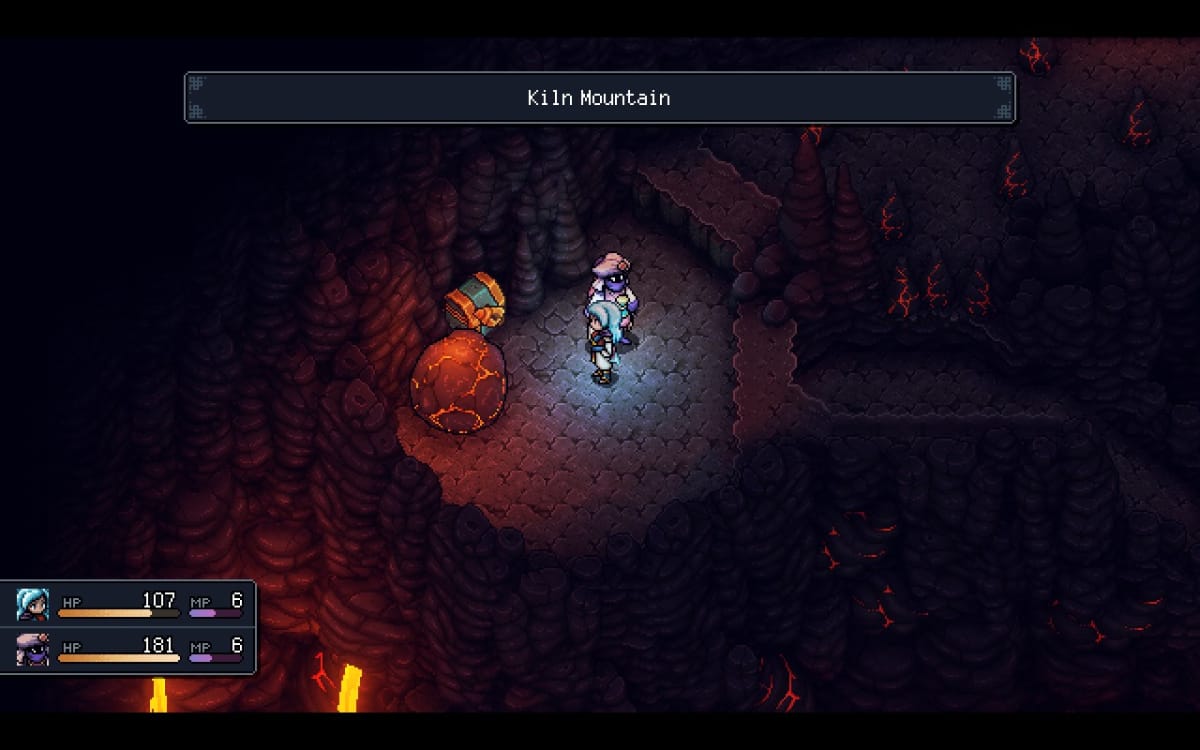
Kiln Mountain - Use boulder to break the rocks
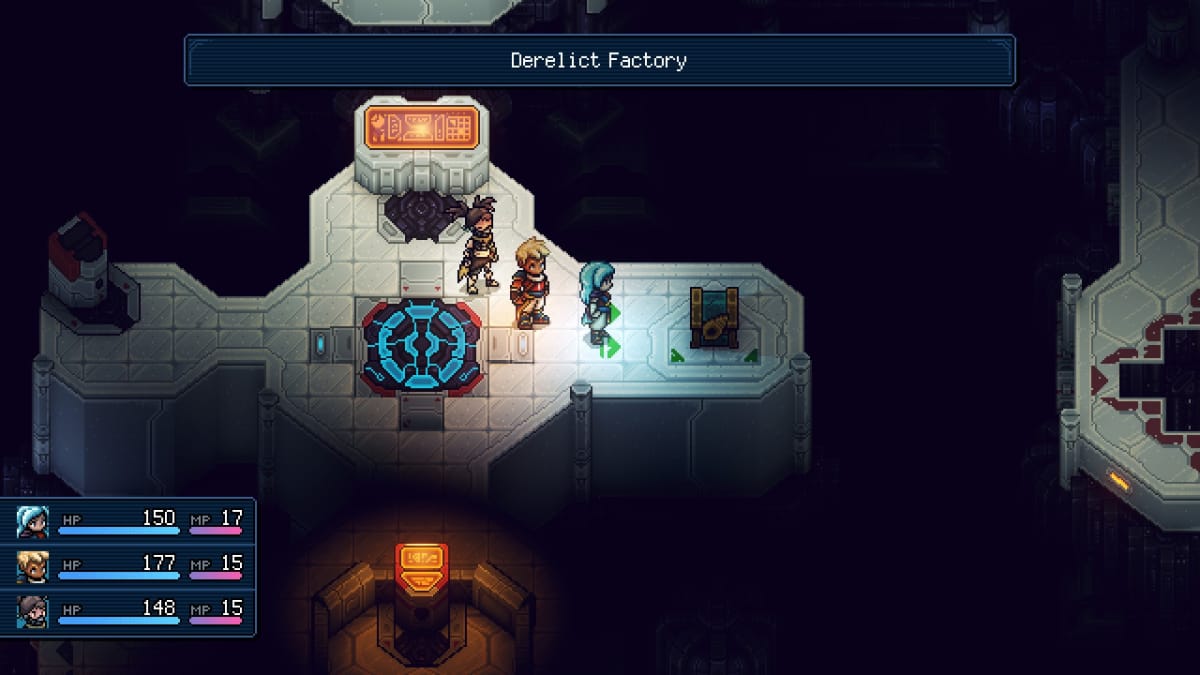
Derelict Factory - Top right of crane room (grab with the crane)
Repine - Equipment store
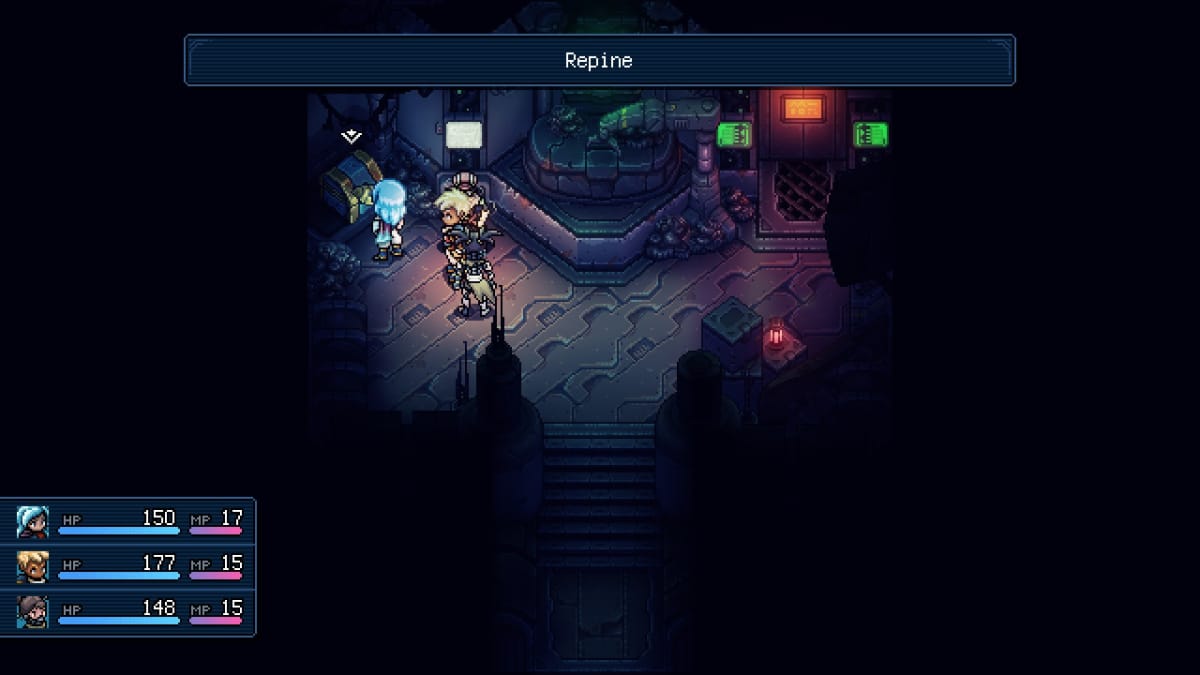
Repine - Behind Inn
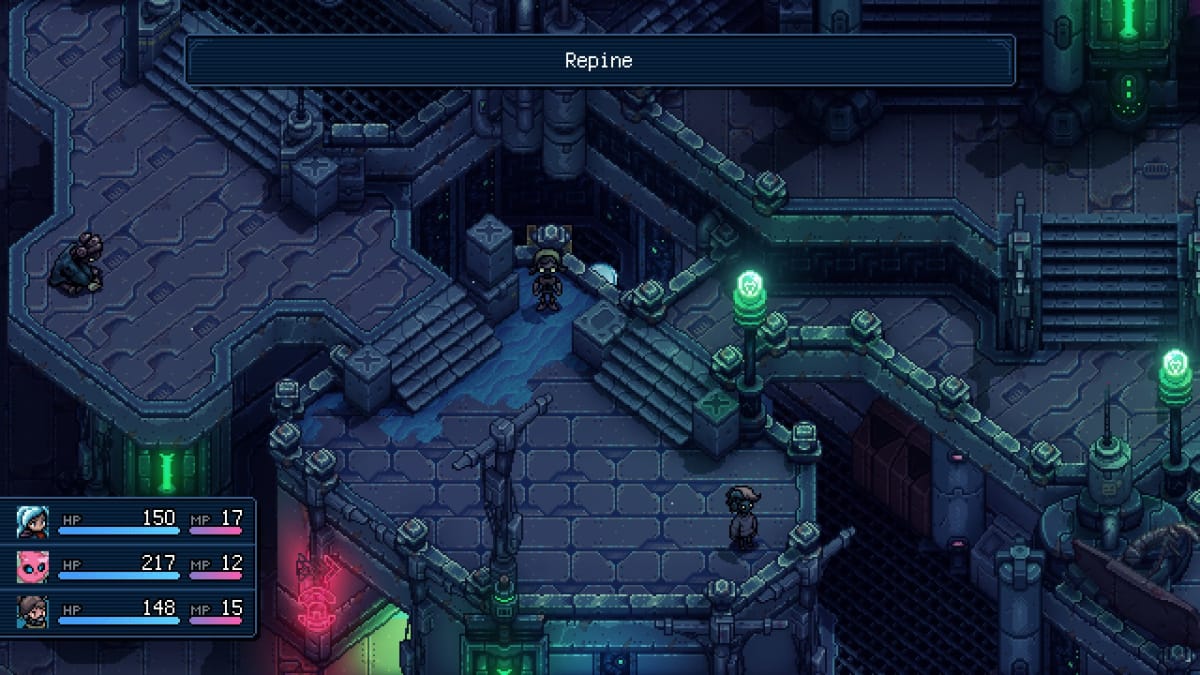
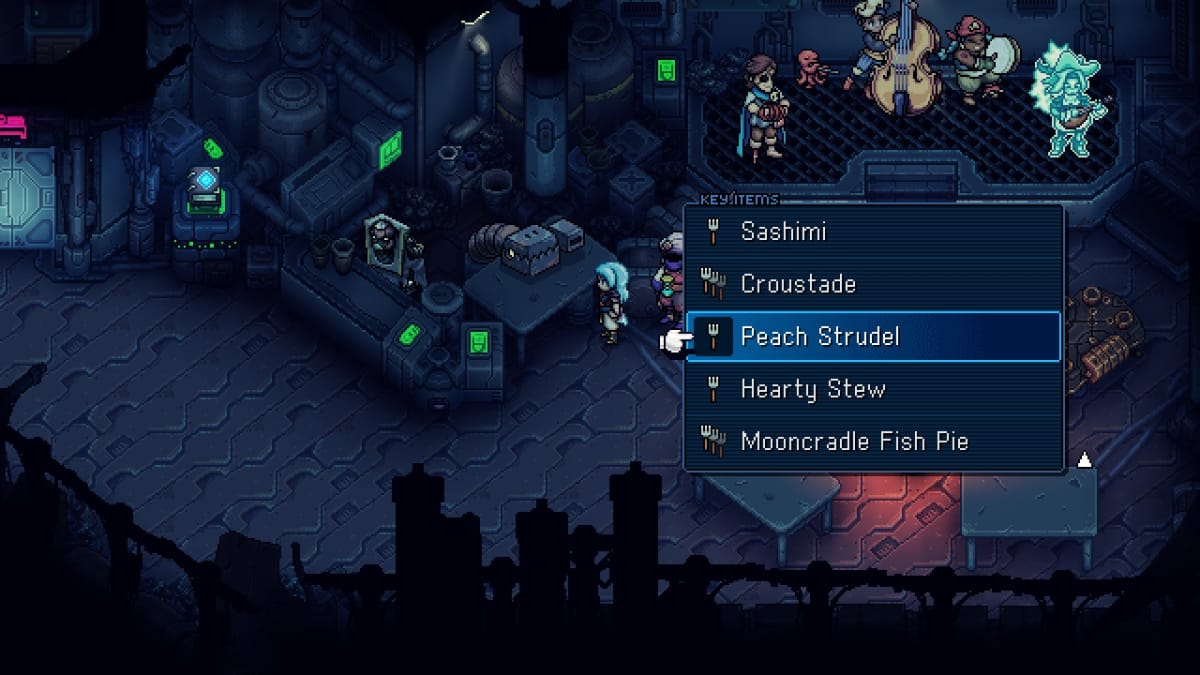
Repine - Feed the machine in the Inn, next to the innkeeper. The following are what we used for each request:
- Sweet (Peach Strudel)
- Warming (Hearty Stew)
- Meaty (Roast Sandwich)
- Light (Basic Salad)
- From the water (Yakitori Shrimp)
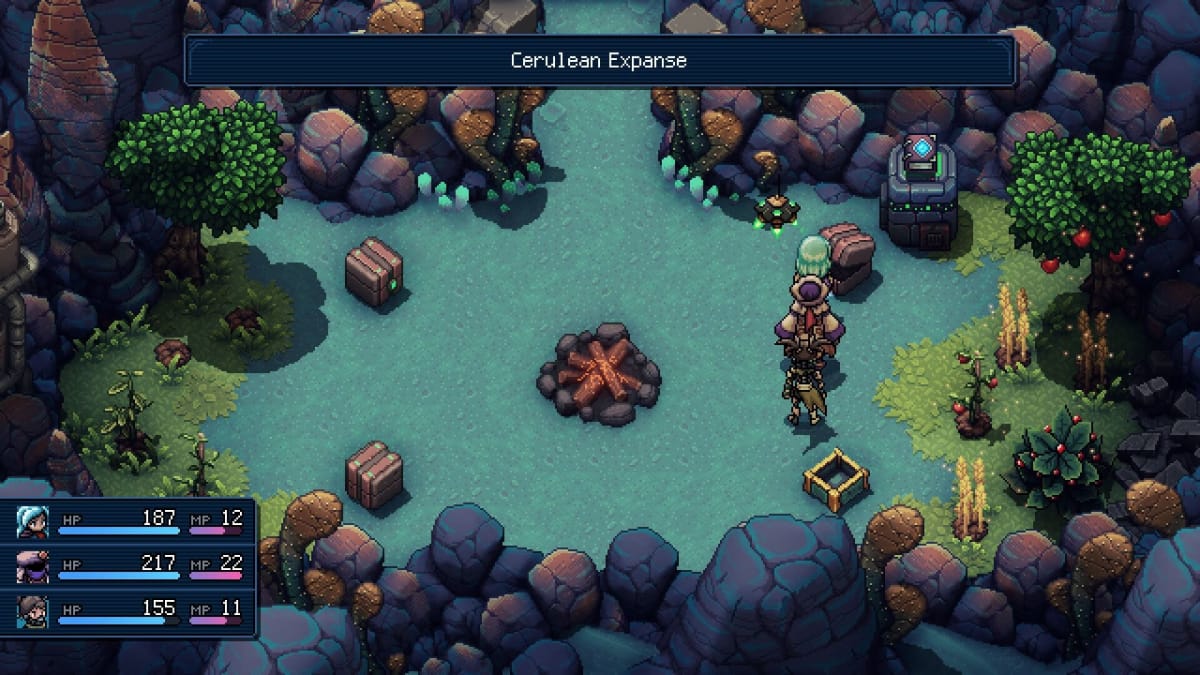
Cerulean Expanse - Head south, south west, south east, south
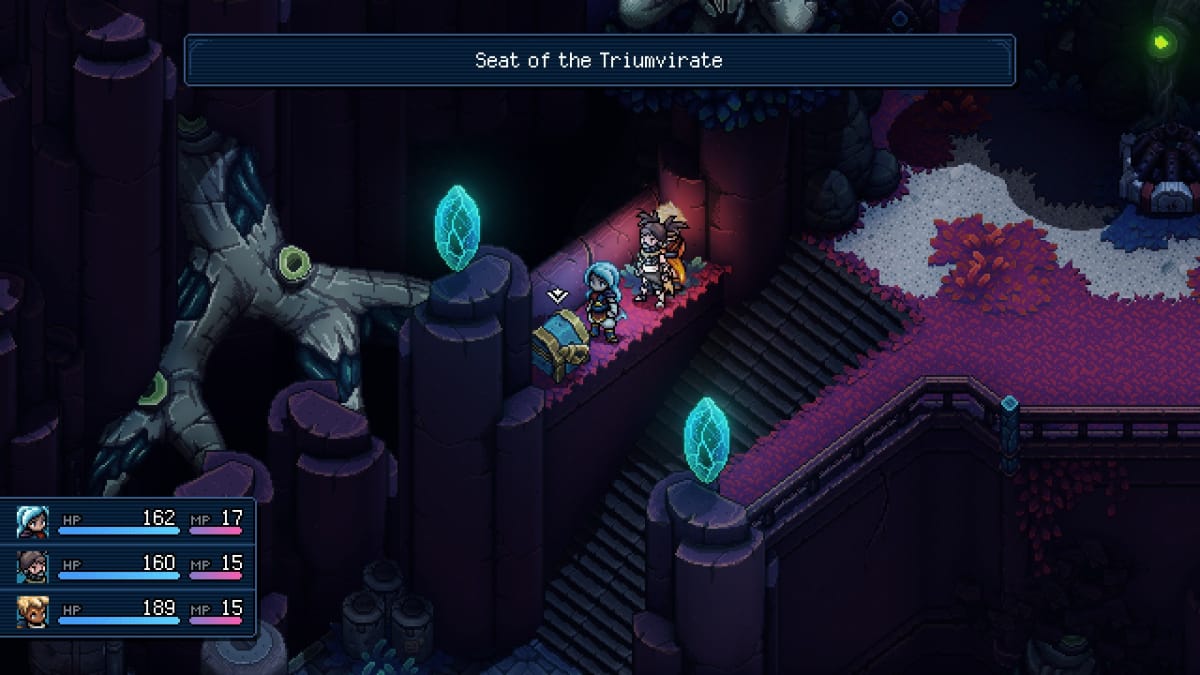
Seat of the Triumvirate - Left side
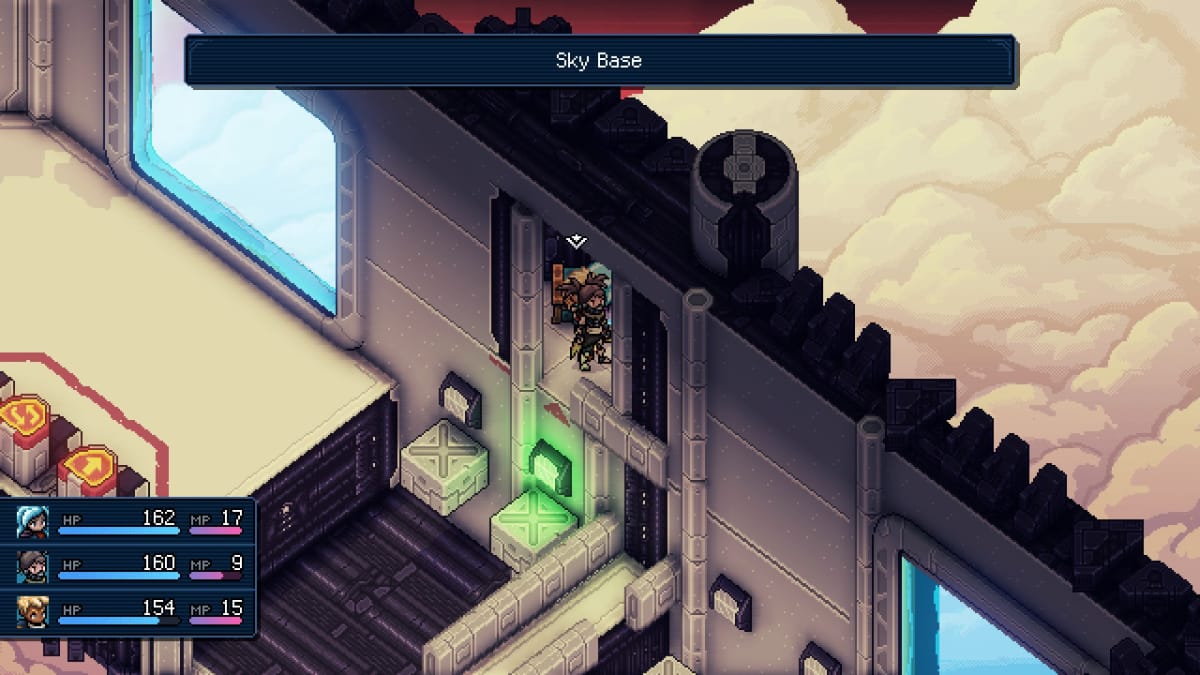
Sky Base - Above the first set of moveable platforms
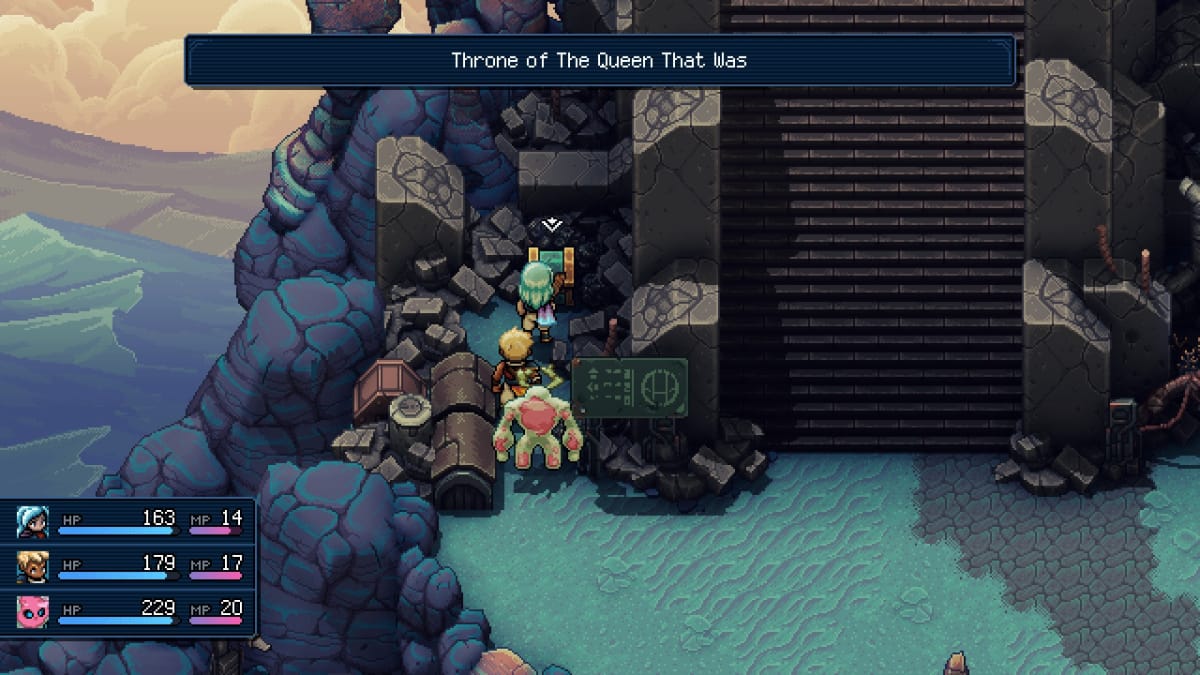
Throne of the Queen That Was - Left side. To reach, go north east, south east, north east, east in Cerulean Expanse
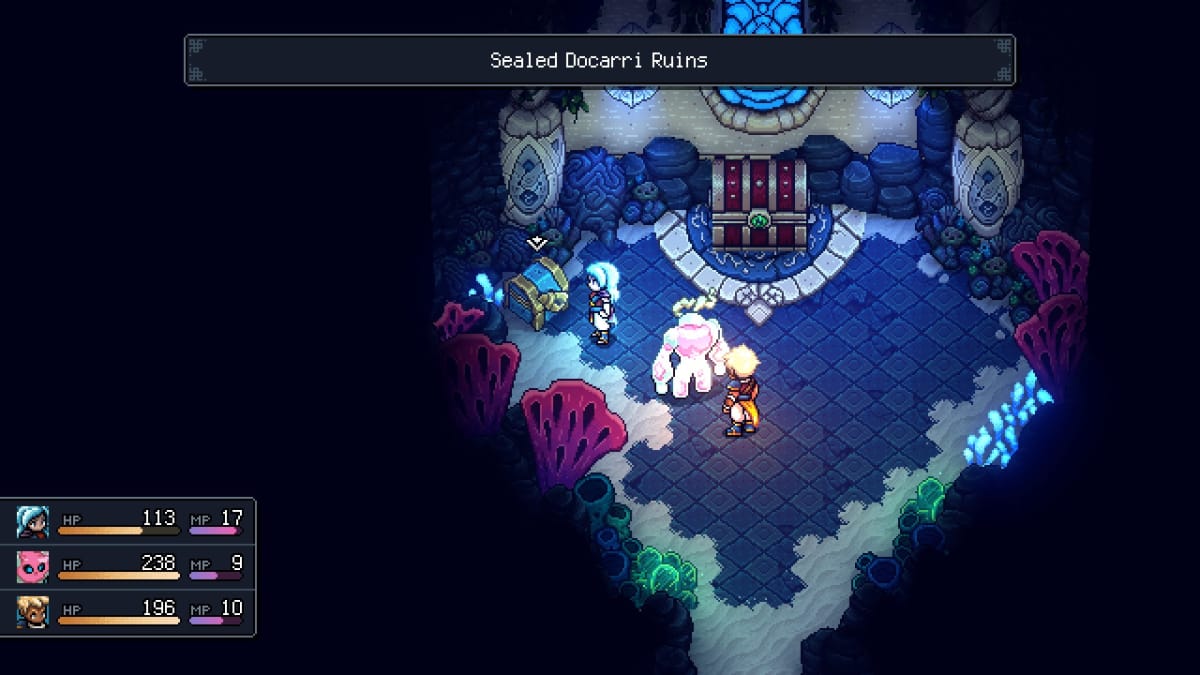
Sealed Doccari Ruins - Obtain the 3 seals in the Sunken Doccari Ruins — activate the button at the top left of the world map, then direct light into the underwater symbols — and fight the Sea Slug boss.
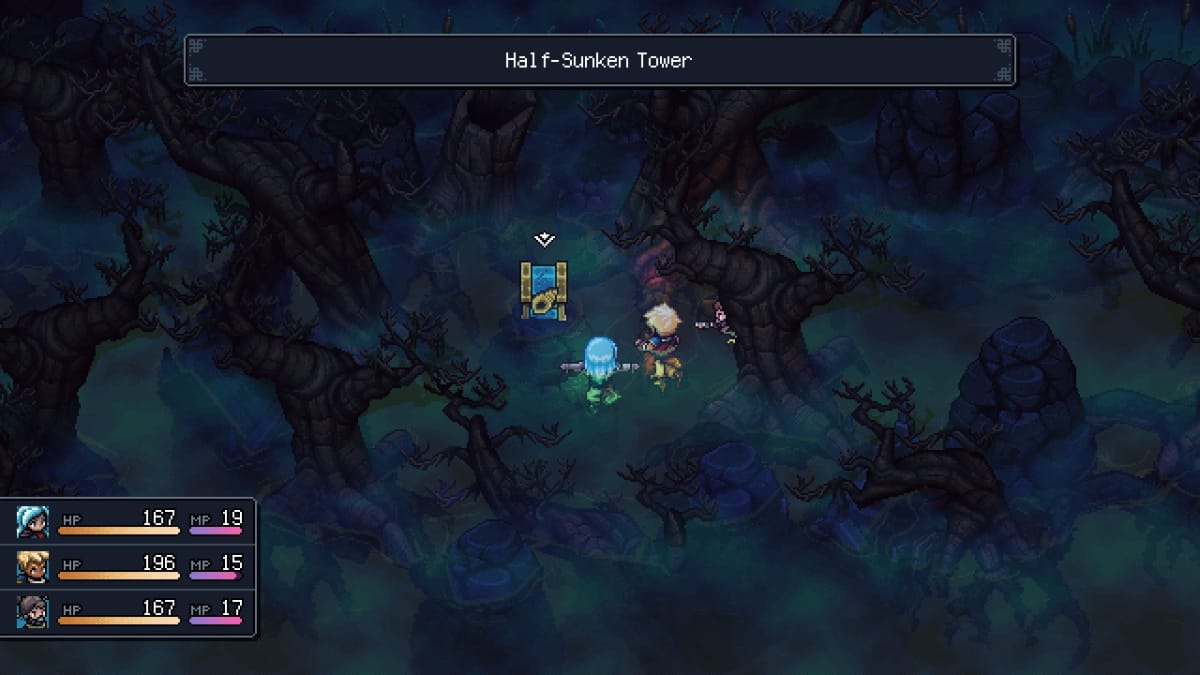
Half-Sunken Tower (Accessed via Romaya’s Secret Passage on the world map. From there, defeat the optional boss to get the journal, give it to Duke Aventry, and give the Yellow Flame to the Ferryman) - Jump into southern water then head west.
And that's all for our Sea of Stars Rainbow Conch Guide! Make sure to check out more of our guides below.
Have a tip, or want to point out something we missed? Leave a Comment or e-mail us at tips@techraptor.net
