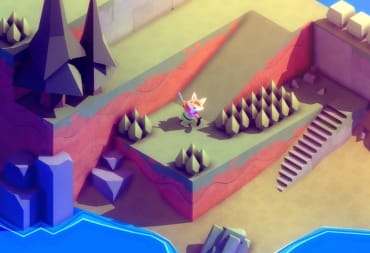
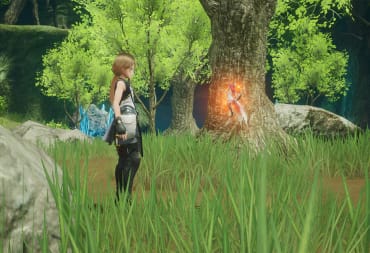
Harvestella features a number of different collectables, one of which being the various Conellu dolls you can find throughout the world. These dolls are hidden in strange places, with their use not made obvious to players early on. In our Harvestella Conellu Dolls Guide, we’ll go over what these mysterious items are used for, and where you can find more to add to your collection.

What Are Harvestella Conellu Dolls Used For?
While it’s possible to find a number of Conellu dolls during the first few chapters of Harvestella, there’s nothing you can actually do with them that early on. Instead, you must wait until the game gives you multiple subchapters to choose from during Chapter 3.
The subchapter we’re interested in is Chapter 3B: The Bulla's Requiem. This will take you south of your farm, through the Jade Forest and into the seaside town, Shatolla. In Shatolla, head to the caverns that can be accessed from the north. Inside, you’ll find a Motus Monolite and a small door. Completing the Chapter 3B storyline will allow you to go through the door, which will introduce you to Chief Conellu.
Chief Conellu will take any collected Conellu dolls off your hands, with a number of rewards being obtainable once you hit certain amounts. These rewards are:
- Arched Green Fence Recipe
- Simple Vitality Ring
- 15 dolls - Accessory Synthesis Jar Recipe
The Steam version of Harvestella also has two achievements tied to doll collecting. These are “Conellu Collector” for finding 10 dolls, and “Conellu Mania” for collecting them all.
Harvestella Conellu Dolls Locations
Looking to collect them all? Read on for every Harvestella Conellu Doll location!
Bird’s Eye Brae - Behind Lv 1 Bomb rocks.

Higan Canyon - I Scarlet Gorge

Higan Canyon - III Cypress Crossing

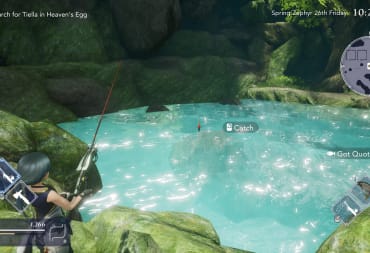
Heaven’s Egg - I Improper Ruins

Heaven’s Egg - III Mutant Vegetation

Heaven’s Egg - V Wet Footprints

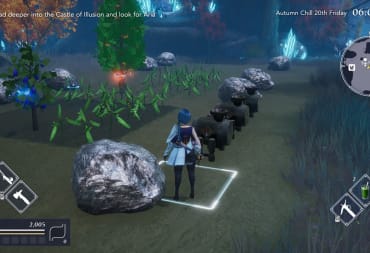
Jade Forest

Shatolla, Level 2

Coral Shrine - I Seabed Corridor

Coral Shrine - III Three-Pronged Crossroad

Coral Shrine - V Echo of the Bulla (need to drain water first)

Silent Cave

Divine Seaslight Cave - I Hidden Glacier Approach

Divine Seaslight Cave - III Frozen Crossroads

This guide is a work-in-progress, and will be updated frequently with more information
Have a tip, or want to point out something we missed? Leave a Comment or e-mail us at tips@techraptor.net

Isaac is a Staff Writer at TechRaptor, handling guides — and the occasional review — for games throughout many genres. Some of his more extensive work at… More about Isaac