Our Gord Forest Spirit Walkthrough Guide will show you how to beat the game’s third level without tearing your hair out in the process.
Forest Spirit is the third level in Gord, and the first one to actually start being a bit of a challenge. Below, we’ve listed all of the key steps you’ll need to take to actually finish the mission.
Positioning Your Gord

The first thing you’ll need to do is set up your Gord but be warned, you can only set it up inside the glowing circle laid out for you by the game.

Once built you should go through the motions of setting up your wood, reeds, and food supply. You can use either fishing or foraging depending on your needs since there’s a decent supply of both nearby.
Make sure you have a scout in your party and explore the immediate vicinity of your Gord. You can also set up a patrol route if you like, but it’s an optional step, so make sure you at least built 3 fireflies.

It’s worth noting that there’s a vagrant in the bottom right of the map (at least on certain difficulties) so you can grab him if you need an extra villager. Just watch out for the spider colony in the corner of the map.
Moving on Up
Once you’ve placed your three fireflies (hopefully in areas that will benefit the sanity of your villagers) it’s time to start upgrading stuff.

Before you set up your clay works, find the trio of termite mounds just northwest of your Gord. Send a couple of scouts over to set up a firefly and flush out a pack of wild boars for you to take down.
Now build your clay works and assign a villager, but consider also assigning a scout to guard them. There’s a Wildfolk camp just north of the resource nodes and they will definitely kill anyone they find.

Now you just have to wait until the clay comes rolling in. In the meantime, you may want to organize a raiding party to attack the spiders in the bottom right corner of the map. They’re guarding a life spring that will heal any injury. Well worth your effort to secure it now.
Getting Ready To End

At this stage, you need to make sure you have a Balia and a Meadery in your Gord to manage sanity and health loss. You’ll also want an axe pit ready to go before you put the rattlesnakes.
Once you’ve picked 120 clay up, you’ll now need to upgrade your palisades to level 2, and built 3 rattlesnakes.

To upgrade your walls, click on them then open the information panel and click the option that casts 150 clay. With that done, place down two rattlesnakes near the entrance to your Gord and you’ll have your first raid.
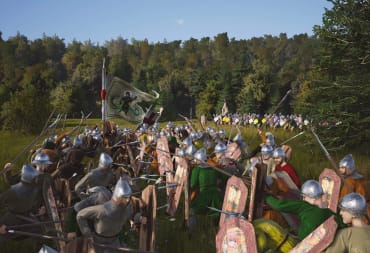
Surviving your First Raid

Assign 3 people to the axe pit and you should be able to take down at least the first raid. Once that’s done, you have two ways to approach this issue:
1 - Assign your axemen to patrol around your palisades, resulting in them automatically taking out the raids as they come.
2 - Reassign your axemen to different jobs between raids to save money.

The first option is certainly easier, but if you’re on a high difficulty and haven’t been diligent with your exploration/gold collecting then you might run out of cash to keep them going.
If you do want to assign patrols, you can do so using the flag icon in the information panel of your axe pit. Once you’ve dealt with four raids, that’s mission complete.
That's it for this Gord guide, but check out our other articles on the game below:
Have a tip, or want to point out something we missed? Leave a Comment or e-mail us at tips@techraptor.net

Will has been writing about video games professionally since 2016 and has covered everything from AAA game reviews to industry events and everything in… More about William