This guide explains how the Below the Stone Map works and highlights Points of Interest you can find while exploring the underground!
A big part of Below the Stone is exploring the underground in search of valuable Resources or ingredients for your Potions. However, the Map in this game is not exactly what you might expect -- read on to learn all about how it works!
How the Below the Stone Map Works

Unfortunately, the Below the Stone Map is only displayed as a Minimap in the bottom-right corner of the screen if you activate it. The Minimap is only useful for navigating the immediate area; you'll need to note coordinates if you want to remember a specific location.
The minimap shows an area that is 32 tiles x 32 tiles; this chart shows how small that is relative to the whole Map.

The numbers above the map show your precise coordinates on a 1024x1024 grid. The outer edges of the Map have an impenetrable barrier that you cannot pass through.
You always begin an expedition at (0, 0), the exact center of the Map. From there, it's up to you where you choose to go. Keep in mind, though, that the Map is randomly generated with each subsequent playthrough -- don't count on the coordinates to be the same every time you play!
Below the Stone Locations and Points of Interest
Here are some of the Locations and Points of Interest we've found in Below the Stone, what they look like, and what you can expect to find in them.
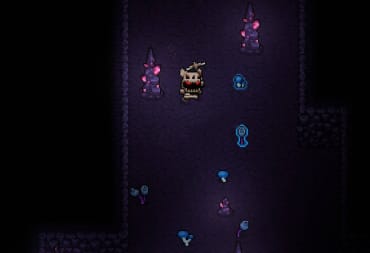
Jellyfish Cave

The Jellyfish Cave is most easily recognized by its purple stone. It is populated by large, floating Jellyfish creatures that can do pretty decent damage to you even if you have Iron Armor; it's advisable to fight them from range. You'll also encounter giant Rats and Purple Mushroom creatures here.
You can find Blue Cap and Spore Wort in this area.
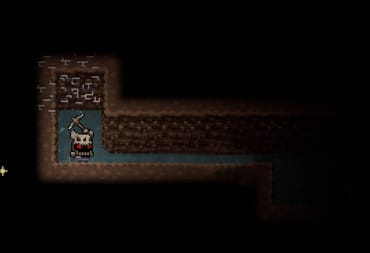
Kobold Camp

As the name implies, the Kobold Camp is absolutely swarming with Kobolds. This is a good opportunity to collect the kinds of Resources they might drop such as the elusive Kobold Head.
Kobolds will continually spawn out of the tents until you destroy them. Make sure to destroy the tents unless you wish to farm Kobold kills for some reason.
Kobold Dungeon

The Kobold Dungeon is absolutely jam-packed with Kobolds (and the occasional Skeleton). Some Kobolds enjoy using ranged combat, so explore the area carefully.
You can find a fair amount of Linen Cloth and Wood in this area. Naturally, this Dungeon also has a few Chests to collect, too.
The walls of the Kobold Dungeon are pretty tough, but they're not entirely indestructible -- you can blow them to bits with a stick of Dynamite. You might be able to kill a few Kobolds with the explosion, too!
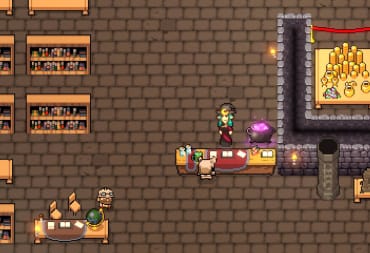
Ruins

The Ruins are a small structure that you can find in the middle of a cavern. The jars can drop Spore Wort, but beware the Chest in the center -- it may actually be a Mimic!
A Mimic has a green outline when highlighted with your cursor and a Chest has a blue outline. Mimics are extraordinarily fast and tough, so it's best to fight them with your Crossbow. Killing a Mimic can get you high-value Resources such as Silver Ore and Gold Ore.
Skeleton Dungeon

The Skeleton Dungeon is packed full of deadly Skeletons. Gigantic Skulls will continually summon new Skeletons until you destroy them. You can find Bone, Slime Balls, and Linen Cloth throughout this Dungeon.
As with the Kobold Dungeon, you can destroy the walls of the Skeleton Dungeon with Dynamite.
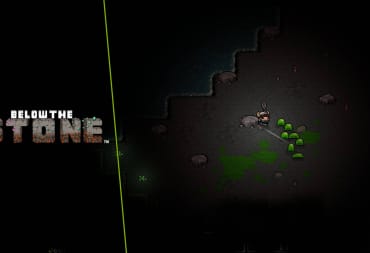
Slime Caves

The Slime Caves are home to two things: Slimes, and Ghostveil. If you need to kill Slimes for a Quest, this is probably the best place you can be. You can identify Slime Caves by the green floors and walls.
Do not underestimate the number of Slimes that you can find in this area -- if you move in too fast, you could find yourself facing off against dozens of Slimes.
Spider's Nest

A Spider's Nest can be identified by the webs on the ground. It's filled with Spiders of all sizes, and that means you can get Spider Eggs and Spider Eggs in abundance.
The gigantic web structures can also be destroyed for Spider Eggs and Bone. You can also find Ghostveil here.
Swamps

The Swamps can most easily be recognized by the abundance of Frogs and the hanging Vines. You'll find a variant of Slime here that's slightly tougher than the normal Slimes.
You can find Blue Caps here.
That's the end of our Below the Stone Map Guide. Make sure to check out our other guides below!
Have a tip, or want to point out something we missed? Leave a Comment or e-mail us at tips@techraptor.net
One of my earliest memories is playing Super Mario Bros. on the Nintendo Entertainment System. I've had a controller in my hand since I was 4 and I… More about Robert N