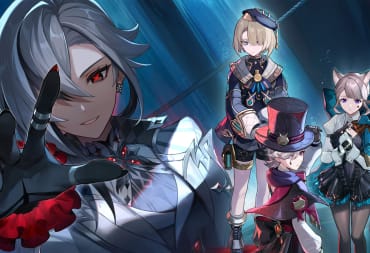
The Genshin Impact Version 2.1 update is arriving soon, bringing a new banner for players to roll on. The Tapestry of Golden Flames banner includes a new 5-star character, Yoimiya, who brings her firework expertise to the field. Yoimiya isn't the only new character coming to Genshin Impact in Version 2.1 though. Don't "sleep" on the upcoming 4-star Anemo ninja, Sayu.
Kamisato Ayaka was the Inazuma region's first playable Main-DPS character and Yoimiya is on track to be the first Sub-DPS character, so it only makes sense that Sayu, the third character being added to the Inazuma roster, has a kit centered around being a healer. Sayu was revealed in the Genshin Impact Version 2.0 Update Trailer, but she recently was given a character demo trailer of her own.
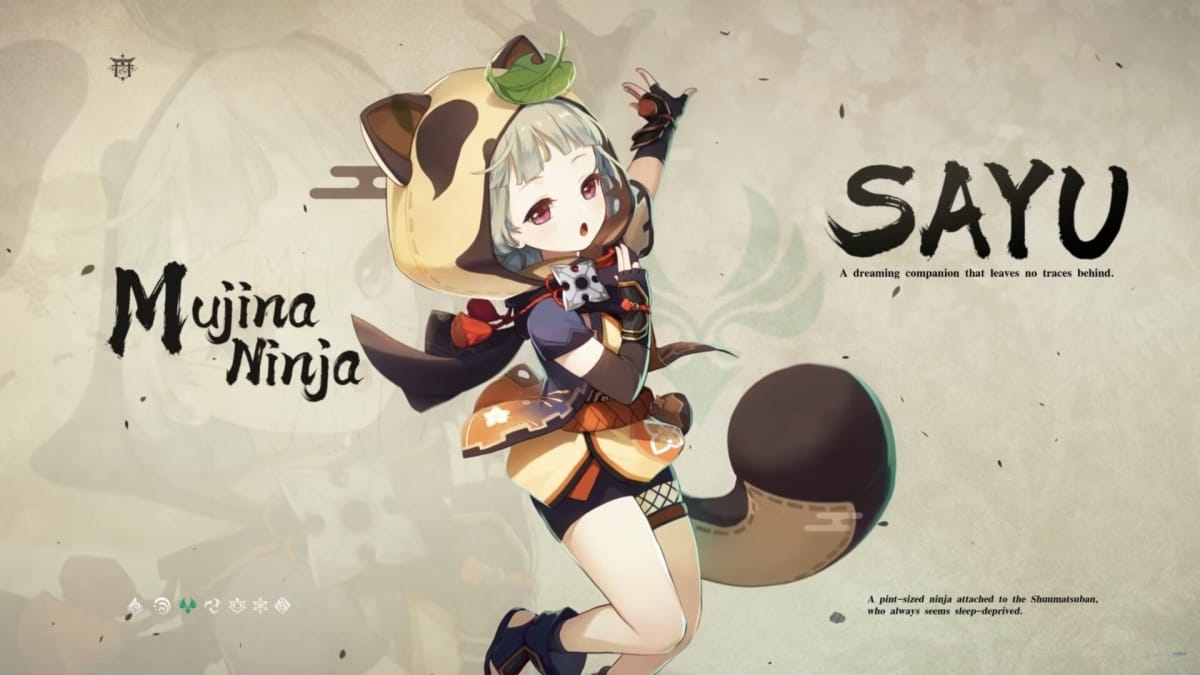
Perfect the drowsy ninja's build to make sure she keeps your teammate's health full in TechRaptor's official build guide for Sayu.
Genshin Impact Sayu Guide - Team Role
Sayu’s abilities focus on two things: Anemo Swirl damage and healing. This puts her in the role of a healer, but Sayu can also focus on being a Sub-DPS or even doing additional damage while she heals. Almost all of the Anemo users in Genshin Impact rely on Swirl to dish out as much damage as possible, so it’s no surprise that Sayu, too, fits in this role.
Despite this, Sayu’s unique pool of abilities makes her a stand-out character that can easily fit on anyone’s roster, depending on what teammate they’re looking for.

Genshin Impact Sayu Guide - Talents
Sayu’s Attack - Shuumatsuban Ninja Blade
During Sayu’s Normal Attack, she performs four consecutive strikes. Her charged attack results in Sayu swinging her claymore around until an eventual final, more powerful swing.
Sayu’s Elemental Skill - Yoohoo Art: Fuuin Dash
After using Sayu’s Elemental Skill, Sayu rolls forward a short distance, ultimately performing a Fuufuu Whirlwind Kick, which does AoE Anemo damage. If the Elemental Skill button is held instead of pressed, Sayu will roll continuously.
Sayu has increased resistance during this roll and can trigger Elemental Absorption, which will inflict enemies with additional damage of the Element she comes in contact with. Sayu can remain in this Windwheel state for a maximum of ten seconds before she will automatically come out. The longer Sayu is rolling, the longer the Elemental Skill’s cooldown will be. Once Sayu comes out of the Windwheel State, she will perform a stronger version of the Fuufuu Whirlwind Kick.
Sayu’s Elemental Burst - Mujina Flurry
When Sayu’s Elemental Burst is activated, Sayu summons a Muji-Muji Daruma to her aid. Despite its adorable look, the Muji-Muji Daruma is more than just a cute helper.
The Muji-Muji Daruma will do one of two things, dependent on the current situation in battle.
- If allies are below 70% health, the Muji-Muji Daruma will heal.
- If allies are above 70% health, the Muji-Muji Daruma will attack with Anemo damage.
If Sayu has activated the first node on her constellation, the Muji-Muji Daruma will be able to heal and attack at the same time.
Genshin Impact Sayu Guide - Artifact Sets
As previously stated, Sayu can be built around a number of her attacks and support abilities. This is where choosing the right Artifact set comes into play: dependent on your need for healing or Anemo damage, you might want to mix and match different Artifact pieces on Sayu.
Maiden Beloved
The Maiden Beloved set is commonly used on healer characters.
- The two-piece bonus for this set grants a 15% bonus to healing effectiveness.
- The four-piece bonus for this set grants an additional 40% bonus to healing effectiveness when an Elemental Skill or Elemental Burst is activated.
Unless Sayu is being built exclusively for her healing abilities, it might be good to mix a two-piece set of Maiden Beloved with another Artifact set, like Gladiator’s Finale. This set can be farmed in the Valley of Remembrance Domain.
Viridescent Venerer
The Virdidescent Venerer set is commonly used on Anemo characters.
- The two-piece bonus for this set grants a 15% bonus to Anemo damage.
- The four-piece bonus for this set grants a 60% bonus to Swirl damage. Additionally, the set will also decrease the enemy’s resistance to the Swirled Element by 40%.
Since Sayu is an Anemo character, Swirl is a common reaction that she will be causing. Both set bonuses for the Viridescent Venerer Artifact set are powerful, but the pieces can be mixed with other sets, like a two-piece Maiden Beloved. This set can be farmed in the Valley of Remembrance Domain.
Gladiator’s Finale
A common set for DPS characters.
- The two-piece bonus for this set grants an 18% boost in Attack.
- The four-piece bonus for this set grants sword users an additional 35% increase in Attack Damage.
The Gladiator’s Finale set is widely used by DPS characters, but since Sayu’s healing scales off of her ATK statistic, the set can fit her well. Additionally, Sayu utilizes a claymore in battle, which allows her to take advantage of the four-piece set bonus. These Artifact pieces can be collected by world bosses as well as the Spiral Abyss.
Ideally, you should pick artifacts that scale in ATK, as this main stat will result in more damage and more healing. Additionally, you can grab an Anemo Damage Bonus for her goblet. Elemental Recharge and Mastery are equally as important, as these will help Sayu use her Burst more and allow it to more damage.

Genshin Impact Sayu Guide - Weapons
Since so much of what Sayu does revolves around her Elemental Burst, picking a weapon that enhances said skill is vital to making Sayu succeed as a healer and/or damage dealer. The Elemental Damage Sayu inflicts with her Burst will create more Swirls, which results in more damage. Energy Recharge is equally as important as it allows Sayu to use her Elemental Burst more, which produces more healing and inflicts more damage to enemies.
These weapons fit best on Sayu for her Swirl reactions as well as healing.
Skyward Pride
- Skyward Pride is a 5-star claymore available in the Epitome Invocation as well as weapon banner.
- The Skywarward Pride increases all damage done by 8%. Additionally, the Skyward Pride will create a vacuum on any hit that lasts 20 seconds, dealing 80% of its ATK as damage to enemies.
- Skyward Pride’s secondary statistic is Energy Recharge.
Katsuragikiri Nagamasa
- Katsuragikiri Nagamasa is a 4-star claymore available to craft in Inazuma after completing a certain quest.
- The Katsuragikiri Nagamasa increases Elemental Skill damage by 6%. Additionally, a hit on an opponent will make the user lose three Energy, but grant a bonus that regenerates three Energy every two seconds for six seconds.
- Katsuragikiri Nagamasa’s secondary statistic is Energy Recharge.
Favonius Greatsword
- Favonius Greatsword is a 4-star claymore that can be rolled in the Epitome Invocation as well as weapon banner.
- The Favonius Greatsword has a 60% chance to generate Elemental Particles upon crit hits. This effect can occur once every six seconds.
- Favonius Greatsword’s secondary statistic is Energy Recharge.
Genshin Impact Sayu Guide - Sayu’s Best Team Composition
Due to Sayu’s position as a healer/Sub-DPS, she needs a full team alongside her to maximize her usage. Sayu pairs well with powerful, Elemental Reaction-based Main-DPS. Characters that allow Sayu to make full use of the Swirl effect are vital to her success.
Since Swirl affects all elements aside from Geo, it might be wise to omit said element from your party. That’s not to say you shouldn’t use Geo; it won’t detriment your team. But missing out on other elements by having a Geo party member could be a loss.
A team for Sayu could look like this:
- Childe (Main-DPS)
- Yoimiya (Sub-DPS)
- Sayu (Support/Sub-DPS)
- Beidou (Shield/Utility)
Childe is a Hydro Main-DPS that can take advantage of the powerful Vaporize effect. Yoimiya’s purpose is to provide Pyro damage, which will induce Vaporize. Sayu’s purpose in this team composition is using Swirl to spread the Pyro damage from Yoimiya, which will cause more Vaporize damage. Finally, Beidou is an extra Electro Shield that can help teammates stay alive.
The sluggish ninja Sayu is shaping up to be a powerful healer/Sub-DPS character that, if built right, has the potential to climb the ranks of the meta. Being able to provide Swirl damage and healing to teammates is an exceptionally unique ability that no other character in Genshin Impact can do.
Have a tip, or want to point out something we missed? Leave a Comment or e-mail us at tips@techraptor.net

Paul is a student at the University of Florida seeking a Bachelor of Science in Journalism. Being a gamer for as long as he could remember, Paul made it a… More about Paul