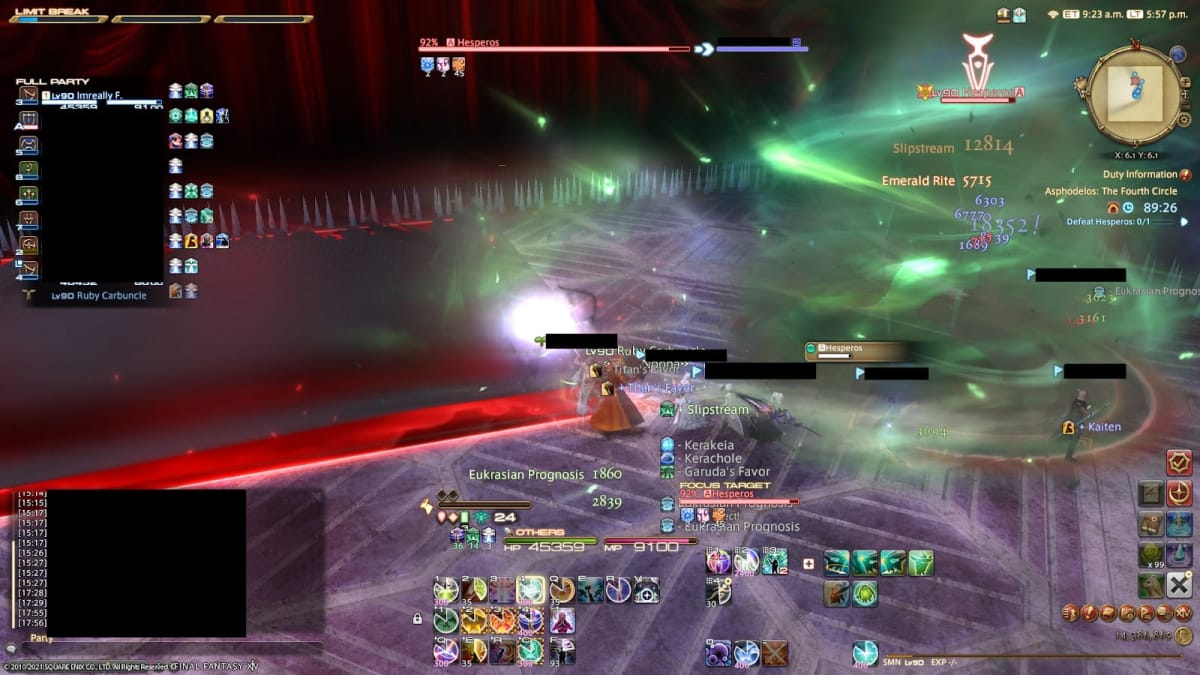
The fourth and final encounter of this raid tier is Hesperos, who has been turned into a Vampire Hemitheos. There are 2 main gimmicks to this encounter, each taking existing Final Fantasy XIV mechanics and adding a little extra complexity to them. In this guide, we’ll get you up to speed on each of Hesperos’ attacks and the ways to deal with them.
If you need it, we've got an Endwalker gear guide for 6.0,. as well as an Asphodelos unlock guide and loot table!
Final Fantasy XIV Fourth Circle - Hesperos Raid Guide - Attacks
Elegant Evisceration
This is the boss’s tankbuster, requiring a defensive cooldown from the main tank. As with other tankbusters in this raid tier, the main tank should also make sure to stay away from any other party member.

Setting the Scene/Pinax
Setting the Scene is part of one of the 2 gimmicks mentioned earlier. Initially, Hesperos will cover one quarter of the arena with his cape. After casting Setting the Scene (standing in the cape during this cast will not do any damage, despite the visual effect), the cape will disappear, leaving a new area on the ground. This area will determine what to do when the boss casts Pinax — said cast also causing the area to show a different animation. In order of appearance, there’s:
- Lightning: Represented by a lightning pillar after Pinax. When Pinax is cast, move to a corner of the arena. After a few seconds, a proximity-based AOE will strike from the center of the arena. This will do fatal damage unless you’re far enough away.
- Water: Represented by a water geyser after Pinax. A few seconds after Pinax is cast, a knockback marker will appear at the center of the arena. Stand close to it, or use knockback prevention skills, to avoid being pushed into the instant kill spikes around the arena.
- Poison/Gas: Represented by a large cloud of green gas. This will place AOE markers on each party member, requiring you to spread to avoid extra damage.
- Fire: Represented by a pillar of fire. One player is marked with the stack icon. All players must group up to spread damage, with shields if there are less than 8 players stacked.

Lightning and Water are introduced on their own, with poison appearing one the boss starts covering 3 quarters of the arena during Setting the Scene. Fire will appear in the latter half of the fight, after the entire arena is covered by Setting the Scene.
When multiple areas have been transformed, only one will activate per Pinax cast. Heal up between each mechanic when necessary. Furthermore, try to avoid standing in the elemental circles in the transformed areas. They’ll do damage while you’re in them, each with a different debuff (these debuffs don't matter in normal mode, and are likely something more relevant to the upcoming savage version).
Decollation
This is a raidwide AEO. Heal up after this goes off — you’ll generally have enough time to let spells like Medica II regen the party’s heath before other mechanics hit.
Hell Skewer
Hell Skewer makes Hesperos face a party member, attacking with a line AOE once the cast is over. Later in the fight this will be paired with other mechanics, generally after ones that leave you standing in place like the fire Pinax.
Bloodrake
Another raidwide AEO that is always followed by another mechanic right after. One such mechanic is…

Anti-role Towers
Four towers will spawn, each with a crossed out role icon. Each tower must have one player standing in it, but those players must be of different roles to the icon show. There are always 2 anti-DPS towers, 1 anti-healer tower, and 1 anti-tank tower. Standing in the wrong tower will most likely kill, and no-one of the right role standing in a tower will cause it to explore, dealing raidwide damage and applying a vuln stack.

Cardinal Shift
The boss will cast X Shift, with X relating to one of the cardinal directions — there will be a marker at the edge of the arena in this direction as well. The boss will then teleport to the marker (i.e Northerly Shift will move him to the north), doing one of two attacks. A sword marker will cause Hesperos to cover most of the arena with a conal AOE, while the cape icon will cause a knockback.
For the sword, you can stand to the sides of the marker, while the cape requires you to stand in front. You can also use knockback prevention skills for maximum DPS uptime, though the boss will always teleport.

Belone Bursts
After Belone Bursts is cast, all living party members will have an orb tethered to them. The anti-role mechanic makes a reappearance here, with each orb being marked — DPS cannot be hit by their own orbs, same with healers and tanks.
Players must run into orbs different from their role, each one dealing a hefty amount of damage. Because of this, pre-shielding and AOE regen is recommended. In addition to the anti-role mechanic, players hit by orbs will also get stacks of Thrice-come ruin. This will instantly kill at 3 stacks, so try to limit how many orbs you soak, even as a tank.
Have a tip, or want to point out something we missed? Leave a Comment or e-mail us at tips@techraptor.net


