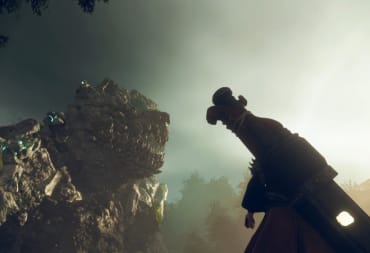
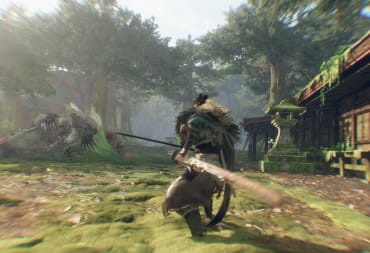
To hunt Wild Hearts’ various Kemono, you’ll need the right tool for the job. This is where the game’s diverse set of weapons comes in, giving you a number of playstyles to choose from. In our Wild Hearts Weapons Guide, we’ll go over the basics of each weapon and some of their unique quirks.
Wild Hearts Weapons Basics
All weapons make use of a combination of 3 attacks: Attack 1 (light attack), Attack 2 (heavy attack), and Special. Attack 1 will generally be your filler, hitting quickly but not doing damage. Attack 2 is usually a little slower, dealing more damage per hit while also offering some mobility.
Meanwhile, Special attacks are where your weapon’s main gimmick comes into play. Most weapons feature a unique gauge, with Special attacks making use of this — for ranged weapons, Special Attack is instead used as your basic attack. Special attacks are always important, even for weapons without a gauge, letting you unleash high amounts of damage if you time them right.
You’ll only have access to some weapons from the get go, with some unlocking as you make story progress through Chapter 2.
Starting Weapon Types:
- Karakuri Katana
- Nodachi
- Bow
- Maul
- Bladed Wagasa
Unlocked in Chapter 2:
- Hand Cannon
- Claw Blade
- Karakuri Staff
Karakuri Katana Guide
- Fast, but with short range most of the time
- Multi-hits attacks make for a great status effect weapon
- Easy to learn
The Karakuri Katana is a quick weapon that can deal numerous attacks at short range. Attack 1 offers fast but weak attacks, while the Attack 2 combo can deal out decent damage — it’s possible to keep pressing Attack 2 indefinitely, with your character unleashing a powerful slash once you end the combo. Special can also be used in the middle of regular attacks to launch further powerful attacks.
Filling the weapon gauge allows you to unleash the Karakuri Katana whip blade mode, giving it additional range and multi-hitting attacks. This can be combined with the Crate Karakuri to do a high damage leaping attack — make sure to stack 3 Crates for maximum damage.
Nodachi Guide
- Somewhat slow, with great damage to make up for this
- Most damage comes from charge attacks
- Easy to learn, though will need to learn monster pattern for best charge times
The Nodachi is a bulky greatsword, attacking slowly but dealing high damage. Attack 1 combos hit vertically, while Attack 2 can be used to attack while moving forwards or backwards depending on whether you’re moving.
Unlike many other weapon types, attacking does not build the weapon gauge. Instead, you must hold down Special to sheath the Nodachi. This will drain your stamina, while also filling the weapon guage. Standing still charges the weapon guage quickly, but it’s possible to move around and attack while charging at a slower rate. You can even dodge, though this will completely halt charging during the dodge animation.
Releasing Special below 50% charge will result in a sweeping attack, while between 50-99% will give you a forward dash attack. Fully charging the gauge unleashing a slow but deadly downward smash. All Special attacks can be cancelled out of at any point of the animation by summoning a Basic Karakuri.
Bow Guide
- Long range, switches between quick and slower attacks
- Deals good damage from a safe distance
- Requires learning stance dancing to get the most out of it
Bows rely on stances to deal consistent damage at long range. Attack 1 will change you between 2 stances, which are represented by your character holding the bow horizontally or vertically. Shots fired from the horizontal stance are quick and will lodge into enemies, while vertical shots can be charged, dealing more damage and detonating other arrows already in the enemy. Pressing Attack 2 will charge the bow up to 2 times, making your next shot even more powerful. However, the double charged attacks will keep you in place, so they’re best used when you know you’re safe for a few seconds.
Maul Guide
- Slow but deadly
- Most damage comes from Attack 1 combo combined with Special
- Generally easy to learn, though can be hard to hit faster Kemono
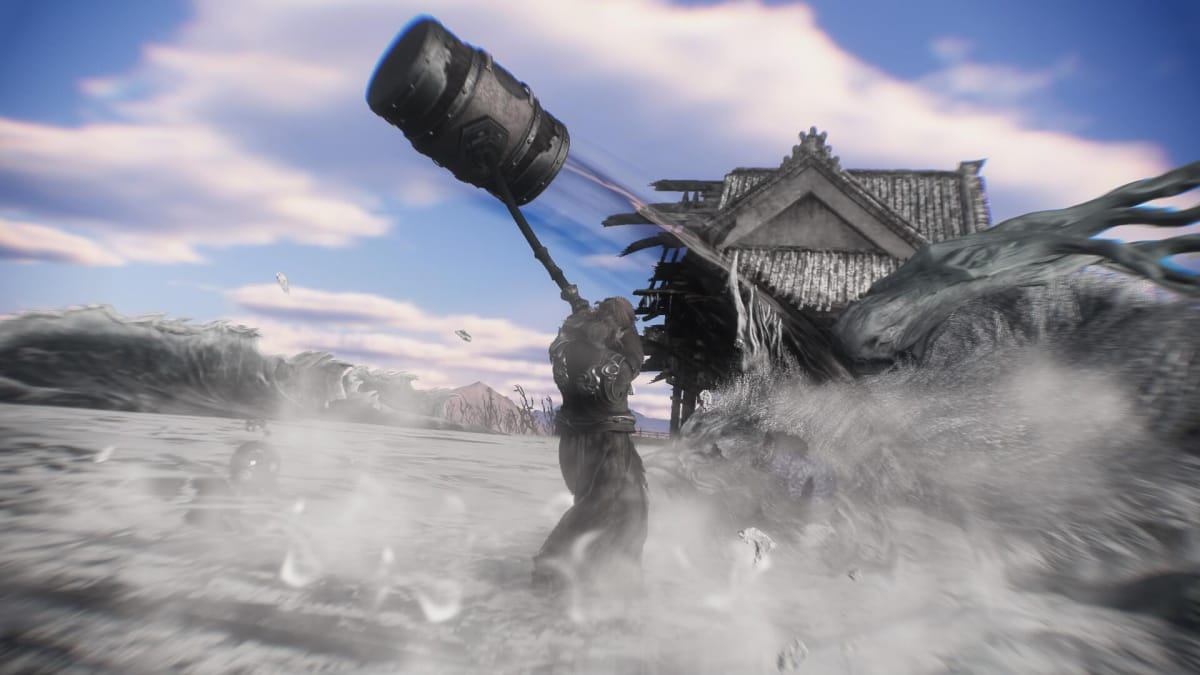
The Maul is a short ranged heavy weapon that can increase its range via Special attacks. The Attack 1 combo is short but relatively fast, while Attack 2 allows you to close the gap while attacking. While Special Attack on its own lets you spin around to deal multi-hitting attacks, its main use comes from the extension mechanic.
After doing Attack 1 or 2, your character will briefly glow. Pressing Special during this will extend the range of the Maul by 1 step, improving further attacks in the combo. Doing a 3 hit Attack 1 combo with Special used after the first 2 hits leads to a devastating final smash — the ending animation being cancellable via Basic Karakuri.
Bladed Wagasa Guide
- Very fast
- Allows for constant aggression
- Simple attacks, but high skill ceiling due to the parry window being very short
The Bladed Wagasa is a short range weapon that allows for an aggressive playstyle via parries. The Attack 1 combo is very fast, while Attack 2 launches you into the air (or back onto the ground) after attacking. This is a very quick weapon overall, even coming with a speedier dodge than most weapons (though using it 3 times in a row will lead to a slower dodge).
However, it’s not the speed of this weapon that makes it so aggressive. By pressing Special Attack, you can parry attacks. This stops all damage, and fills the weapon gauge — regular attacks also fill the gauge, but at a much slower rate. Not only does this let you stay close when other weapon users might have to avoid attacks, the weapon gauge also improves your damage for each third you fill.
Hand Cannon Guide
Slow, but still has some mobility
Requires management of 2 gauges and good placement to deal the most damage
Somewhat tricky to use when dealing with faster enemies
The Hand Cannon is a bully ranged weapon that can lay down some serious firepower, but its most damaging attack requires some setup. Holding down Special will fire arced shots, with the fire rate getting faster as you fire consecutive shots. This drains the charge gauge, which can be restored by deploying Ki Bases with Attack 1.
Firing builds a different resource, called the Heat Gauge — never let this reach 100%. At 80% percent heat, you can use Attack 2 to launch a fortified Ki Base. Standing inside a fortified Ki Base and using Attack 2 + Special will absorb it’s energy, and doing Attack 2 + Special again will set you in place to unleash a highly damaging shot.
Claw Blade Guide
- Fastest weapon in Wild Hearts
- Best aerial mobility
- Can be a little tricky to understand movement
Claw Blade is an extremely short range weapon that attacks quickly and makes use of mobility that no other weapon can match. Pressing Special Attack (or attacking after using Basic Karakuri like Crates) will latch the claw into a Kemono’s body. Pressing Special again after this will launch you towards where the claw is latched on, while dodging lets you leap great distances in an arc around it.
The length of time you have before the connection breaks depends on the attack you use. Generally, using Basic Karakuri attacks gives you the most time to stay locked onto a Kemono. By attacking while attached, your character will start to glow. The glow will flash once you’ve attacked enough times. This is your chance to use an aerial Attack 2, before pressing Attack 2 again to launch a powerful finishing attack.
Karakuri Staff Guide
- Fast, with some medium range attacks
- Weapon gauge allows for one of the strongest combo attacks in the game
- Hard to learn due to form switching mechanic
Karakuri Staff might look like a simple short to medium range weapon, but it actually transforms into a number of weapons. By using Special Attack, it can cycle between staff, dagger, pike, and giant shuriken forms. Using Special when your character glows after certain attacks will add 1 level to the weapon gauge. This gauge can be spent by using Special + Attack 2 to launch a highly damaging attack, which gets even more powerful the more the gauge is filled.
You’ll want to constantly transform weapons, building the gauge fully before unleashing the powerful Special + Attack 2 combo. Just make sure that every hit will land — while the finisher has longer range than the Karakuri Staff’s normal forms, it’s takes some time for the full combo to be unleashed.
Have a tip, or want to point out something we missed? Leave a Comment or e-mail us at tips@techraptor.net
