Stardew Valley is a fantastic title, but it's also a quintessential "Wiki" game. If it's your first time through the game, you're probably going to need to have the official game wiki open pretty much the whole time, or at least you would. Luckily, we've put together this definitive list of Stardew Valley beginner tips which should mean you can simply enjoy the game without having to tab into the wiki constantly.
If you're interested in Stardew Valley, then you should check out some of our other articles on the game. We have written a sizable number of Starfew Valley guides to help you make the most of the game, or maybe you'd like to check out our exclusive chat with Eric "Concerned Ape" Barone. Also, if you're more of an intermediate player you might want to try out our Advanced Stardew Valley Tips guide.
1. Plan Things in Advance.
Timing is very important in Stardew Valley. You want to have a general idea of when your money is going to come in and what you're subsequently going to spend it on. You want to have a sense of what you're going to do on that particular day when you hop out of bed.
One of the most helpful things to internalize in Stardew Valley (or any game of a similar style) is to make an effort to plan ahead. If you intend to chop down all the trees in Cindersap Forest, you should estimate roughly how long that will take. Don't forget to factor in travel time, either!
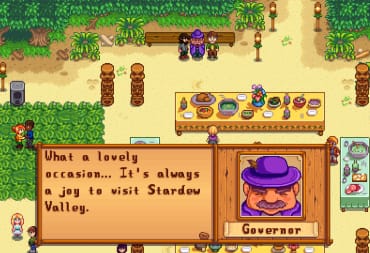
You can also buy a Calendar from the Carpenter's Shop. The exact days are important when you consider the schedules of Pelican Town's villagers, and that information is always available on the UI. What isn't available is the special events that only happen one day out of a year, namely birthdays and festivals.
Birthdays are great for building up relationships with villagers. At the start of the game you can check a public Calendar that's a permanent fixture outside Pierre's General Store, but once you can buy your own, it would be helpful to integrate it into your daily routine. The first thing I do every day is check the Calendar to see what events are happening today and which events are coming up so I can plan accordingly.
Don't just think about the small picture, either. Do you want to have a barn built so you can raise cows? What will it cost you? What resources will you need to build it? When do you think you could have them by? Certain items such as Fruit Trees and Sweet Gem Berries can take a month before they'll produce anything useful.
If you really want to be serious about planning your farm out to the tiniest detail, there is a very helpful farm planner at stardew.info. It's a great tool for figuring out how you would like to get everything set up if you care about that sort of thing.
2. Hold Onto a Little Bit of Everything.
Early on in the game you're going to have two concerns: you only have so much space in your inventory and you probably want to earn as much gold as possible.
First, it's a really good idea to build a couple of Chests as soon as possible. They only cost 50 Wood, you can craft them by default, and your farm is filled with trees and branches to provide it. This way you don't have to worry about carrying everything on you all the time.
You can increase your relationship with Villagers by giving them specific gifts. You will also have quests made available to you either via your mailbox or by the bulletin board next to Pierre's General Store. Most of these quests are randomly generated, so there's no surefire way to know what to keep on hand. Therefore, it's not a terrible idea to hold onto a few of everything just in case you need it.
Another benefit of holding onto a few of each item is if you need funds quickly. Suppose that your animals badly needed Hay and you are flat broke. Sure, you could sell stuff direct to stores like the Blacksmith, Pierre's, etc. but you should have something to sell on hand.
You don't have to necessarily liquidate your storage, either. It's helpful to hold onto certain items explicitly for the purposes of selling them later. For instance, I kept a few hundred Blueberries my first summer. By the time the end of the season rolled around I realized that I wouldn't have enough money to buy all the seeds I had wanted to. I threw my Blueberries in the Shipping Box and awoke to more than enough money to cover my expenses for Fall.
Once you get more established as a player, I recommend holding onto a specific high-value item that you can acquire regularly. Truffle Oil and Keg products are excellent choices because you can produce them somewhat regularly.
3. Maximize the Growth of Your Friendship by Giving Gifts. Befriending People You See Regularly Is Easiest.
Part of the Social system in Stardew Valley is the heart meter. Most villagers have a maximum of ten hearts. Bachelors and Bachelorettes have a max of eight hearts (upgradable to 10 if you romantically pursue them and later 12 if you marry them).
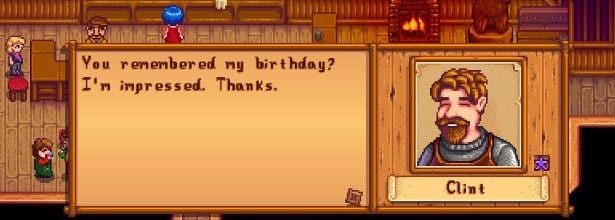
Events unique to each villager will take place once you reach certain thresholds of friendship. Getting the heart meter up will also net you some real-world benefits. Clint the Blacksmith, for example, will occasionally send you spare metal bars in the mail absolutely for free.
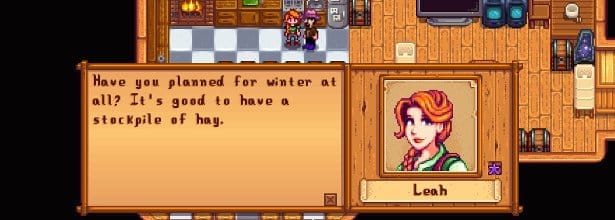
The cheapest way to build a relationship with a villager is to talk to them. You can get a much larger boost by giving them a gift up to two times per week. (The counter resets on Sunday.) You can get an even greater boost by giving them a gift on their birthday (which the aforementioned Calendar will help with immensely.)
As for who would make ideal friends, consider that you will be seeing different people multiple times a week. You might drop by Marnie's Ranch every Sunday to buy some Hay for your Animals. Maybe you then swing over to the Carpenter's Shop to start construction on a new building. Aside from the proprietors of the shops themselves, you will frequently find that they have family living there with them. At the bare minimum take the time to exhaust all conversation options with them—it only takes a second! And give them the best possible quality gift you can possibly afford to give them.
Lastly, don't fret if it sounds like the constant maintenance of these friendships would be a burden that would take you away from your farm. Once you get someone to the maximum heart meter (ten for villagers and eight for bachelors/bachelorettes), it won't decay anymore and you don't have to worry about seeing them on the regular.
4. Right Click While Holding Items To Save Time and Be Careful About Demolishing Works in Progress.
This is a tiny tip, and it might seem like an awfully dumb one, but it can reduce the amount of shuffling items around.
You often will have to right click to interact with objects. Harvesting crops, for instance, takes a right click. Planting a new crop takes a right click with the seeds in your hand. Rather than do it in sequence, you can hold the seeds in your hand, right click once to harvest the crop, and right click again to plant the new seeds.
You can also do this with Artisan Goods. Right click on a finished Keg with your ingredient in hand to pick up your produce and then right click again to put the new produce in.
Crab Pots are annoyingly picked up when you right click on them and they're empty. Holding Bait in your hand will allow you to empty the pot, rebait it, and have no risk of picking it up to replace it.
Lastly, if you have the pressing need to move a piece of Equipment, you should be aware that demolishing it while it's working will make you lose that item. However, if you smash it after the job is done, the produced item will drop on the ground. Once you've spent a couple days working with animals who love to block the door and trap you in your coop, you'll understand the need to occasionally remove equipment.
5. Use Lightning Rods and Scarecrows To Protect Your Crops & Farm From Mother Nature.
My favorite Harvest Moon game is Harvest Moon: Back to Nature. The only real hazards to your crops in that game are the occasional severe storm or you misclicking and accidentally destroying a crop. Stardew Valley, however, has a few more hazards.
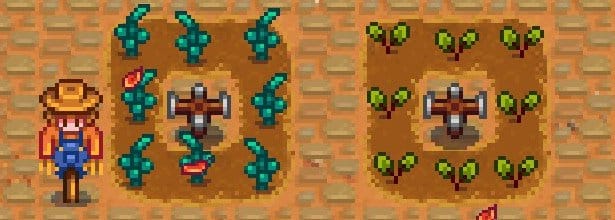
Crops will occasionally be eaten by crows unless you have a Scarecrow to protect them. They have quite a large range. You probably won't need your second one until well into your first Spring, or perhaps even your first Summer depending on how seriously you're farming.
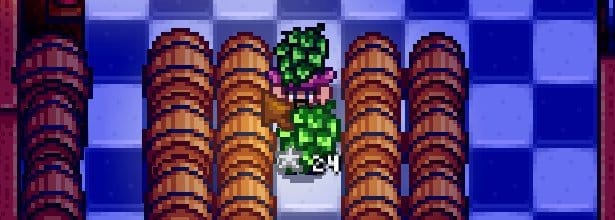
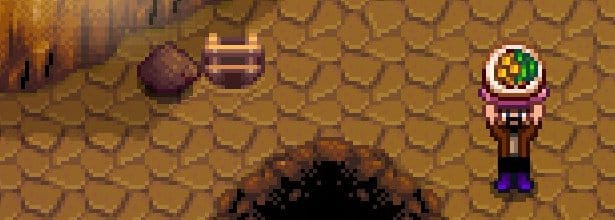
A greater threat is lightning. When the weather is bad, lightning strikes happens, and when it's thousands of volts versus a tiny little Parsnip in the ground, the Parsnip loses. Lightning Rods will not only absorb the lightning strike, they'll produce a Battery Pack after 24 hours. Battery Packs are used in some higher-tier crafting, so you'll probably need them anyway, and if you're working on befriending Maru, they're one of her most favorite gifts.
Be forewarned: a Lightning Rod is only good for absorbing one strike, and then it's stuck for 24 hours to process it into a Battery Pack. It's a good idea to have multiple Lightning Rods placed somewhere on your farm. I've had as many as a dozen and still had a paved tile upended by a lightning strike. 15-20 seems to be the ideal number, but you probably won't be able to get that very early in the game. Place as many of them as you can as often as you can, so you don't lose crops unnecessarily.
6. Learn the Schedules of the Villagers So You Don’t Waste Time.
Marnie sells animals, animal supplies, and Hay from her ranch. There's a bit of a running joke in the Stardew Valley community that she's never at the counter in her store. That's because Marnie has a slightly offset schedule—she takes Mondays and Tuesdays off as opposed to Saturday and Sunday like you'd expect.
If you have no grass on your field, you're running low on Hay, and it's Sunday, drop everything and get to Marnie's Ranch before she closes for the day. Your animals can't die if they don't eat, but they won't produce anything for you, either.
In a similar vein, if you're looking to give gifts to certain villagers, you might end up running all over the place looking for them. The wiki is a great resource for finding out what their schedules are as a general rule. Even so, Stardew Valley is so new that even the official Wiki has some gaps in its information.
If nothing else, know that the best time to catch people is usually at the start of their day, typically 9:00 a.m. It's better to get there early and wait an in-game hour as opposed to spending three hours running around trying to track them down.
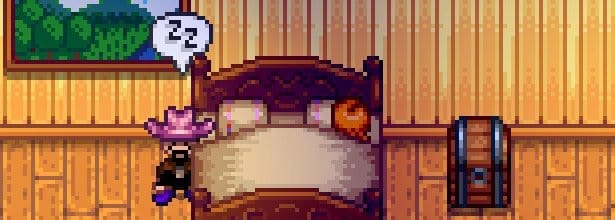
7. If the Clock Hits 2:00 A.M. You’ll Pass Out and the Day Ends.
When the clock strikes midnight, it turns red and you're prompted with a warning that you're starting to get tired. You get a second warning at 1:00 a.m., and then at 2:00 a.m. you pass out where you're standing.
2:00 a.m. is the absolute end of the day. At that point, everything stops, you pass out, and the next day begins. If you're trying to stay up late to get some last minute chores done, be conscious of how much time you have left.
Why is passing out a big deal? Well, assuming you have enough money, you'll be charged up to 1,000G for the "service" of being taken back to your home by a Joja Corp team member (whom you never see). 1,000G is nothing to me—I make that daily off of just one of my Pigs—but it can be absolutely devastating to a player who is just starting out.
If anything, it's better to leave something until tomorrow in the early game rather than risk passing out and losing 1,000G. And if you have a pressing need to absolutely push the time limit, know that you don't have to actually make it to your bed. Passing out at 2:00 a.m. in your home doesn't charge you a fee at all! As long as you make it through your front door before the clock strikes 2:00 a.m., you're all set.
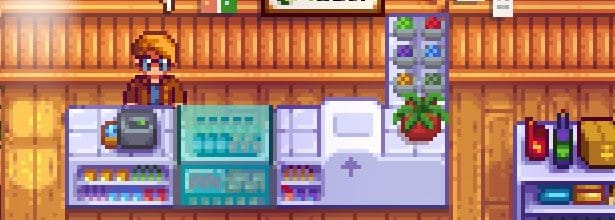
8. Pierre Will Start To Carry Your Goods if You Sell Enough of Them to Him.
I've once restarted an entire day because I sold an item that I really needed on that same day. You can recover the most recently placed item in the Shipping Box, but that's it.
However, if you sell items to Pierre's General Store, there's a good chance that he'll have them available for sale again. You need to sell items in large quantities for them to be made available, but it's nice being able to spend a bit of gold picking up cheese because you really needed cheese for ... some reason. I'm sure there's a reason you'd need cheese.
The point is that certain items can only be acquired via the farm. You might find that you sold the perfect Birthday gift for someone whose birthday is in Winter, and the item itself can only be produced in Fall. It's too late to grow a new one, so your only hope is if you've sold a bunch of stuff to Pierre. Maybe, just maybe he'll have it in stock! Do note that this particular mechanic only applies to Pierre's General Store and not the other shops in Stardew Valley.
Finally, one additional side benefit is that Pierre (and other stores) pays you for your goods immediately. You don't have to wait for the day to roll over to cash in!
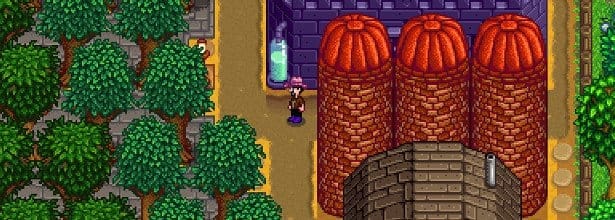
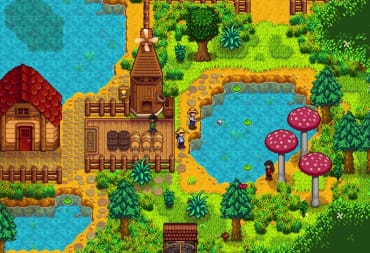
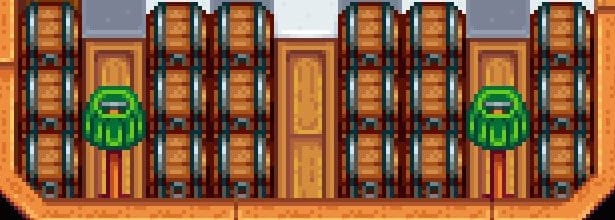
9. Build a silo before clearing the grass from your land.
In my experience most players do a little bit of everything. One of the core elements of Stardew Valley is raising Animals. Animals need to be fed, and if you don't provide them Hay, they won't produce any goods.
In an emergency (or when it's economically feasible), you can purchase it for 50g apiece from Marnie's Ranch. However, if you have Robin the Carpenter build a Silo on your farm, any grass that you cut with the Scythe will automatically be turned into Hay and stored there. The Hay in your silos will also be accessible in your coops and barns so you won't have to worry about lugging it around.
Silos are pretty cheap and easy to make in the early game, and there's an awful lot of Hay to be had. I had racked up over 200 Hay when I made a serious effort to clear my farm. That's 10,000G worth of Hay, and it was just sitting there.
If you don't have a Silo and you cut your grass down, you'll get nothing for it. So if you have even the tiniest intention of integrating animals into your farm, build a Silo first!
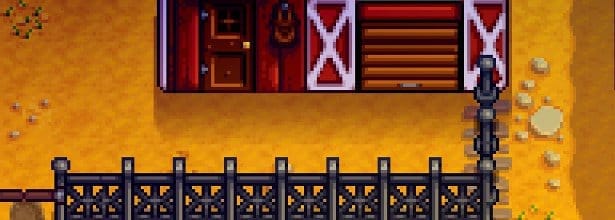
10. Use Fences To Keep Your Animals From Wandering Around. Stronger Fences Break Down Less Often.
Fences aren't just used for decoration. They act as physical barriers that will block you as well as animals from moving.
Letting your animals outside is at least a necessity for Pigs since that is how they gather Truffles. You don't want to have to deal with your little hogs walking all over your farm, though!
Whether you're using them for decoration or for function, fences are a great way to zone off sections of your farm. A Gate will let you pass through with a simple right click.
Fences also don't last forever. You can make relatively cheap ones with Wood to start, and the best fences are made of the much rarer Hardwood. When a fence does decay, you can use the same right click trick in #4 to replace them without having to dig them up. If you're married, your loving spouse will occasionally "do some maintenance," which amounts to restoring the condition of existing fences. They won't repair any broken fences, though, so if you build any make sure you have some replacements on hand for the future!
11. Cooked Food Is Very Powerful. It Can Restore a Lot of Health & Energy and It Gives You Buffs.
Once you've upgraded your home for the first time, you'll have access to a kitchen. The kitchen permits you to cook, and cooked food is arguably the best food in the game. The better recipes can restore absurd amounts of health and energy, and certain cooked meals will give you special buffs.
Unfortunately, the buffs don't stack. I had made a few dozen Farmer's Lunches because they're cheap and relatively easy to make. Once you know all of the recipes in the chain, it ultimately costs one egg, one milk, and one parsnip each. A Farmer's Lunch gives you the Farming buff, which increased your Farming skill by 3 temporarily. I was mainly using them to restore a lot of health and energy in the mines so that buff wasn't all that useful to me.
I had also acquired a bunch of Spicy Eels in my adventures since they drop from a particular enemy that I was encountering somewhat regularly. I would eat a Farmer's Lunch, follow it up with a Spicy Eel, and find that my Farming buff had disappeared only to be replaced with a Luck and Speed buff.
Buffs don't stack with food, so if you're eating to restore health, make sure not to override the buffs you'd actually like to keep. Thankfully, eating food that doesn't provide any buffs won't cancel out your existing ones.
Oh, and as far as point #2 on this list goes, try to hold onto a couple dozen Parsnips from your very first Spring. You'll probably get chickens and cows later in the Summer or Fall, and you won't exactly be able to go back in time and grow new Parsnips. The Farmer's Lunch is probably one of the most efficient ways to restore health and energy in terms of cooking, and the buff itself will be useful if you have to do a lot of Farming that particular day.
12. Trees Fall in a Certain Direction Depending on Where You’re Standing.
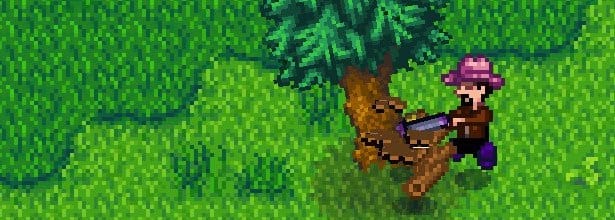
When you're chopping down trees they'll eventually fall over. Trees fall in a certain direction depending on where you're standing when you make the final cut.
If you're standing to the right of a tree, it will fall to the left, and if you're standing to the left of a tree, it will fall to the right. There's some reports about specific directions based on whether you're standing in front of or behind the tree, but my experience has been that this is a bit random.
Why is this important? Well, the majority of trees are safely surrounded by ground and you don't risk losing anything when you chop them down. However, some trees are near cliffs and the loot they drop might be wholly unreachable as it will land on the top of the cliff. Some trees are also by water and the loot will splash into a river or lake. In either case, they're unrecoverable and you wouldn't want to waste your time chopping down a tree only to get shafted for the loot.
There's also a handful of tree spawn points where you will always lose some loot no matter what you do. This is most commonly seen on the trees on little islands. Felling them in either direction will result in you losing something, though you may be able to get more logs by felling it in a particular direction.
13. The Horse Is a Good Investment, but Be Mindful of the Space It Needs To Get Around.
You can acquire a stable from Robin the Carpenter. The price isn't all that bad, although it costs 100 Hardwood, and that will be difficult to get without upgrading your axe. If you have at least a Steel Axe, you can access the Secret Woods and get 12 Hardwood every day.
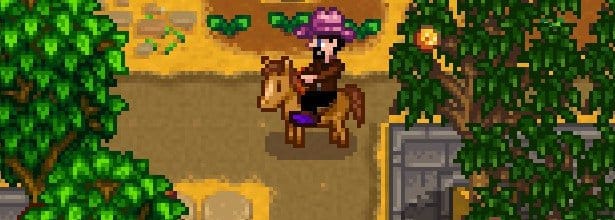
The horse is super useful. You can take it all over the town with you, and should you forget to bring your horse home, it will always return to its stable. (It is, in my opinion, ideal to build the stable relatively close to your home so you can get to it quickly.)
Unfortunately, the horse has rather strange movement requirements. It only requires one tile of open space to move horizontally, but it requires two tiles of space to move vertically. If you're intent on making one-wide paths for your entire farm, bear in mind that you won't be able to squeeze your horse through them. It's for that reason that I can get to most places on my farm via a path that's two tiles wide.
This is also a consideration you'll have to make while running around Pelican Town or the wilds. Certain places like bridges or other paths just can't fit your horse. And remember, don't worry about leaving your horse behind if they're stuck somewhere inconvenient—they'll always return home the next day.

I hope you've found these tips helpful. I've had an awful lot of fun with the game, and I imagine that I'll be playing it for quite a while.
If you're a seasoned player of Stardew Valley, you might not have learned anything new today. I'll be following up with some tips for more advanced players soon so keep your eyes open!
Have a tip, or want to point out something we missed? Leave a Comment or e-mail us at tips@techraptor.net
One of my earliest memories is playing Super Mario Bros. on the Nintendo Entertainment System. I've had a controller in my hand since I was 4 and I… More about Robert N