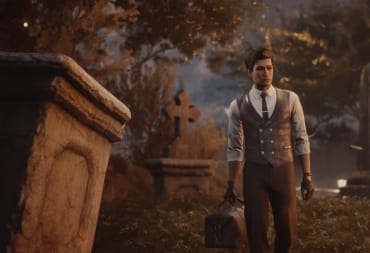
After continuing Sherlock Holmes Chapter One's main storyline for some time, you'll be prompted to visit Theodore Gilden, the Holmes family's old neighbor, to see if he knows anything about Violet's illness or death. Go down the street to Gilden's house to find a crowd of shocked citizens standing outside his broken gates. Looks like there's something afoot. The Sherlock Holmes Chapter One: A Gilded Cage Walkthrough is right below:
A Goliath Problem
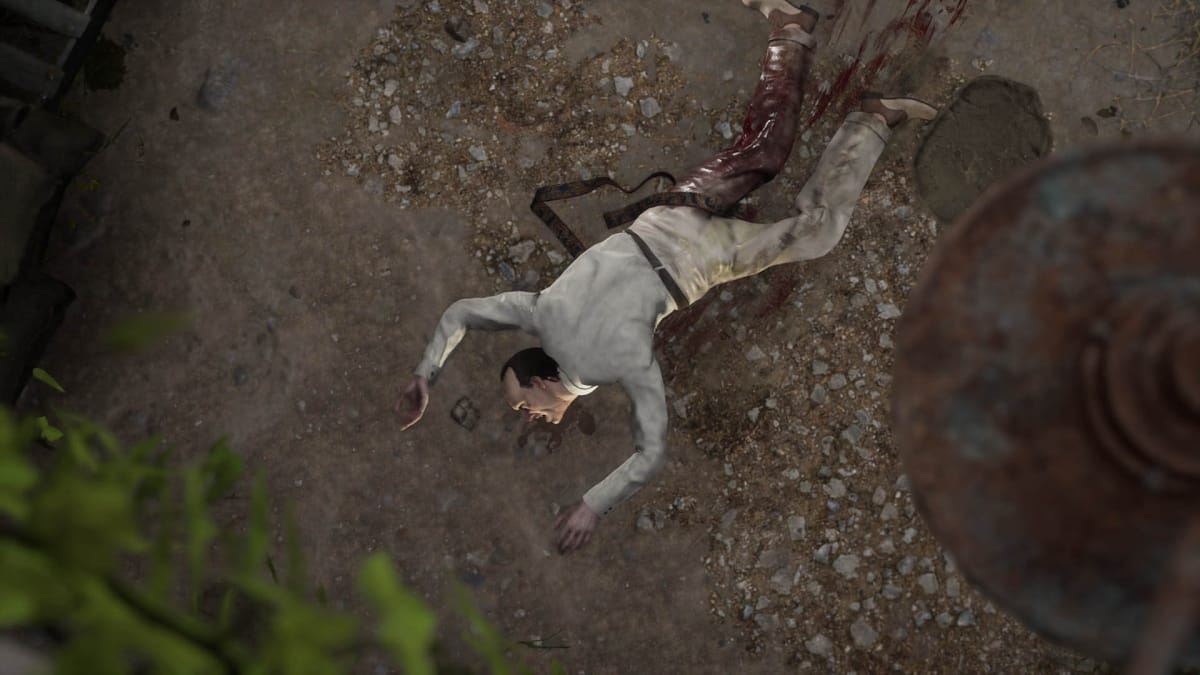
Check the downed gate and note the smashed flower pots as you go toward the back of the house. There you'll discover another dead body. Examine the man's head, his bloody leg, the dressing gown belt draped over him, and the missing finger of his right hand, confirming that this is indeed Theodore Gilden. It looks like you won't be getting any answers out of him after all.
Observe the post on the right with the rope tied to it. It's holding down a balloon similar to the one in Sherlock's room. There's also a pile of toys to the left under the umbrella. Follow the blood trail back into a separate section of the yard. Inspect the broken heavy-duty chain and puddle of blood, and use Concentration to look at the animal prints and bullhook. Sherlock remarks that the prints likely belong to an elephant and that the bullhook has no blood on it. Take a photo of the elephant print; Jon issues you a challenge to find an old newspaper story in the archive. The last thing to take note of here is the food stocks on the right.
Now you should head back to the corpse to see if you missed anything on the way in. Look past the chained and locked gate to the watering hole. This must be where the elephant spent a lot of its time. Turn left to the shed. Examine the coal gas tank, sailor's knife, and broken plank. Someone else must have been here too.
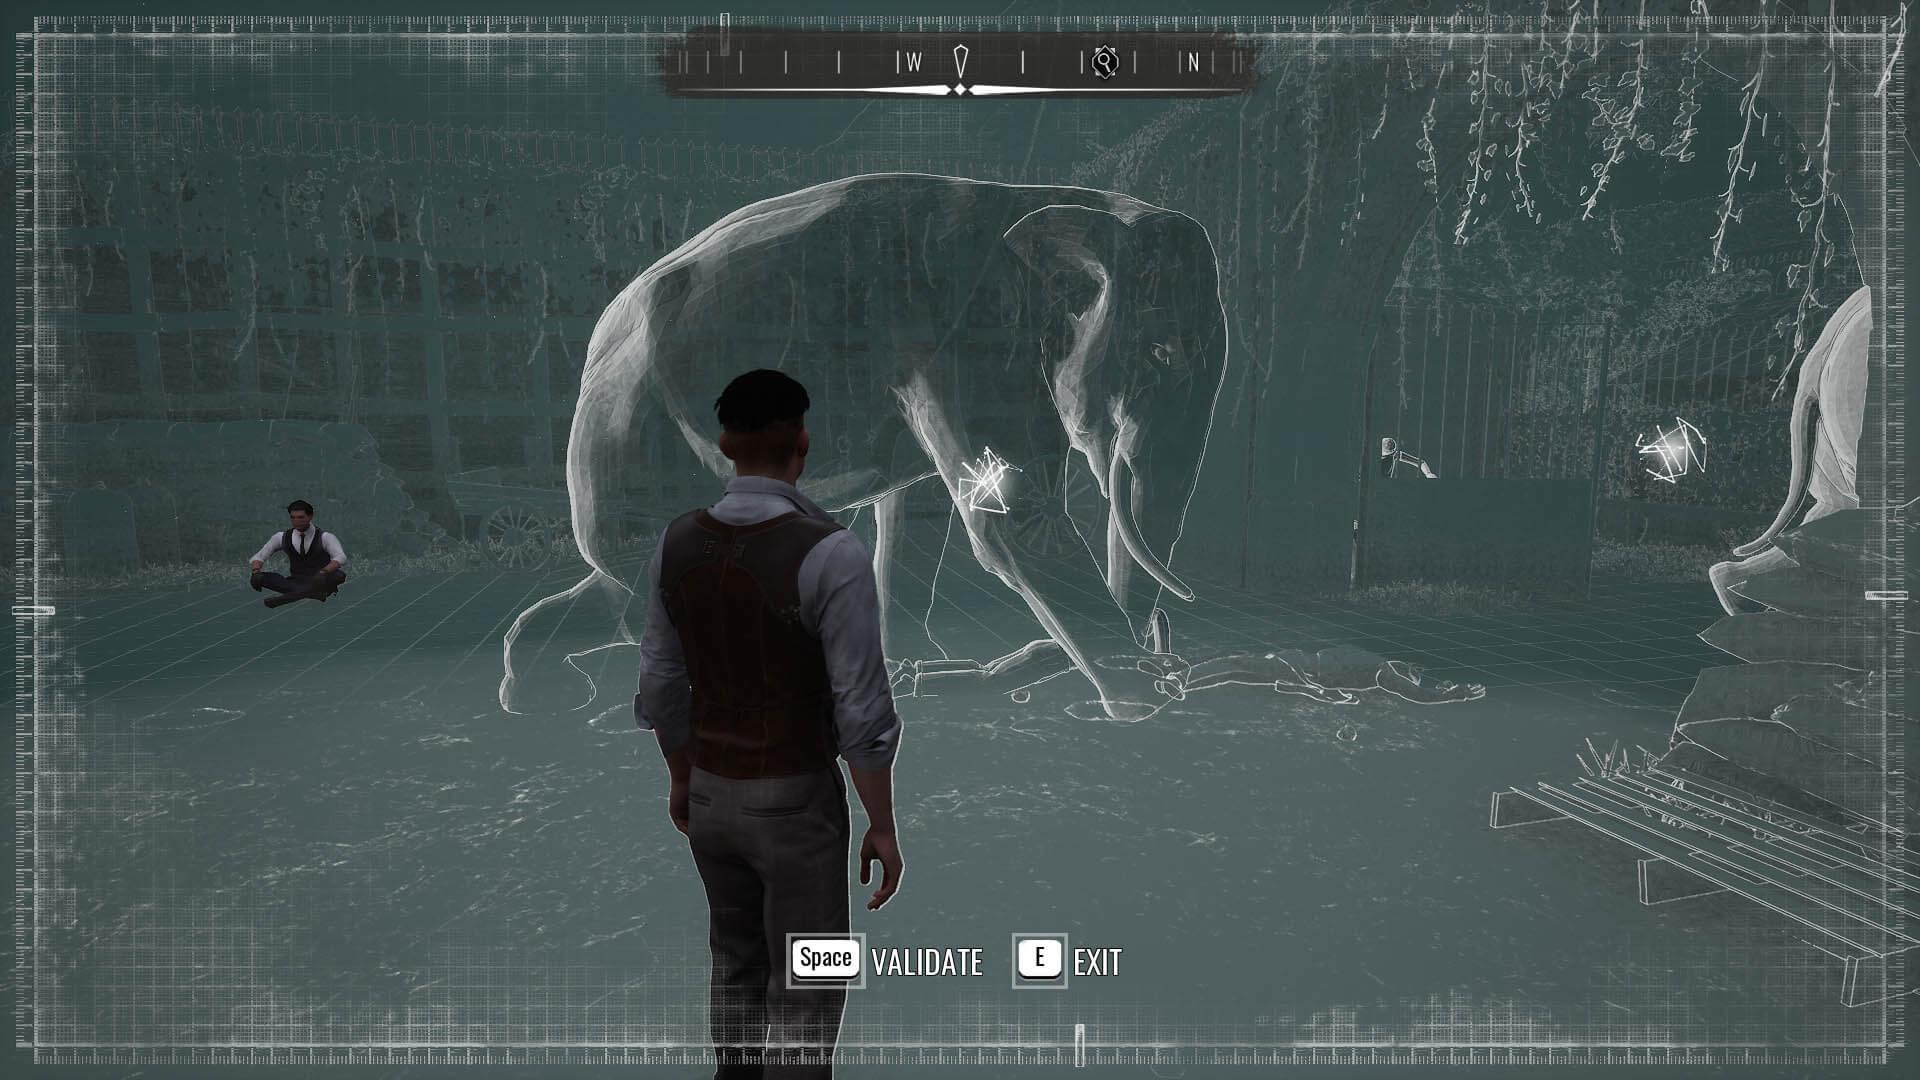
You have enough information to reconstruct the scene. The first image by the chain should be the elephant picking up Gilden by its trunk while the second image, by the body, should be Gilden being dropped. The third one should be the unknown third party being hit by the gate as the elephant escapes. Check the screenshot if you need help organizing the scene.
You can combine a couple of clues in Sherlock's Mind Palace:
- 'Fatal battering' + 'Mr. Gilden owned a wild animal' = 'Goliath may have killed Theodore.'
- 'Bosun's knife' + 'Damage to the shed' = 'Unknown third party.'
Time to find the elephant. Pin the Animal Suspect evidence and ask one of the curious bystanders outside if they know where the elephant ran off to. They'll tell you it crossed the Greek Bridge in the direction of the forest. After you cross the bridge, you'll see a prompt to use Concentration on elephant tracks near the cart with the missing wheel. Follow the path, coming across a fallen tree branch and then tracks leading into the water.
Sherlock is afraid of the water, so you can go any deeper than wading through it, meaning for now, the trail's stopped cold. There's a dressing down hanging on a branch to the left that matches the belt found draped over the corpse. Examine both of its pockets to collect a key and ink-stained letter.
Exploring Gilden Manor
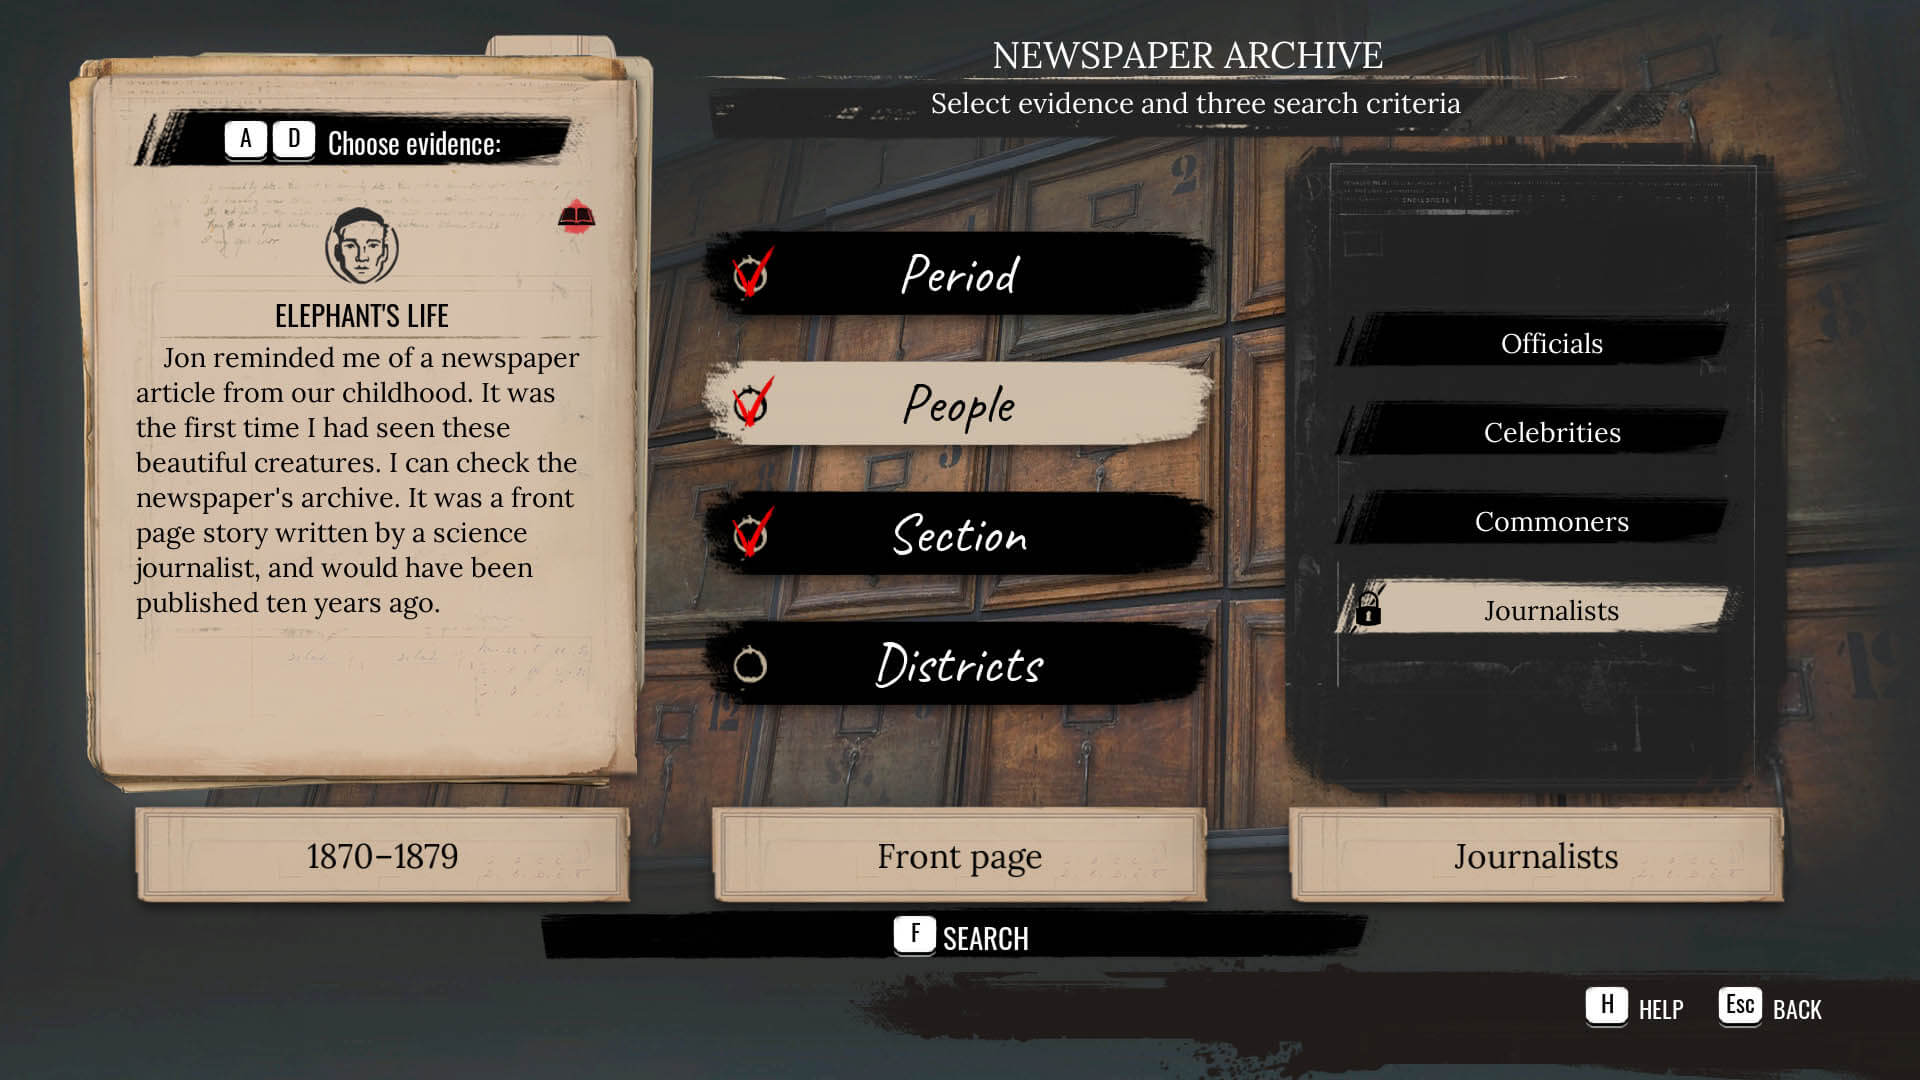
Before you go back to Gilden Manor, now's the perfect time to make a trip to the Cordona Chronicle for Jon's challenge. The Elephant's Life evidence tells you how to find the story. The period was 1870-1879, the person was a journalist, and the section was the front page.
Now that you've made that detour, you can fast travel to Stonewood Manor and return to Gilden Manor. The police have finally arrived on the scene. This time, go back to the corpse and enter the house using the key you found.
Look at the portraits on the right and left walls in the foyer before you go upstairs. As you go upstairs, you'll hear a woman crying. It turns out to be Imogen, Theodore's daughter. She tells you exactly what happened. It sure would've been nice to have her help reconstructing the scene.
Snoop around her room. There's a pile of pillows across from where Imogen is standing, a feeble attempt at blocking the window. Go to her trunk and examine the clothes, fiction book, and front and back of the photograph in the drawer. Jon issues you another challenge: to find the other two books in the trilogy. Before you drive yourself crazy looking for them, they're not located in Imogen's room.
Go down the hall and into Theodore's study. Use Concentration on the leather armchair. You can also view the myriad books and a framed photograph on the shelf. Look at the construction plans on the writing desk, specifically the center building, crossed-out name, and title. Take a photo of it. On the center desk you'll find two photographs, a perfume bottle, and Theodore's wooden finger. Finally, there's a newspaper on the shelf behind the desk.
Go talk to Imogen about your findings. She won't comment on everything, but you can simply present all the evidence to her. It doesn't seem to have an impact on the case or on Jon's opinion of you. Once you've asked about everything relevant, the dialogue will end anyway. She'll tell you about her boyfriend, Paul Perks, champion of the yacht club, and Arthur Swift, an archaeologist and her father's (former) partner in the Ivory Baths project.
The Salacia Yacht Club
You need to check into the two men Imogen mentioned. Let's start in Southern Grand Saray at the Yacht Club. Pin the Photo of Imogen and ask one of the men in a suit outside the yacht club about Paul. He missed the race earlier but might be in the workshop. Go down the steps and into the brick building.
There's nothing in the main room, so peer into the window of the Whirpool workshop, the first door on the right, to find bloodied bandages. Next, go into the storage room, the second door on the right. There's a red foghorn as you enter. You can also find the second book of the Bazookaeology trilogy hidden in the corner on a shelf for Jon's challenge.
After exiting, use Concentration to check the Whirlpool, Paul's yacht. No, that's not a body floating in the water, it's just Jon. Pin the Yacht Club Workshop evidence and look at the board of champions. The Whirlpool sign has flecks of blood on it. Turn it over to reveal the key.
You can access the Whirpool workshop now. Check out the workbench on the left. Discover plans for yacht modifications and betting slips. Pick up the slip apart from the rest and read the suspicious note on the back. There's also a threat from Theodore Gilden in an envelope. Observe the shelves on the other side of the room to find woodworking tools, a stack of books on shipbuilding, and a box of darts.
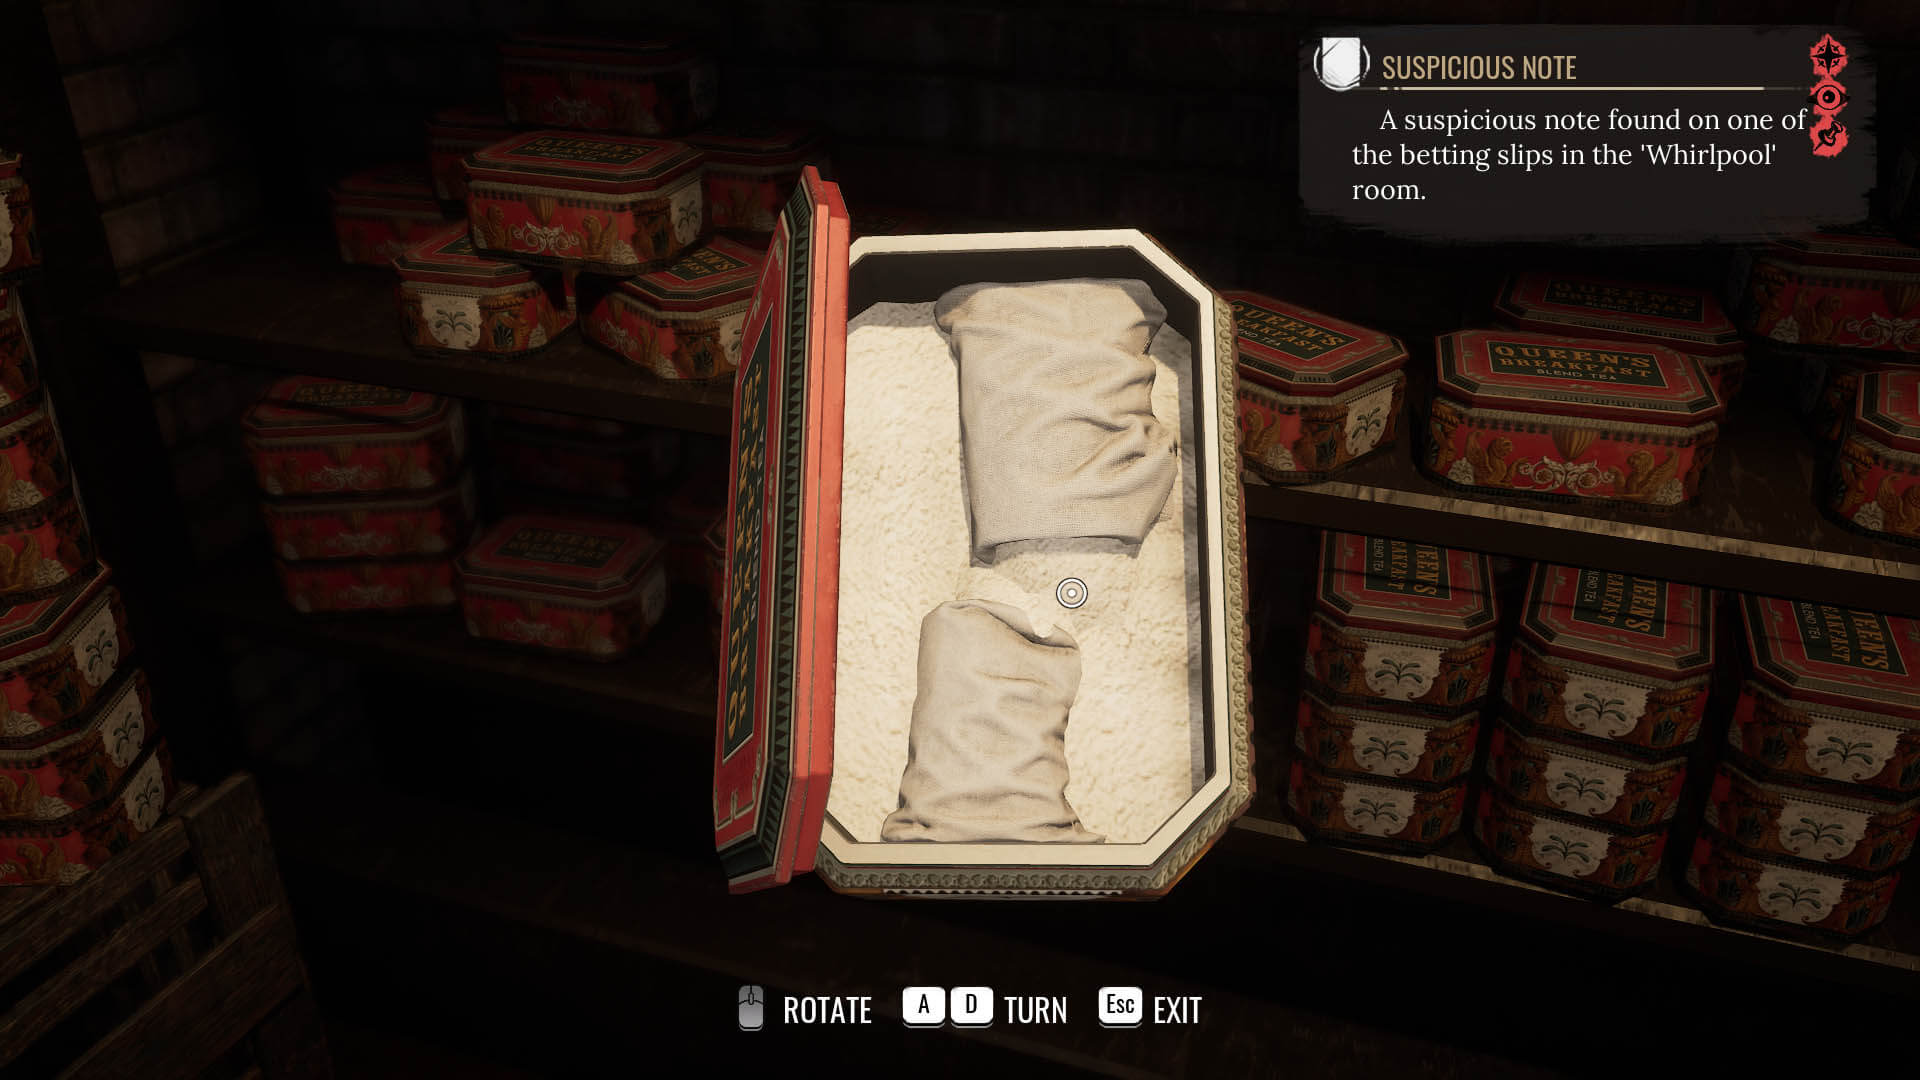
Pin the Suspicious Note evidence you found on the desk. Back in the storage room, use Concentration to find a tea tin of psychotropic drugs that Paul's been smuggling.
Exit the storage room to run into Paul. After you exchange words, you'll have a chance to scrutinize Paul's ill-defined Adam's apple, bruised elbow, hand, and hips. Sherlock isn't the only one who can pull off a convincing disguise as a woman. You can choose to confirm Paul's portrait as either a 'Professional smuggler' or 'Professional yachtswoman.'
Paul's "friends" interrupt your conversation. Disable and arrest them. If you're struggling with the combat, you can skip it to continue with the case by adjusting the difficulty settings. Now you can have a proper chat with Paul in the Whirpool workshop. Ask her about the evidence like you did with Imogen.
You can throw together a few more Mind Palace clues now:
- 'Theodore threatened Paul' + 'Theodore attacked Paul' = 'Theodore attempted to destroy Paul.'
- 'Damage to the shed' + 'Paul has a fresh bruise' = 'Paul may have fallen on the shed.'
Becoming an Archaeologist
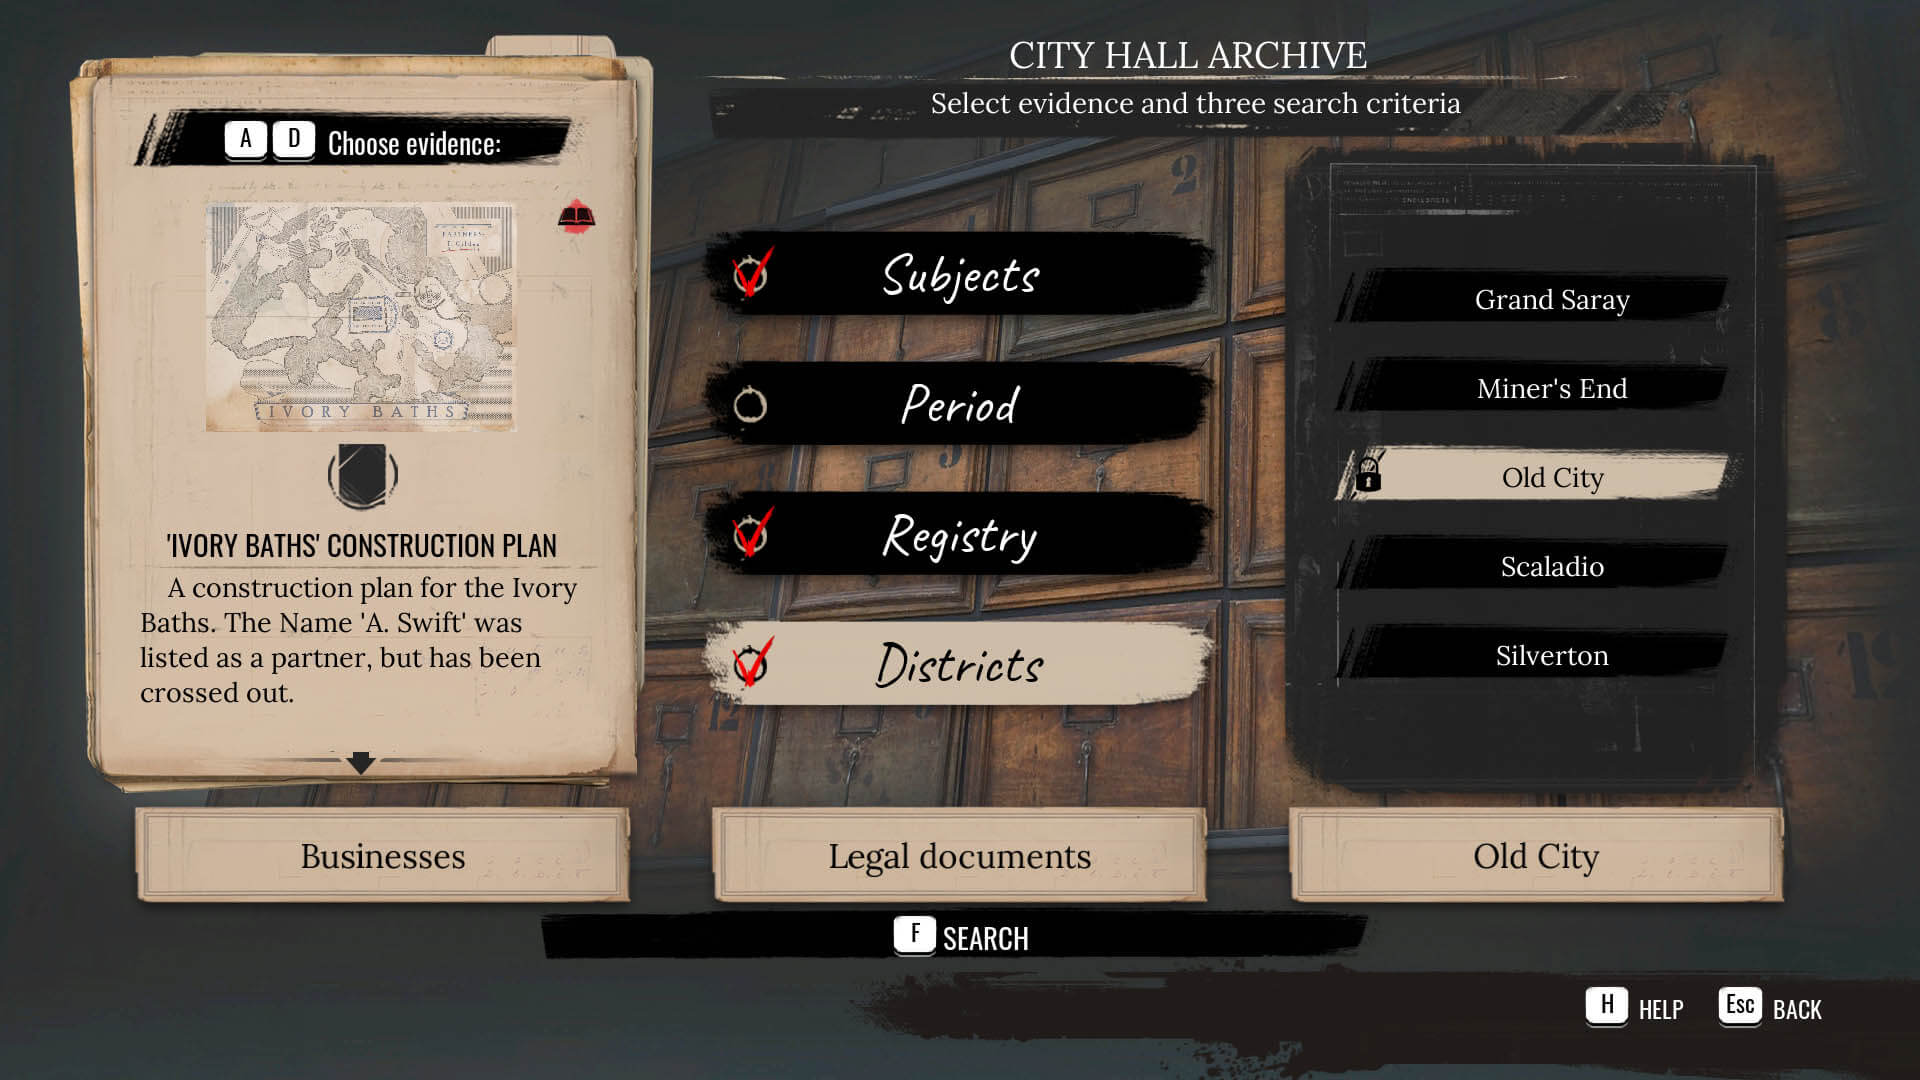
The only way to locate Arthur Swift is by searching the archives. Go to city hall in east-central Scaladio. In the archive, search for legal documents pertaining to businesses in the Old City district. You're directed to the intersection of Bazaar Road and Arnaut Street.
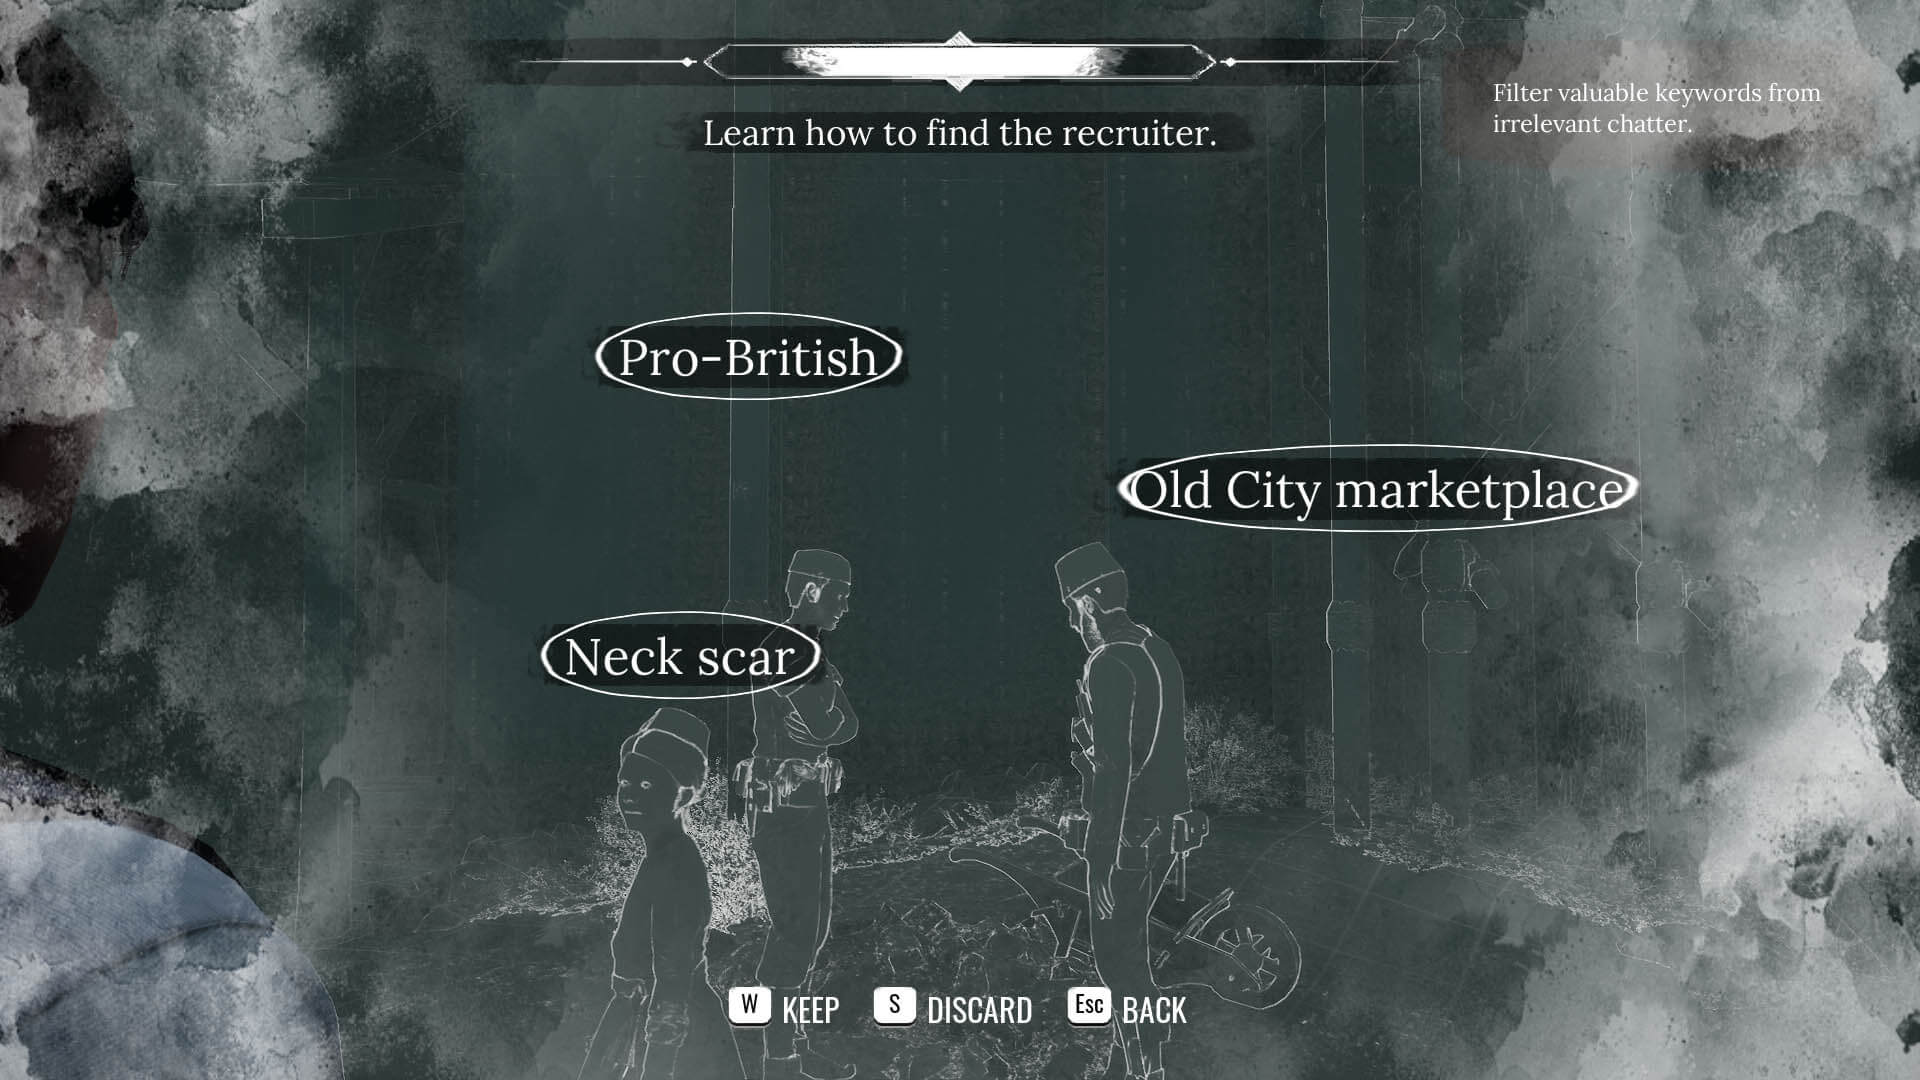
There are two men talking outside the archaeological dig. Put your keen ears to work and eavesdrop on them. Choose the following relevant information as it pops up on-screen:
- Pro-British
- Old City Marketplace
- Neck Scar
Go to the Old City Market. You can use Concentration to find the foreman: he's on the north side of the marketplace fidgeting with his neck. In Sherlock's usual garb, the foreman will despise and refuse to talk to him. However, if you look like a worker, he'll become sympathetic and speak to you. If you don't have appropriate attire at the ready, take advantage of the clothing merchant in the marketplace. You can buy or rent the worker's apron outfit, but if you really want to splurge, some styles of facial hair will push the look farther. Talk to the recruiter and when prompted, say you're all for working with Brits.
Head back to the dig site, still in your worker's garb, and speak with the professor, Arthur Swift, inside. Don't play your hand too early. Tell him you're ready to work instead of asking about Gilden and then presume he's searching for archaeological treasure instead of working on the Ivory Baths.
He gives you a perfect excuse to get a good look at him. Observe his broken glasses, thick notebook, elbow bruises, right hand, and the dirt on his pants. Confirm his portrait as a 'Money-grubber' or 'Knowledge seeker.'
You can't look at his workbench, but you can do a little sleuthing. Check the crates on the left of the camp -- there are straw dolls, research about the Titus and Vitus conquest, and oilcloth in the crate. Review the items pinned to the map behind Swift: photos, a dig site plan, and an article.
Travel down the stairs toward the dig site and up the stairs on the left, into the ruins. Study the fallen statue's head, the sickle in her hand, and the plinth. Back down the stairs, you'll find the last book in the Bazookaeology trilogy on the baskets between two skulls. You've succeeded Jon's challenge!
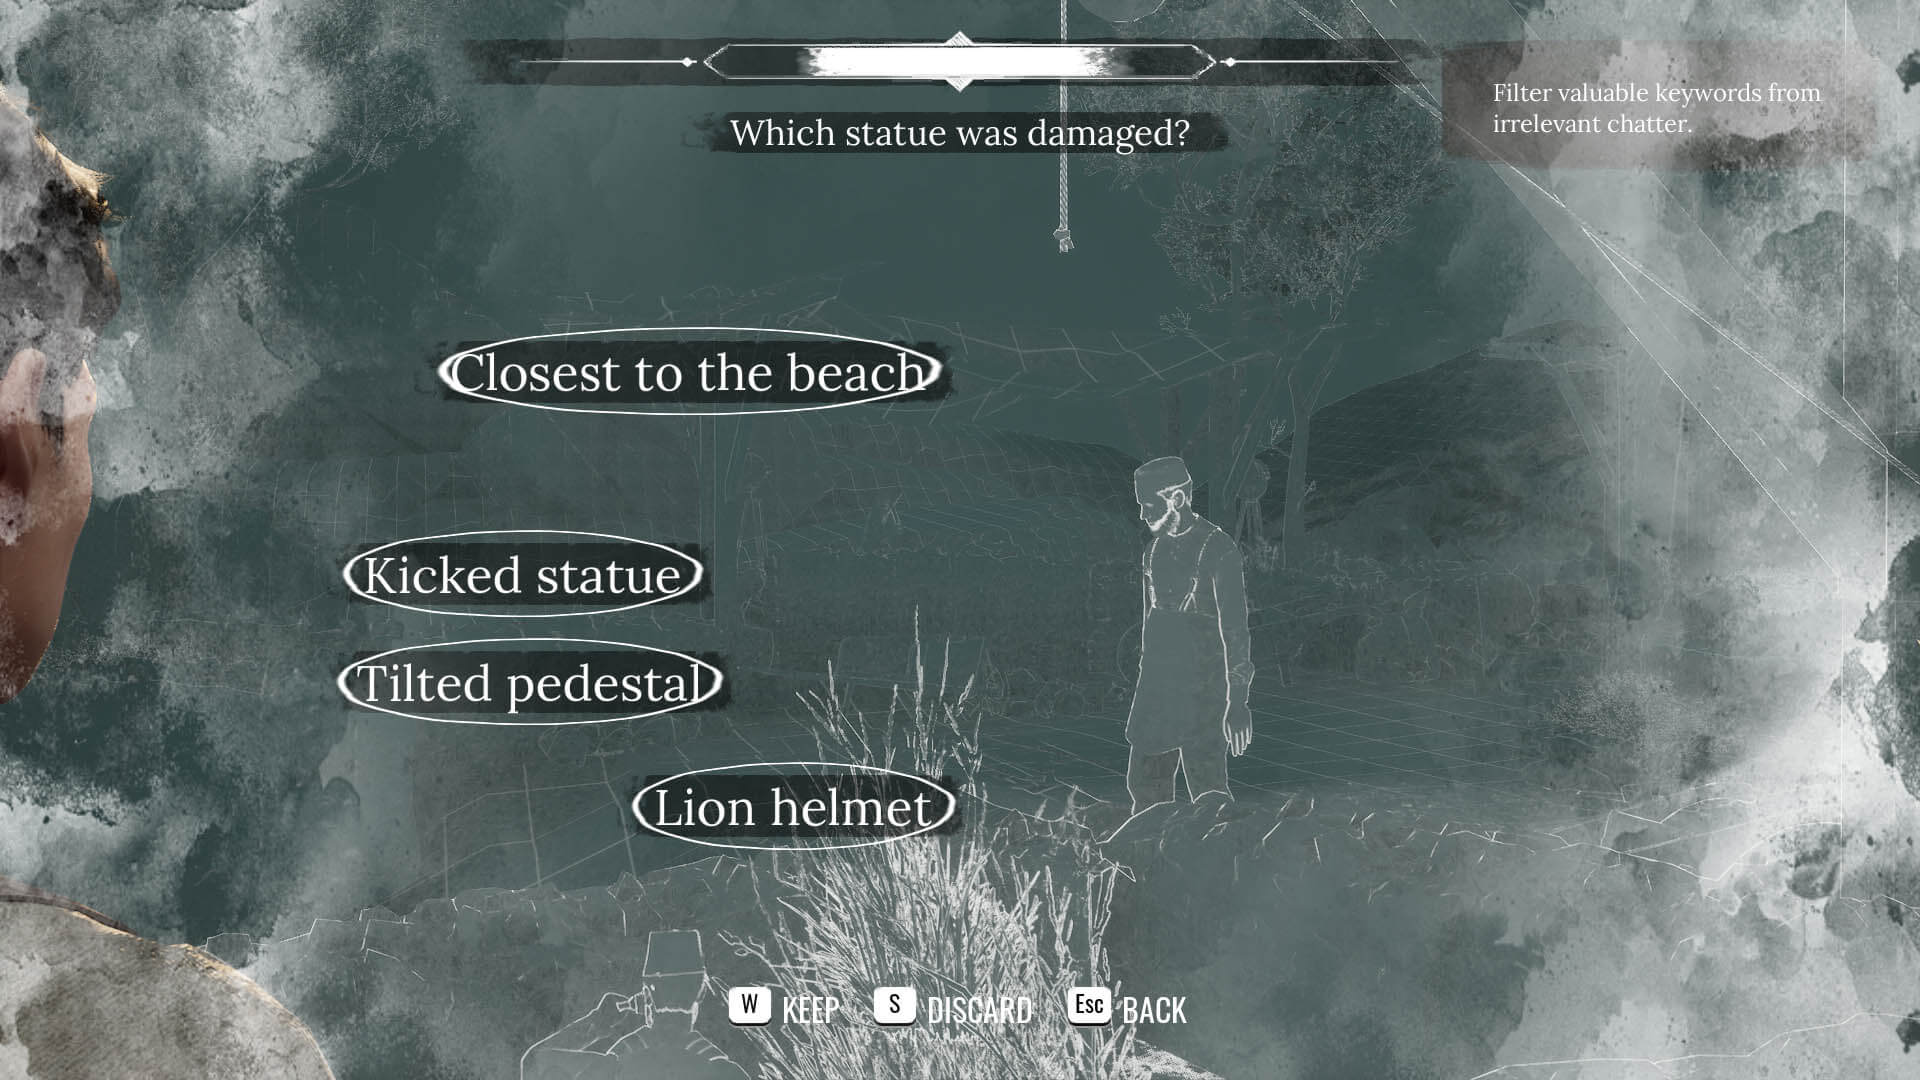
Further in the site, you come across two workers gossiping. Listen in and choose the following tidbits of information:
- Kicked statue
- Lion helmet
- Closest to the beach
- Tilted pedestal
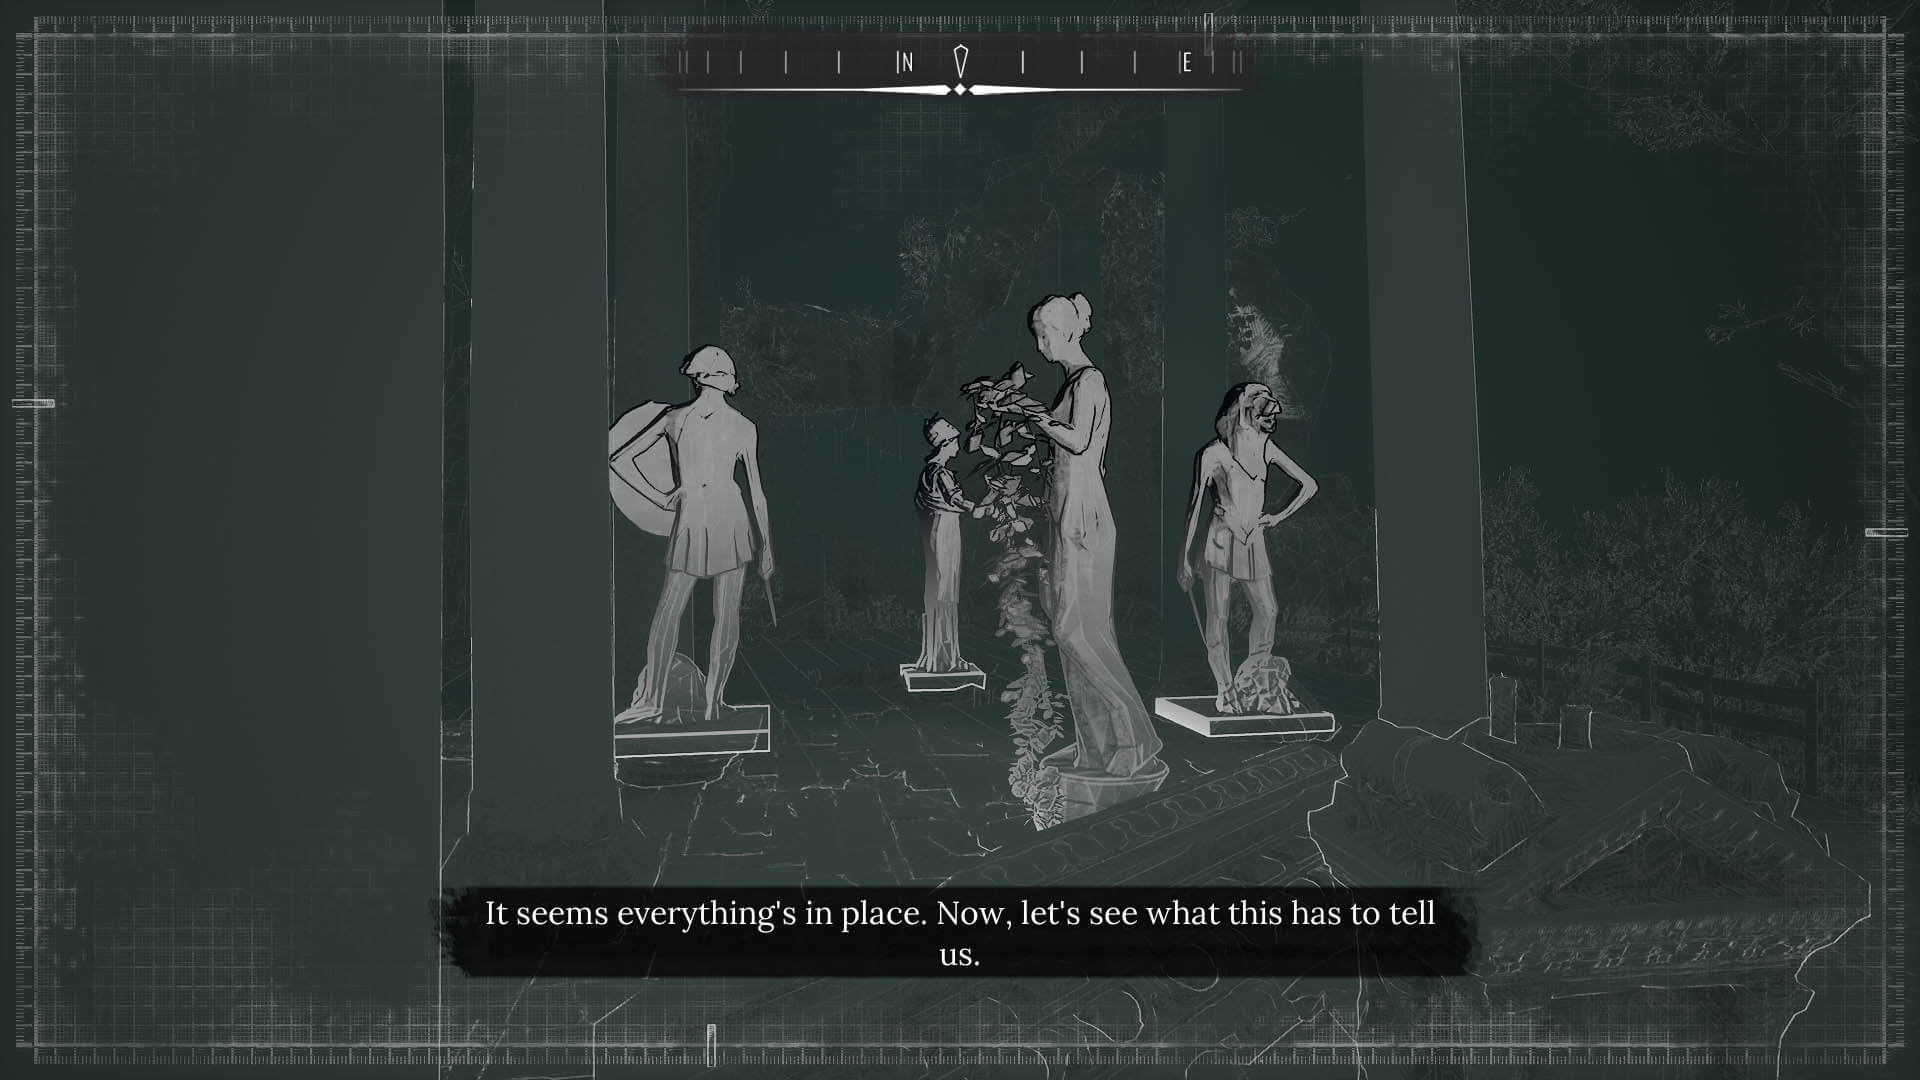
Now you have a better idea of what happened at the ruins. Walk back up to the statues and read the inscription on the tablet. We have all the information we need to recreate the scene as follows:
- Woman holding sickle on left, facing east (toward sea)
- Woman holding vine and fruit basket on right, facing west (up the hill)
- Man with lion head on east, facing south (toward dig site)
- Man holding sword and shield on west, facing north (toward trees)
Take your amateur archaeology to the next level, using Concentration to follow the path down the steps, finding footprints along the way. It leads you to a mound of dirt. Sherlock calls Swift over, giving you a golden opportunity to peek at the professor's workbench.
You'll find a box of darts, a "Tusks and Trunks" book, and his notebook. Swift returns to find you poking around. The jig is up! Sherlock reveals himself, giving you an opportunity to ask questions. He claims to have last spoken to Theodore a few days ago and only just learned of his death when you told him. Ask him about all the evidence you've collected.
It's back to the Mind Palace before the final pieces of the puzzle fall into place:
- 'Trying times' + 'The partnership ended' = 'Arthur protected his research.'
- 'Damage to the shed' + 'Arthur has fresh bruises on his elbow' = 'Arthur may have fallen on the shed.'
- 'It was mating season' + 'Everyone blames Goliath' = 'I need to find Goliath.'
Elephant Matchmaking
That's right -- our large floppy-eared friend is the last clue. We're going to (absurdly) use the fact that it's mating season to get Goliath back. First, do chemical analysis on the vial with elephant sweat perfume to extract pheromones. It's only slightly more complicated than the one in the first case, but look at the screenshot if you're having trouble.
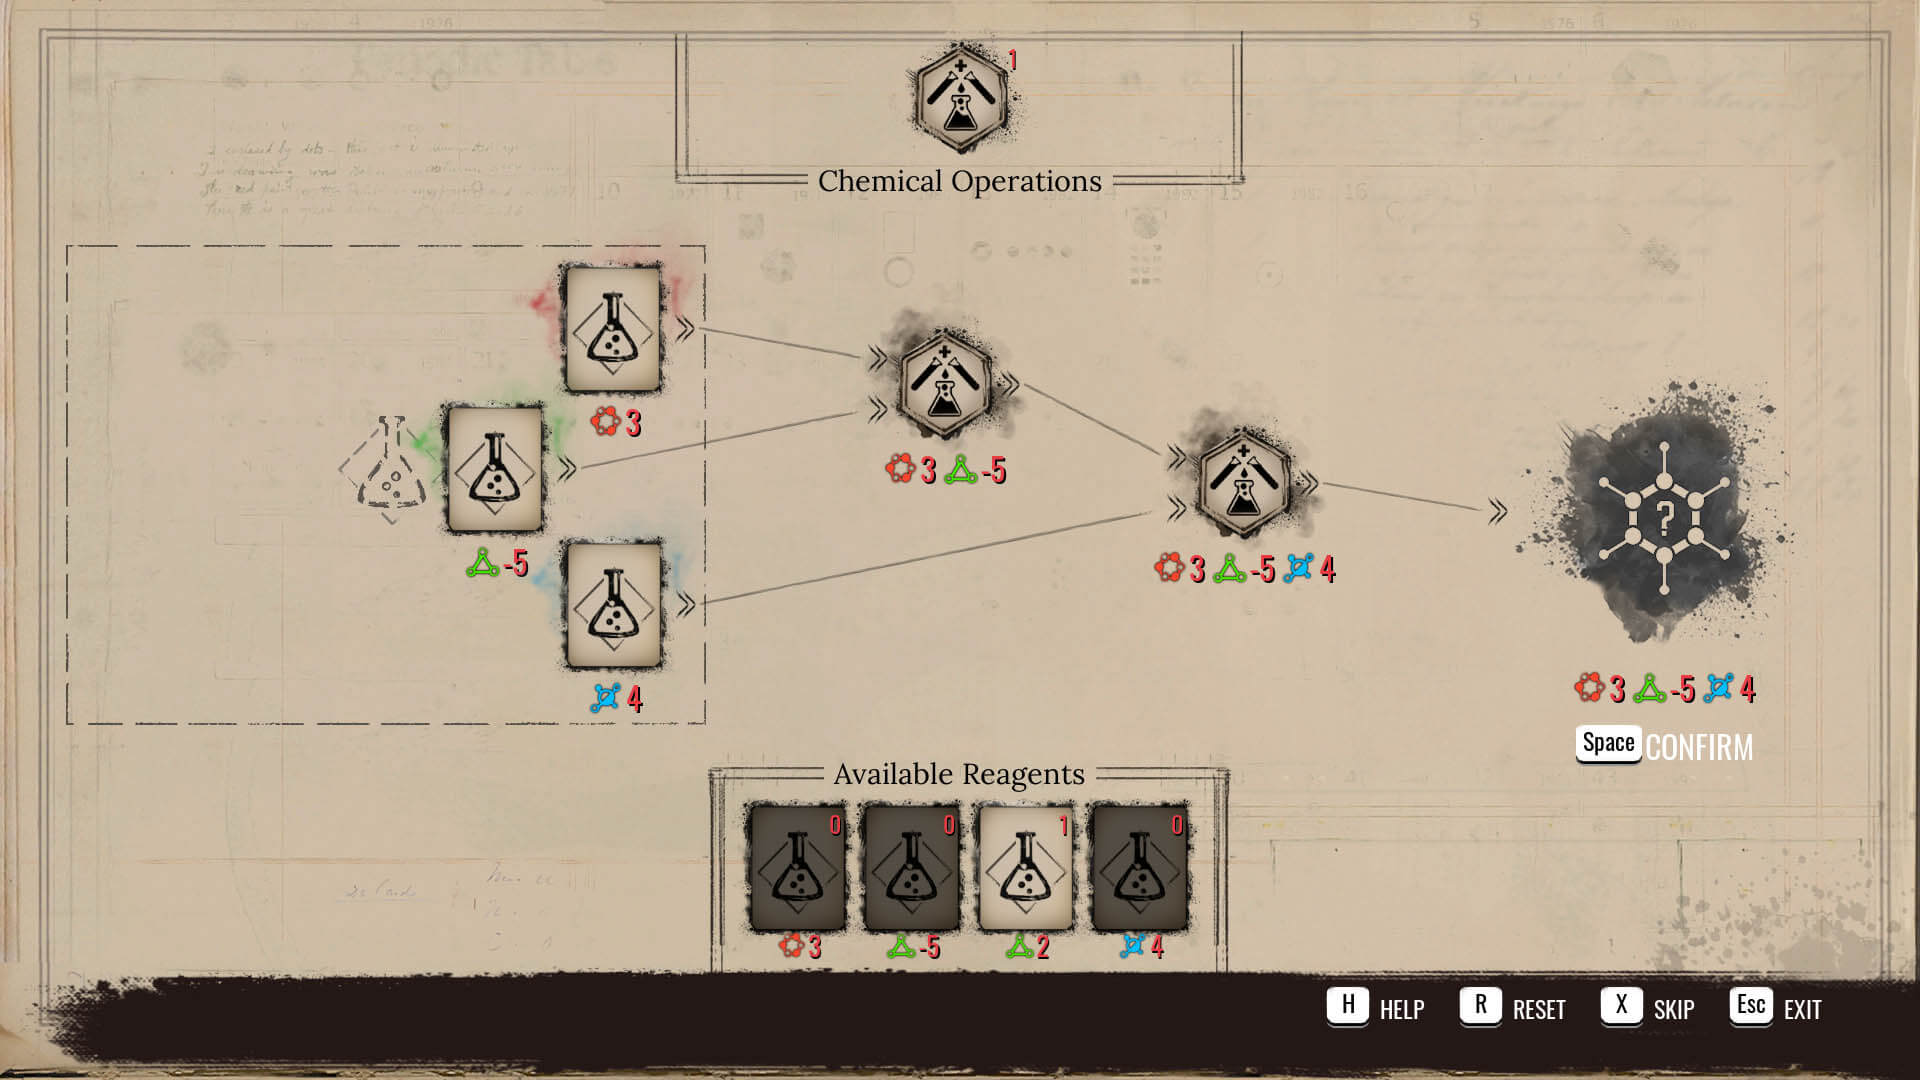
Before leaving the site, take oilcloth from the crates. Fast travel to Southern Grand Saray to 'borrow' the foghorn from the storage room in the workshop.
Fast travel to the Cordona Police Station and go back to Mrs. Nini's atelier. She's heard it all and agrees to make your elephant suspect his very own blow-up doll. It's almost time. Fast travel to Stonewood Manor, run down to Gilden Manor, and use the coal gas tank to inflate Goliath's girlfriend. Watch the hilarious scene that unfolds. There is no correct elephant call; you'll have to try all of them, but you'll get some primo pick-up lines in the process.
Goliath is a lot more docile with his new lover around. Inspect his eye, the slashes above his eye, his tusks, and dart in his flank. Perform chemical analysis on the dart to identify its contents as strychnine, a toxic pesticide usually used for killing rodents and other pests, or as a stimulant in humans.
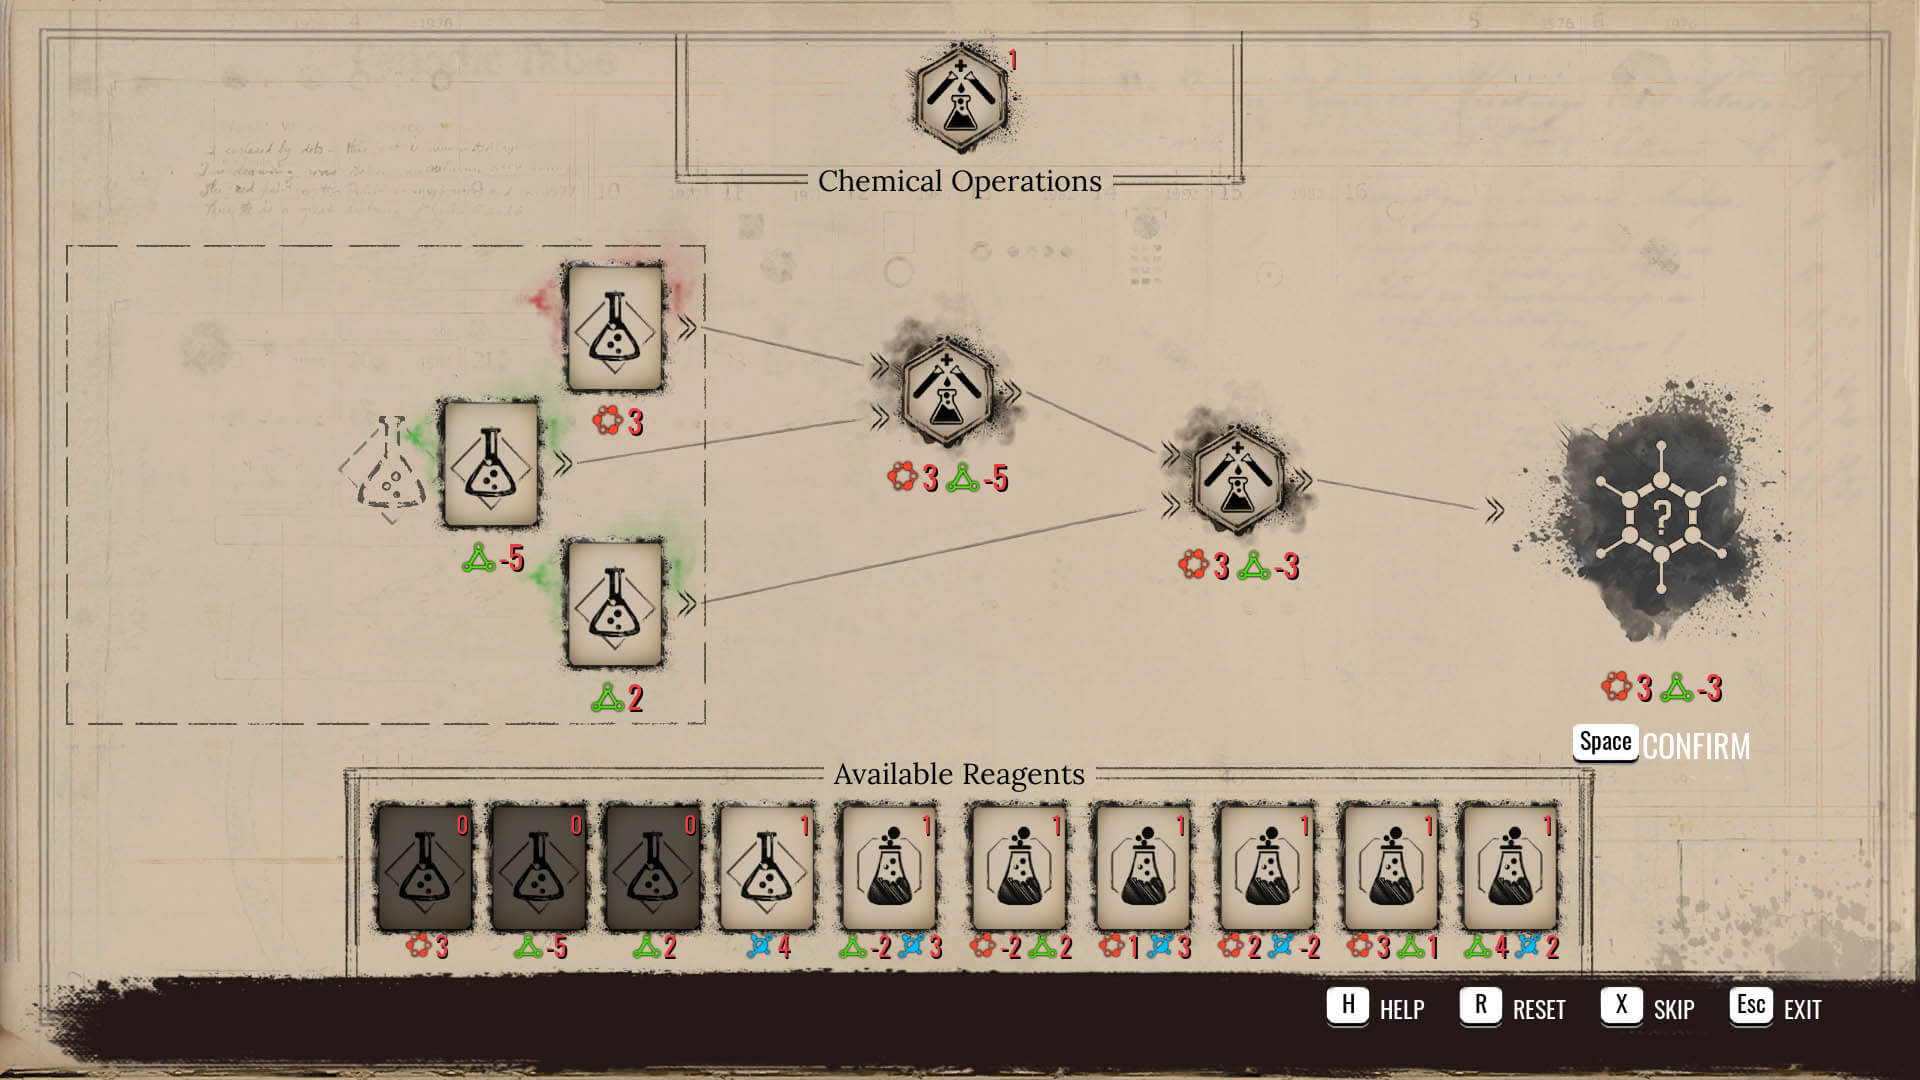
Combine the last few clues in the Mind Palace:
- 'Fatal battering' + 'Poisoned dart' = 'Goliath may have been provoked.' You can also assume 'Goliath may have killed Theodore,' instead.
- 'Both Arthur and Paul own darts' + 'Poisoned dart' = 'Arthur or Paul may have shot Goliath.'
This case is less clear-cut than the last. You can blame Gilden's death wholly on Goliath or pin it on Perks or Swift. If you choose one of them as the culprit, you can either let them go free and elect to euthanize Goliath, or vindicate Goliath and have one of them arrested. The game will not tell you who was really at the scene.
Have a tip, or want to point out something we missed? Leave a Comment or e-mail us at tips@techraptor.net
