In Sherlock Holmes Chapter One, you arrive in Cordona with the overarching storyline A Mother's Love. Sherlock wants to get closure on his mother's death. But, shortly after you arrive at the hotel, your friend Jon points out a cane that's been left on a table near the bar, launching you into your first chronological case, Ghosts of the Past. This case acts as a tutorial of sorts to show you the tools and mechanics you'll have access to throughout the game. The Sherlock Holmes Chapter One: Ghosts of the Past walkthrough is below.
The Missing Diamond
Start by examining the pale brown midsection, gold crest, and handgrip of the cane. Sherlock remarks that it must belong to a noble Englishman. Speak to any one of the nearby guests to learn that a couple and a retired Navy officer were sitting at the table. Go outside and activate Concentration to find the former naval officer standing by the gate. If you speak to him first, you'll win Jon's bet.
Go back inside to the seance room. You walk in on a violent scene but find the cane's owner. Examine the nobleman's red face, clothes, signet ring, and knuckles. You'll be given two options to compose the man's backstory: 'An ill Englishman on resort' or 'Bored British nobleman.' Choose the option you believe to be more accurate and confirm the portrait. This decision has no impact on the case.
The man confirms he is Lord Craven and explains the situation in the room. Go to the table and examine the broken wine glass, ashtray and scotch, green 'ectoplasm', and moth brooch on the coat. Use Concentration to visualize the diamond in its holder. Finally, speak to the medium, Luka.
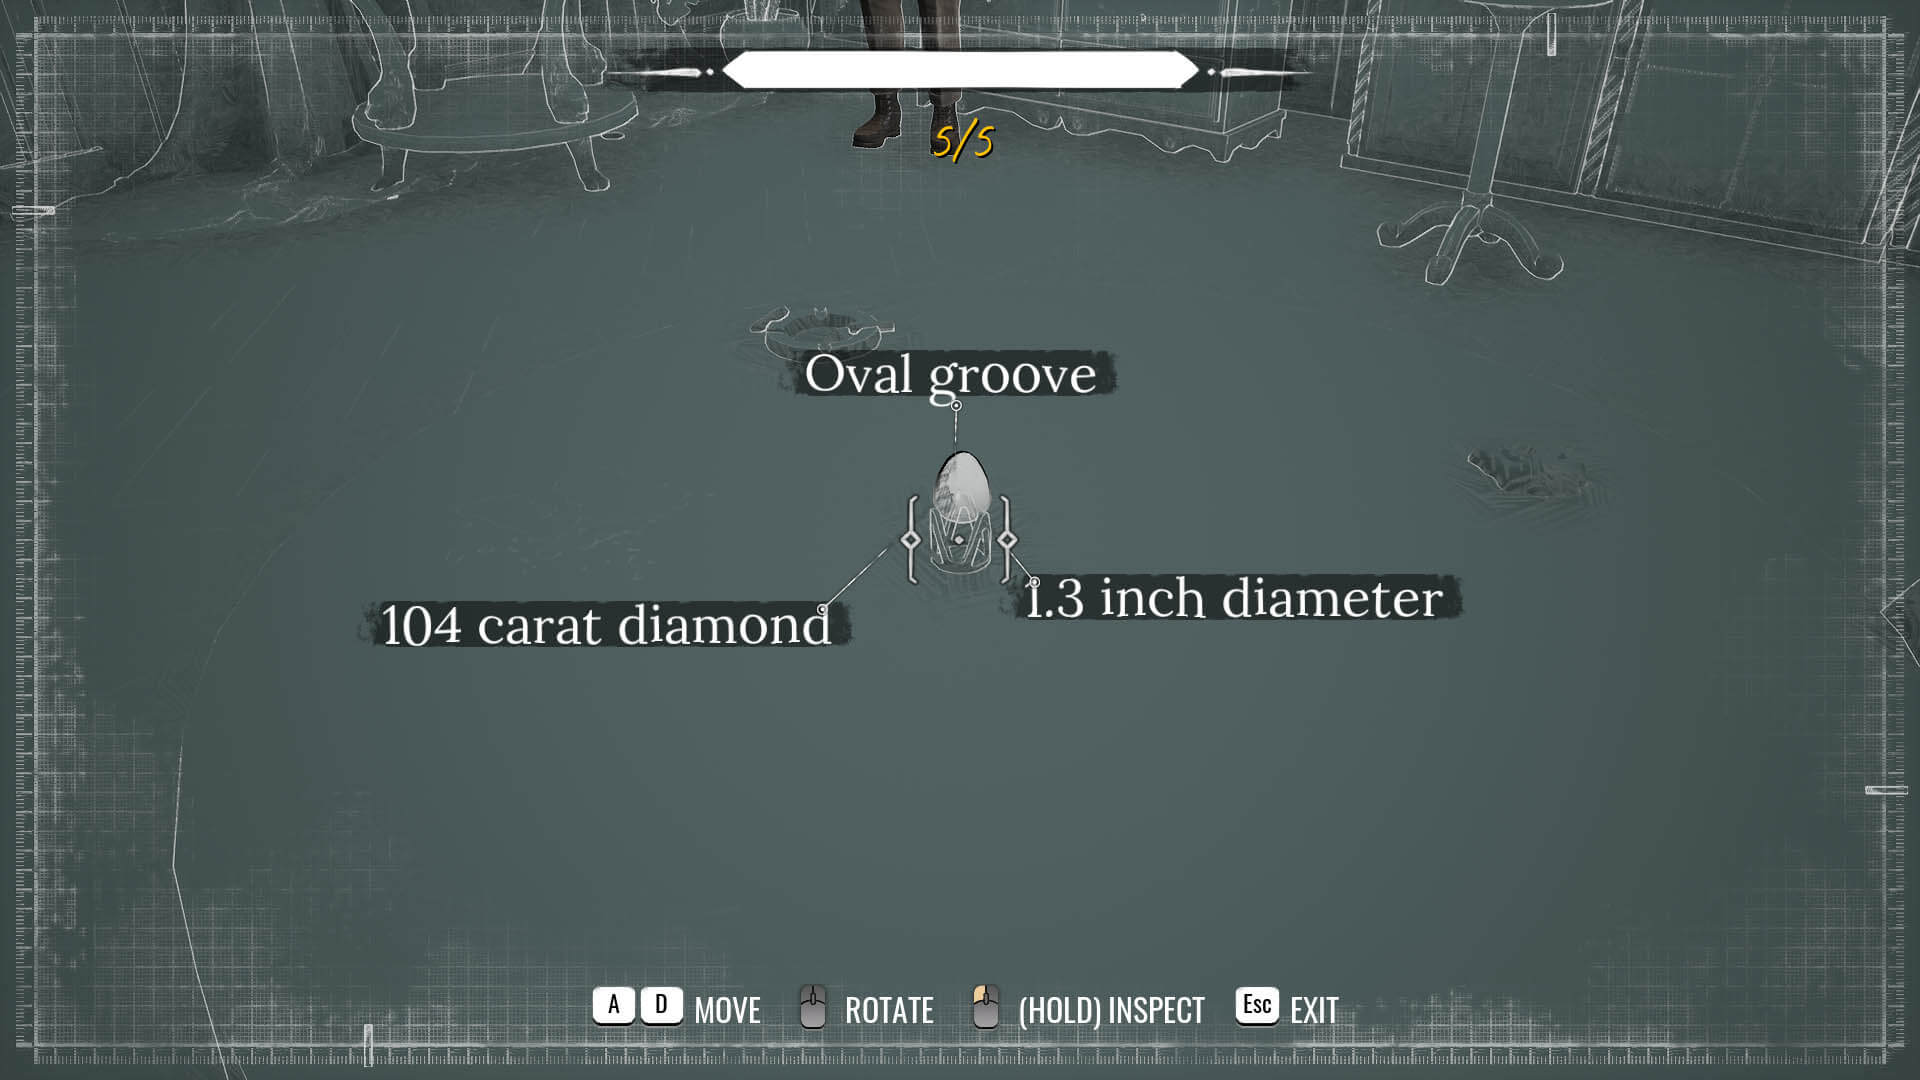
Jon prompts you to enter the Mind Palace for the first time. Select the two clues 'Lady Craven faced the window' and 'The lady pointed across the table' to figure out someone must have been watching from the courtyard.
Go out to the courtyard and discover the broken heel of a shoe on the ground. It isn't relevant to this case, but you can also take the Honey Plotter's note from the nearby table. The man on the other side of the table will tell you a maid left the courtyard in a hurry after Lady Craven screamed.
Use Concentration to follow the shoe scratches down the hall and into a room with linens. Examine the shoe on the ground missing its heel. Sherlock remarks that all the maids in the hotel wear this style, supporting the man's claim that it was a maid. Leave the room from the opposite door and question the maid scrubbing the floor in the lobby. She tells you that the maid Lucia was scolded for wearing common shoes.
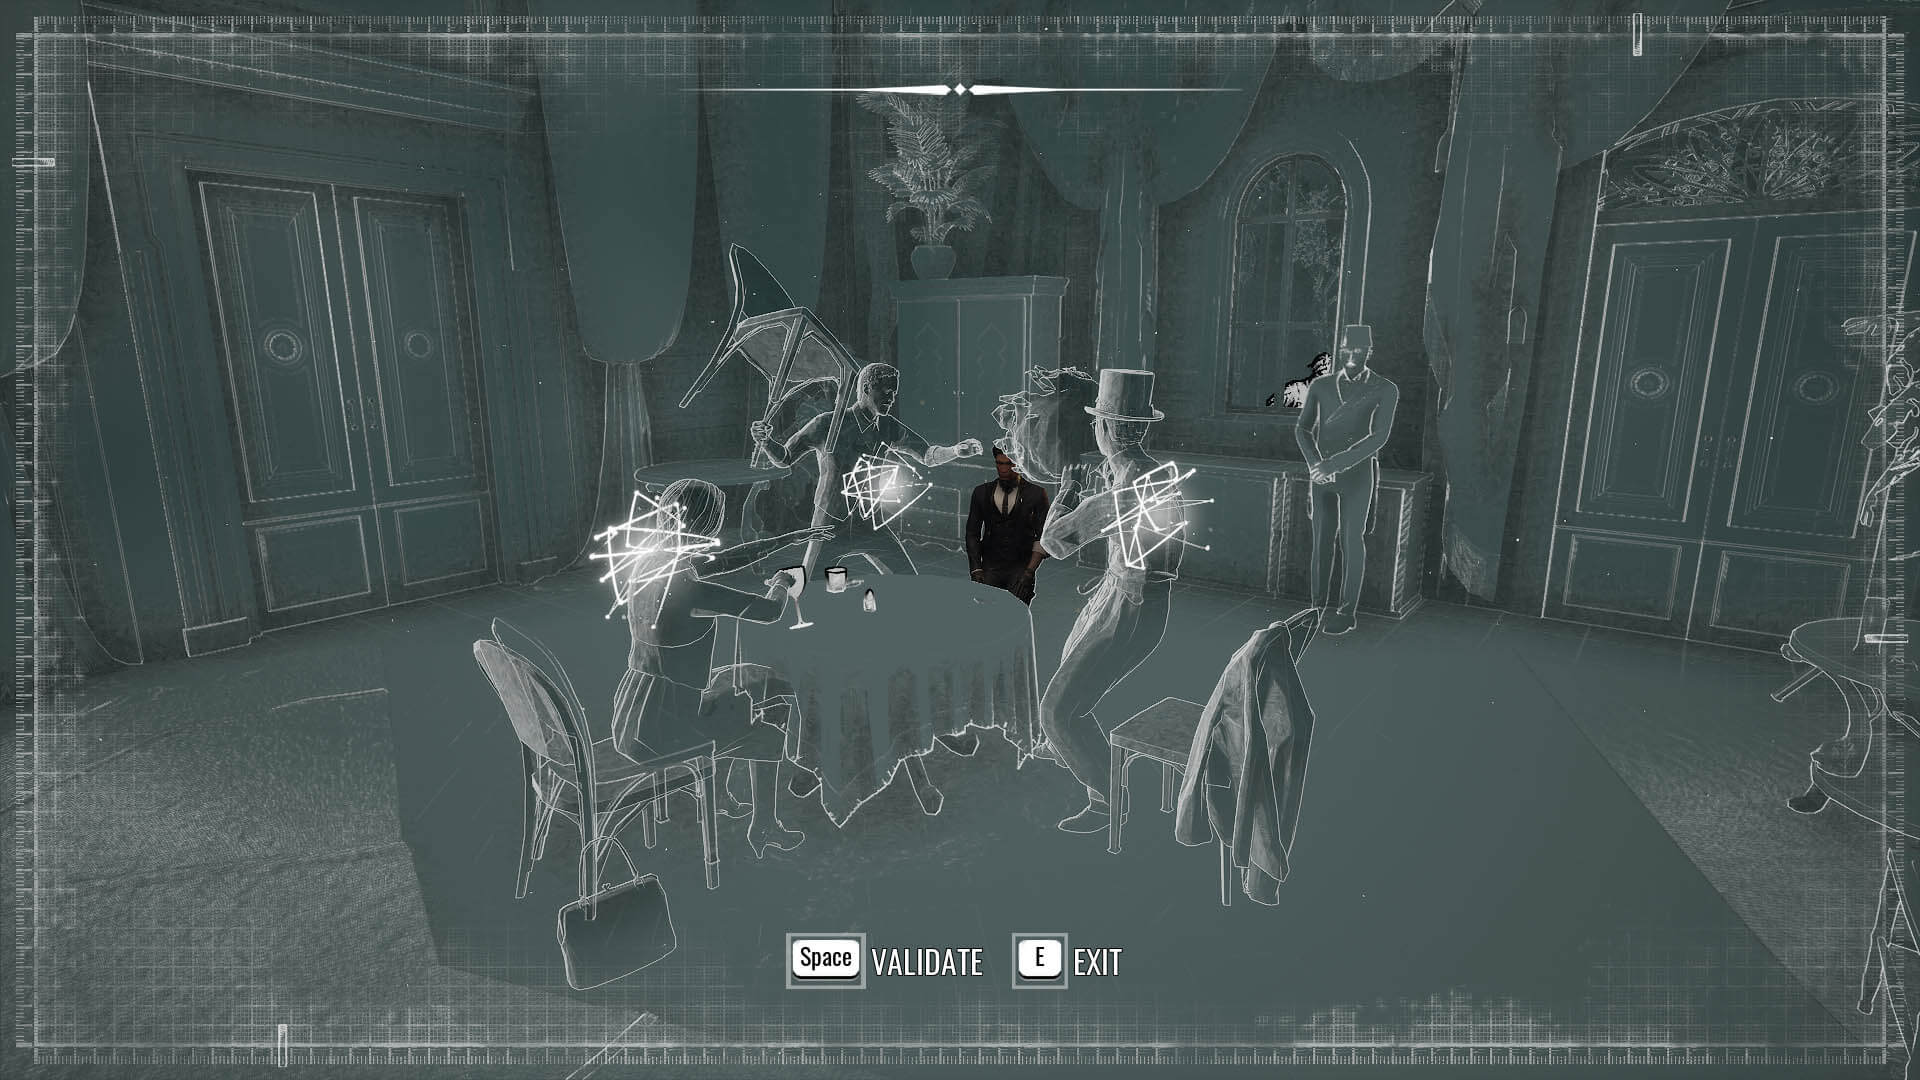
You can find Lucia upstairs near the paintings. She admits to watching the seance but doesn't tell you much more than Lord Craven or Luka did. Still, the information you've gathered from the witnesses is enough to return to the room and recreate the scene as shown below.
Searching the Suite
Now you'll need to go upstairs to Lord Craven's suite, number 226. As you approach, you'll find two maids gossiping outside the door. You must listen in on the pair before you can proceed. Eavesdropping is a QTE sequence of sorts. You'll need to mark relevant information and ignore idle gossip as it pops up on the screen. If you correctly select relevant information, it will be circled while useless chatter will be scratched out. The following pieces of information are relevant to the case:
- Made her husband drunk
- Was on the lookout
- Cannot use a fish knife
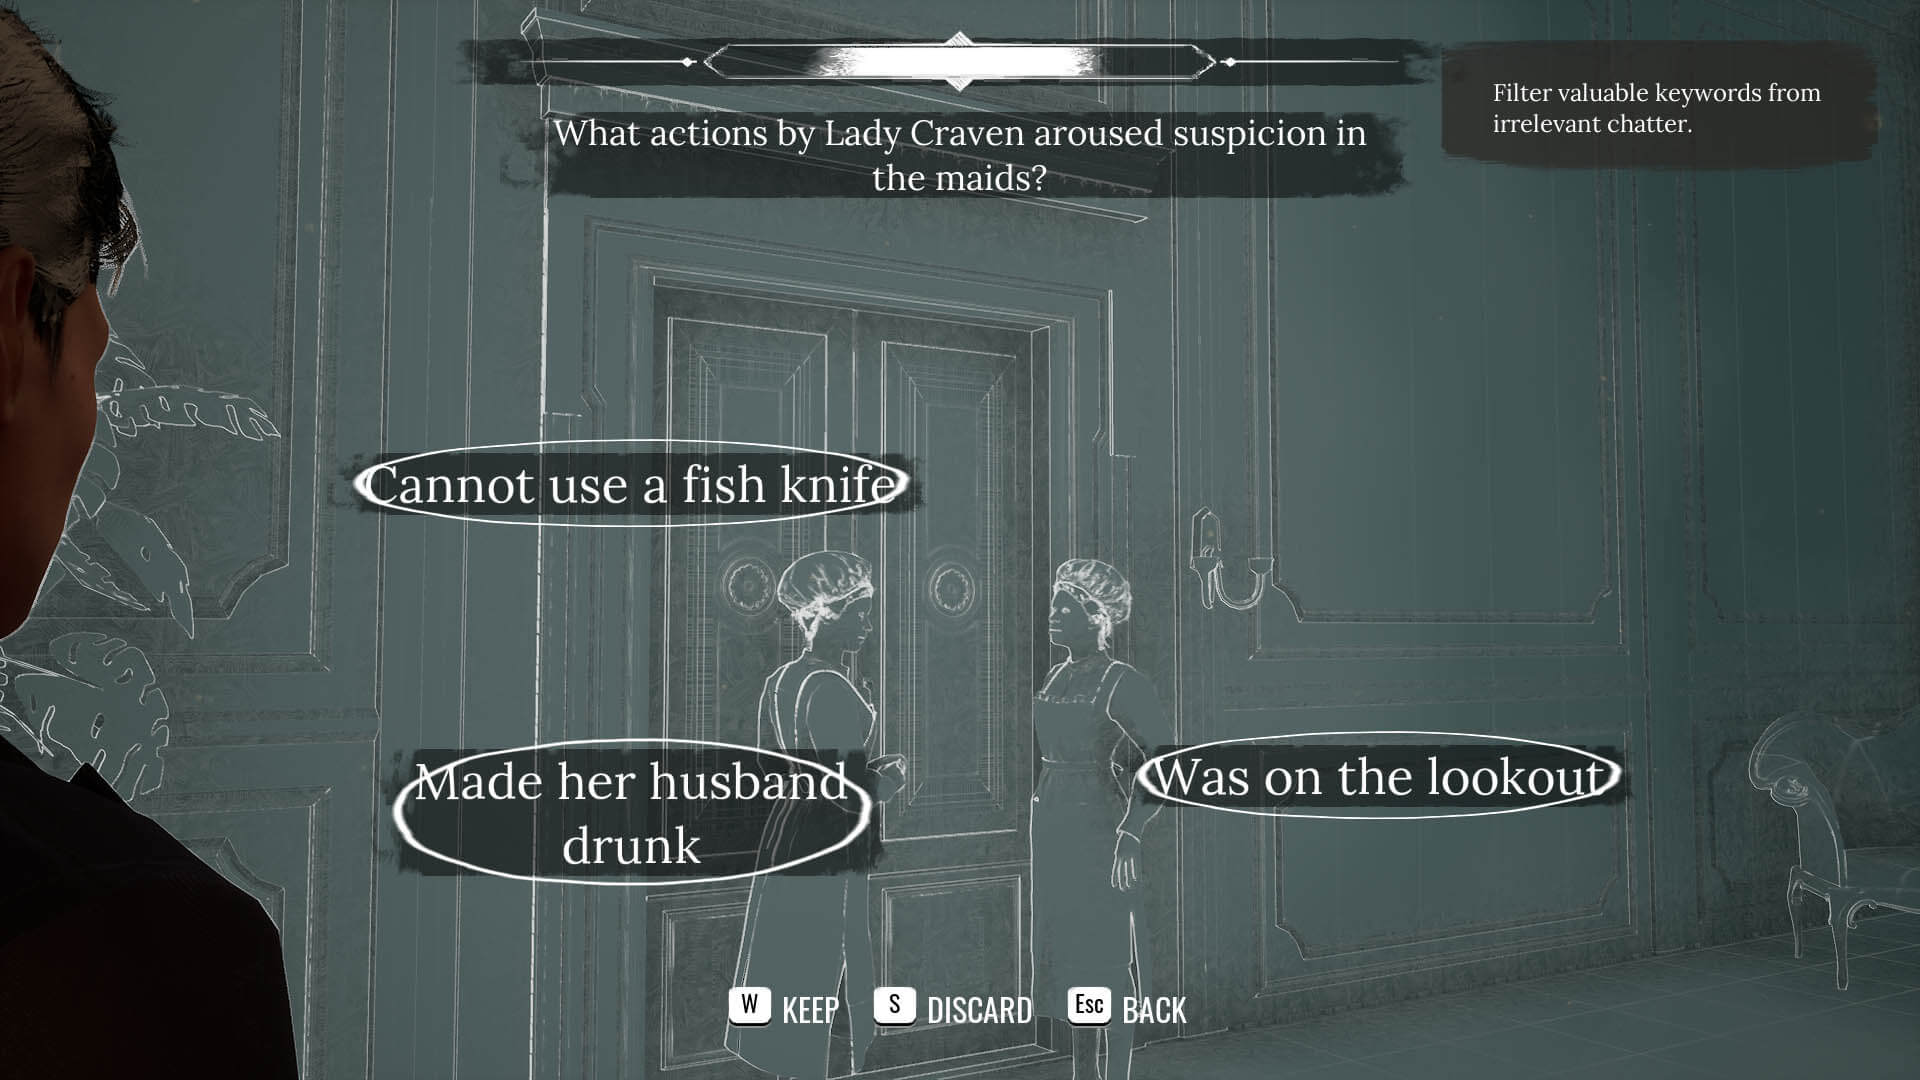
The maids disperse and you can enter the suite now. The plot thickens! Lord Craven will tell you what happened after everyone left the seance room. He went to the bar while Luka was escorted by hotel staff to the room next door.
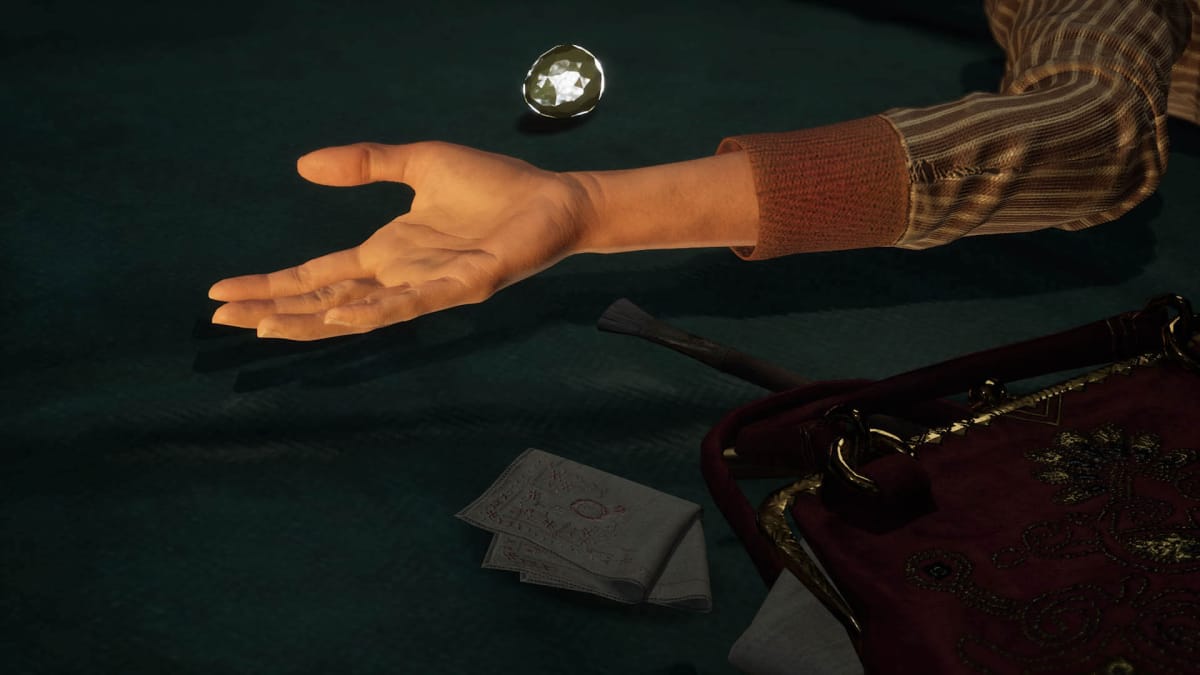
You have quite a bit of snooping to do now. Examine Emma's neck, the diamond, and the handbag. Check the jewelry box on the dressing table to find it has a false bottom. Examine the moth ring, plain ring with the Latin inscription, pound notes, and makeup. Inspect the lock to the neighboring room where Luka is being kept to discover the lock is simple and could easily be picked.
Go back into the sitting room and collect two letters: one on the coffee table regarding compensation and another regarding a stolen ring on the desk. Before you leave the suite, you can present the evidence to Lord Craven. Ask about the hidden jewels in the jewelry box. He believed they'd been stolen during the trip, which is what one of the letters was about. Present the moth ring. He tells you he's never seen it before.
Let's check Lord Craven's alibi downstairs at the bar. On your way, ask the receptionist for the key to Luka's room. The clerk hands it over but asks that you don't give it to Lord Craven. The bartender can't tell you about Lord Craven, but you can speak to one of the nearby guests to learn he only spent a short amount of time at the bar.
Phosphorescent Phantasms
Go back upstairs, bypassing the Lord's room to pay Luka a visit. Talk to him, and then examine his bloody nose, the makeup on his neck, his fingers, physique, and wrists. As before, you'll be given two options to characterize him, one more respectable than the other: 'The medium is down on his luck' or 'Former thief became a medium.' Your choice has no impact on the case.
There are fewer things to unearth here. Take the letter of invitation from the desk. Notice the flask of 'ectoplasm' on the desk. There wasn't enough downstairs to analyze, but there is here. Go to the Chemical Analysis tab in your Casebook. Click the proper reagents, placing them in the box on the left. Move the chemical operation from the top down into the middle. Now draw a line from each of the two reagents to the operation and a line from the operation to the solution on the right. You discover the ectoplasm is a mix of rubber latex and phosphorus.
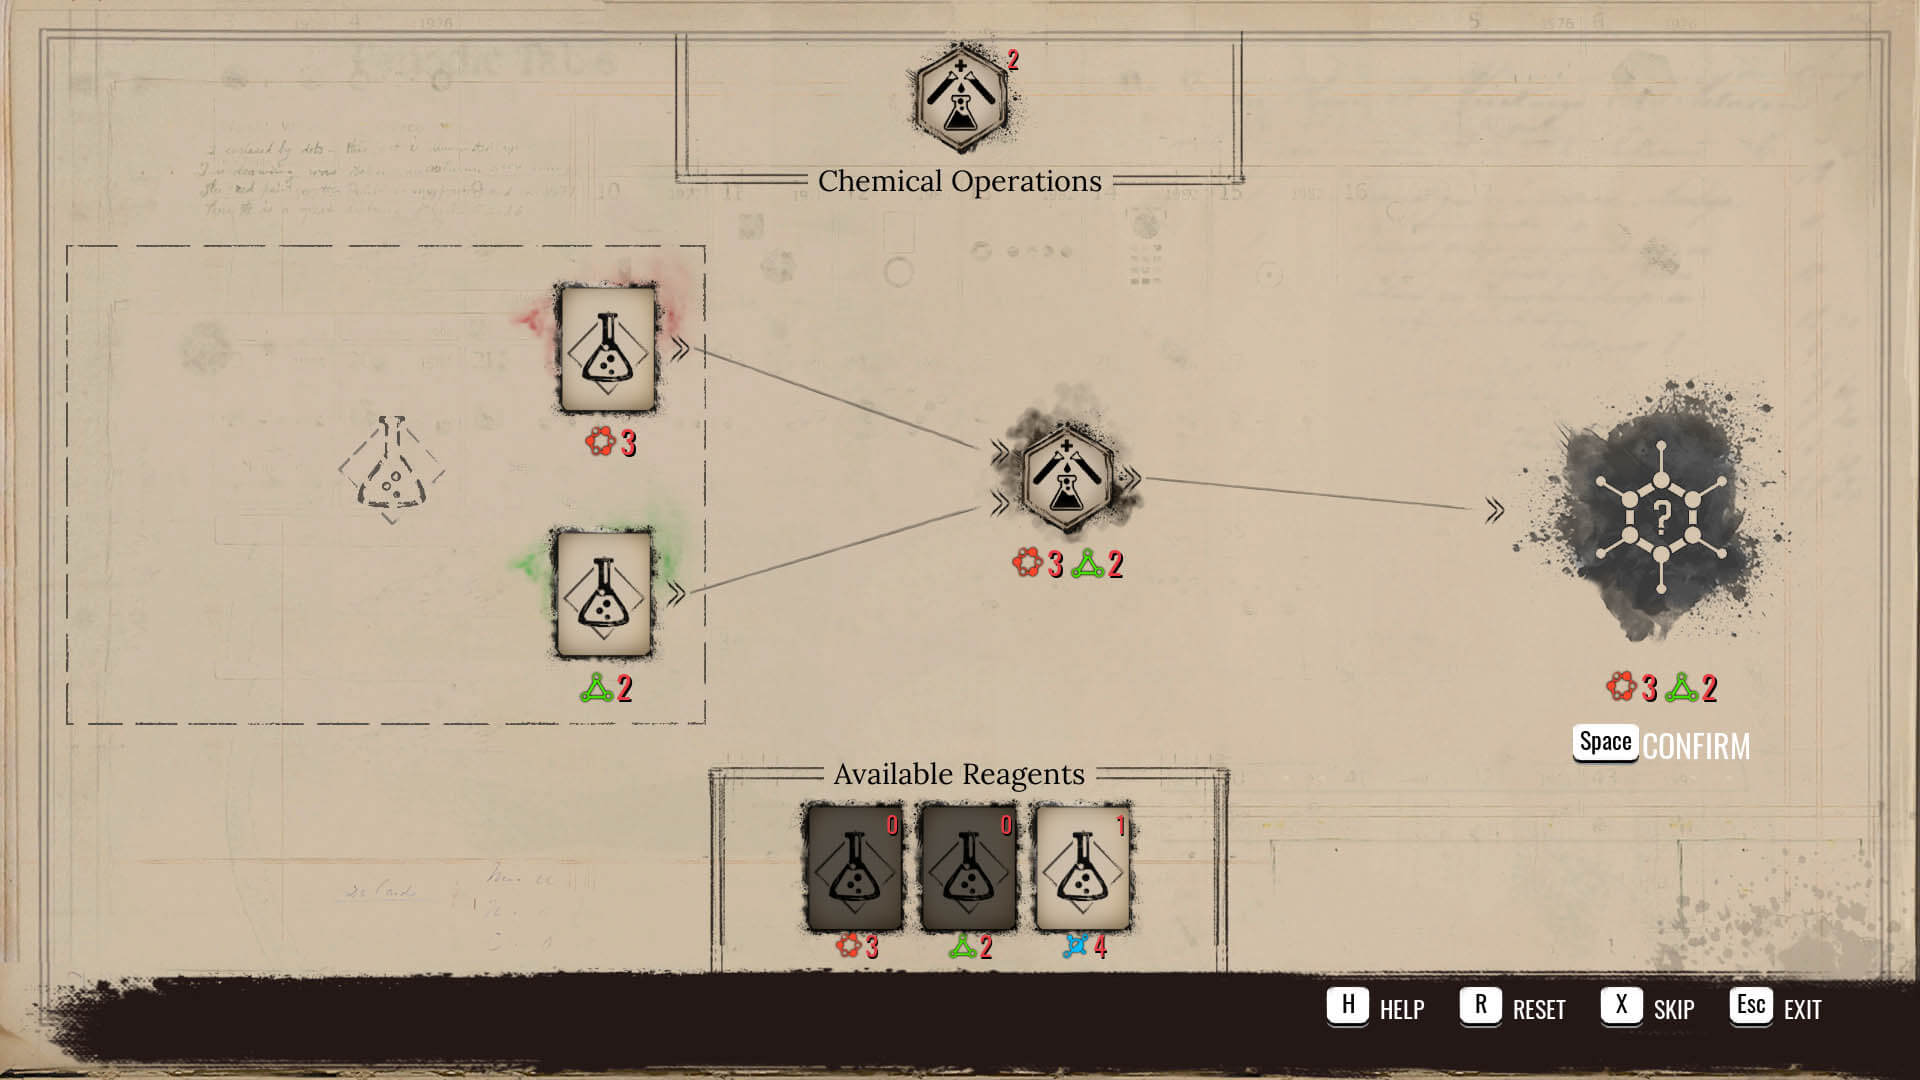
Ask Luka about what you've found. Sherlock will tell him it's dangerous to hold phosphorus in your mouth, but Luka is really sticking to his guns about being a true medium who can connect to the supernatural. You can also show him the ring with the moth design. He says it's purely coincidental that the motif is identical to his pin and that the moth must be a common design. He also remarks that his moth pin reminds him of his happy youth.
At this point, you will have collected all of the evidence. Now you'll need to return to your Mind Palace and make some deductions. You can do this as you find the relevant clues, but I'm putting everything here for simplicity's sake. When you combine some clues, they'll have two possible deductions, so you'll need to pick the one that fits best, either lending guilt or innocence to one of the culprits. Try to puzzle your way through the clues before reading the solution below!
Here are the combinations and deductions you can make in the order the clues were found during the case:
- 'Seance theft' + 'The diamond was beside Emma' = 'The murderer left the diamond.' 'Lord Craven caught Emma with the stone' is the incorrect option.
- 'The moth pin' + 'The moth ring' = 'Luka and Emma could have met before.'
- 'The lock can be easily picked' + 'Luka and Lord Craven were neighbours' = 'Luka could easily pick the lock.'
- 'Lord Craven punched the medium' + 'Compensation for abuse' = 'Lord Craven can't control his temper.'
- 'The thief framed the servant' + 'Emma was stealing from Lord Craven' = 'Emma had a history of deceit.'
- 'Lord Craven spent time at the bar" + 'Lord Craven was in the room with Emma' = 'A window of opportunity.' 'Lord Craven had time to kill Emma' is the incorrect option.
- 'Fresh scratches' + 'Rough servants' gives you the option 'Luka's scratches were left by servants.'
- 'Fresh scratches' + 'Emma was strangled' gives you the option 'Emma scratched Luka.' This is the correct choice, but there's no harm in combining these two clues and the previous ones to give you the branching deduction.
If you've combined all the clues and chosen the correct deductions, you'll see a couple more branches that will lead you to the guilty suspect. Confront the murderer, decide whether to let them get away unscathed or have the police arrest them, and watch the scene unfold!
Have a tip, or want to point out something we missed? Leave a Comment or e-mail us at tips@techraptor.net
