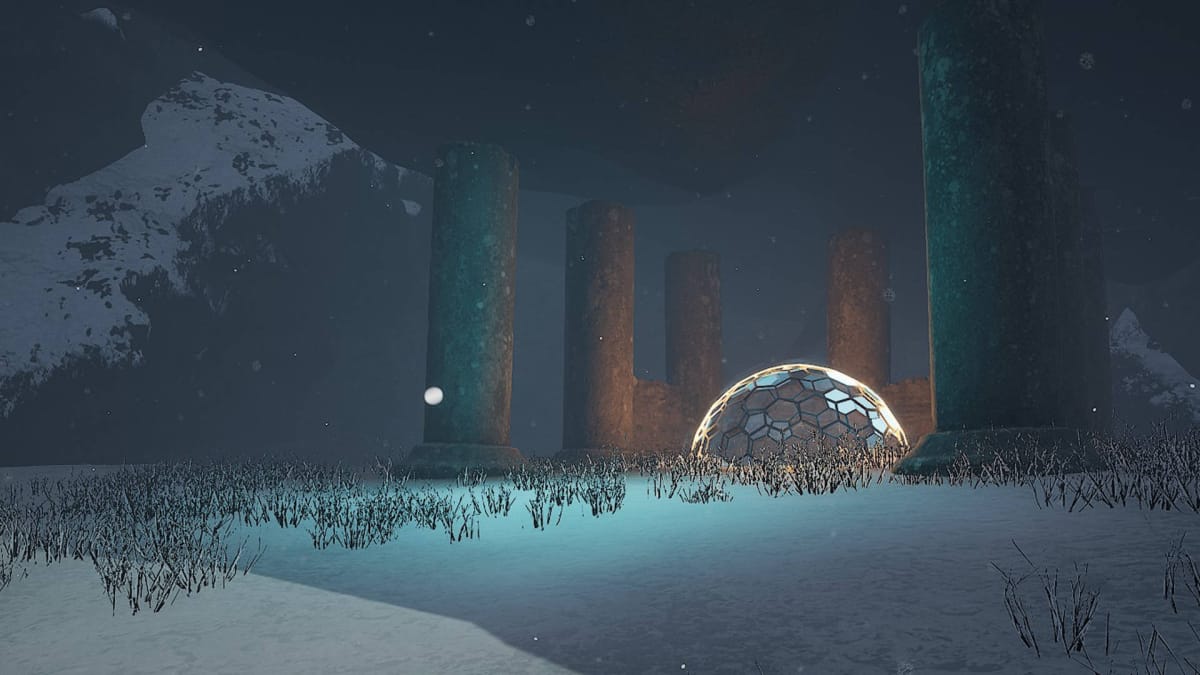
Our Retreat to Enen The Great North Walkthrough Guide will tell you where to find Ruins in The Great North and how to survive the bitter cold.
Quicklinks: Preparing for The Great North | 1. Setting Up Base Camp | 2. The Great North Ruins 1
3. The Great North Ruins 2 | 4. The Great North Ruins 3 | Returning Home and Leaving Enen
Preparing for The Great North
Getting ready for The Great North is going to be a little different. Yes, you'll need the usual supplies of Smoked Meat, Water, and Arrows, but we're also going to need some special equipment. As the name implies, The Great North is friggin' cold.
Here are the resources you'll need:
- A full Water Flask
- 10 Large Smoked Meat
- Spear
- Bow
- Head Lamp
- 20 Arrows
- 2 Antiseptic
- 2 Spirit Tonic
- 11 Wood
- 8 Rock
- 20 GemStone
- 4 Clay
- 2 Northern Lilly
- 6 Dead Plant Fiber
- 6 Cured Pelt
- 10 Oyster Shell
Crafting the Snowsuit
By now, you've surely noticed that your core temperature goes down once it's nighttime. In The Frozen North, your core temperature will drop in the daytime. The only way to survive this cold long enough to find the last three Ruins is by Crafting a Snowsuit.
Here's what you need to craft the Snowsuit (all of which is included in the above list of materials):
- 2 Northern Lilly
- 6 Dead Plant Fiber
- 6 GemStone
- 4 Cured Pelt
Once crafted, you can equip and unequip the Snow Suit on the Tool Wheel (accessed by pressing R). There's no reason not to have it equipped, so put it on right away.
After you've collected all of your gear, we're going to head to the other hexagon on Enen:
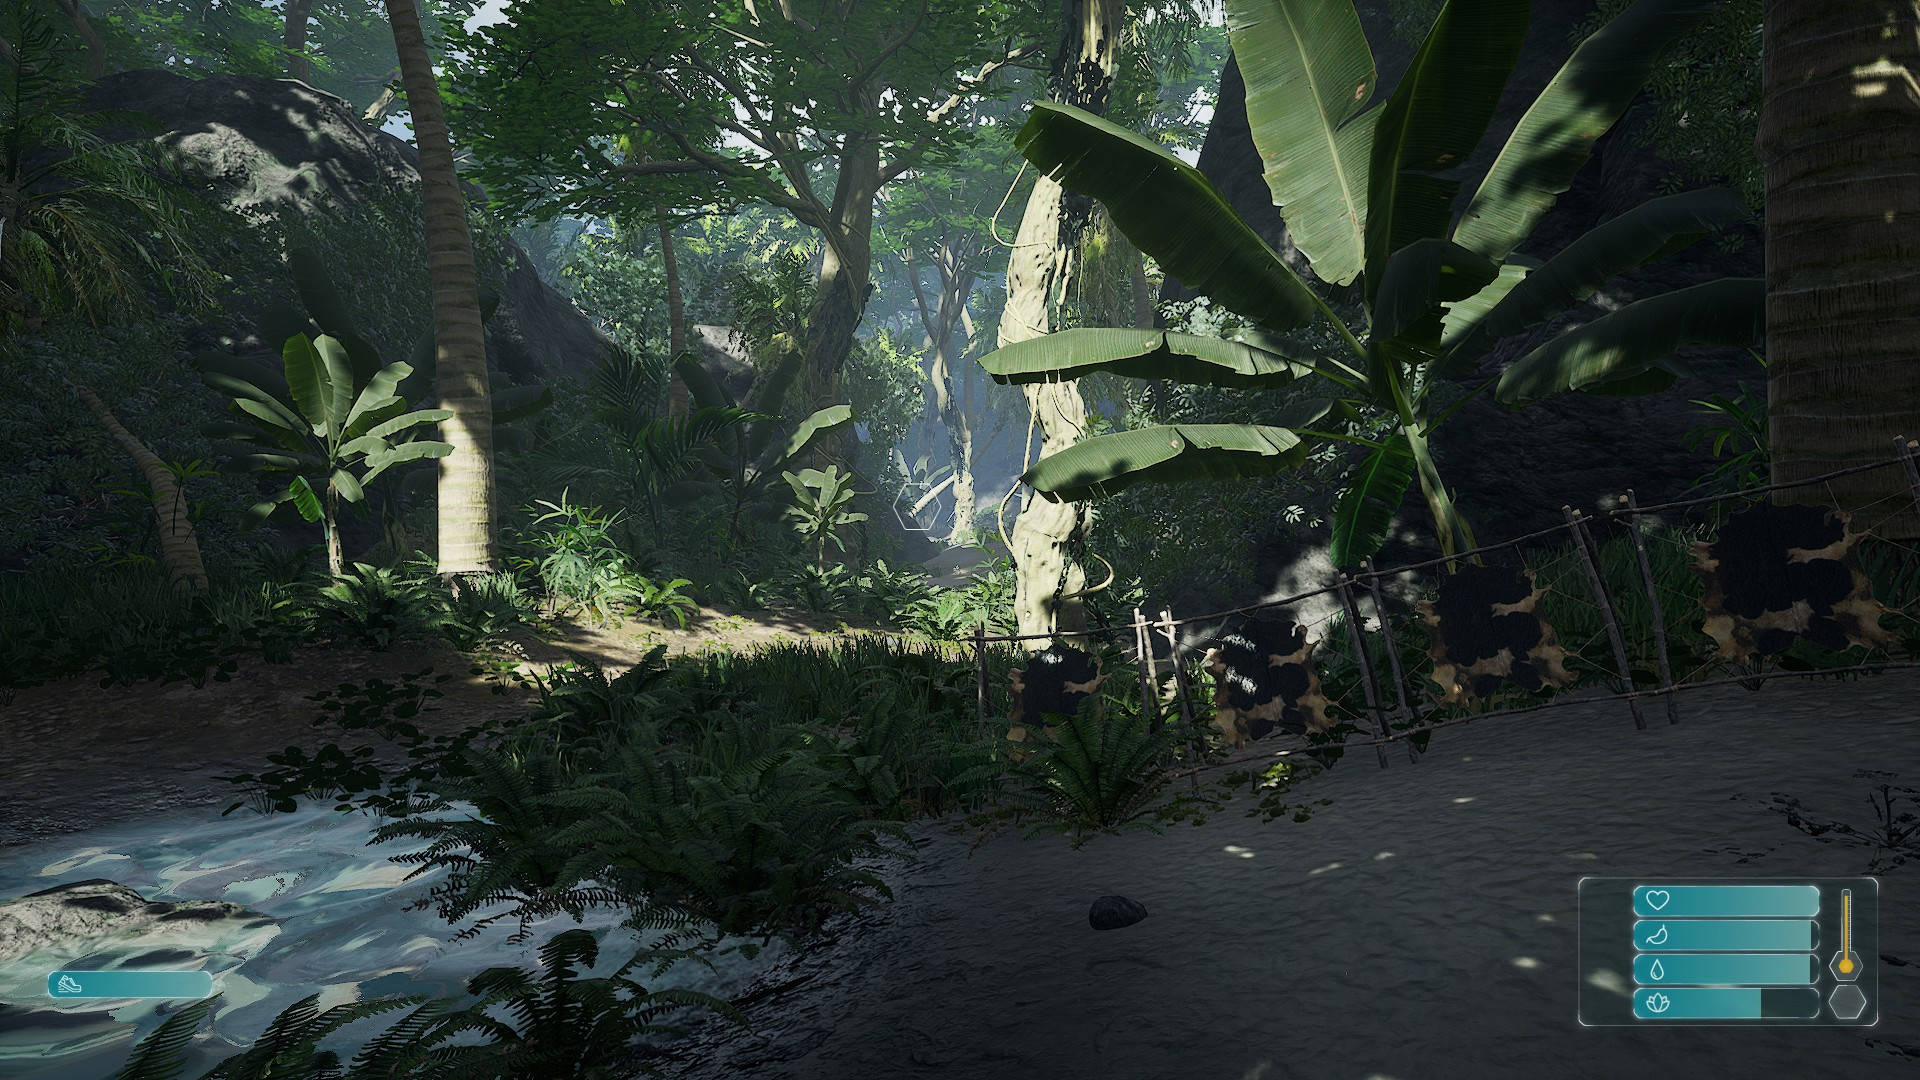
This will lead us to the portal for The Great North.
Step through the portal -- we're almost done with our journey on Enen!

1. Setting Up Base Camp
As soon as you're through the portal, move forward until you find a small open area of land. We're going to build the following:
- Snow Pod
- Fire Pit
- Cooking Pot
That's really all we need for our final days here. You can, of course, opt to do some more complex Building if you'd like to, but this will be enough to accomplish our final task.
Do Not Sleep in a Basic Shelter
You'll note that I didn't instruct you to build a Basic Shelter. There's a very good reason for this. Remember the random event where a Spider can poison you in your sleep on Enen or the Valley of Giants? In The Frozen North, that event is wolves, and there is no escaping it. If you don't sleep in a Snow Pod, you will be killed in your sleep.
How to Get Water in The Frozen North in Retreat to Enen
You can get Water in The Frozen North in Retreat to Enen by finding Ice and melting it in a Cooking Pot. This is your only reliable way to get Water, so it's really important to ensure that you have a full Water Flask before you arrive here!

2. The Great North Ruins 1
Getting to the first Ruins in The Great North is easy as pie.
First things first, we're going to follow the cliff wall on the right:
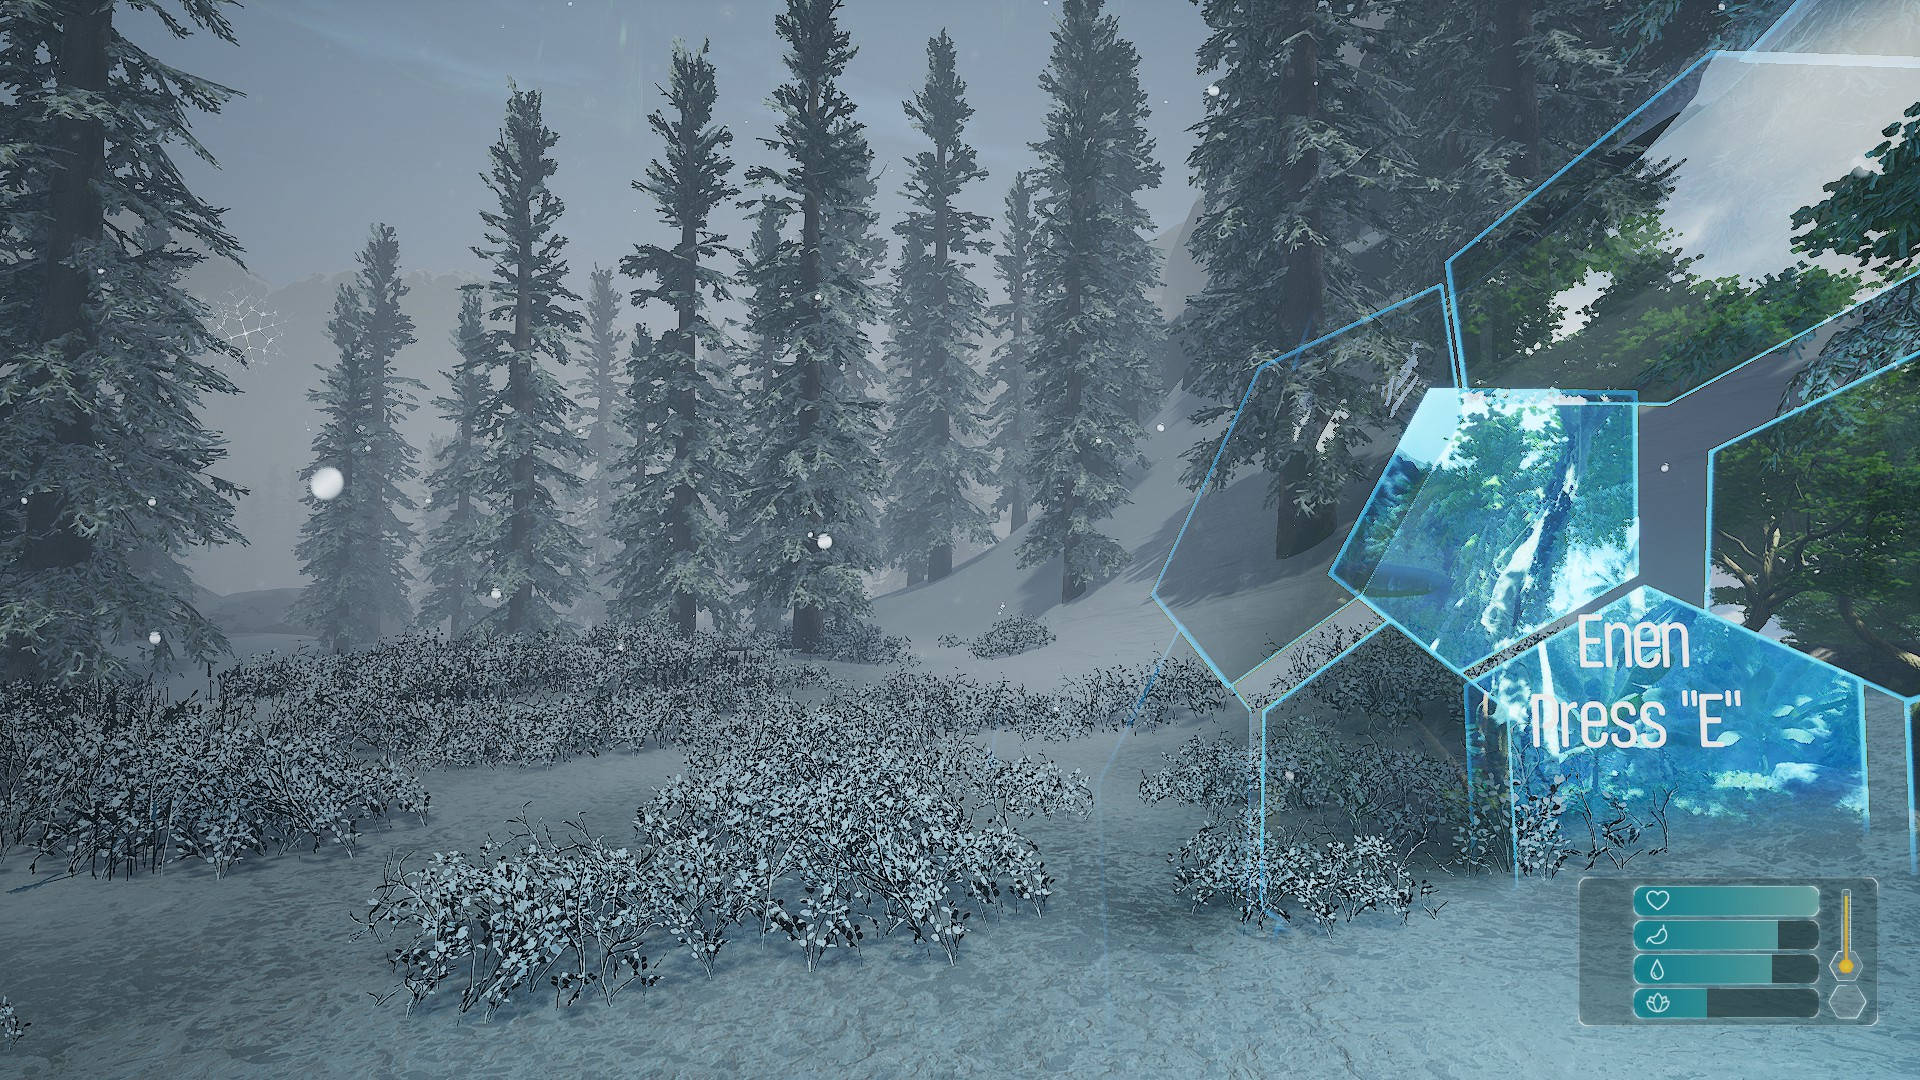
Keep your eyes on the right as you move.
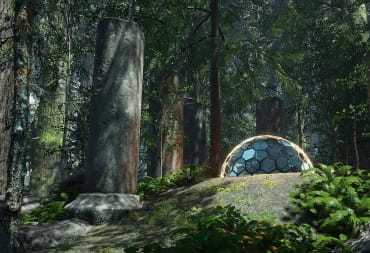
After around a minute, you'll come across a cave with Ruins inside:
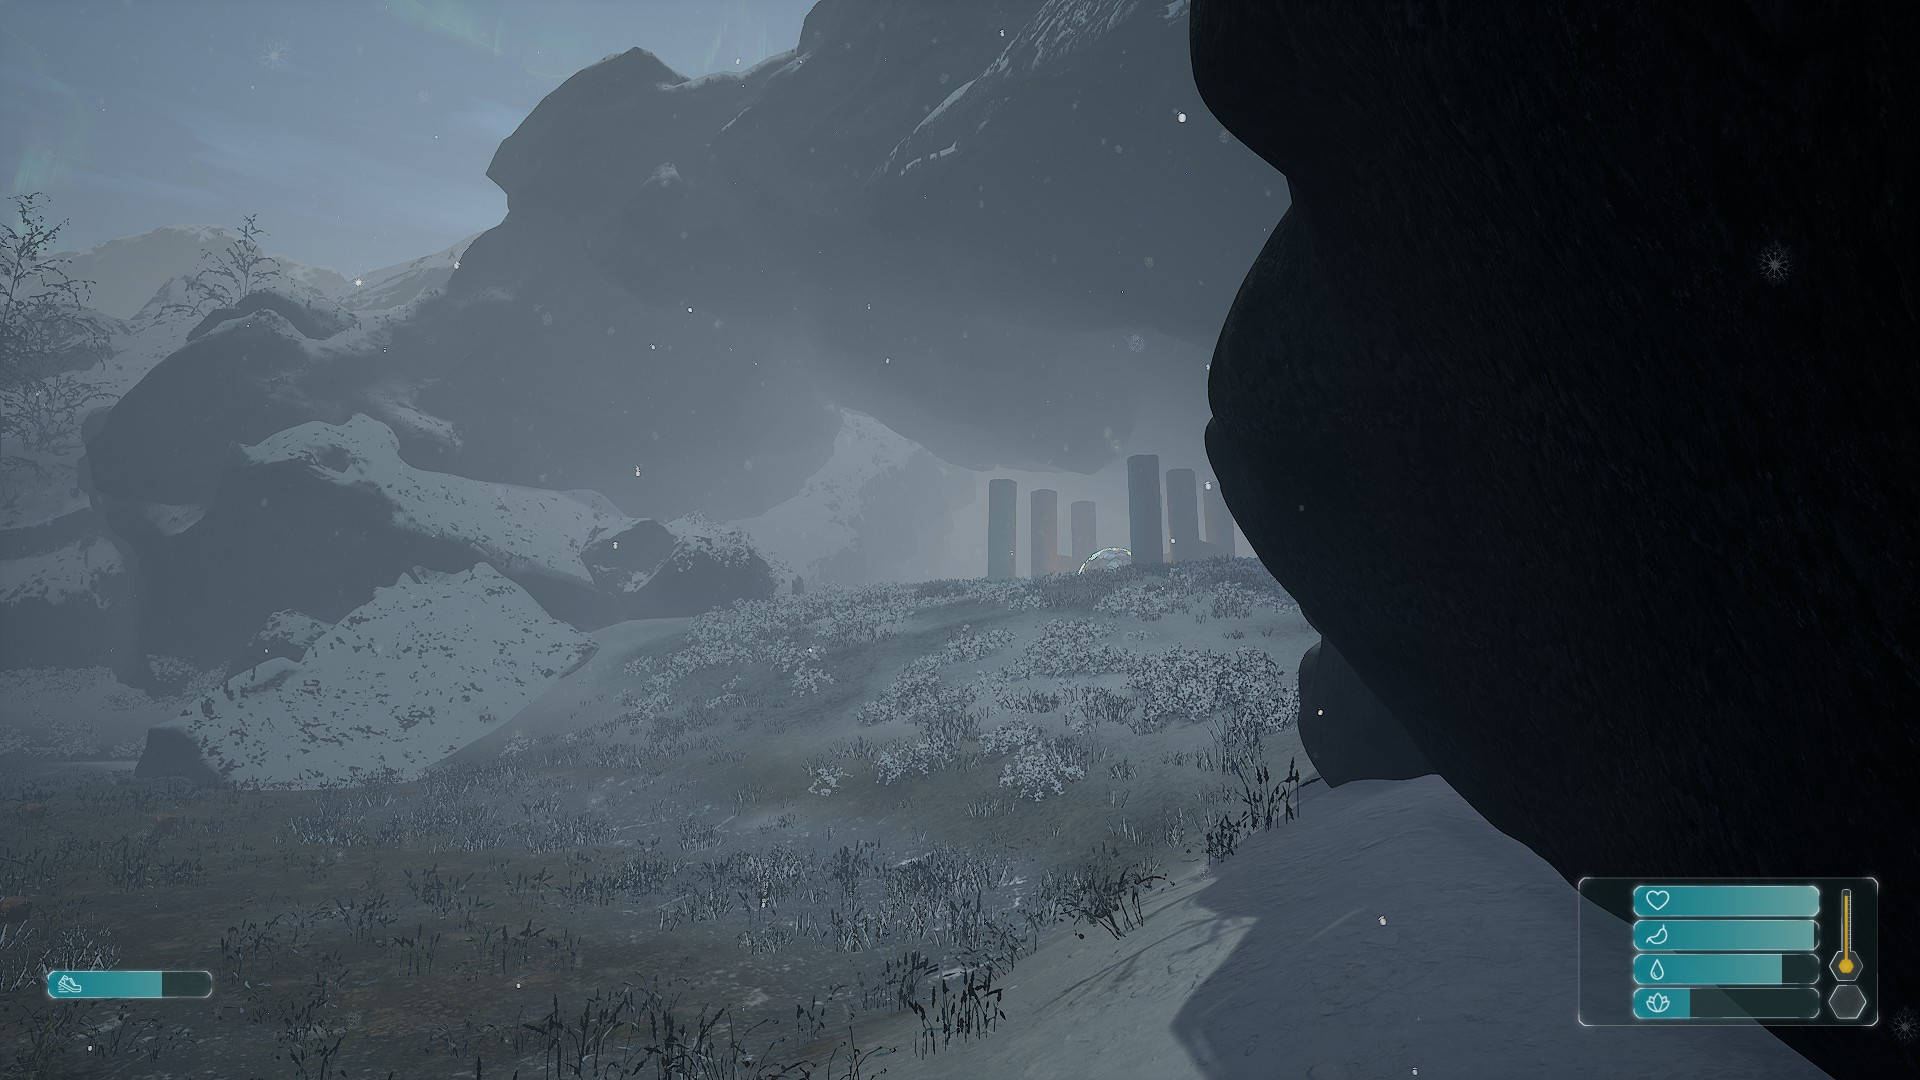
It's that easy! Meditate at the Ruins and you're all set.
Return back to base camp. You can do some Hunting or otherwise occupy your time until it's 19:01 and you can go to sleep.

3. The Great North Ruins 2
The second Ruins of The Great North is going to follow a familiar route -- we're going to the right again. Move forward while keeping the cliff wall to your right.
In a short time, you'll pass by the first Ruins you encountered on the right:
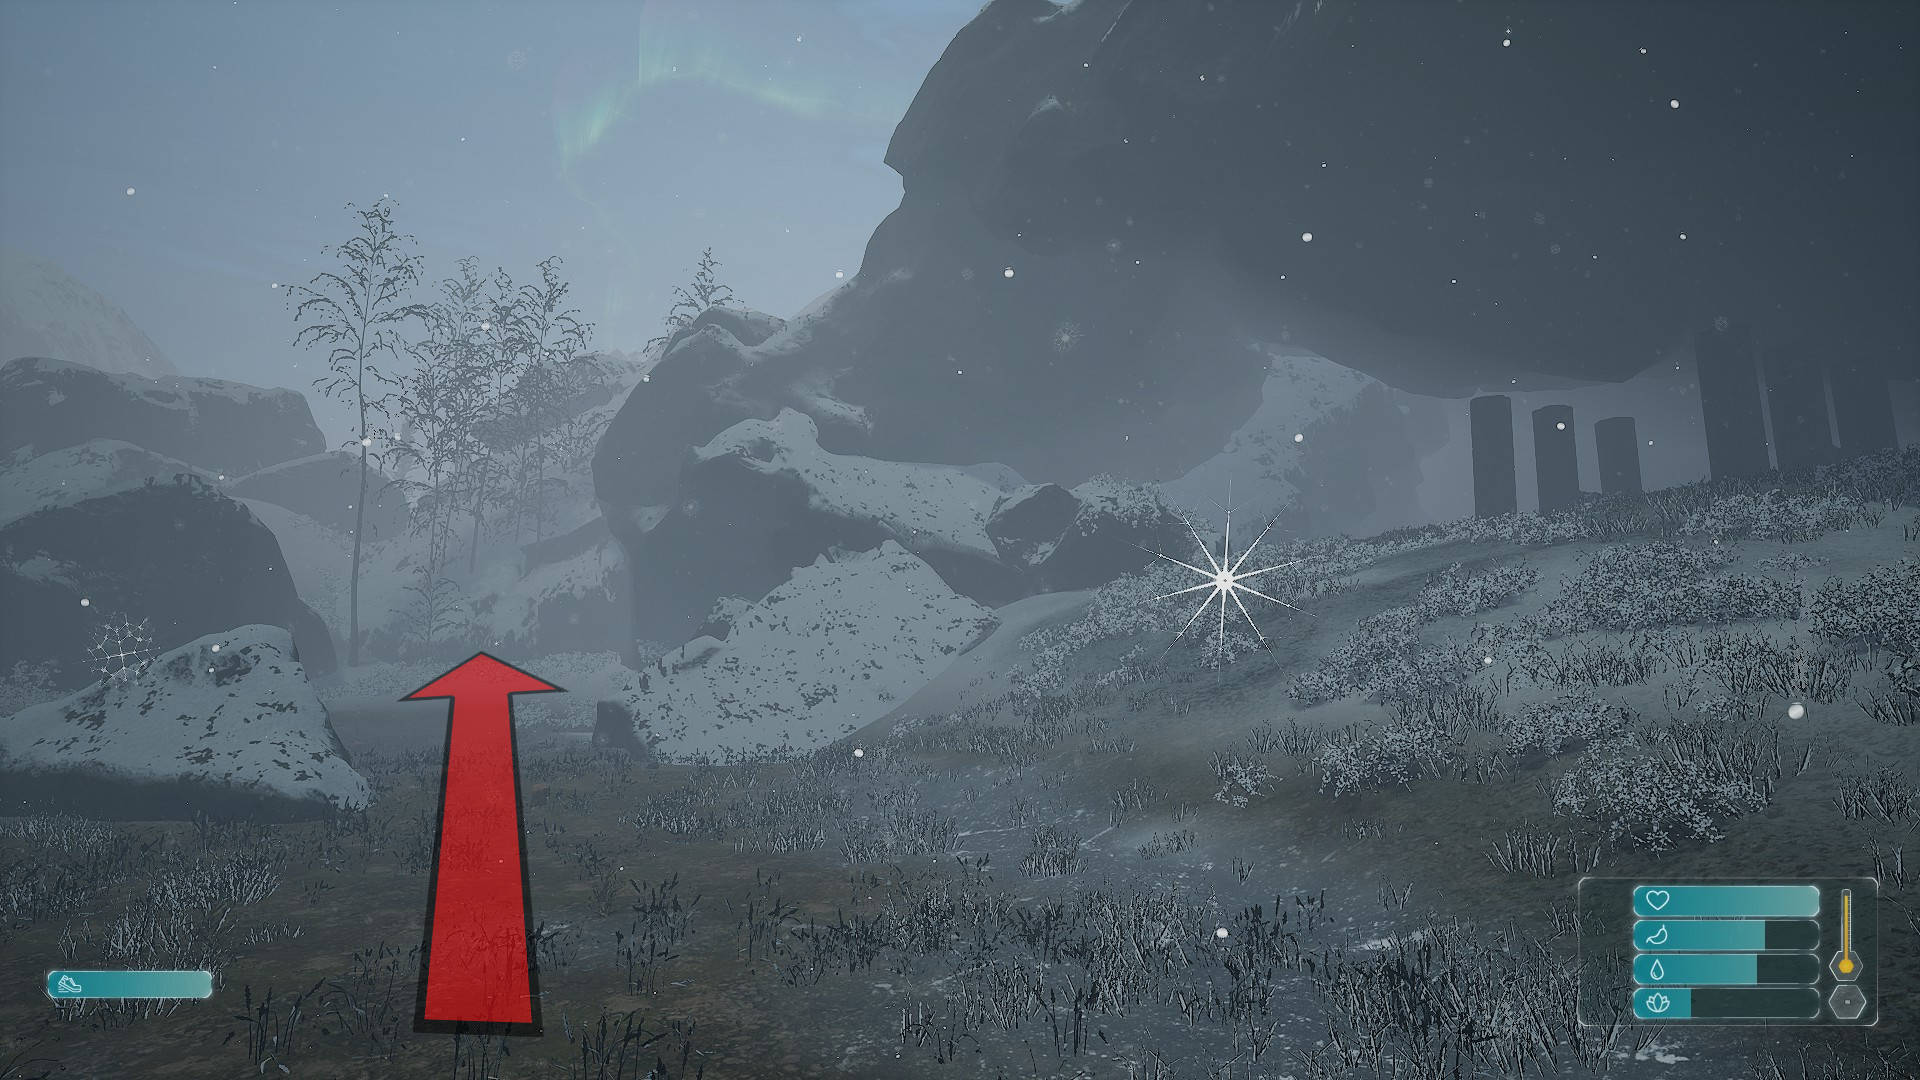
Keep moving forward past the first Ruins, keeping the cliff wall on your right.
Eventually, you'll encounter a pillar in the middle of nowhere:
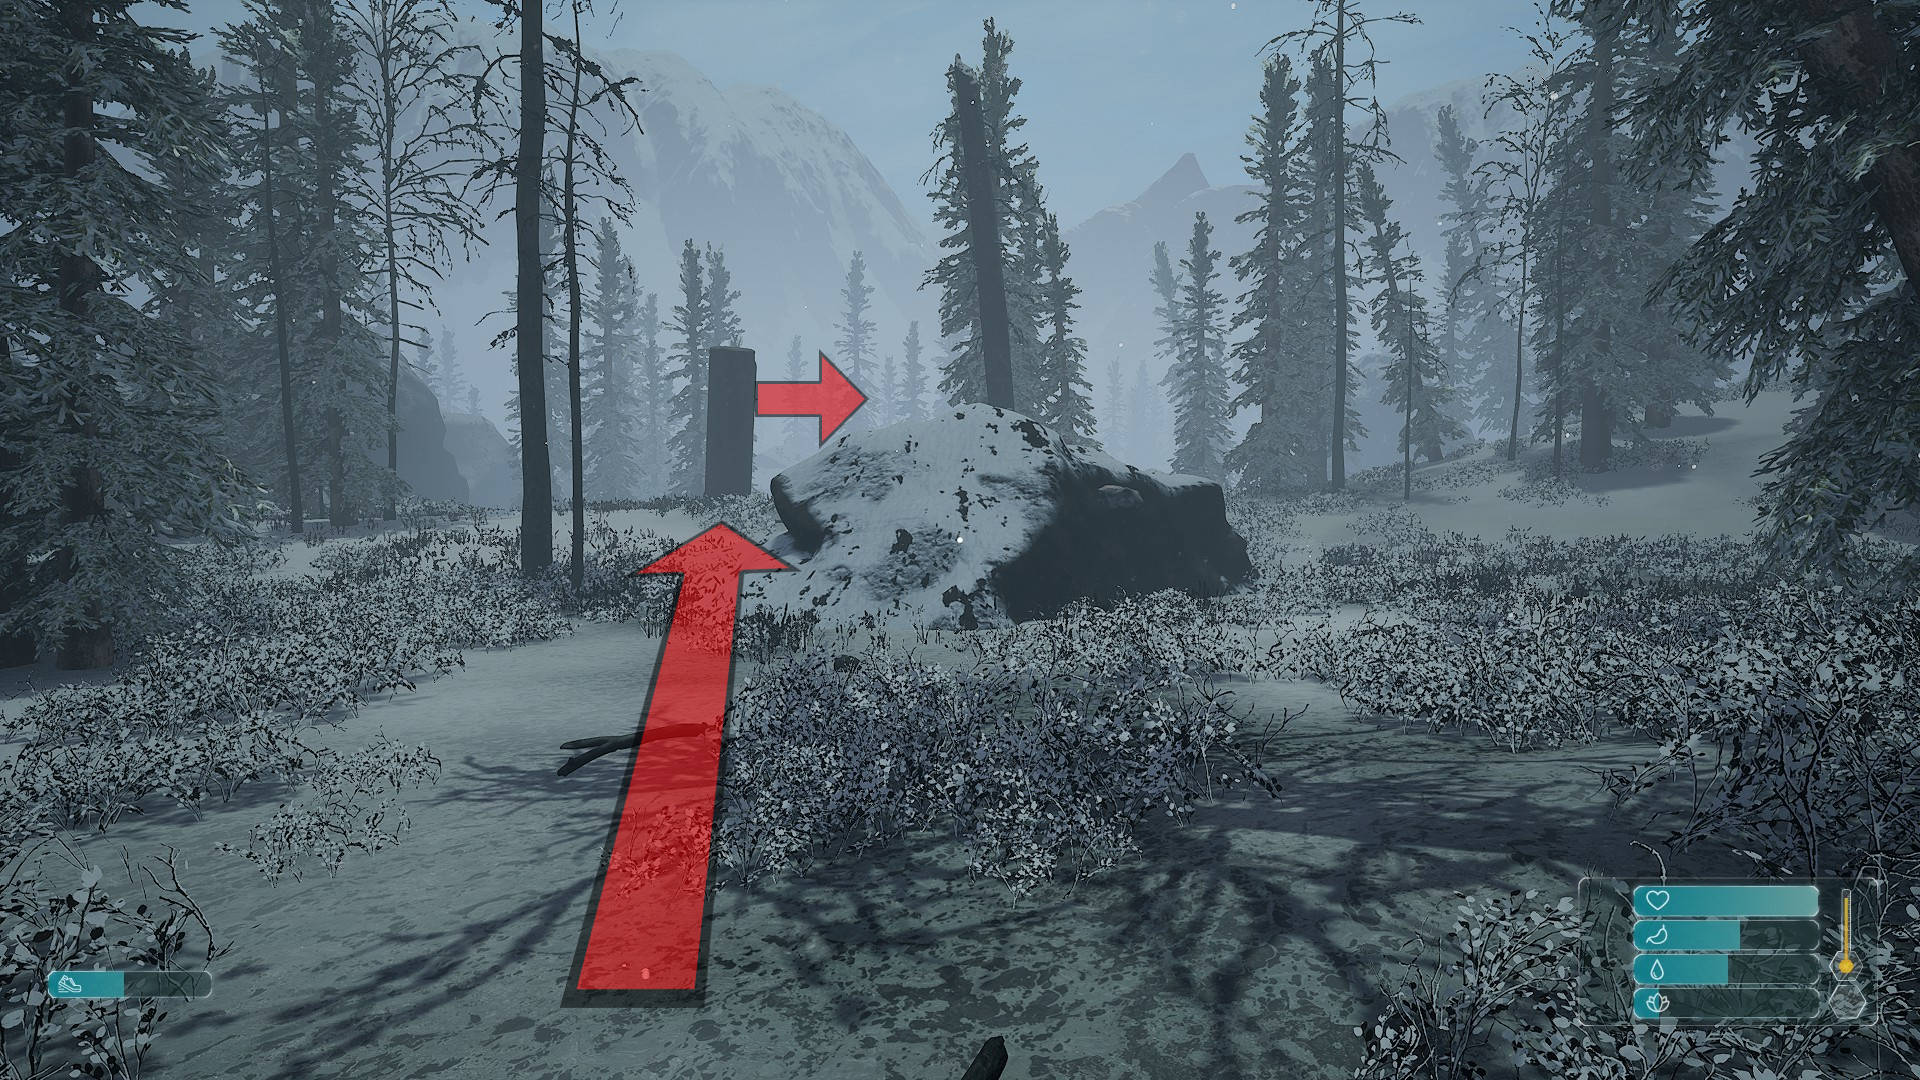
Walk up to the pillar, then turn right.
You may see a faint glow in the distance -- this is the next Ruins:
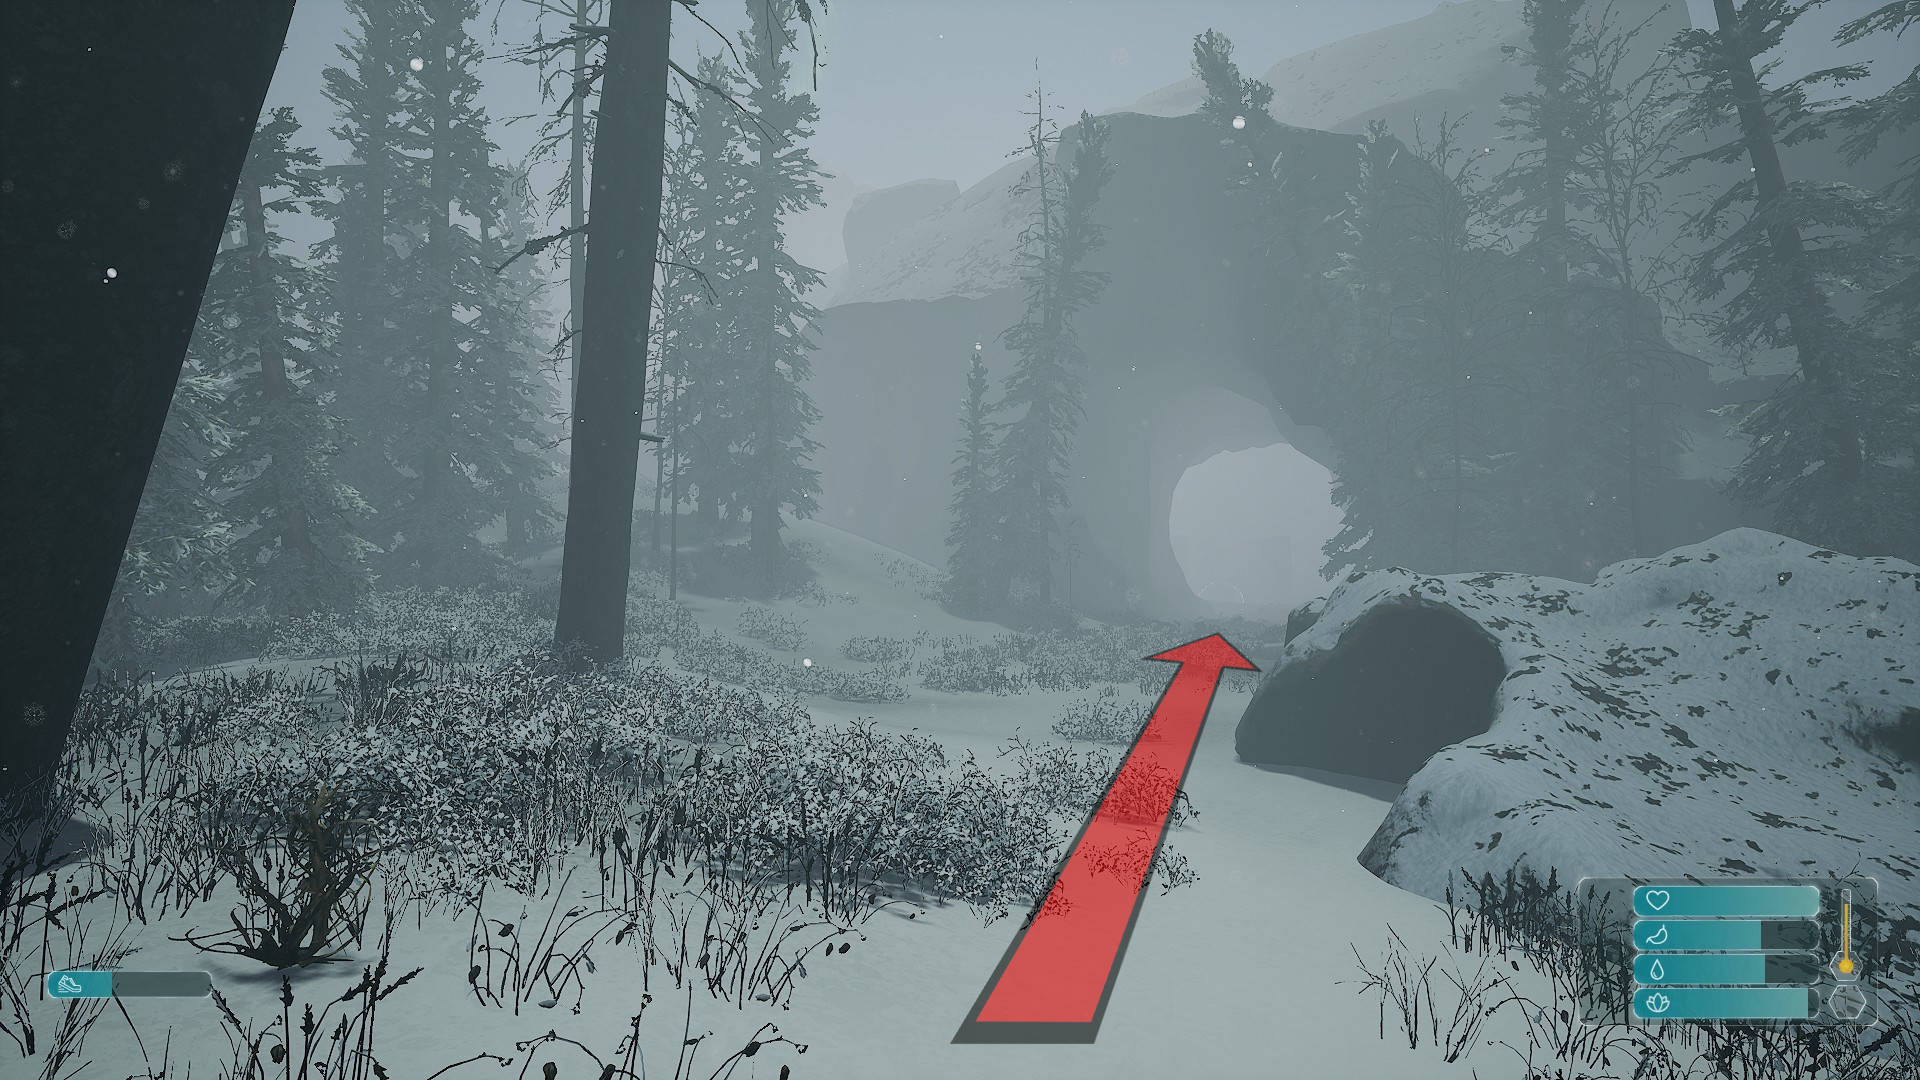
Meditate at the Ruins as usual to unlock some new items.
Follow the hexagon or home icon to make your way back to base. Occupy yourself with some activities and go to sleep at the appropriate time.

4. The Great North Ruins 3
It's time to explore the final Ruins of Retreat to Enen. Our journey with this game is almost over.
This time, we're gonna mix things up and get a little crazy -- we're going to the left:
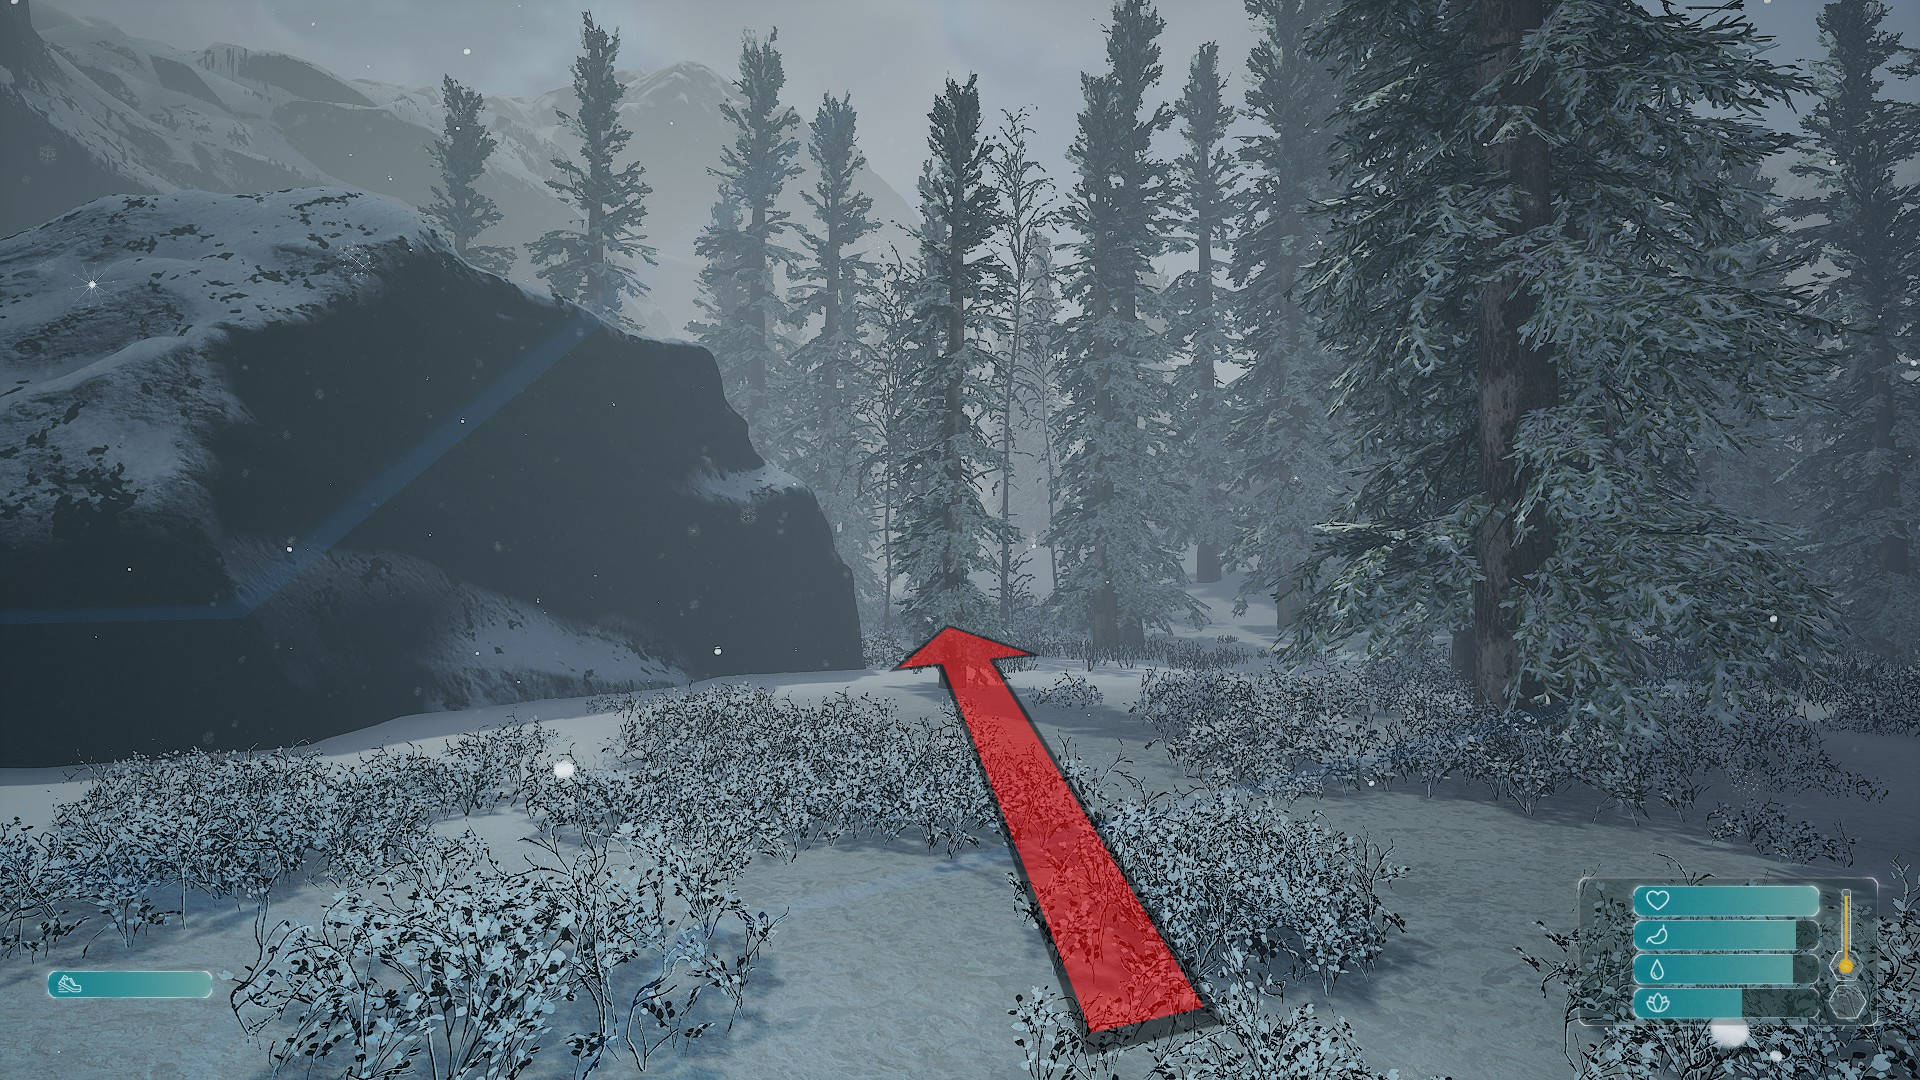
This journey will be a fair bit longer than the last two, so make sure you have enough supplies on hand.
Keep moving forward while keeping the cliff wall on your left-hand side.
Eventually, you'll encounter these distinctive rocks:
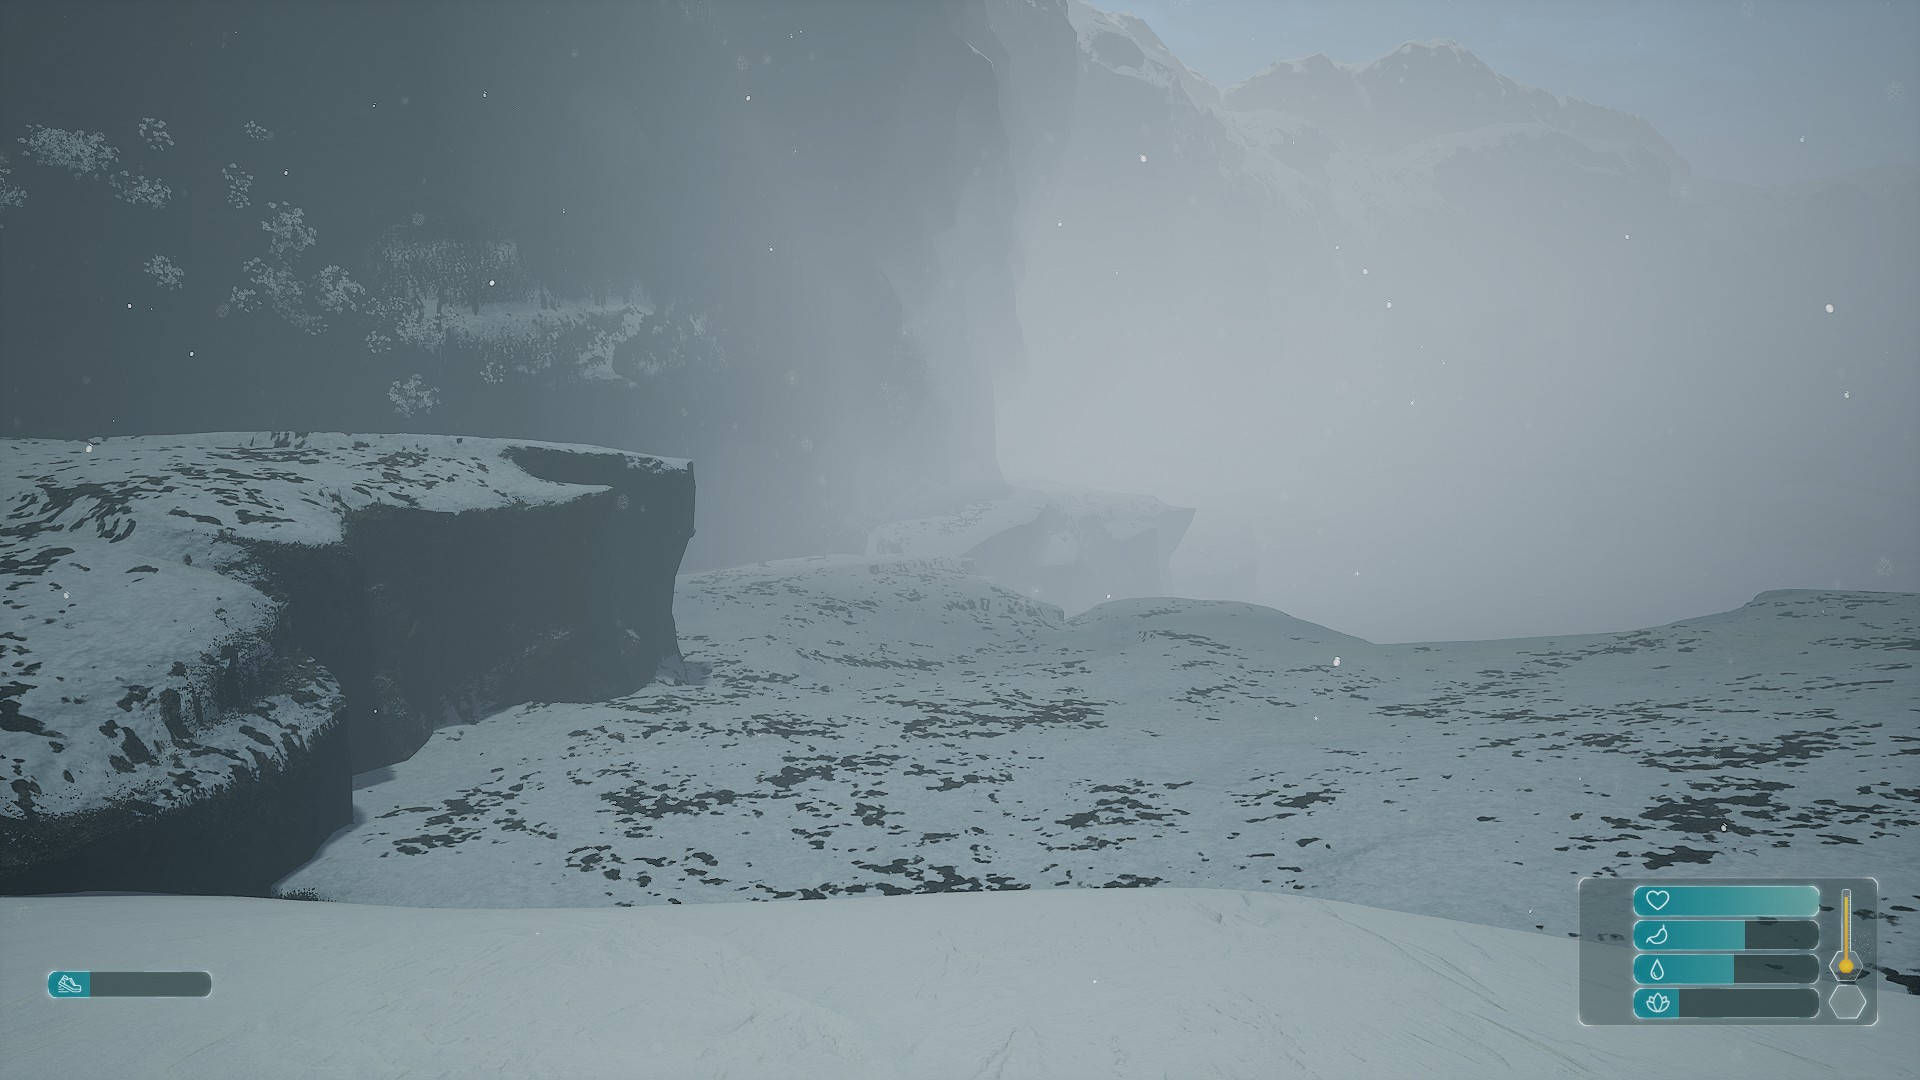
Keep proceeding forward along these cliffs.
You'll soon see that familiar golden glow in the distance:
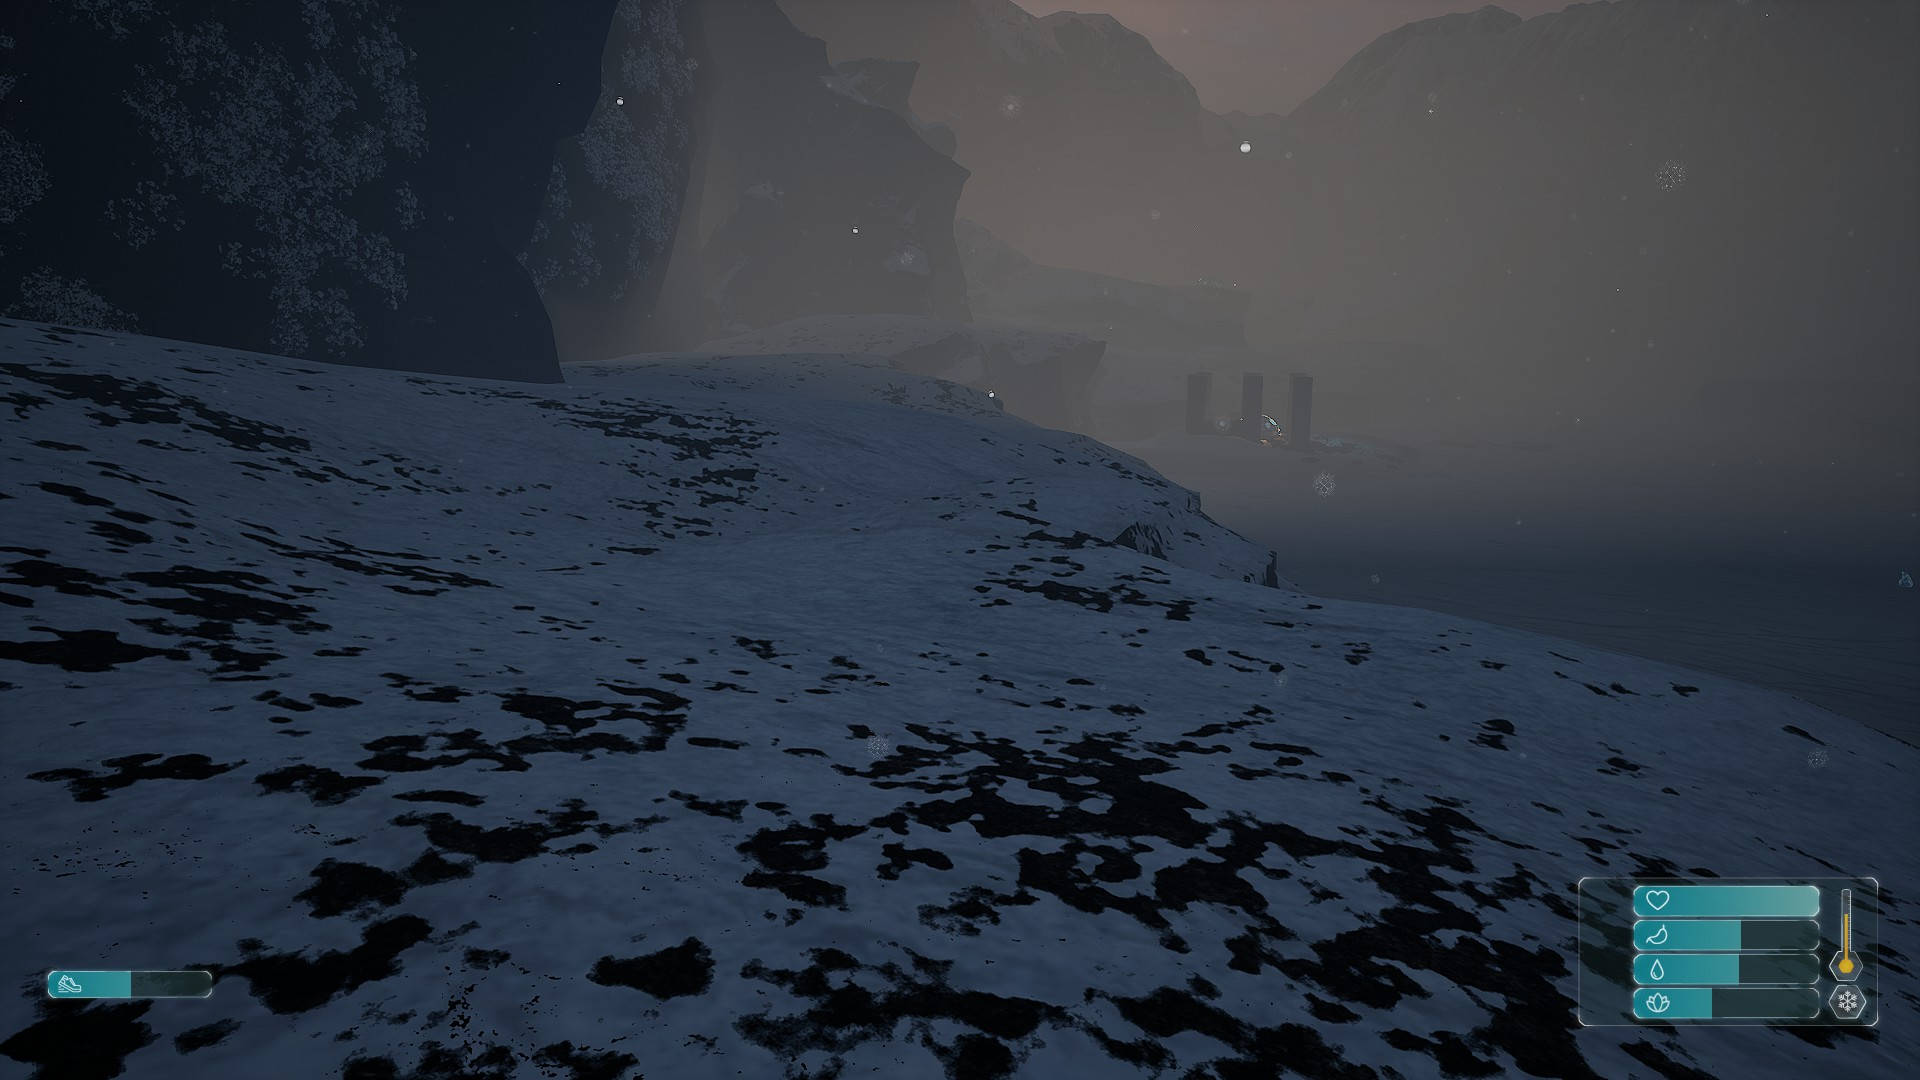
And there are the final Ruins!
Meditate at the Ruins, then head back to base camp. We're going home for good, this time.

Returning Home and Leaving Enen
You've explored all three zones and found all 9 Ruins. You've now earned the right to leave Enen and return home.
You don't have to leave just yet, mind. Perhaps you want to mess around with Building or Farming some more. Maybe you'd like to do a little more Hunting. Either way, you'll eventually want to return to your home base on Enen and save the game.
After you've saved, head towards the portal where your journey began:
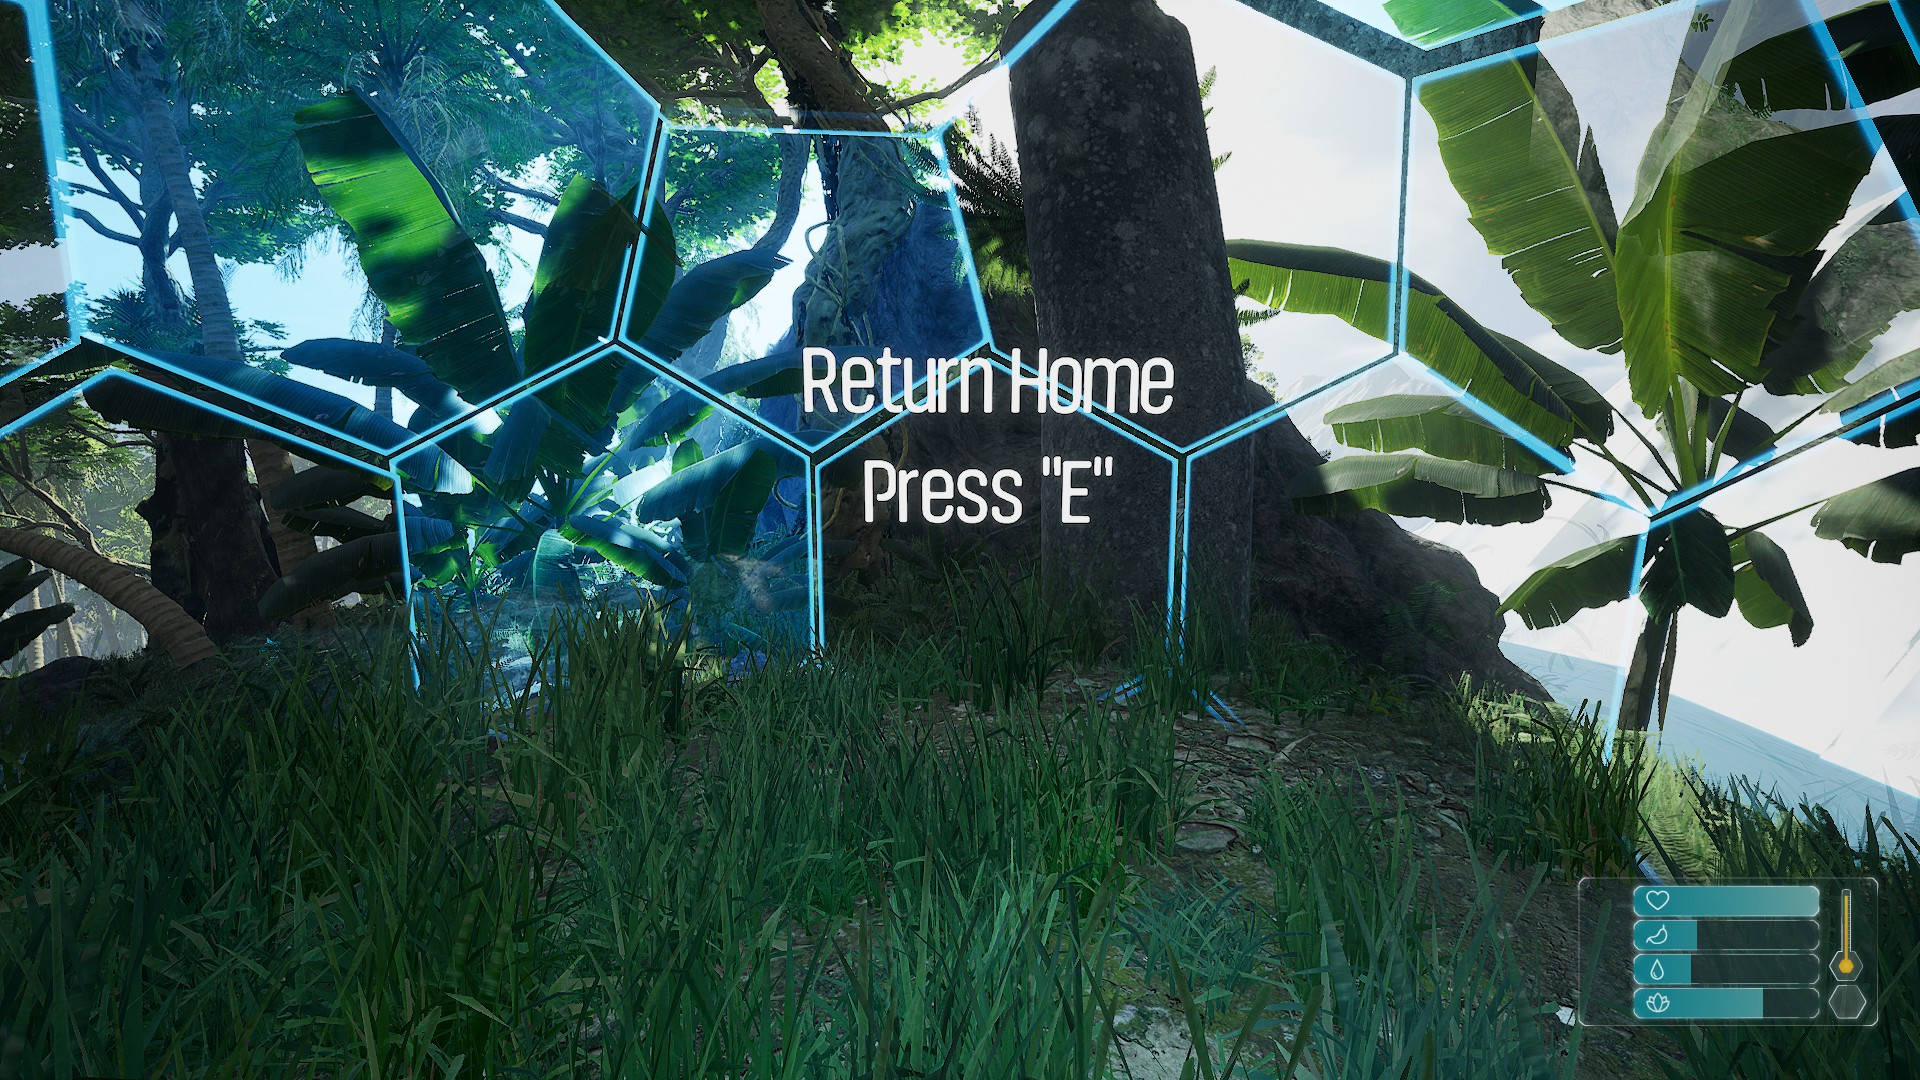
Once you step through the portal, you'll be treated to the final cutscene. Your journey is over and you've beaten Retreat to Enen!
If you do decide to stick around and play some more, there's still a lot to learn -- check out our other guides below to learn more about the game!
Have a tip, or want to point out something we missed? Leave a Comment or e-mail us at tips@techraptor.net
