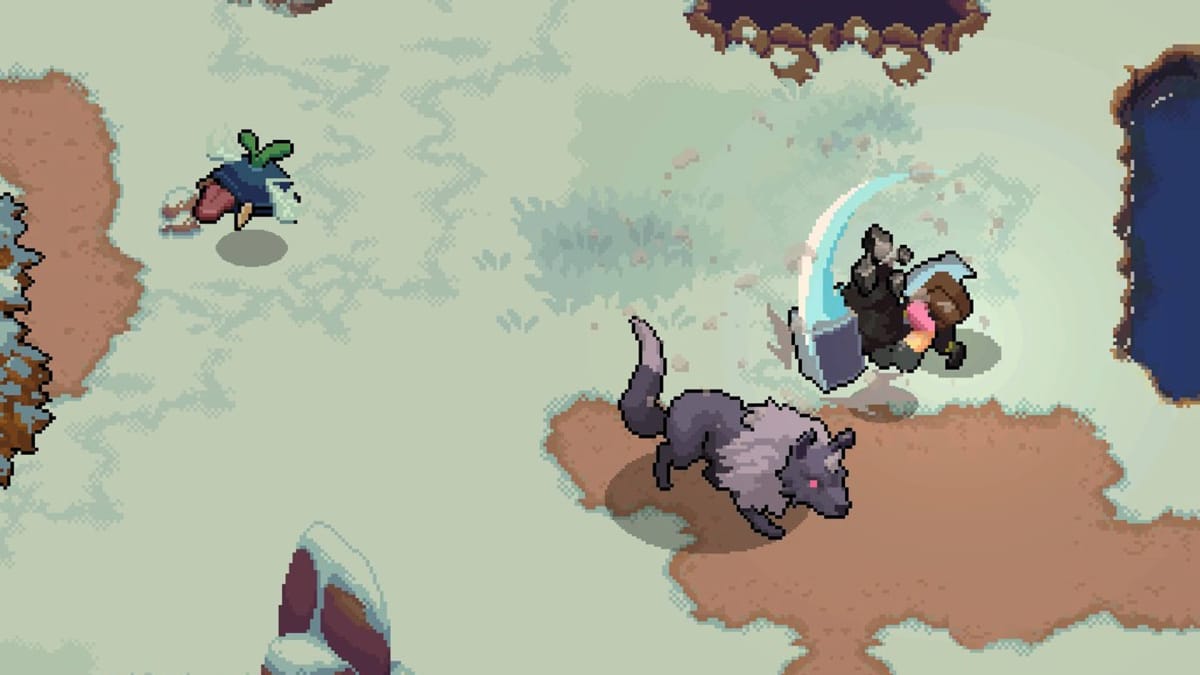
This Potion Permit Monster Guide will tell you where to find Monsters, how to defeat them, and what Materials they'll drop when you kill them.
How Potion Permit Monsters Work
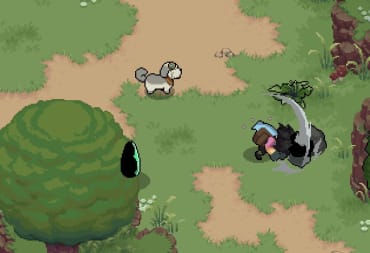
Potion Permit Monsters are typically hostile creatures that are out to kill you. Aside from making it difficult to collect Materials, enough hits will cause you to pass out, prematurely ending the day and causing you to wake up late on the following day.
However, every single Potion Permit Monster also has a lovely surprise -- they will often drop useful Materials of their own that you can put into your Potions. Read on for details on every Monster in the game!
A Note on Armored Monster and Shielded Monsters
Not every Potion Permit Monster is the same. Some Monsters are Armored and some are Shielded.
Armored Monsters will only take damage from the Hammer until you break their Armor. Once you do, they can take damage from any Tool. Similarly, Shielded Monsters will only take damage from the Axe until you break their Shield. Breaking their Shield will allow you to damage them.
Generally speaking, your best strategy for dealing with these Monsters is to use the Hammer or Axe (depending on their type) to break through their defenses. Once they're vulnerable, switch to the Scythe and get in as much damage as possible.

Where to Find Potion Permit Monsters (and What They Drop)
The following is a list featuring every Potion Permit Monster, divided by zone. Take note that a handful of Monsters will appear in more than one zone.

Meadow Range (Town Side)
The town side of the Meadow Range is the first area of wilderness you can explore.
Greedbonnet

- Hostile? - Only When Attacked
- Drops - Spores
- Strategy - Attack it until it dies.
Green Blob

- Hostile? - Only When Attacked
- Drops - Sticky Jelly
- Strategy - Kill it, then prepare for 2 Mini Green Blobs to emerge.
Mini Green Blob

- Hostile? - Yes
- Drops - N/A
- Strategy - Kill it right when it spawns.
Honeypaw

- Hostile? - Yes
- Drops - Honey, Bear's Claw
- Strategy - Dodge its swipe, then attack.
Meadow Range (Landslide Side)
Clearing the Landslide will open up the full Meadow Range -- and expose you to slightly more dangerous enemies.
Greedbonnet

- Hostile? - Only When Attacked
- Drops - Spores
- Strategy - Attack it until it dies.
Green Blob

- Hostile? - Only When Attacked
- Drops - Sticky Jelly
- Strategy - Kill it, then prepare for 2 Mini Green Blobs to emerge.
Mini Green Blob

- Hostile? - Yes
- Drops - N/A
- Strategy - Kill it right when it spawns.
Pangol
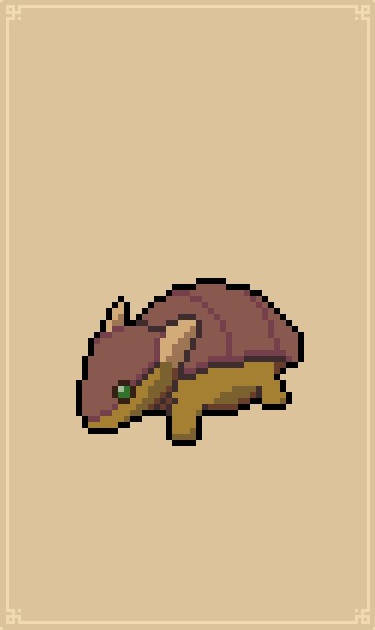
- Armored (requires Hammer)
- Hostile? - Only When Attacked
- Drops - Rigid Pelt
- Strategy - Hit it once with a Hammer, then dodge its attack. Continue hitting with Hammer until it flips over, then do as much damage as you can with the Scythe.
Bonemask

- Hostile? - Yes
- Drops - Savage Mane
- Strategy - Dodge its attack, then hit it when it's on cooldown.
Crownmite
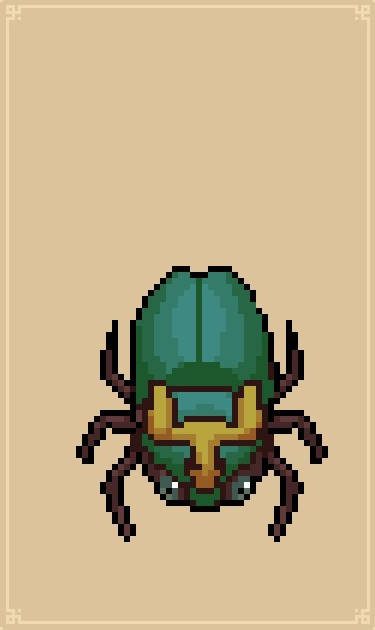
- Armored (requires Hammer)
- Hostile? - Only When Attacked
- Drops - Bug Leg
- Strategy - Hit it with the Hammer, back away, then keep hammering it until its Armor breaks. Then, hit it with the Scythe.
Blackpaw

- Hostile? - Yes
- Drops - Black Fur
- Strategy - Dodge its attacks, then counter-attack.

Glaze Iceberg
Glaze Iceberg is the second core area you'll unlock in the game and features a wide variety of enemies with lethal projectile attacks.
Goldenhorn
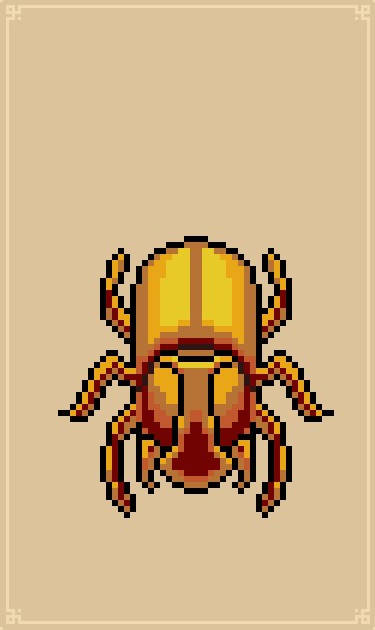
- Armored (requires Hammer)
- Hostile? - Only When Attacked
- Drops - Golden Shell
- Strategy - Hit with the Hammer, back away, hammer it until its Armor breaks, then finish it with the Scythe.
Blossom Shooter
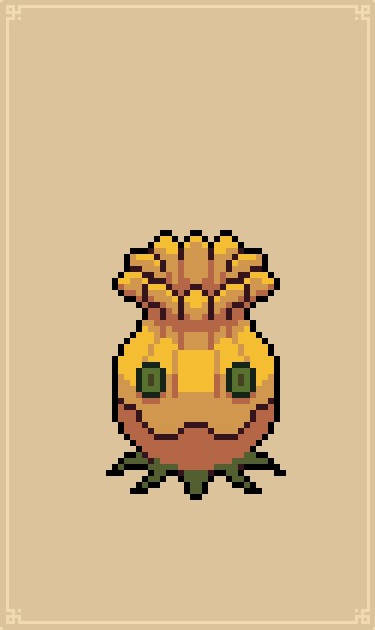
- Hostile? - Yes
- Drops - Timber Fruit
- Strategy - Dodge explosive pelts, then hit it with the Scythe. Watch out for a very fast triple bomb if you're too close.
Bomber Bee
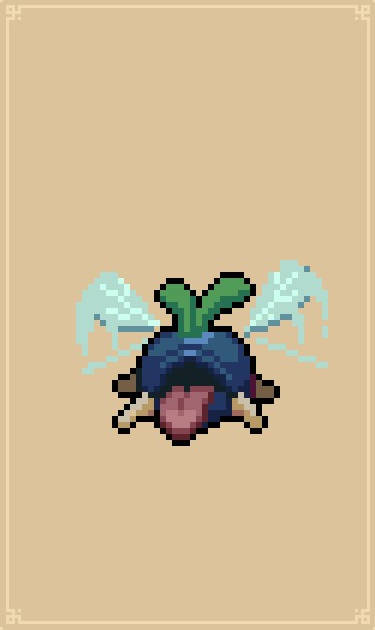
- Hostile? - Yes
- Drops - Ominous Tongue
- Strategy - Hit it with the Scythe, dodge its attacks, and back away when you kill it -- it explodes after dying.
Koblin Assassin
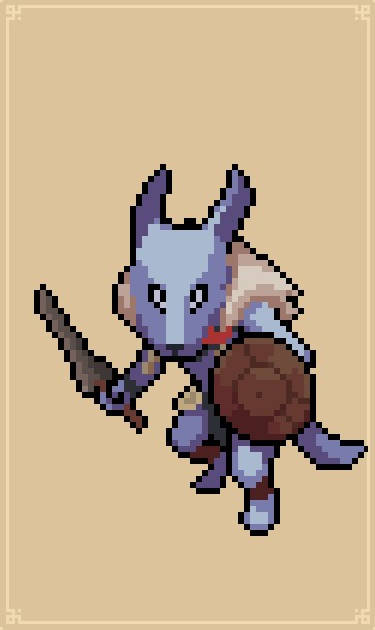
- Shielded
- Hostile? - Yes
- Drops - Dark Shards
- Strategy - Break its Shield, then hit it with the Scythe until it's dead.
Elder Wolf
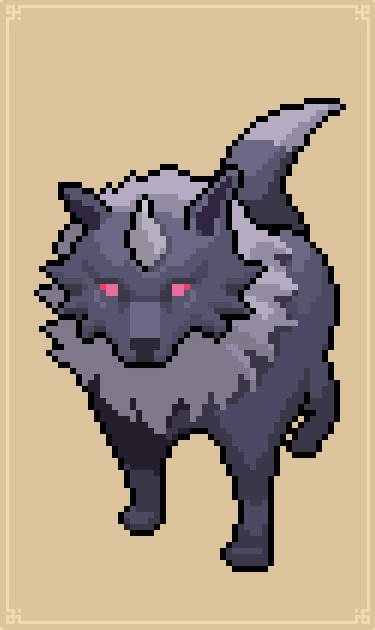
- Hostile? - Yes
- Drops - Premium Pelt
- Strategy - Dodge its attacks, then counter-attack.
Spook Digger

- Hostile? - Only When Attacked
- Drops - Quality Nut
- Strategy - Attack it, dodge its counter-attack, then attack again.
Crownmite

- Armored (requires Hammer)
- Hostile? - Only When Attacked
- Drops - Bug Leg
- Strategy - Hit it with the Hammer, back away, then keep hammering it until its Armor breaks. Then, hit it with the Scythe.

Barren Wasteland
As the final zone in the game, the Barren Wasteland features some of the largest, heaviest-hitting Potion Permit Monsters.
Grandhorn

- Hostile? - Only When Attacked
- Drops - Majestic Horn
- Strategy - Attack it, dodge its charges, then counter-attack.
Sandcrawl
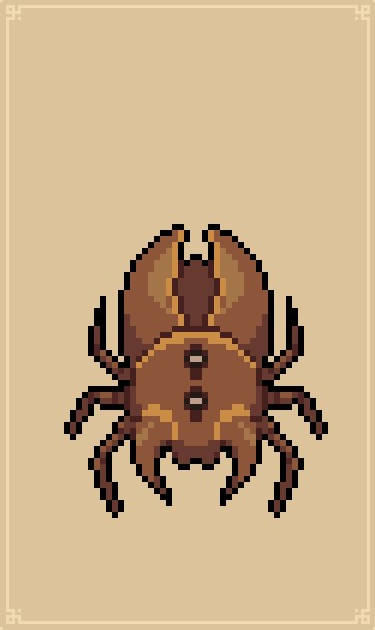
- Armored (requires Hammer)
- Hostile? - Only When Attacked
- Drops - Hard Shell
- Strategy - Whack it with the Hammer, dodge its attack, then break its armor with the Hammer and follow up with the Scythe.
Sunclaw
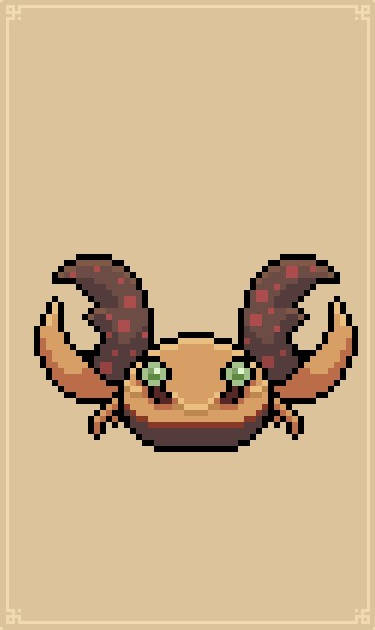
- Hostile? - Yes
- Drops - Giant Pincer
- Strategy - Dodge its attacks and counter-attack.
Koblin Mage
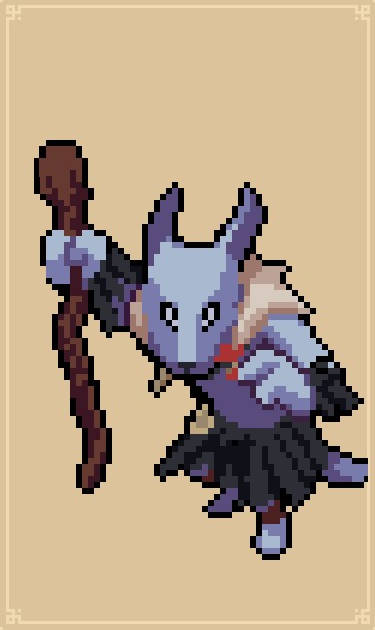
- Hostile? - Yes
- Drops - Luminous Crystal
- Strategy - Dodge its attacks and counter-attack.
Koblin General

- Shielded
- Hostile? - Yes
- Drops - Dark Crystal, Juicy Meat
- Strategy - Break its Shield, then follow up with the Scythe. Watch out for its attacks -- this guy hits like a truck.
Ironfin
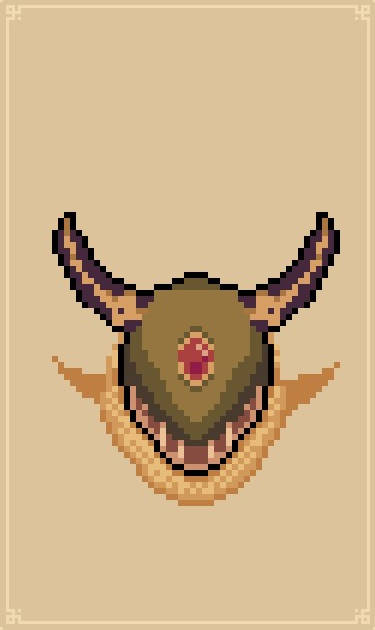
- Hostile? - Yes
- Drops - Razor Fin
- Strategy - Dodge its two diving attacks, then counter-attack when it's resting.
Goldenhorn

- Armored (requires Hammer)
- Hostile? - Only When Attacked
- Drops - Golden Shell
- Stl>
Thanks for reading our Potion Permit Monster Guide! Have a look at some of our other guides below, too!
Have a tip, or want to point out something we missed? Leave a Comment or e-mail us at tips@techraptor.net
