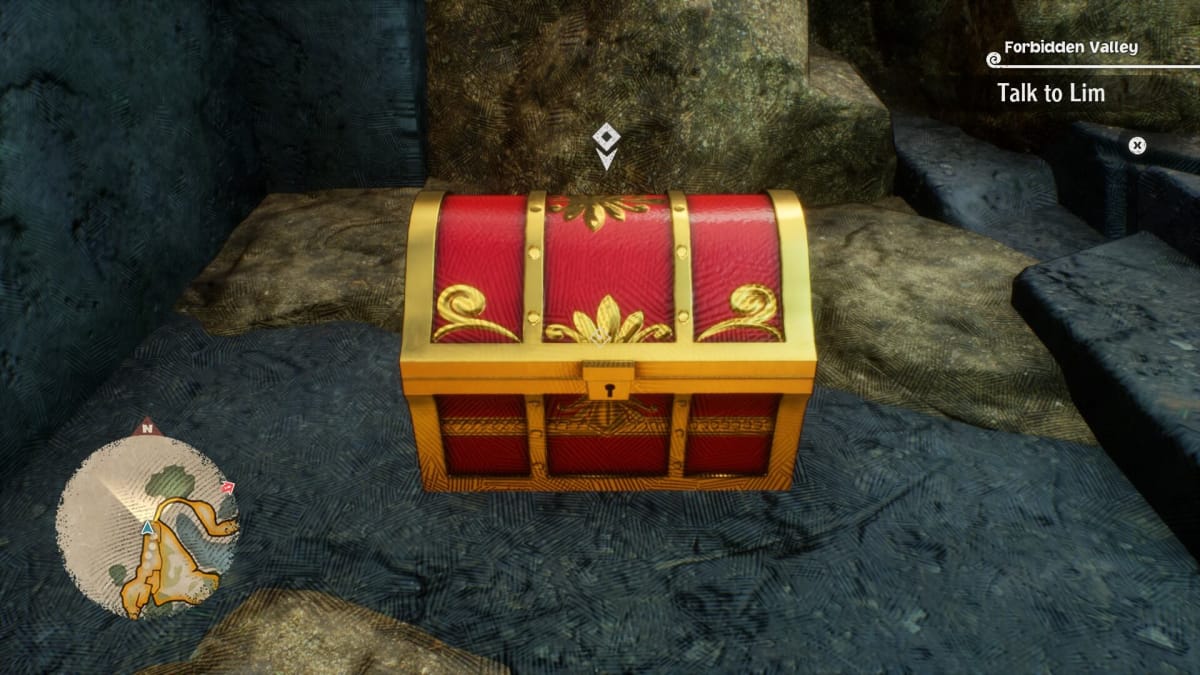
One Piece Odyssey features the latest adventures of Luffy and his crew, as they travel across a mysterious island and relive the memories of their past. As you'd expect from a game about pirates, there's plenty of loot to find. However, some of the chests you encounter look much fancier than the regular variety, and cannot be opened by default. In our One Piece Odyssey Locked Chests Guide, we'll go over what you need to unlock these strange chests, and where to find all of them.
One Piece Odyssey Treasure Chest Key
The Treasure Chest Key is the (literal) key to the problem of locked chests, allowing you to open all 22 of them once obtained. However, the quest for the key is a journey in itself, requiring you to complete the multi-part Grand Line Quiz quest chain. For a full overview of these quests, make sure to check out our One Piece Odyssey Quiz Guide. With the Treasure Chest Key in your possession, it's now time to actually hunt down each chest. Locked chests are scattered across each main area of One Piece Odyssey, including the final dungeon.
Opening every locked chest will net you the Treasure Hunter achievement (or trophy if for PlayStation gamers).
One Piece Odyssey Waford Locked Chest Locations
Waford South Locked Chests
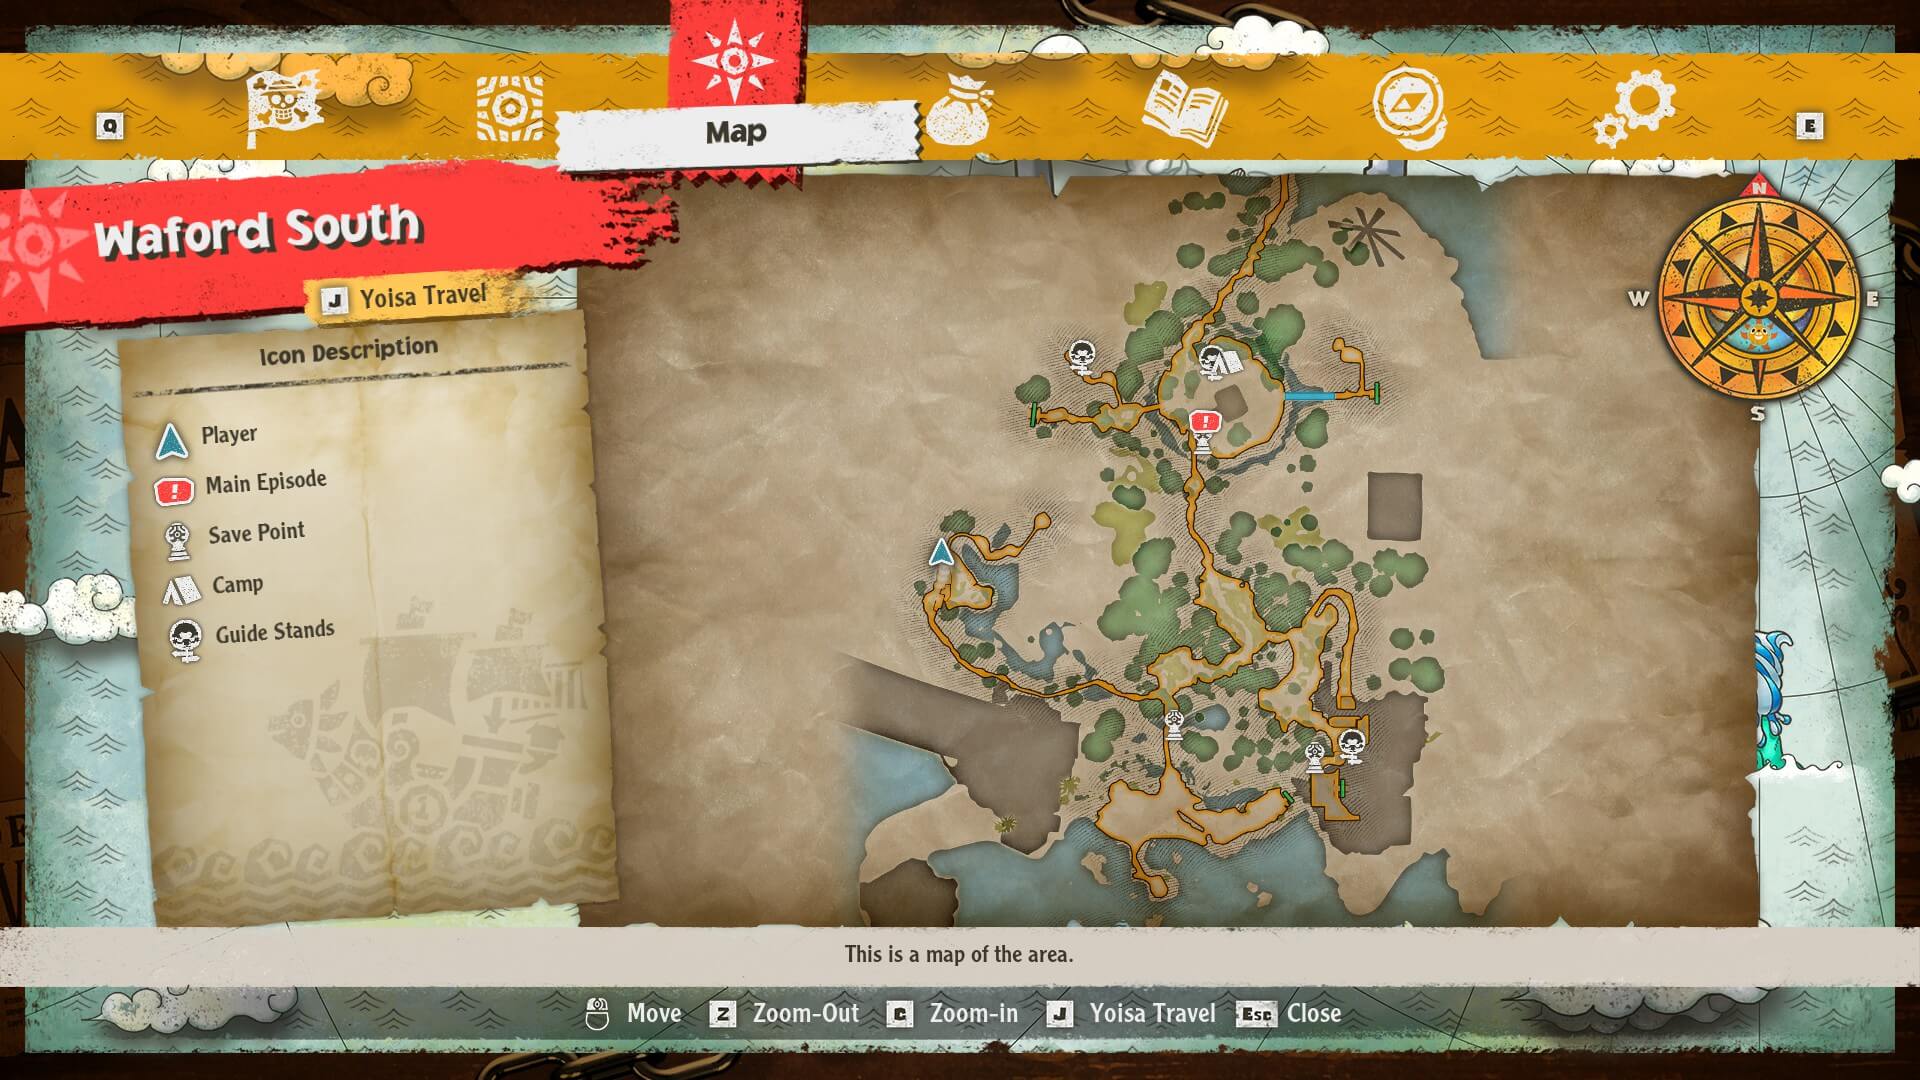
#1 - Near the vines as you drop down partway to the lower area.
#2 - Just ahead of #1, through the small tunnel that requires Chopper.
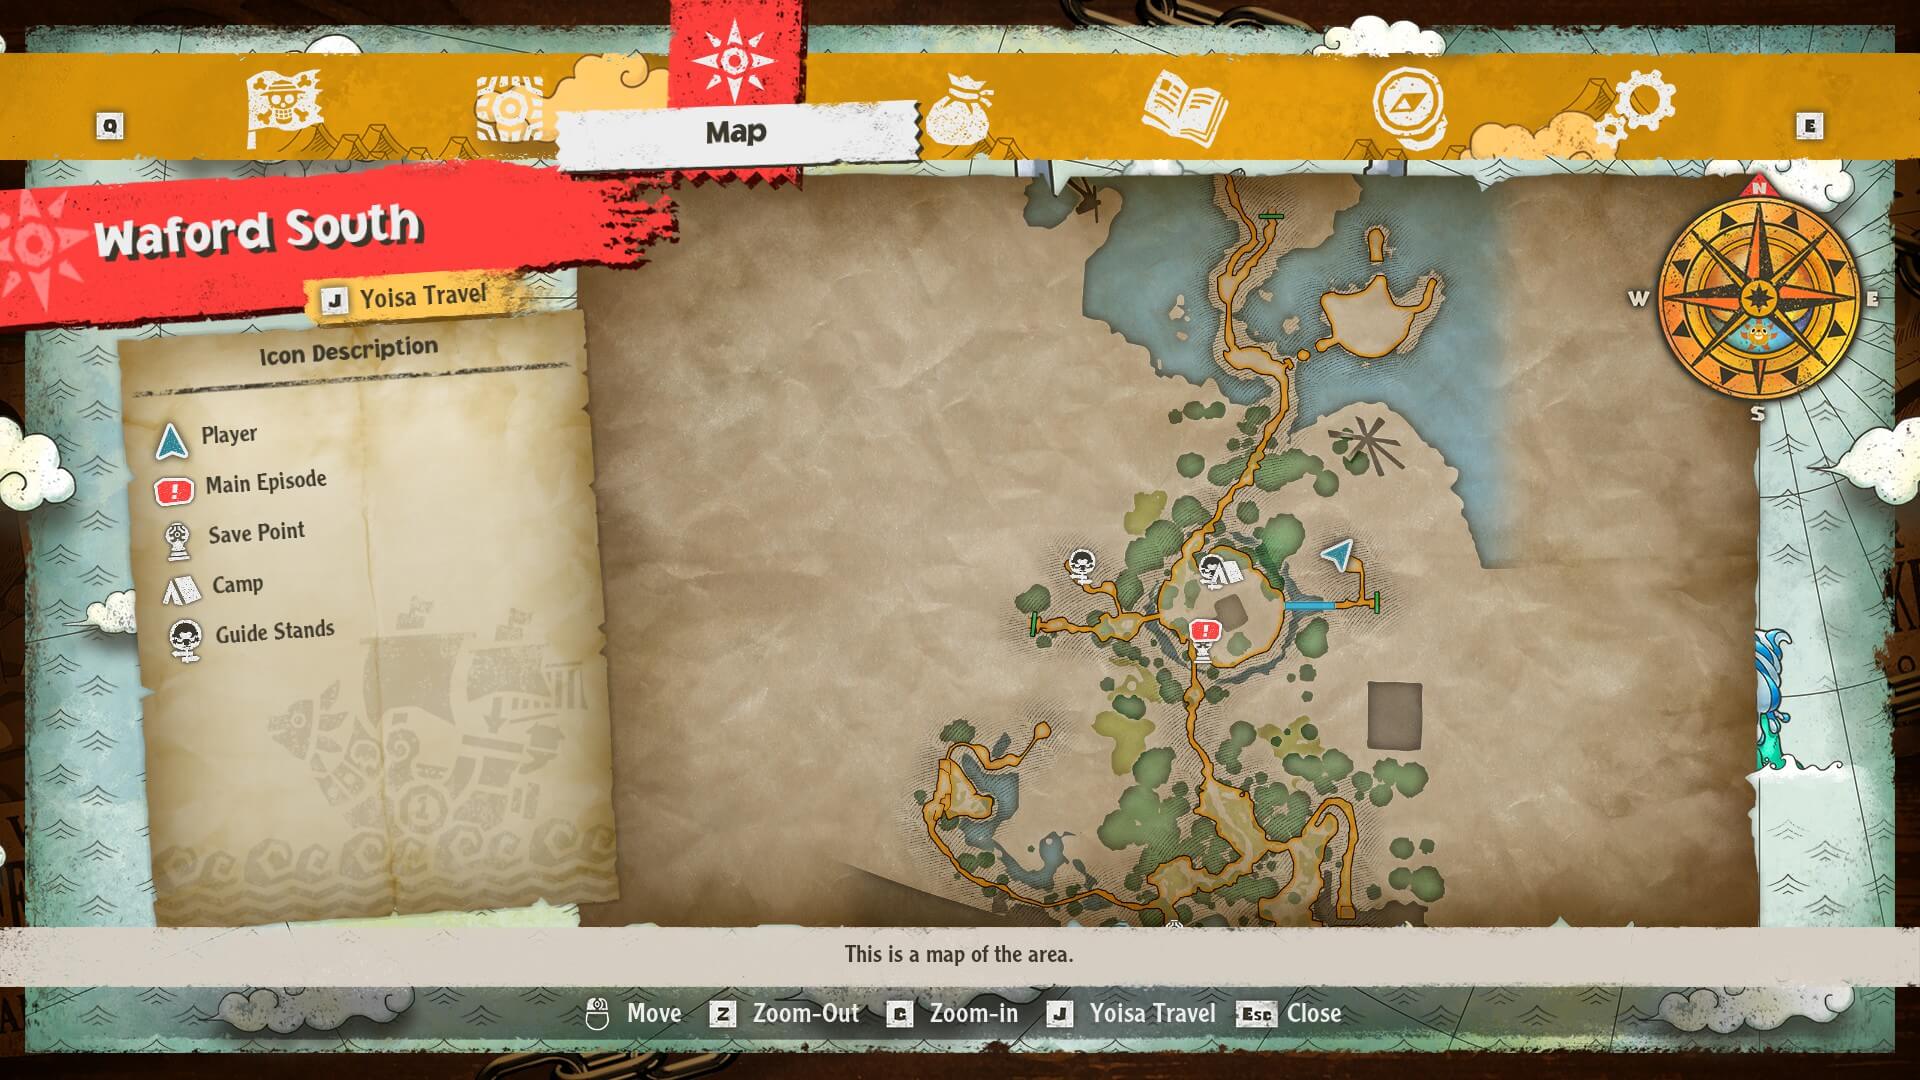
#3 - In the cave past the makeshift bridge. Requires Zoro's gate cutting ability to be upgraded.
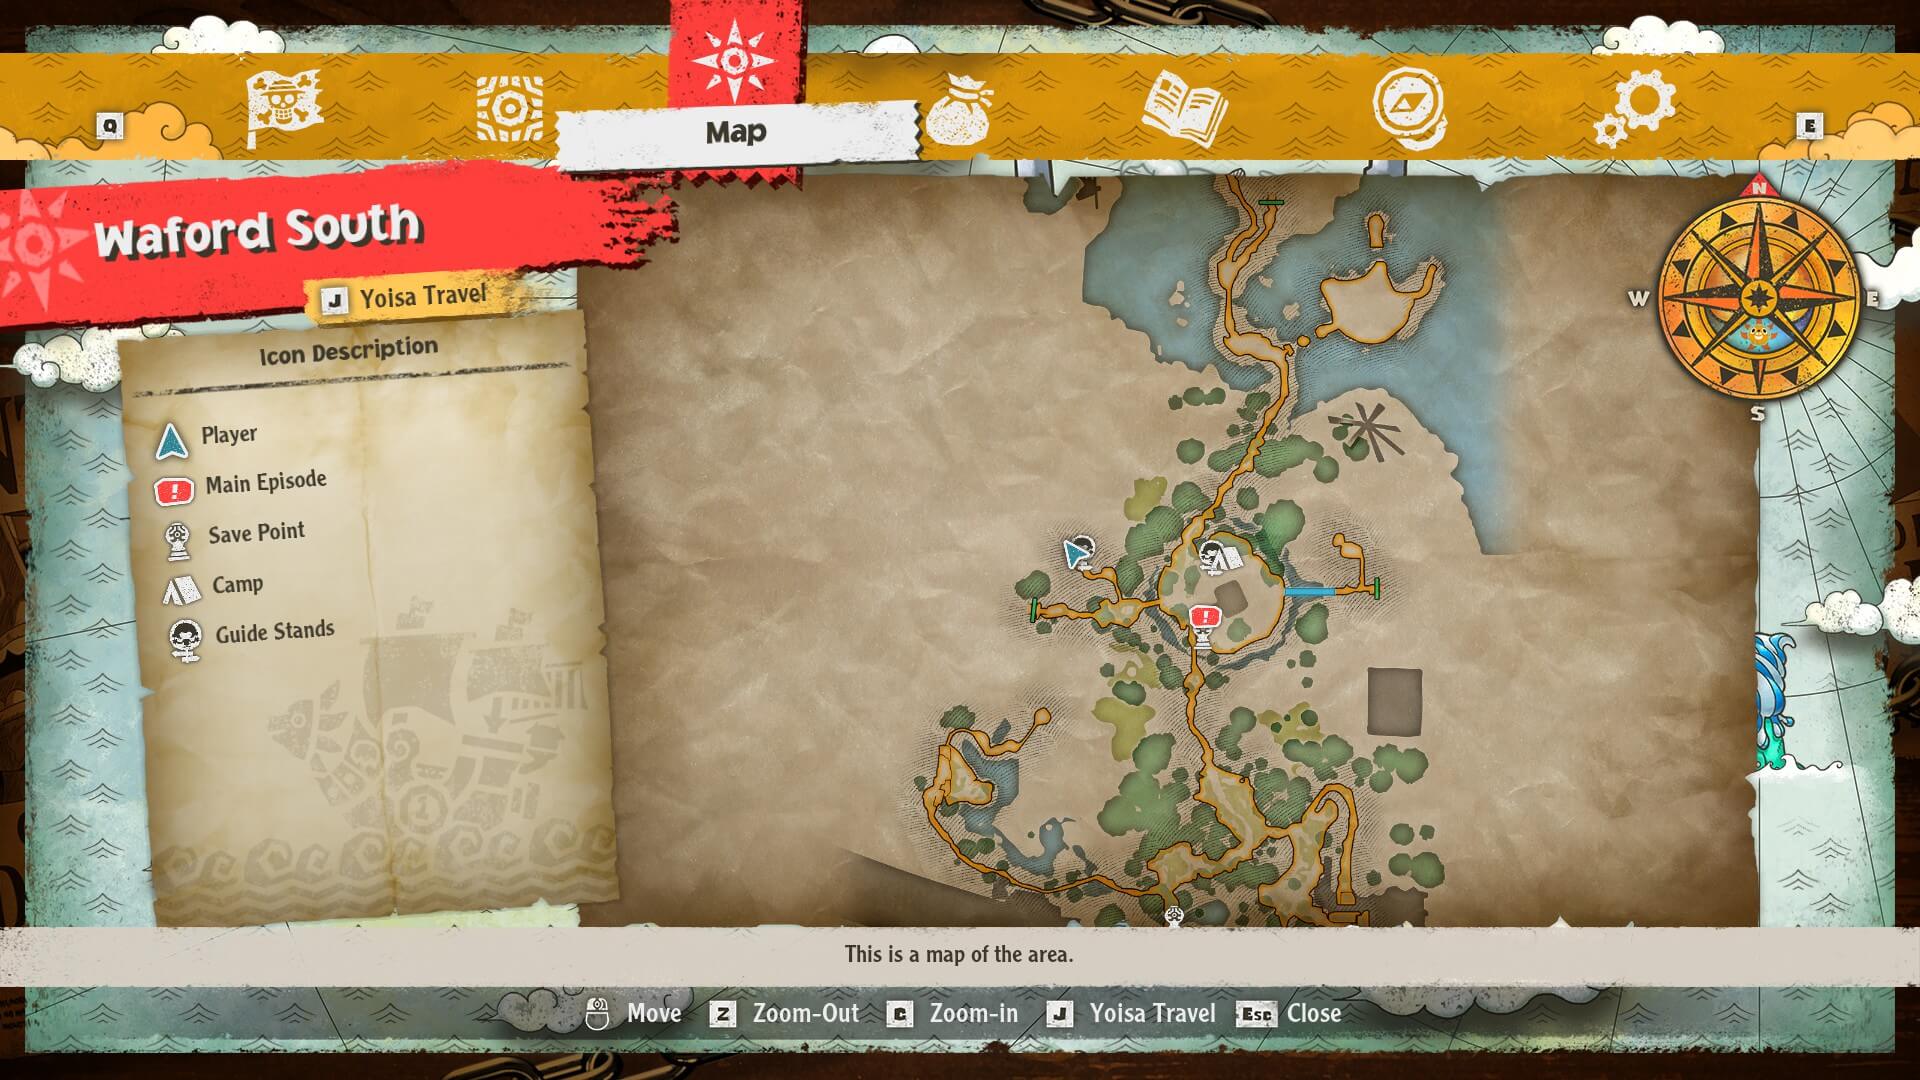
#4 - Right next to the fast travel point in the cave.
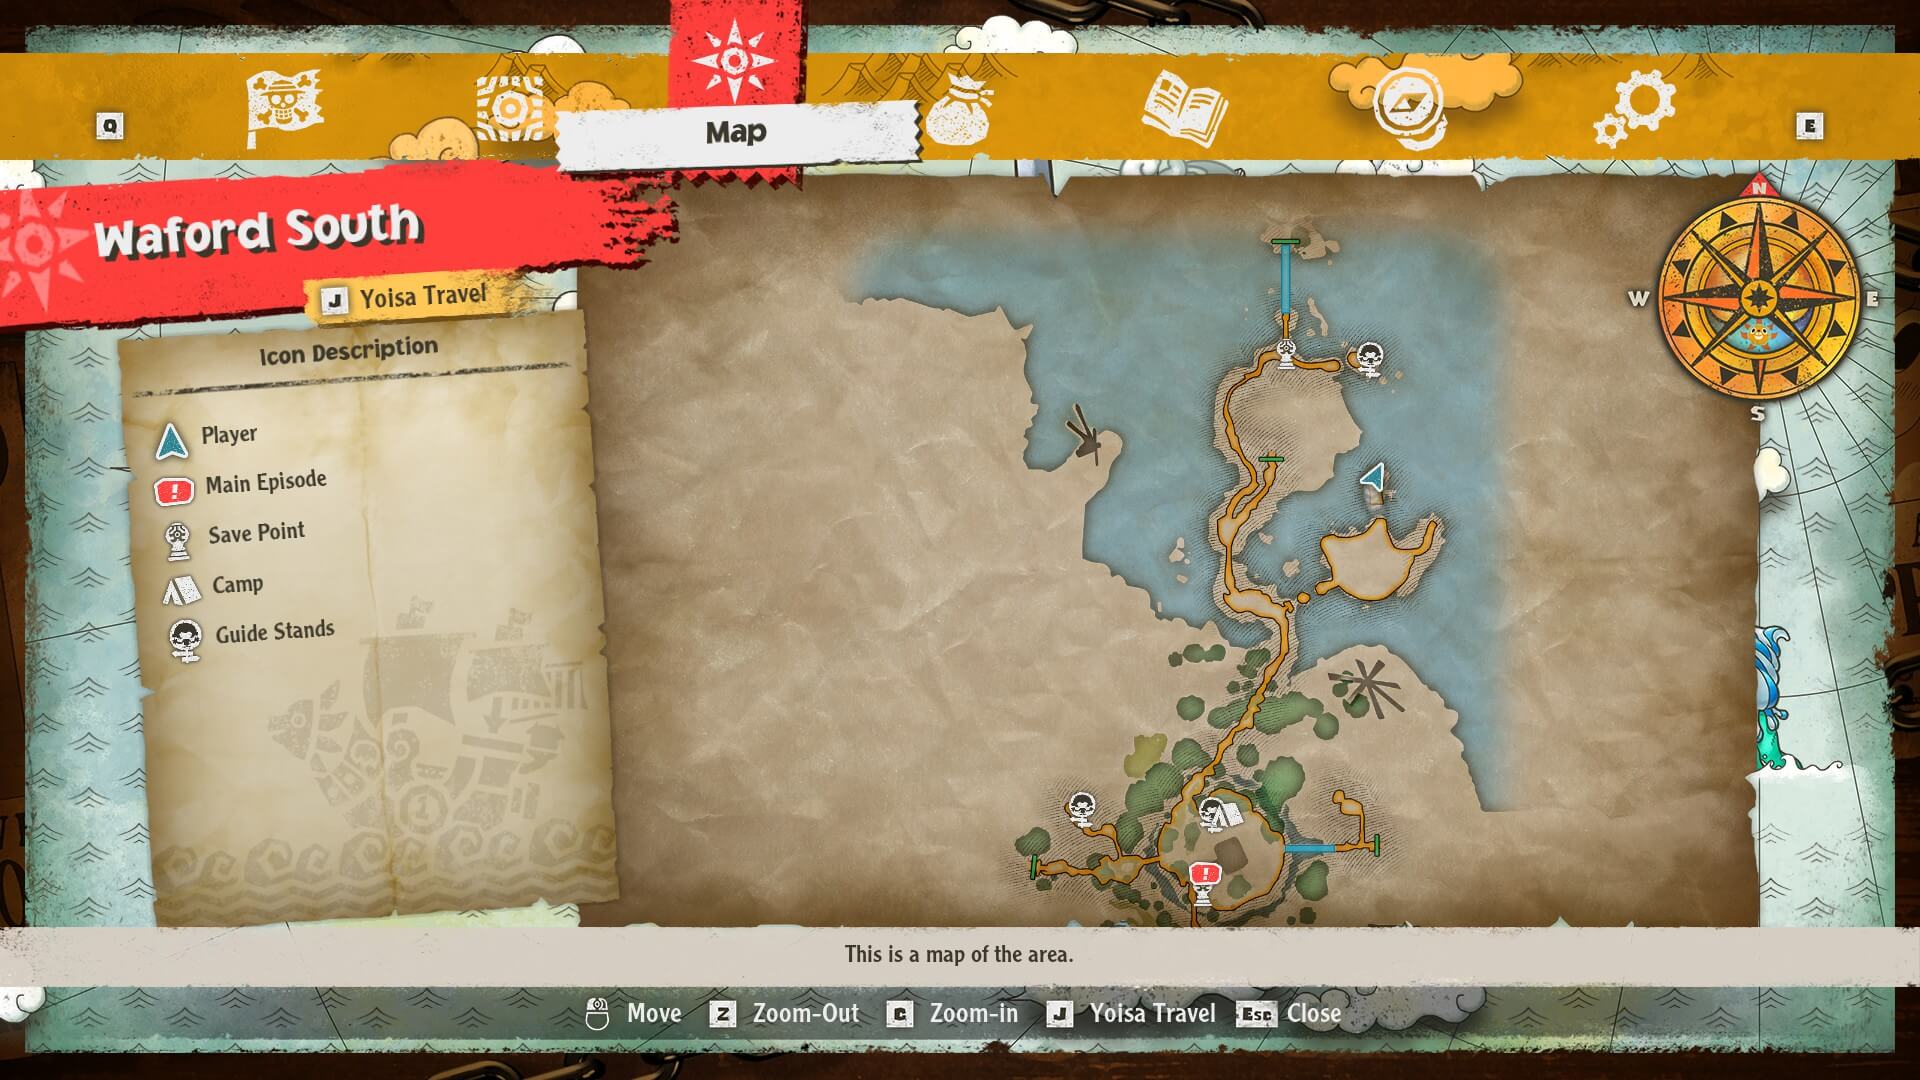
#5 - Grapple onto the vines across the small gap, then drop down. Chest is on the northern part of the small island.
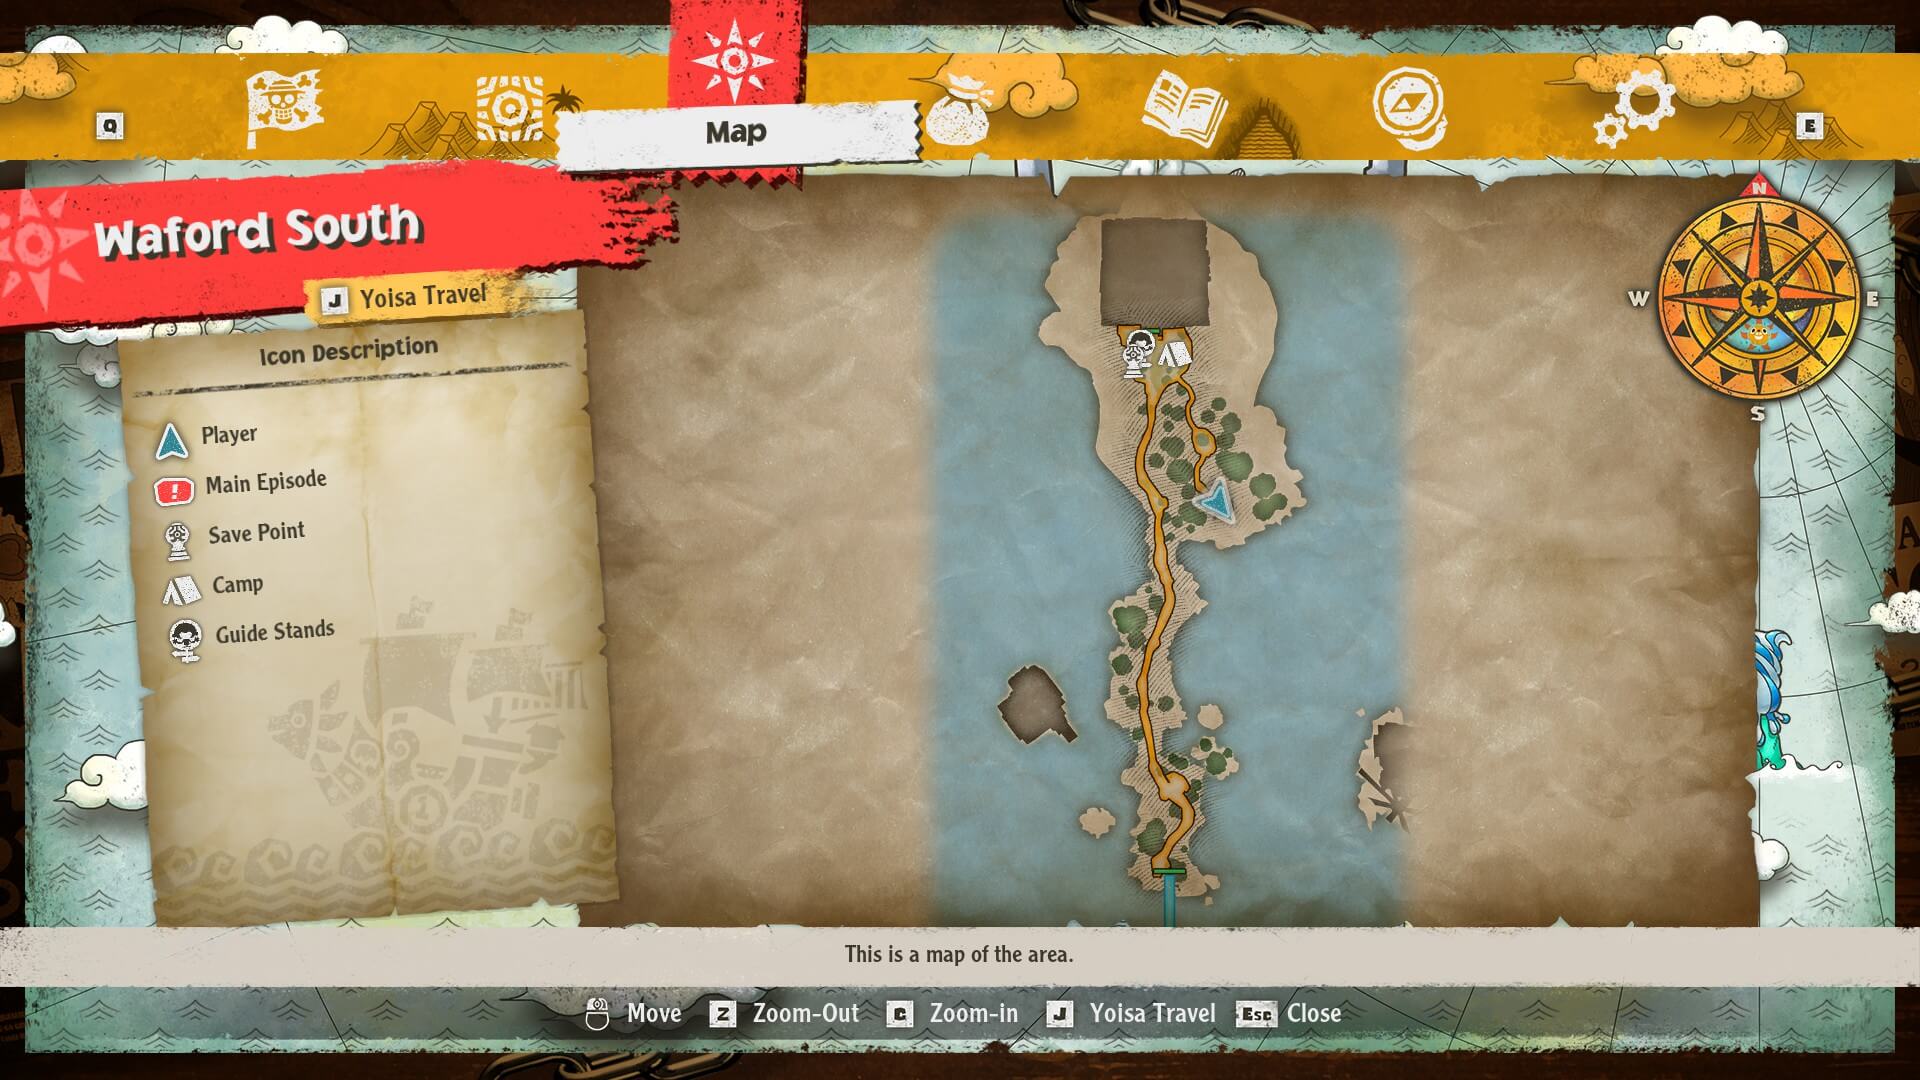
#6 - Head south east from the Sky Tower camp, through the small tunnel that requires Chopper.
Sky Tower Locked Chests
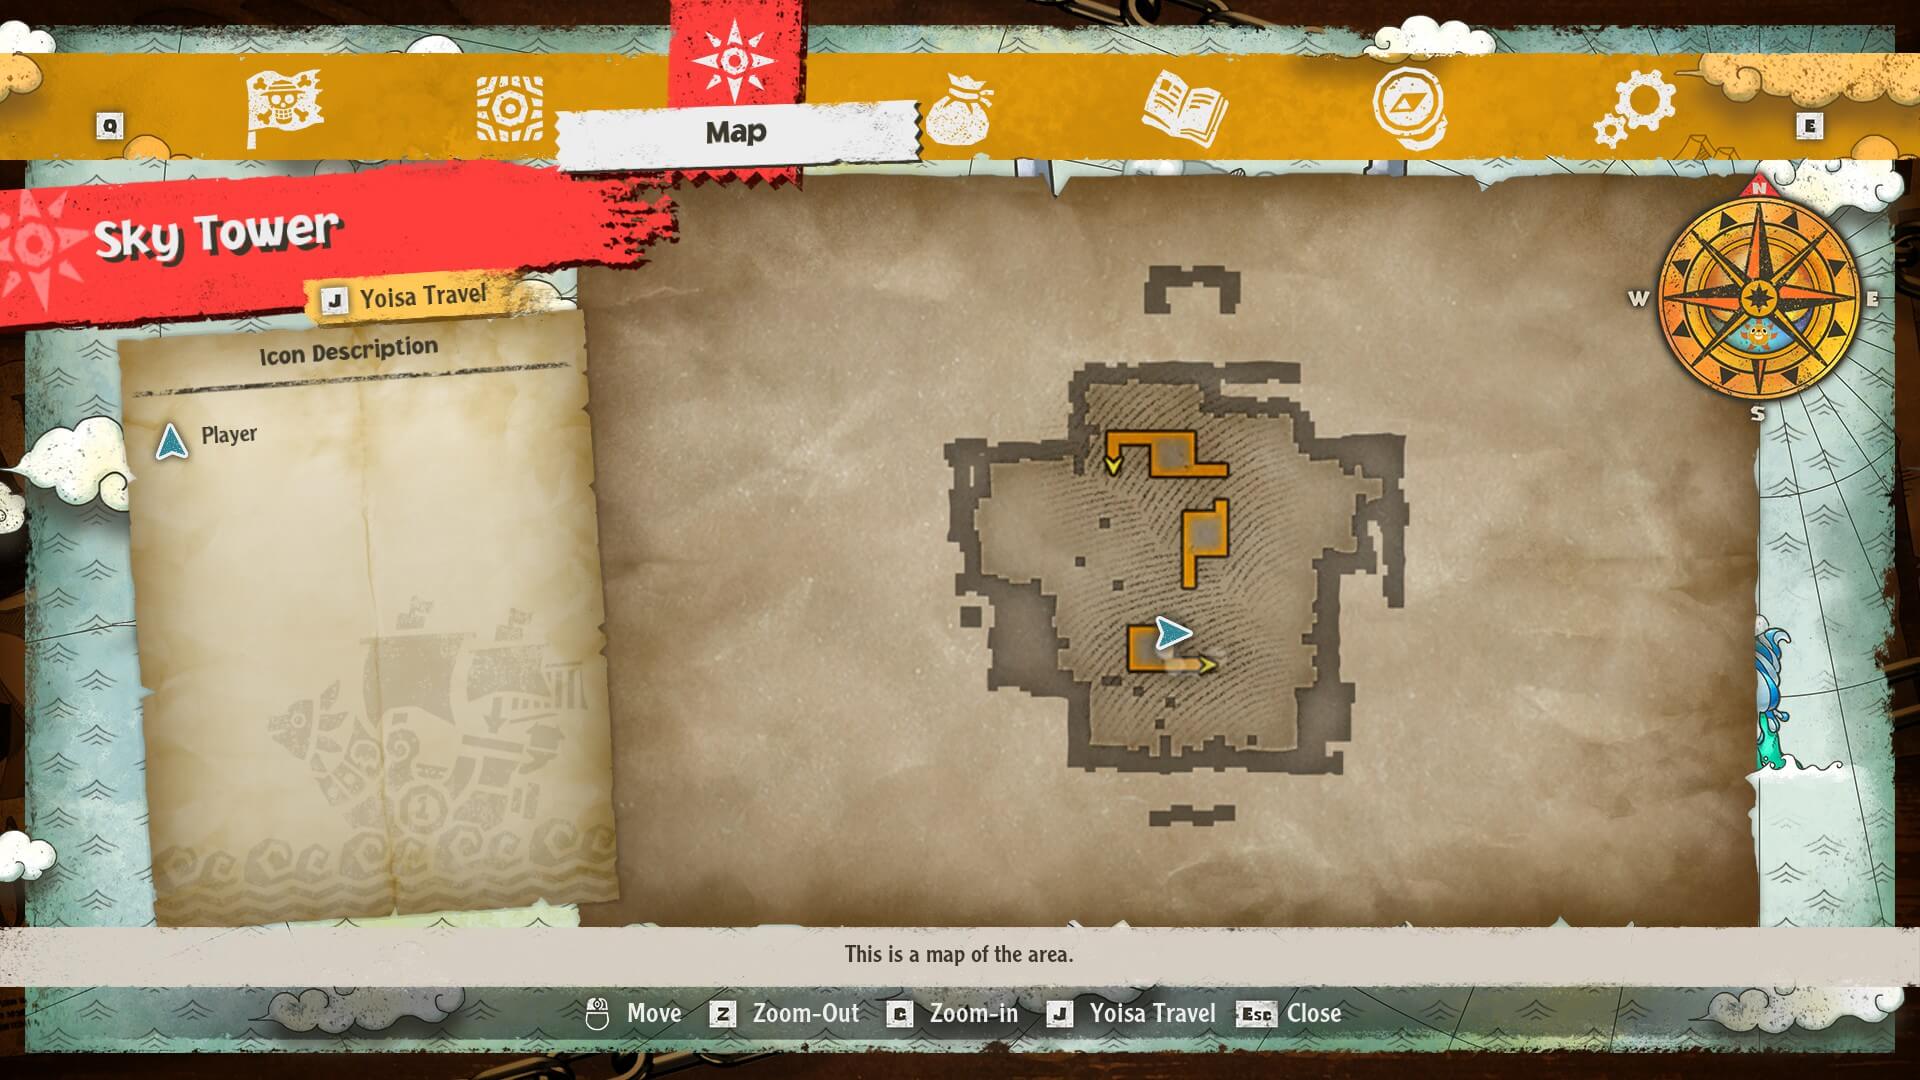
#1 - In Sky Tower Strange Cube Floor Level 2
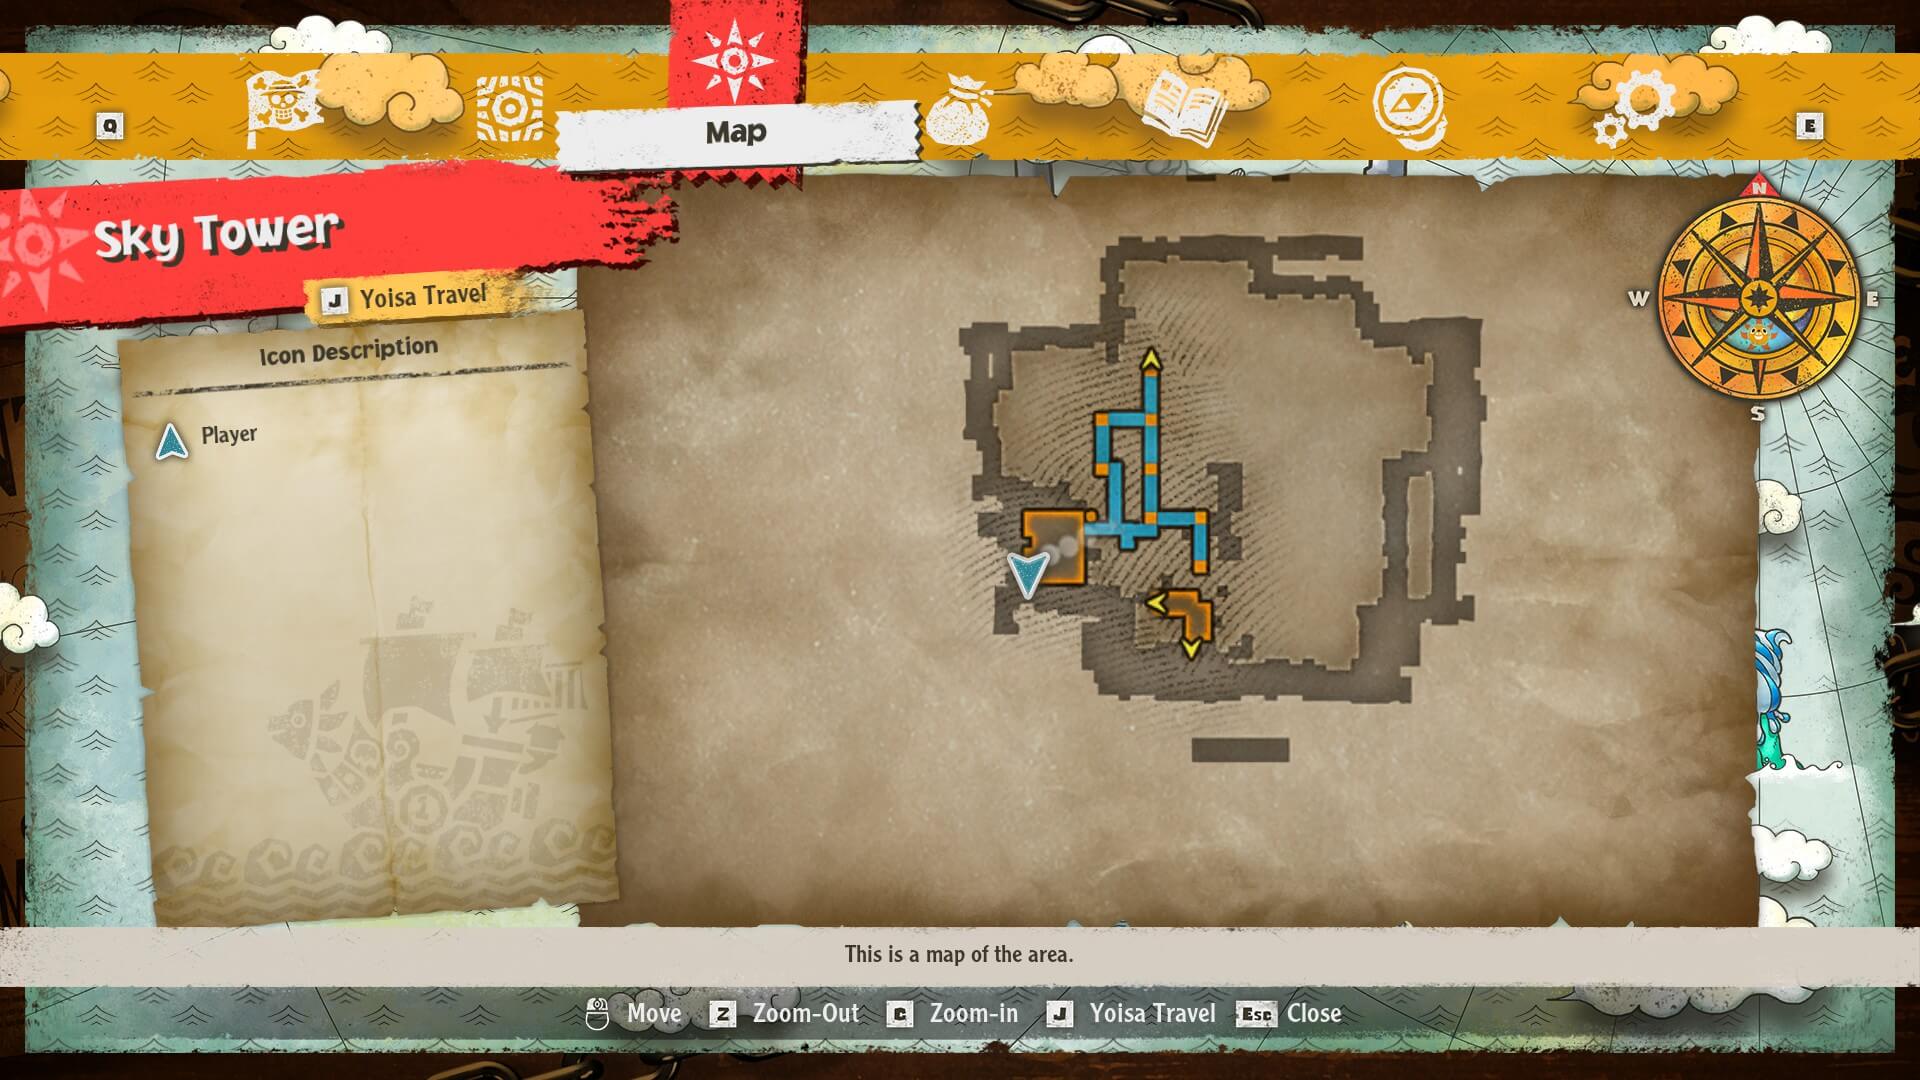
#2 - In Sky Tower Strange Cube Floor Level 3
One Piece Odyssey Alabasta Locked Chest Locations
Nanohana Locked Chest
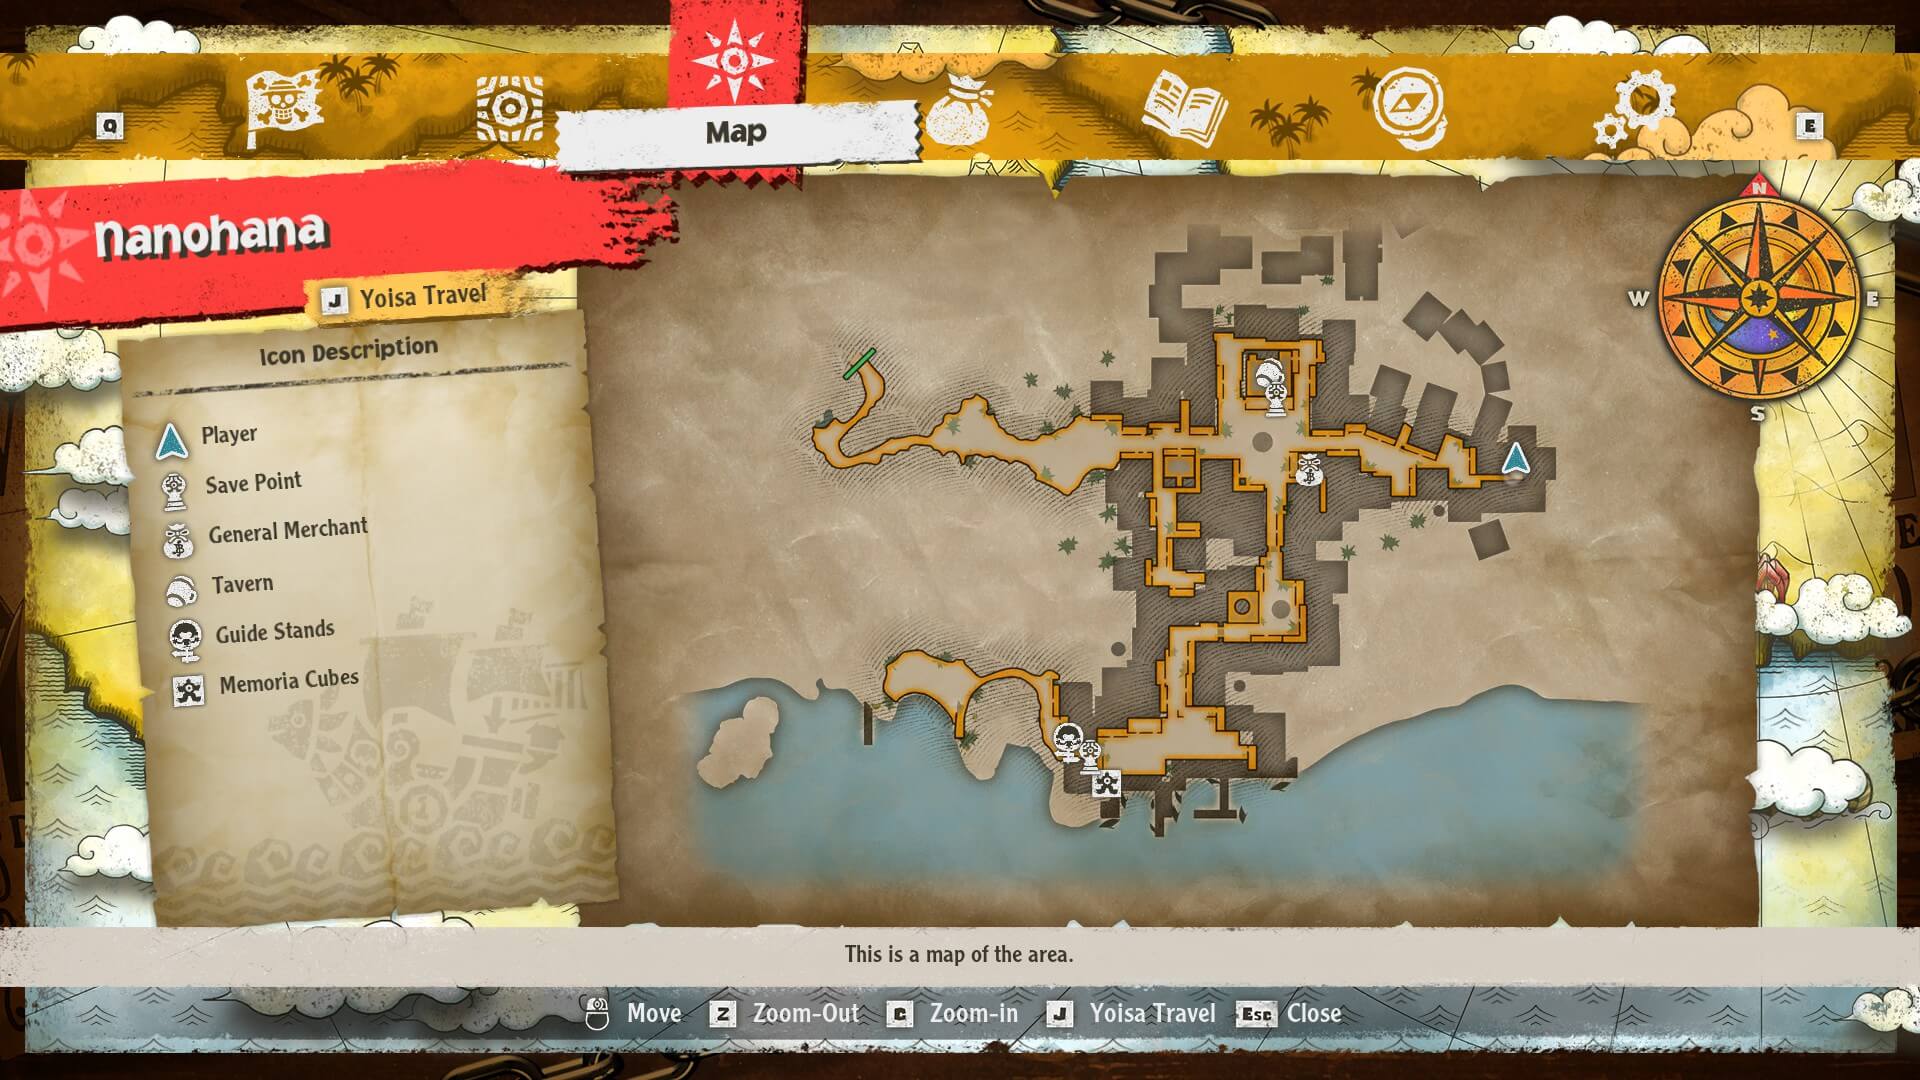
#1 - Right at the eastern part of Nanohana, requires Chopper to go under some objects.
Desert Near Nanohana Locked Chest
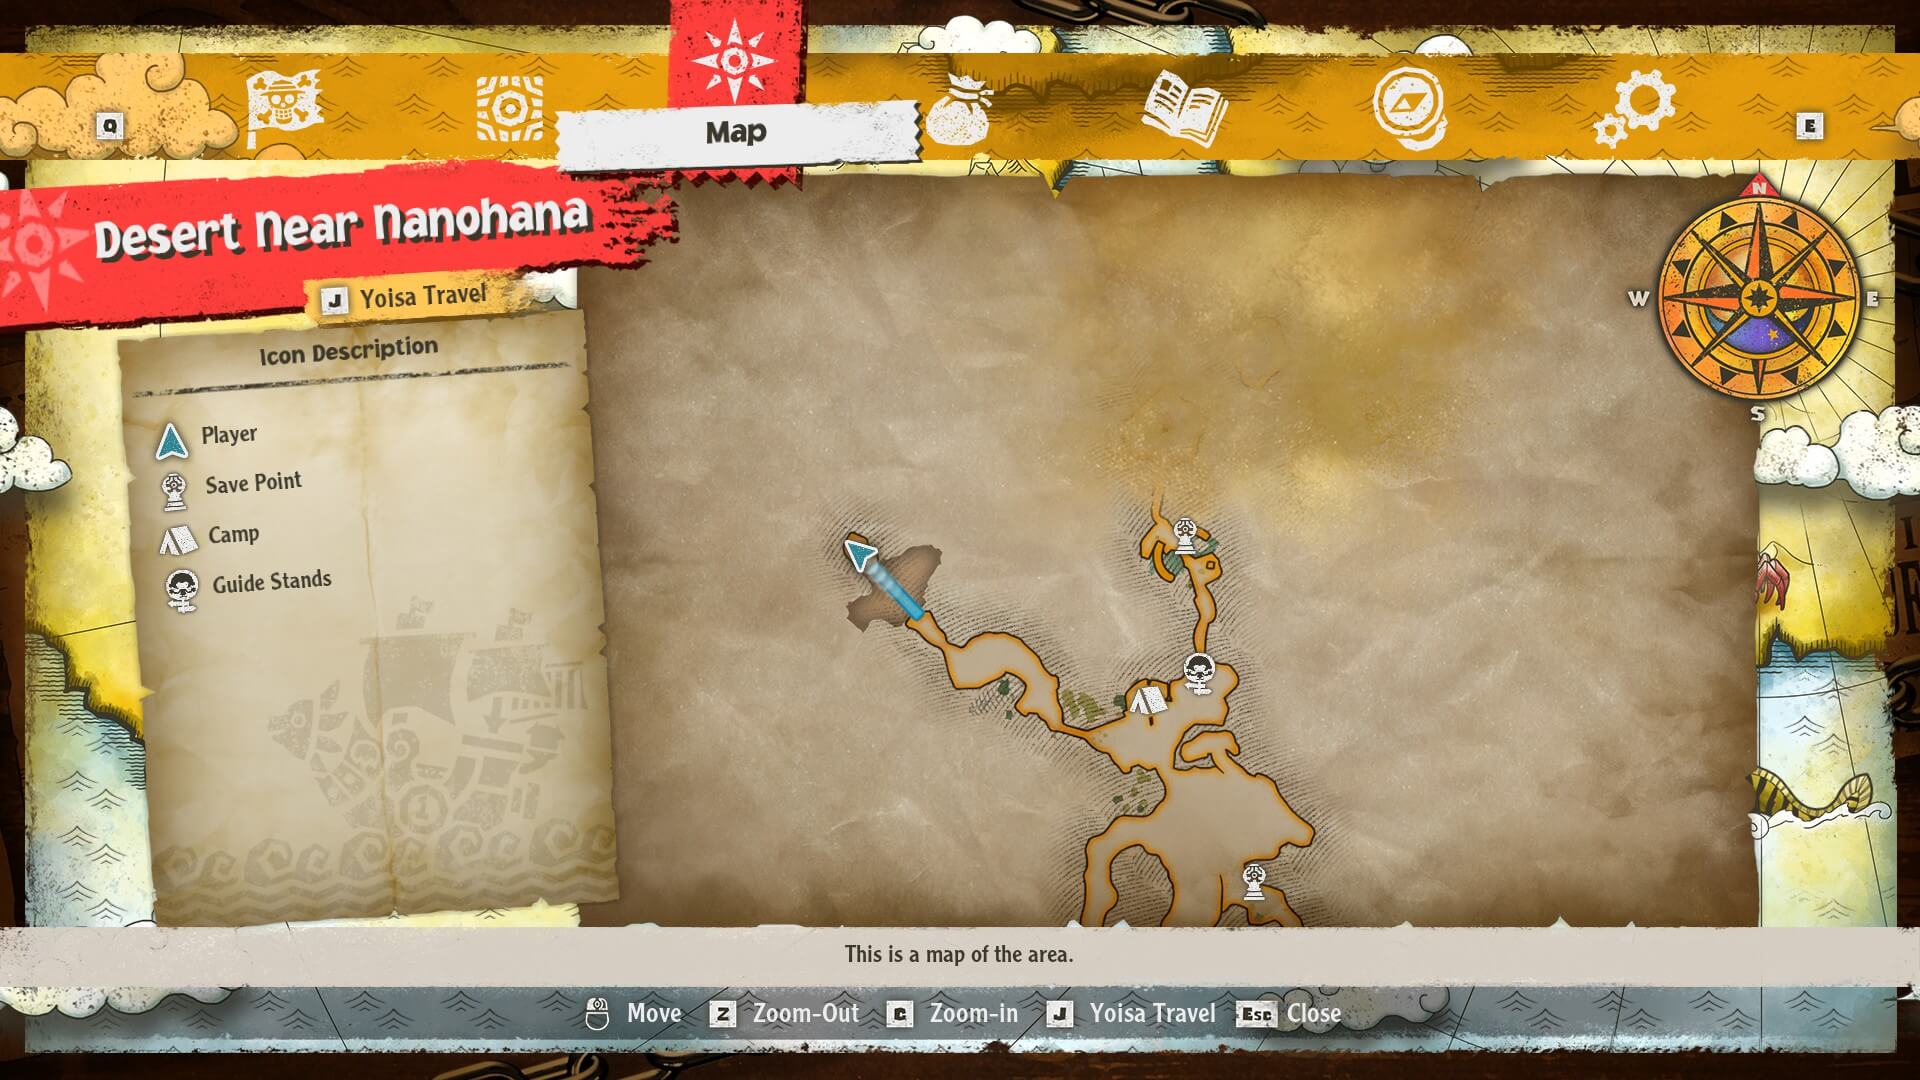
#1 - North east of the camp. Requires a bridge to be made, costing 3 Carbon Bolts and 15 Junk. Both can be found at item gathering points — Dressrosa is a decent spot to farm the former.
Great Sandy Desert Locked Chests
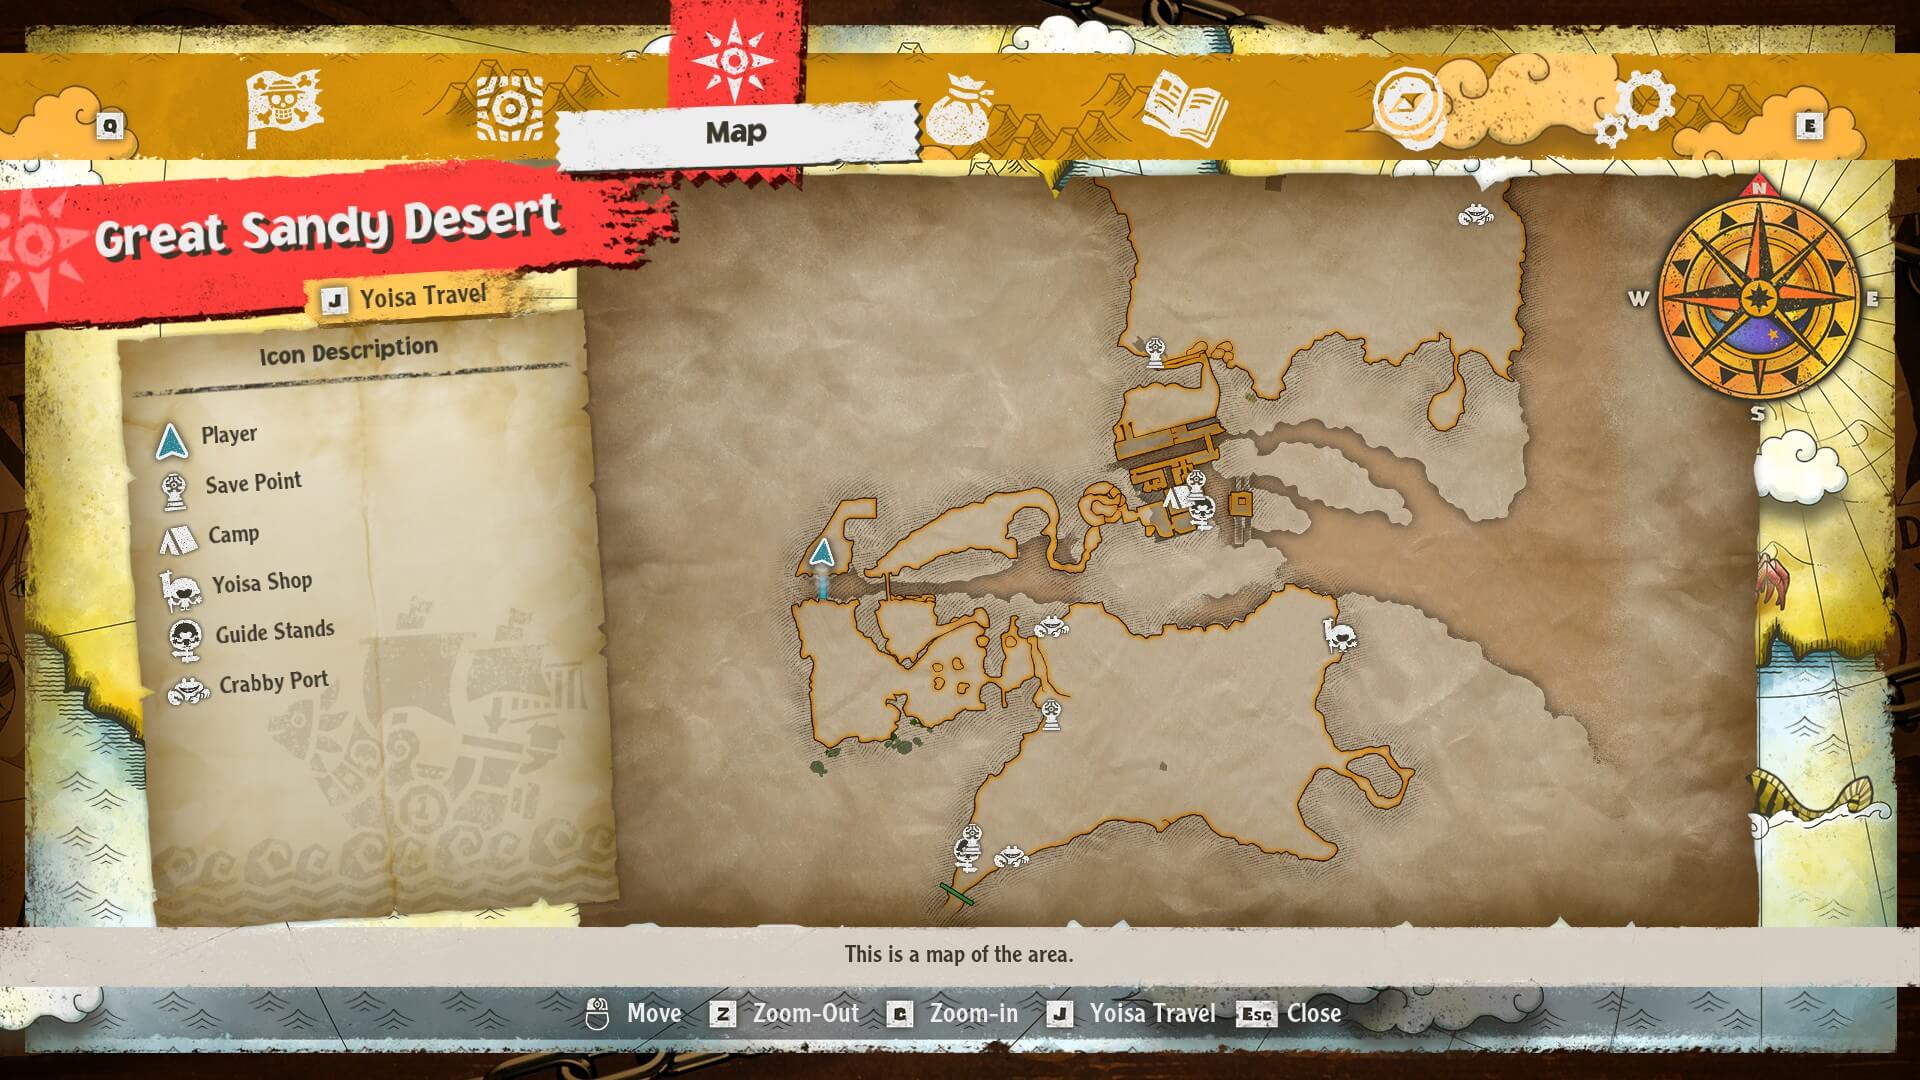
#1 - To the west. Requires a bridge to be made, costing 2 Carbon Bolts and 10 Junk.
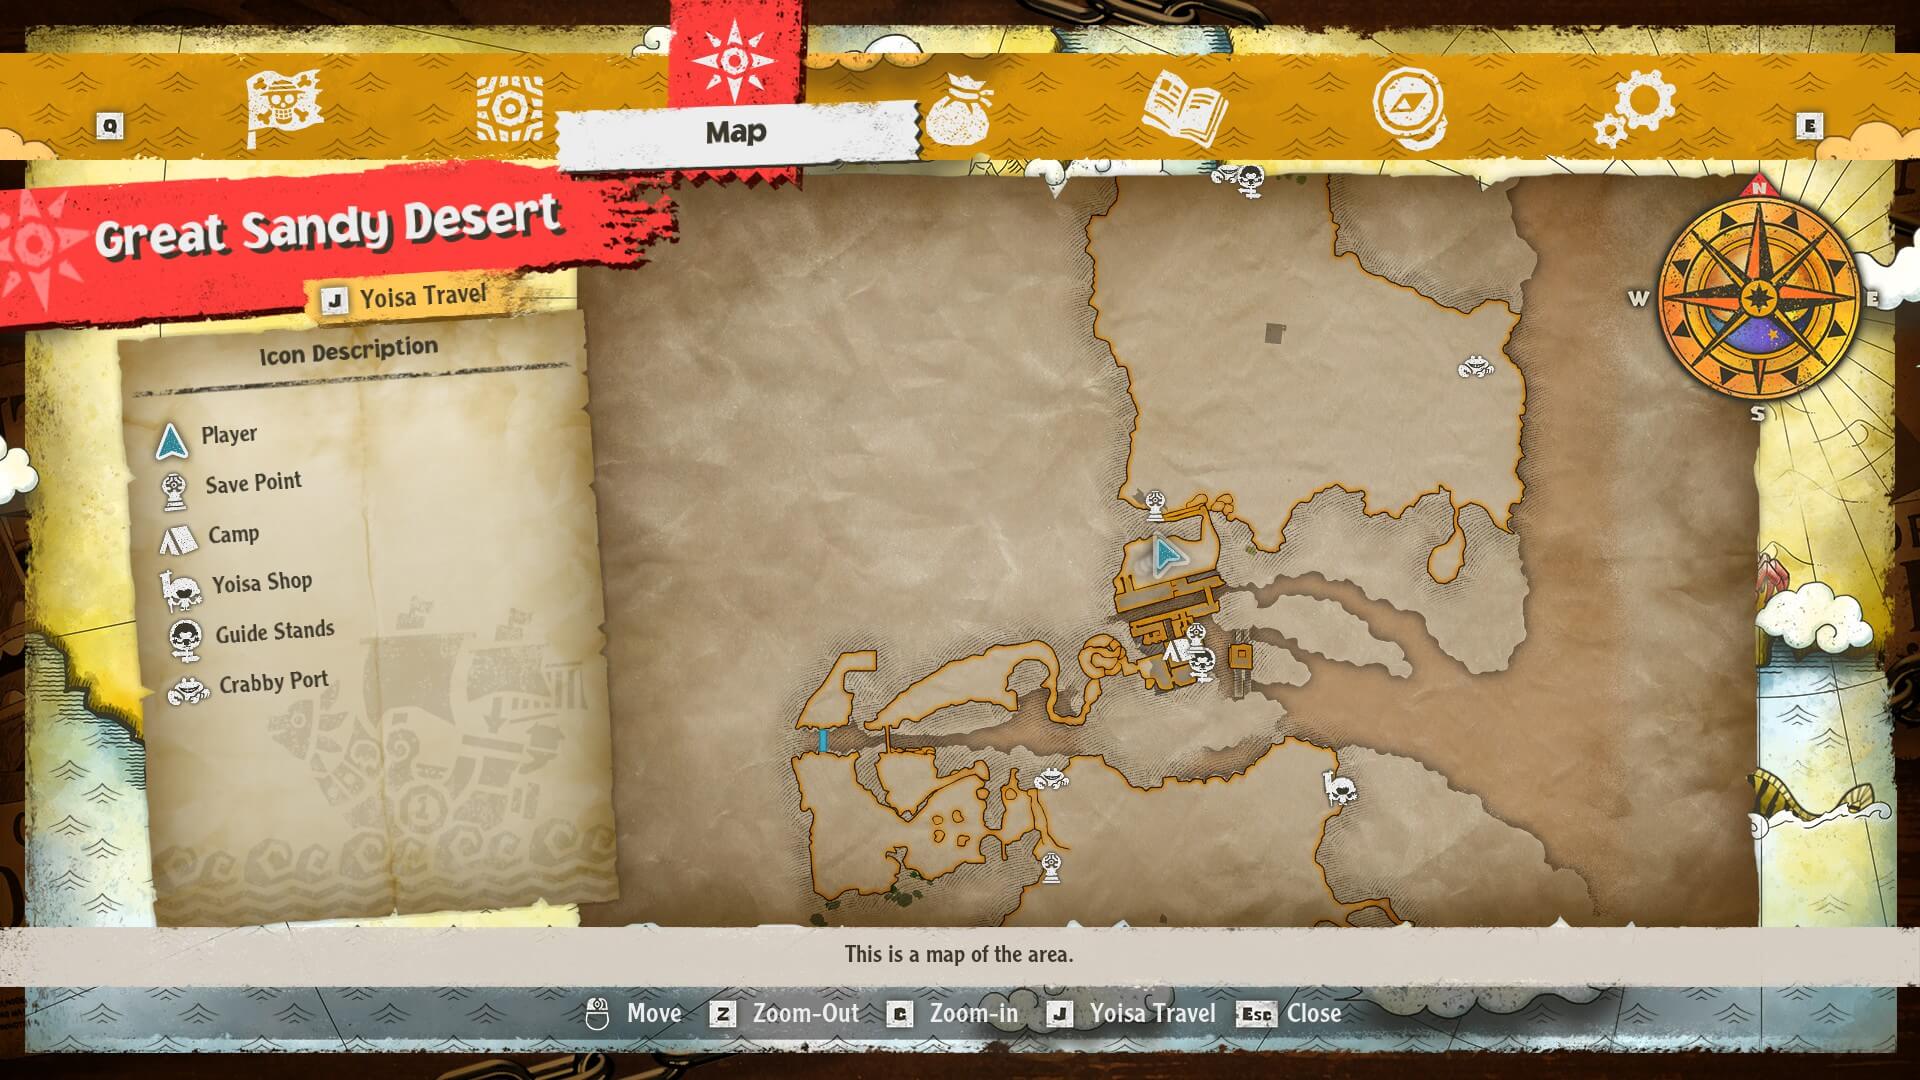
#2 - In the area full of bones. If you haven't already fought the dragon enemy — you can do so even during your first encounter, despite the crew's protests — you'll have to deal with it first.
One Piece Odyssey Water Seven Locked Chest Locations
Water Seven City Area Locked Chests
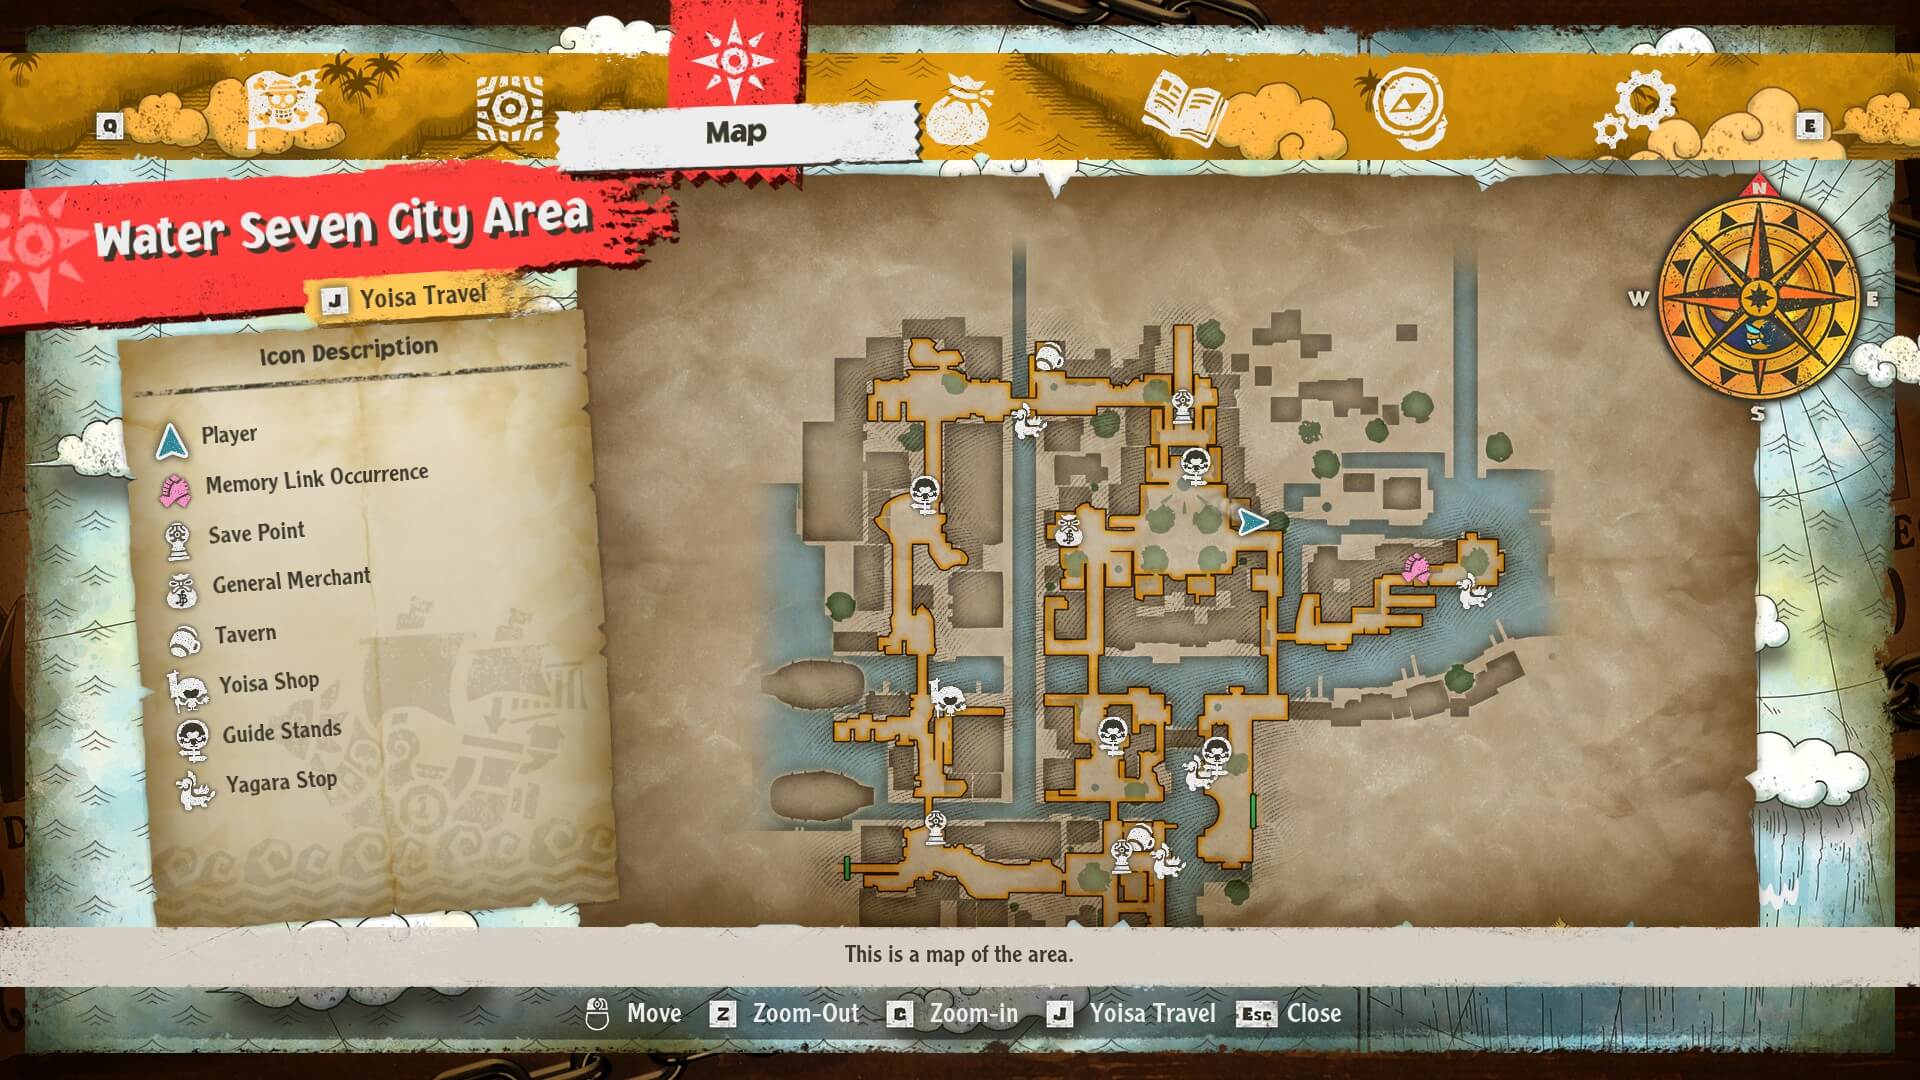
#1 - Inside the store at the north east part of the map.
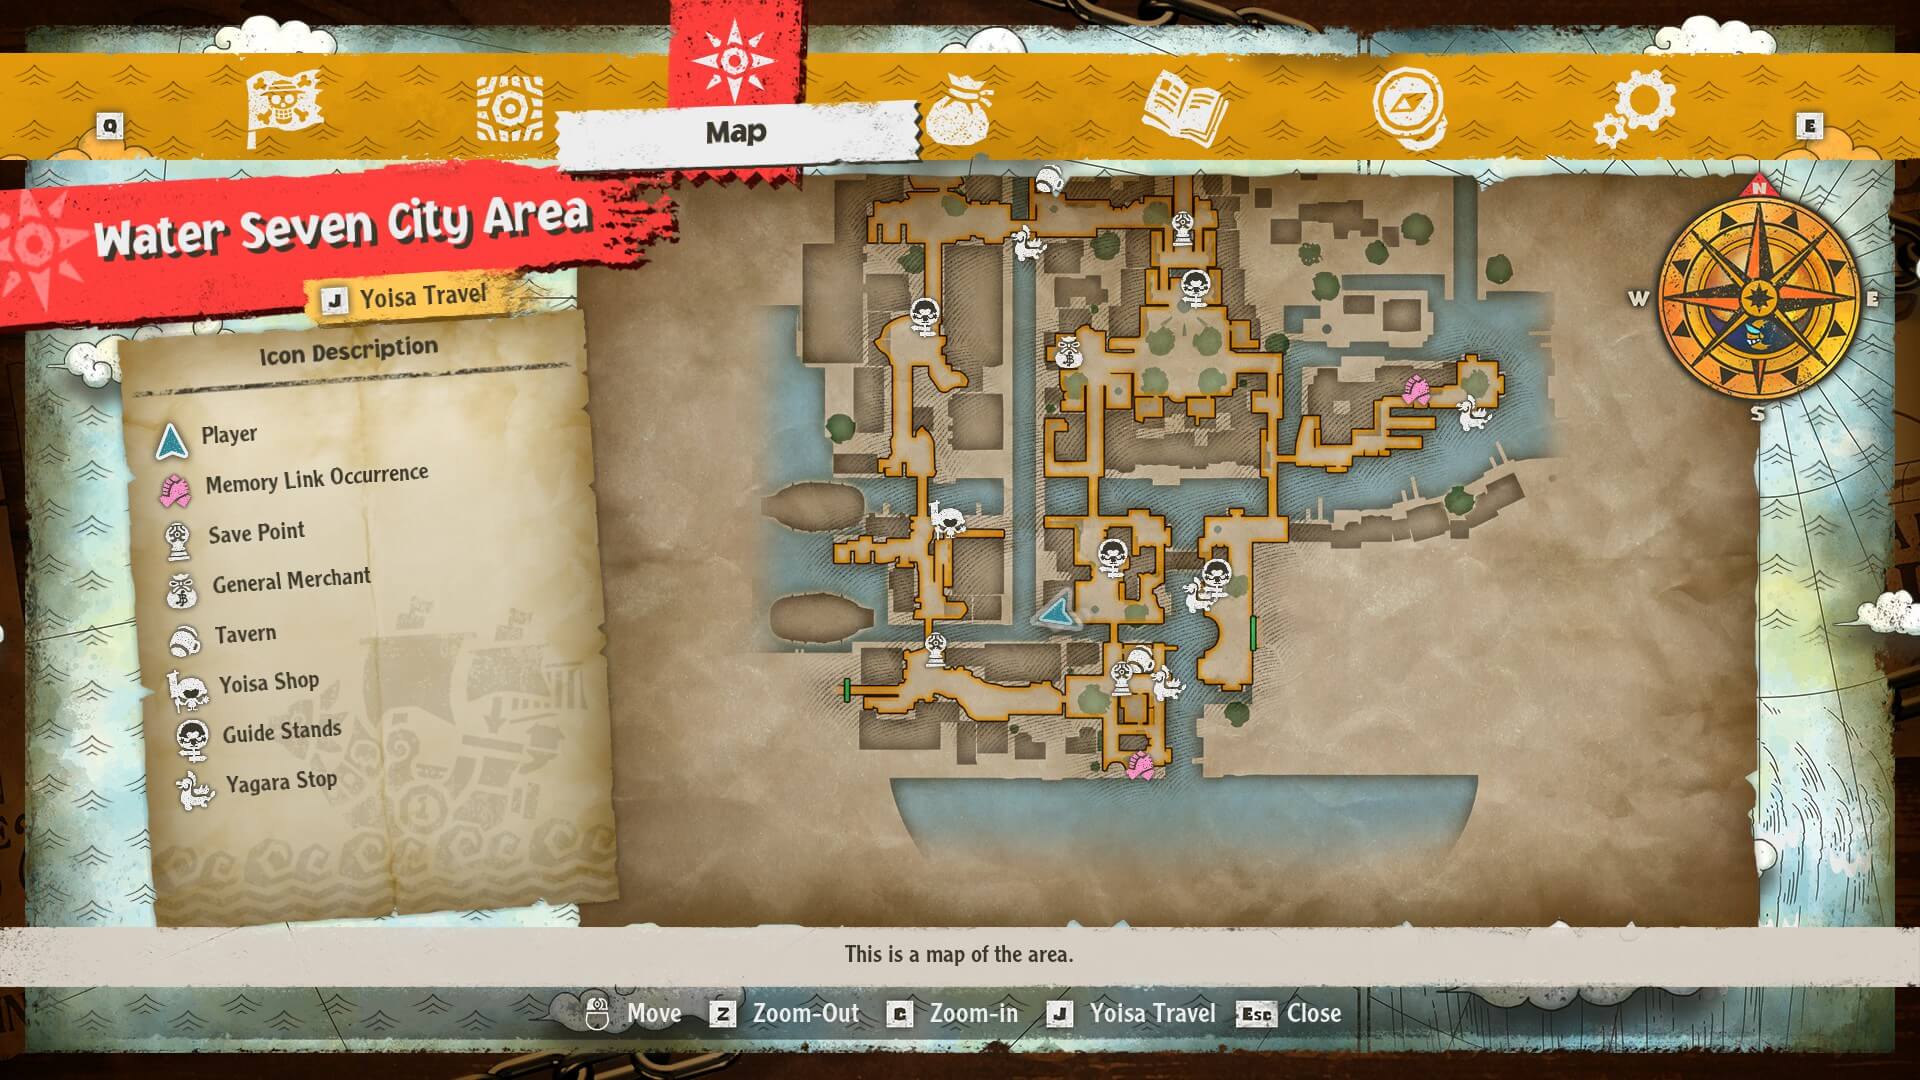
#2 - Under an archway near the center of the map
Dock One Locked Chest
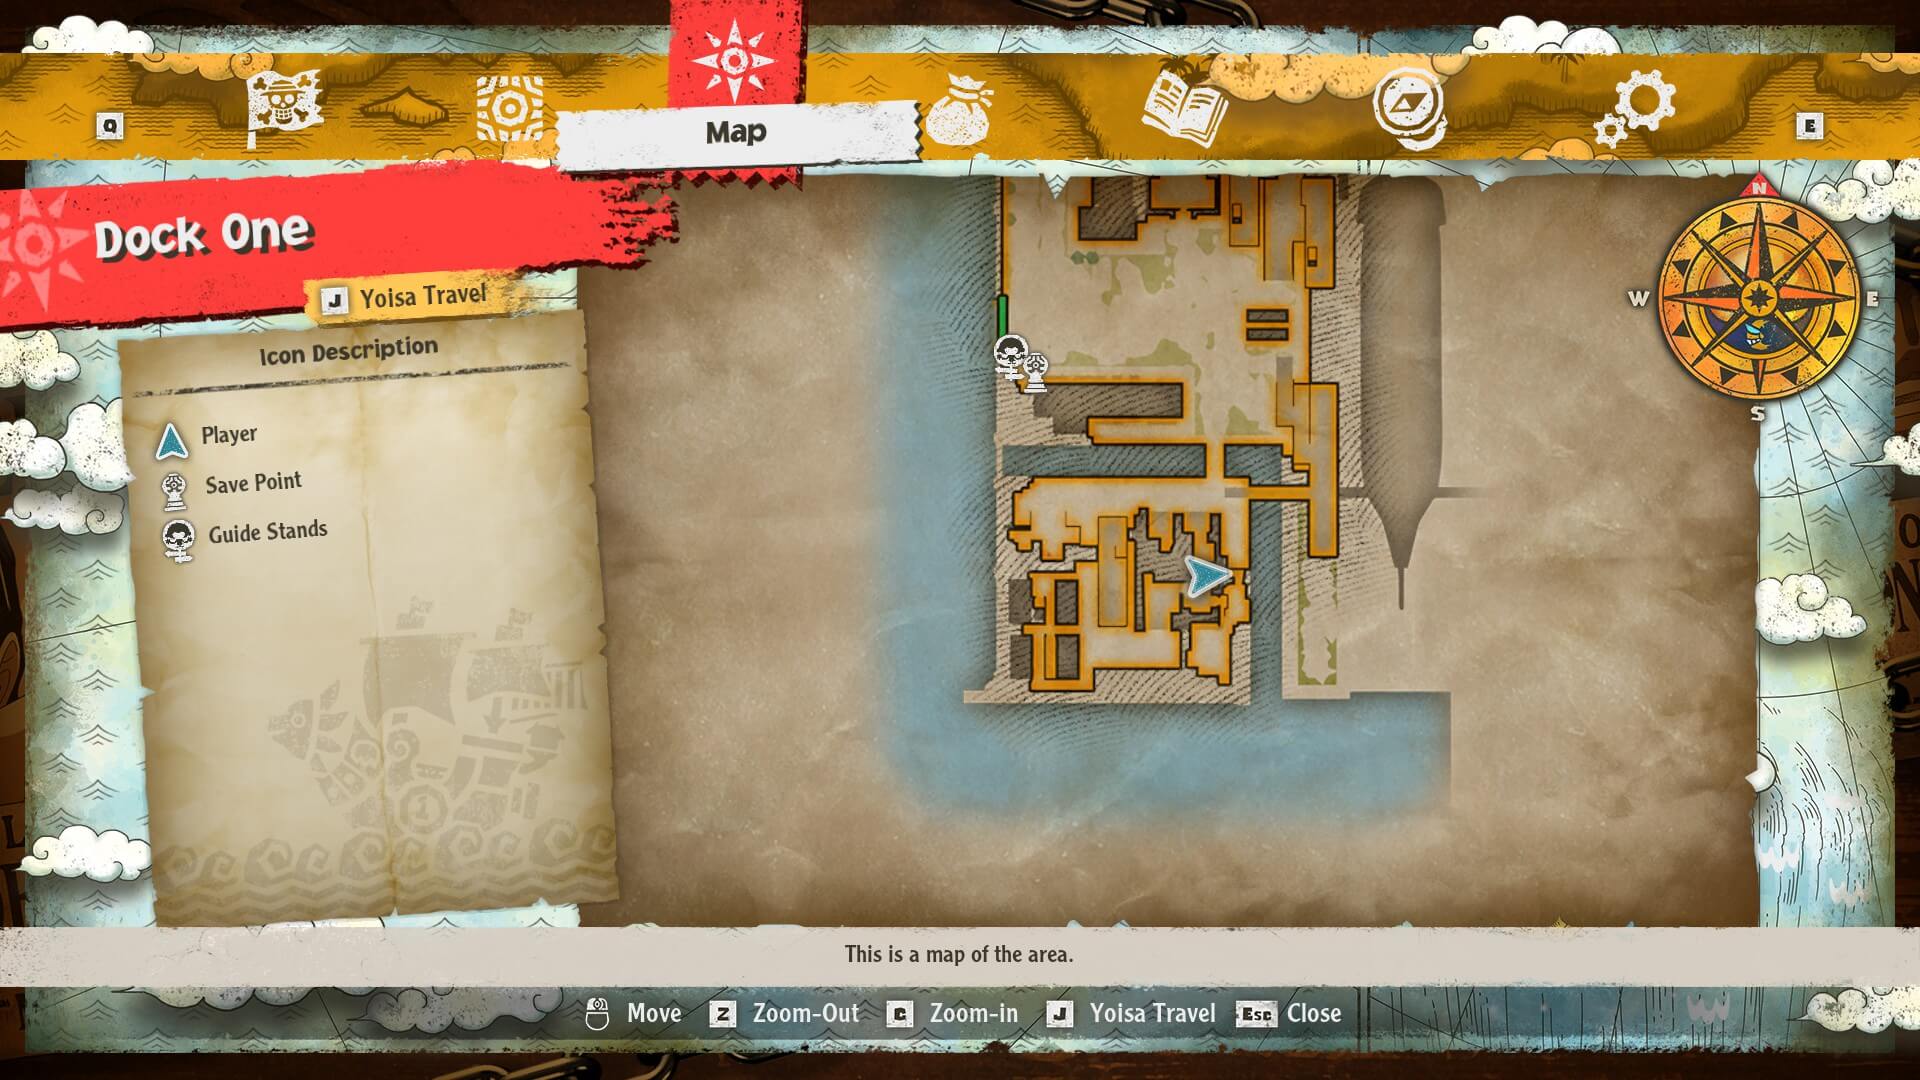
#1 - At the southern part of the map. Requires the crane to be moved by pressing the button. After grappling up with Luffy, head down the multiple staircases on the scaffolding, then go east and use Chopper to scoot under the wall.
Sewer Locked Chests
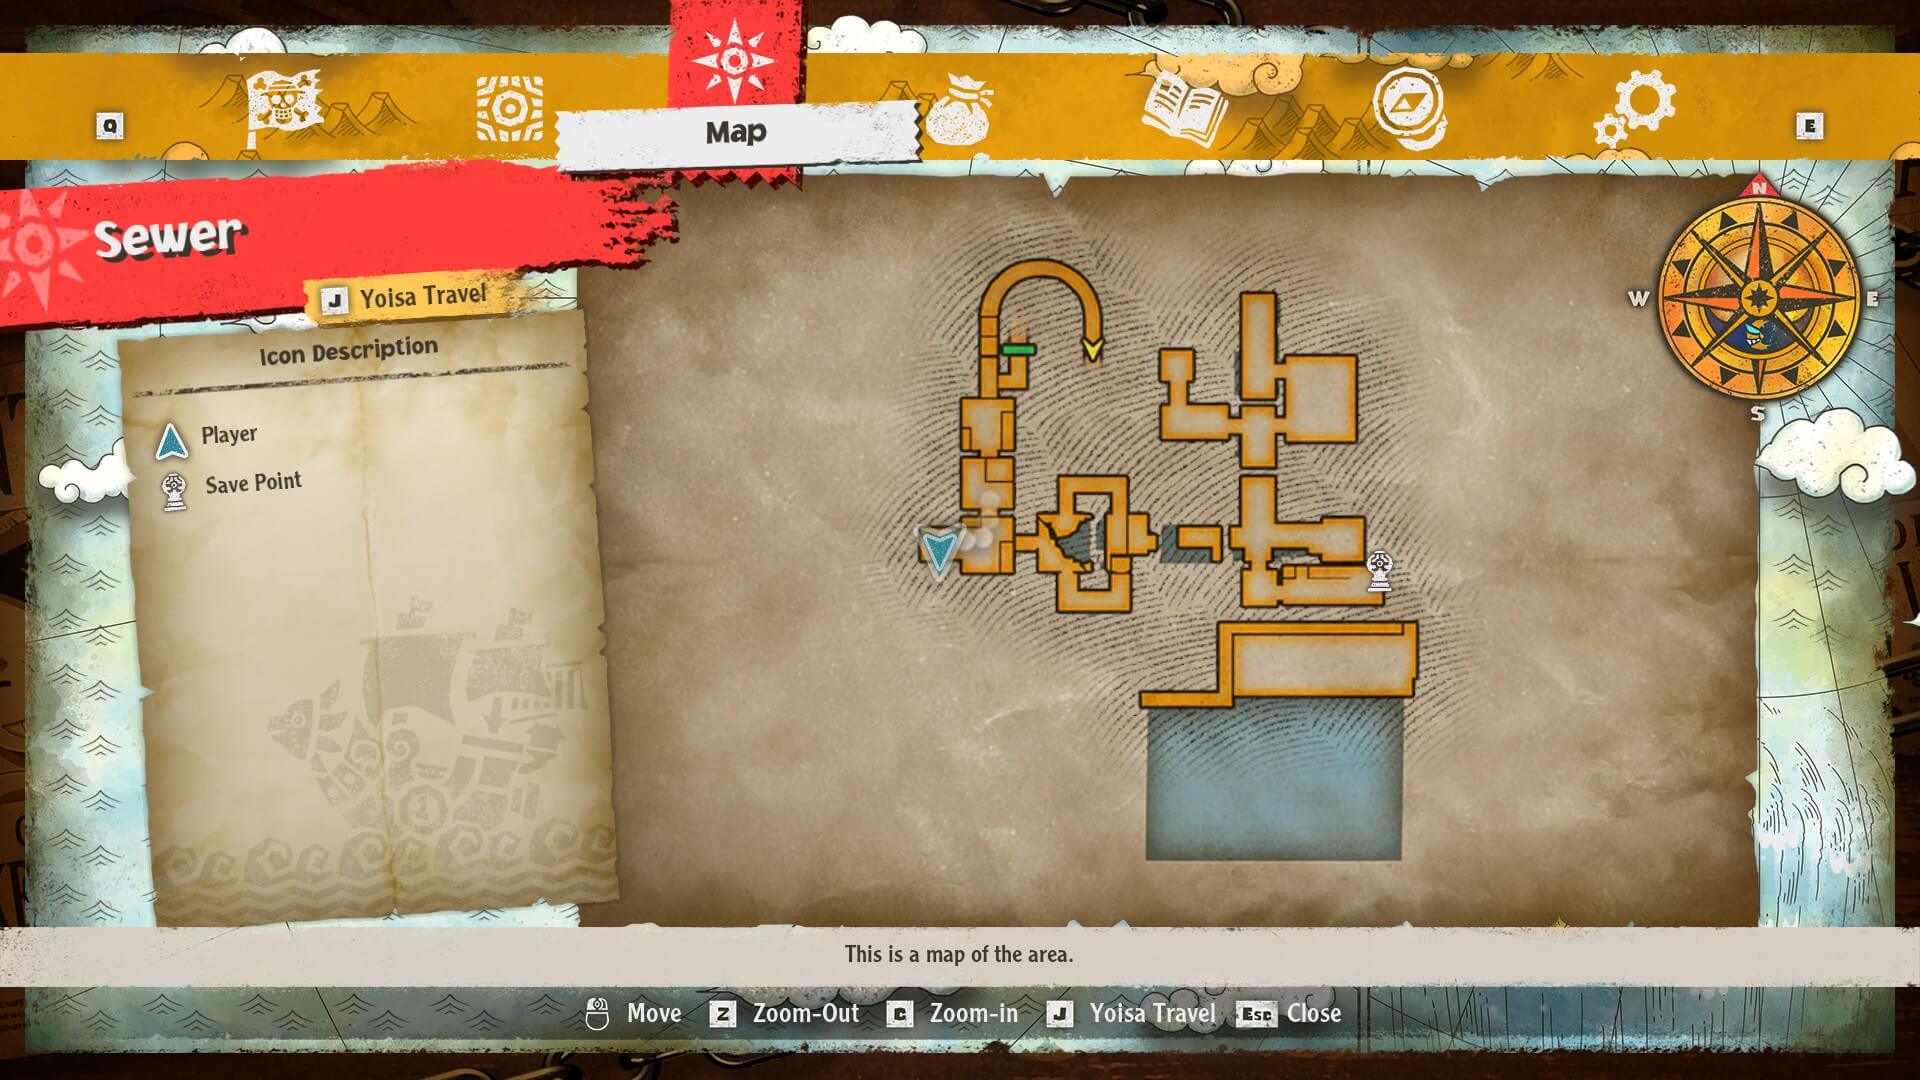
#1 - At the western side of the lower part of the sewer.
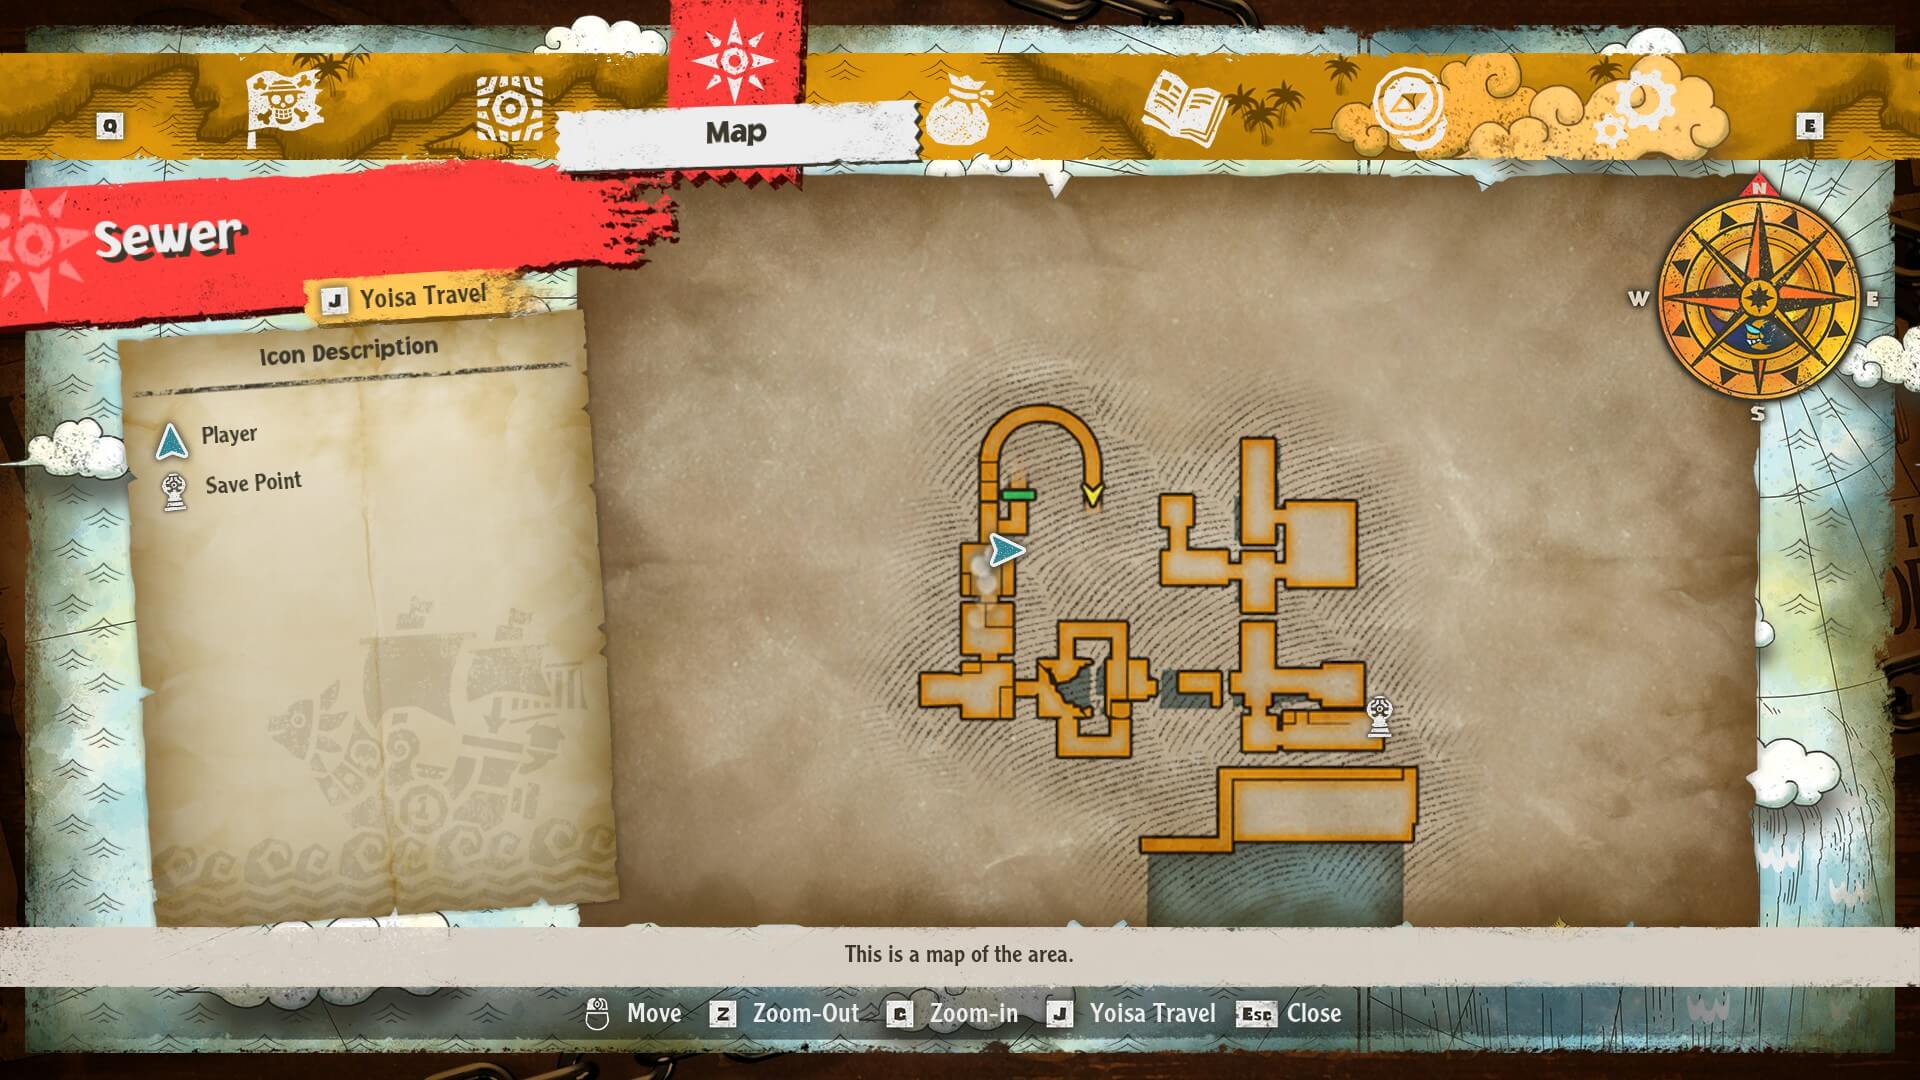
#2 - North of chest #1. Can be reached by grappling the valves using Luffy.
One Piece Odyssey Marineford Locked Chest Location
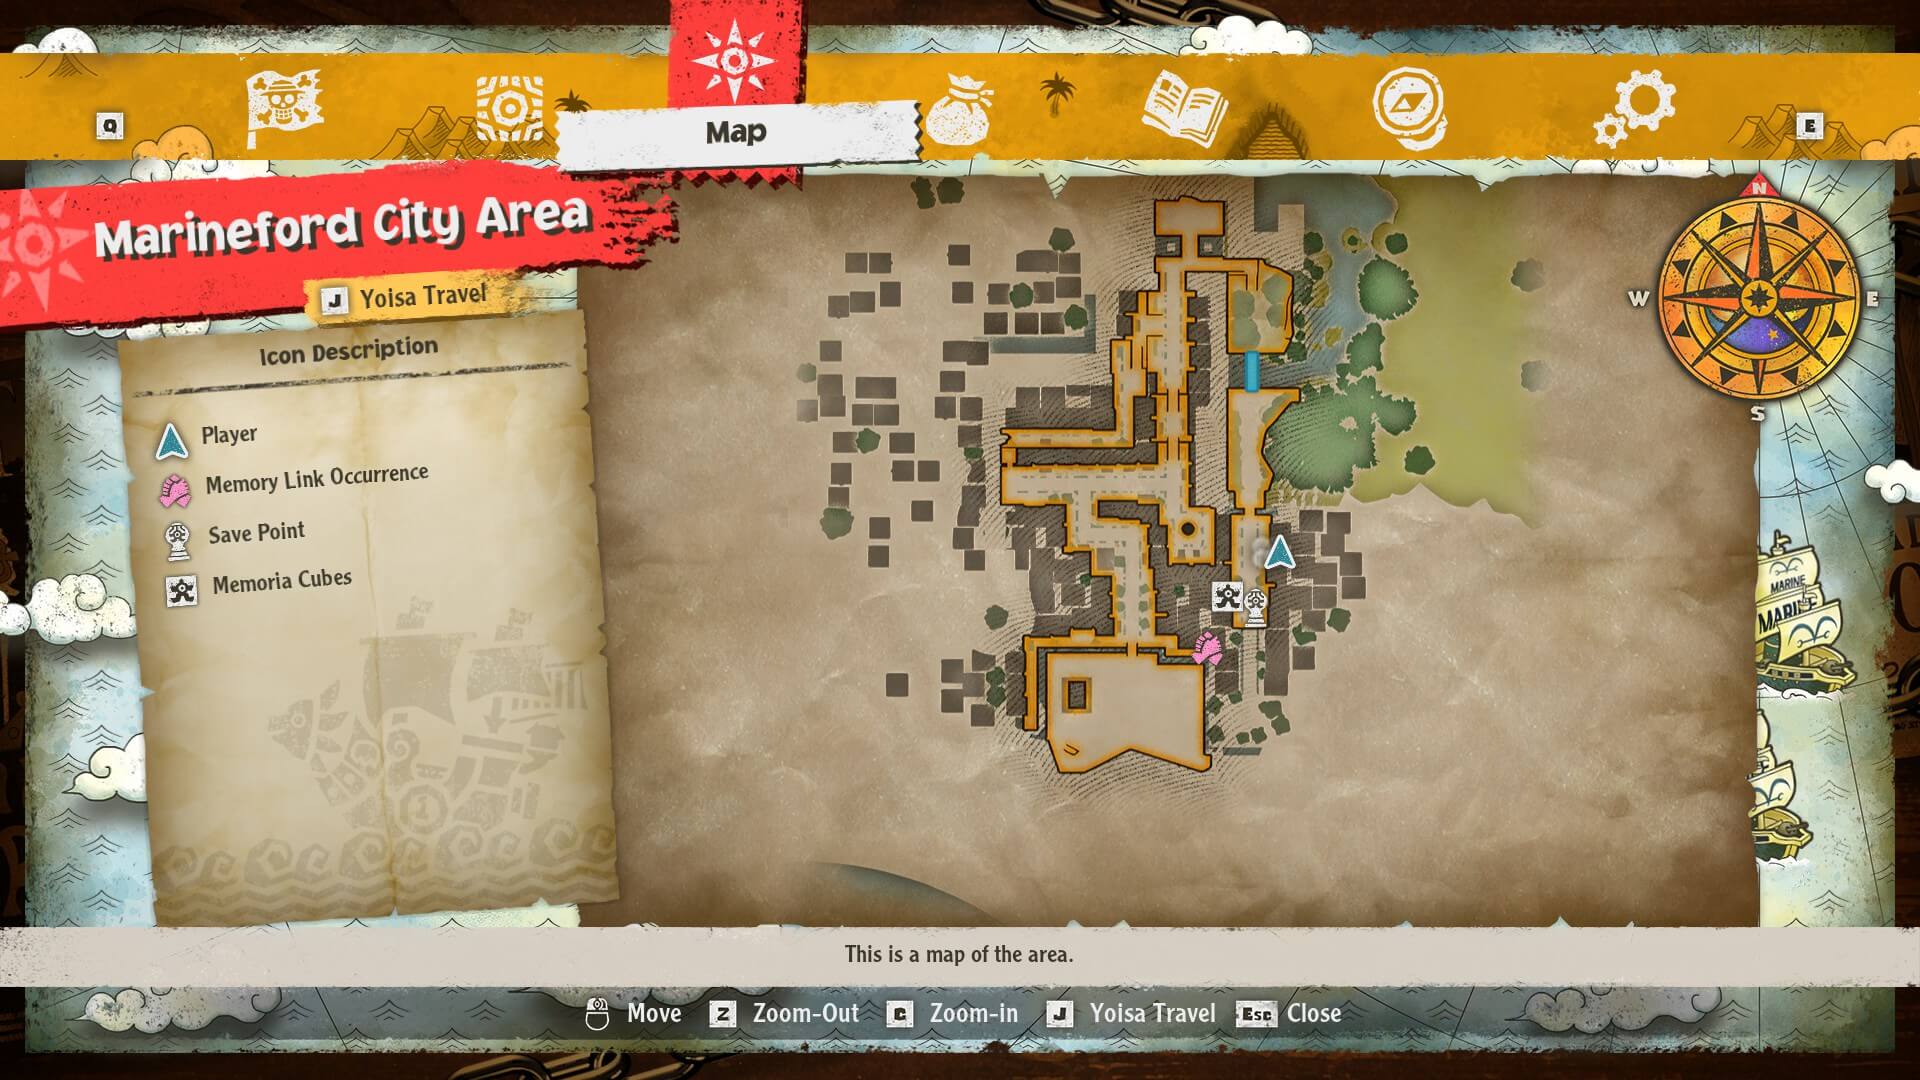
#1 - Just north of the starting area, on the right side of the street.
One Piece Odyssey Dressrosa Locked Chest Locations
Dressrosa City Area Chests
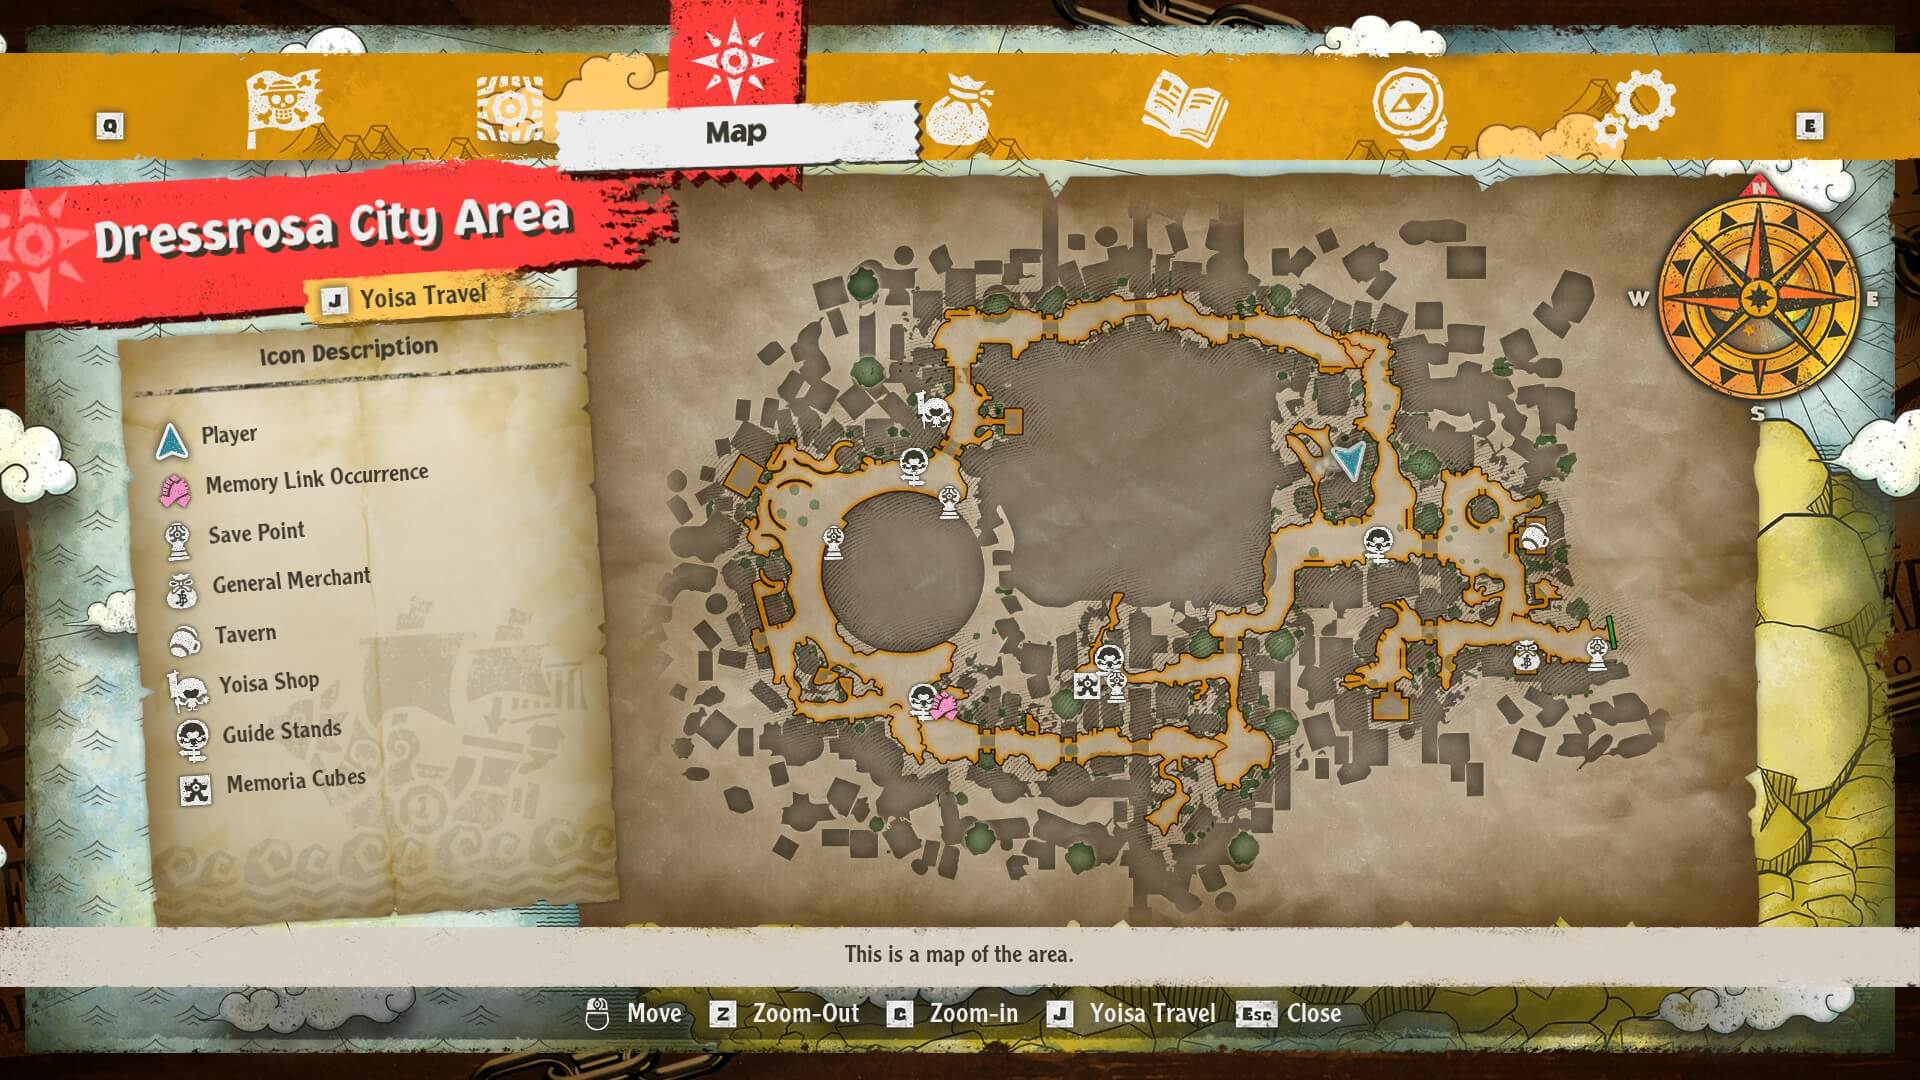
#1 - North east part of the map, after a small tunnel that can be entered using Chopper.
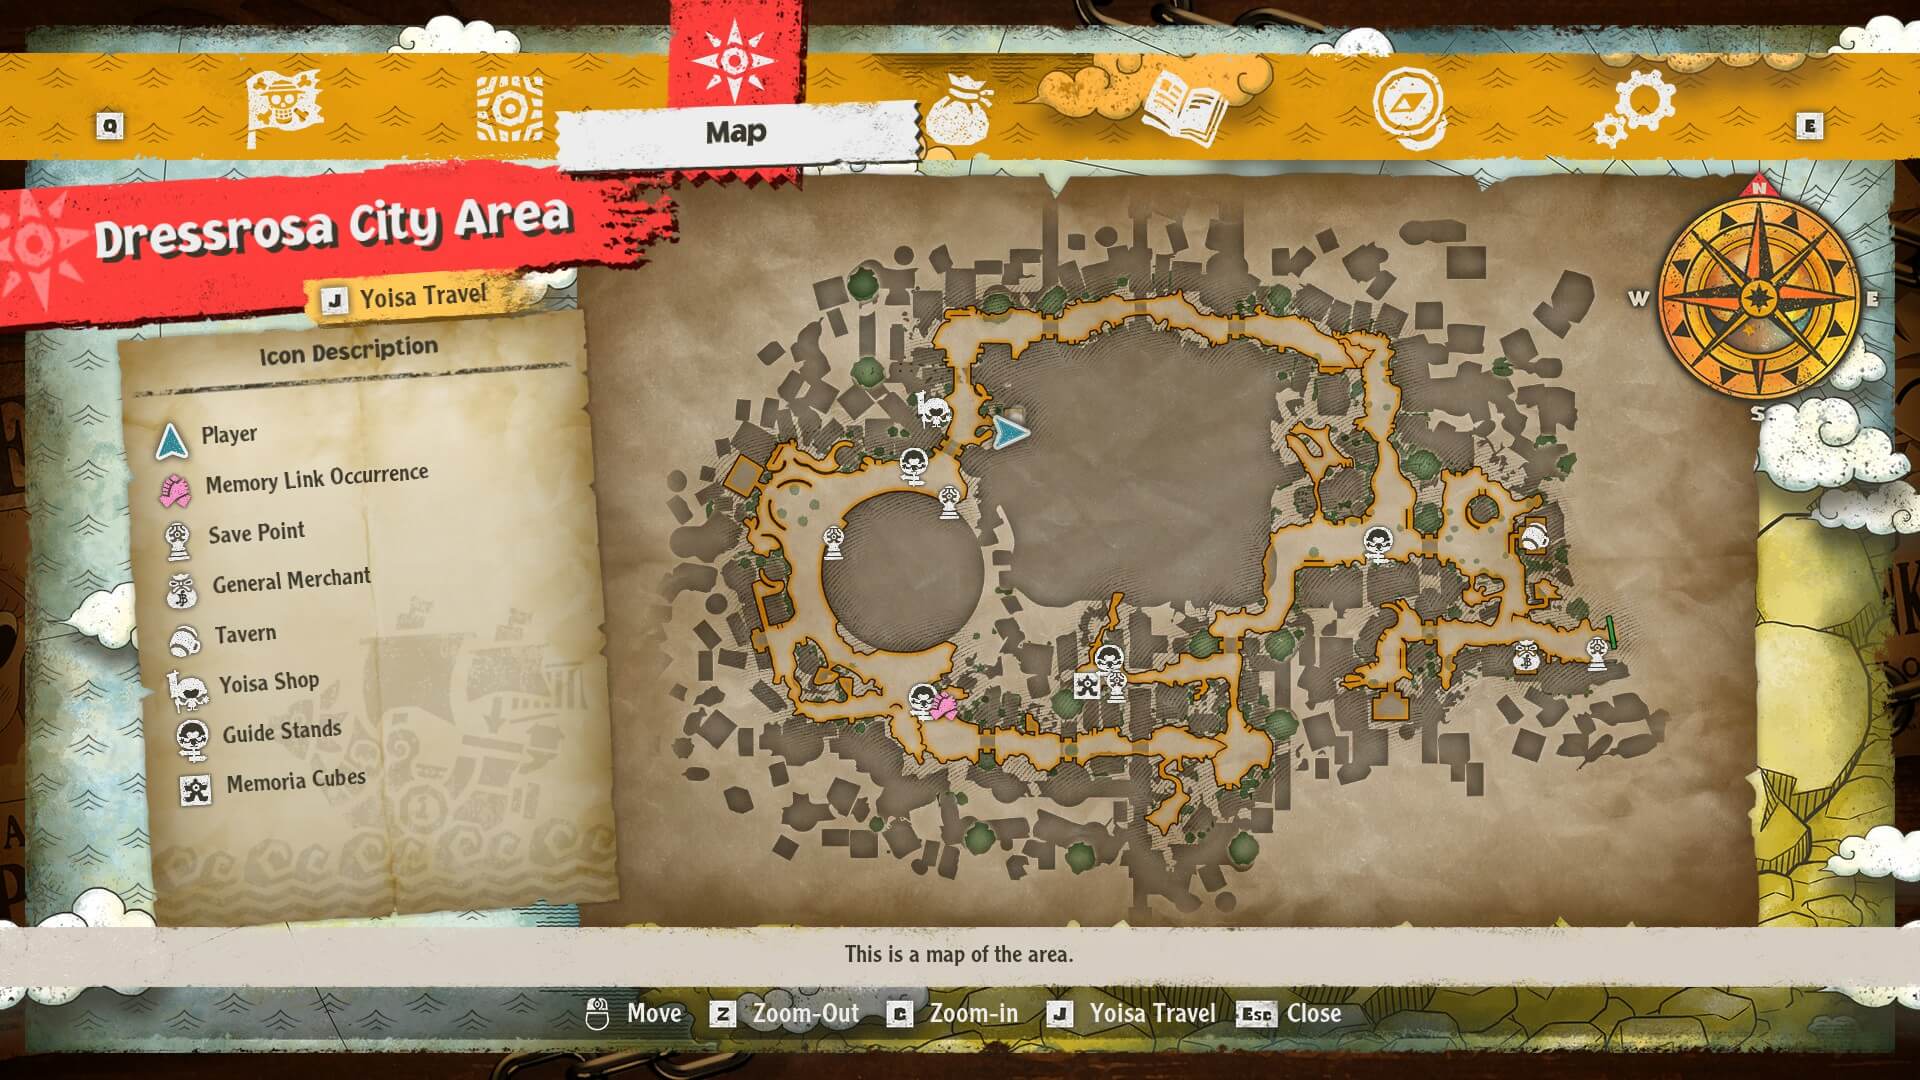
#2 - North west part of the map, inside the store.
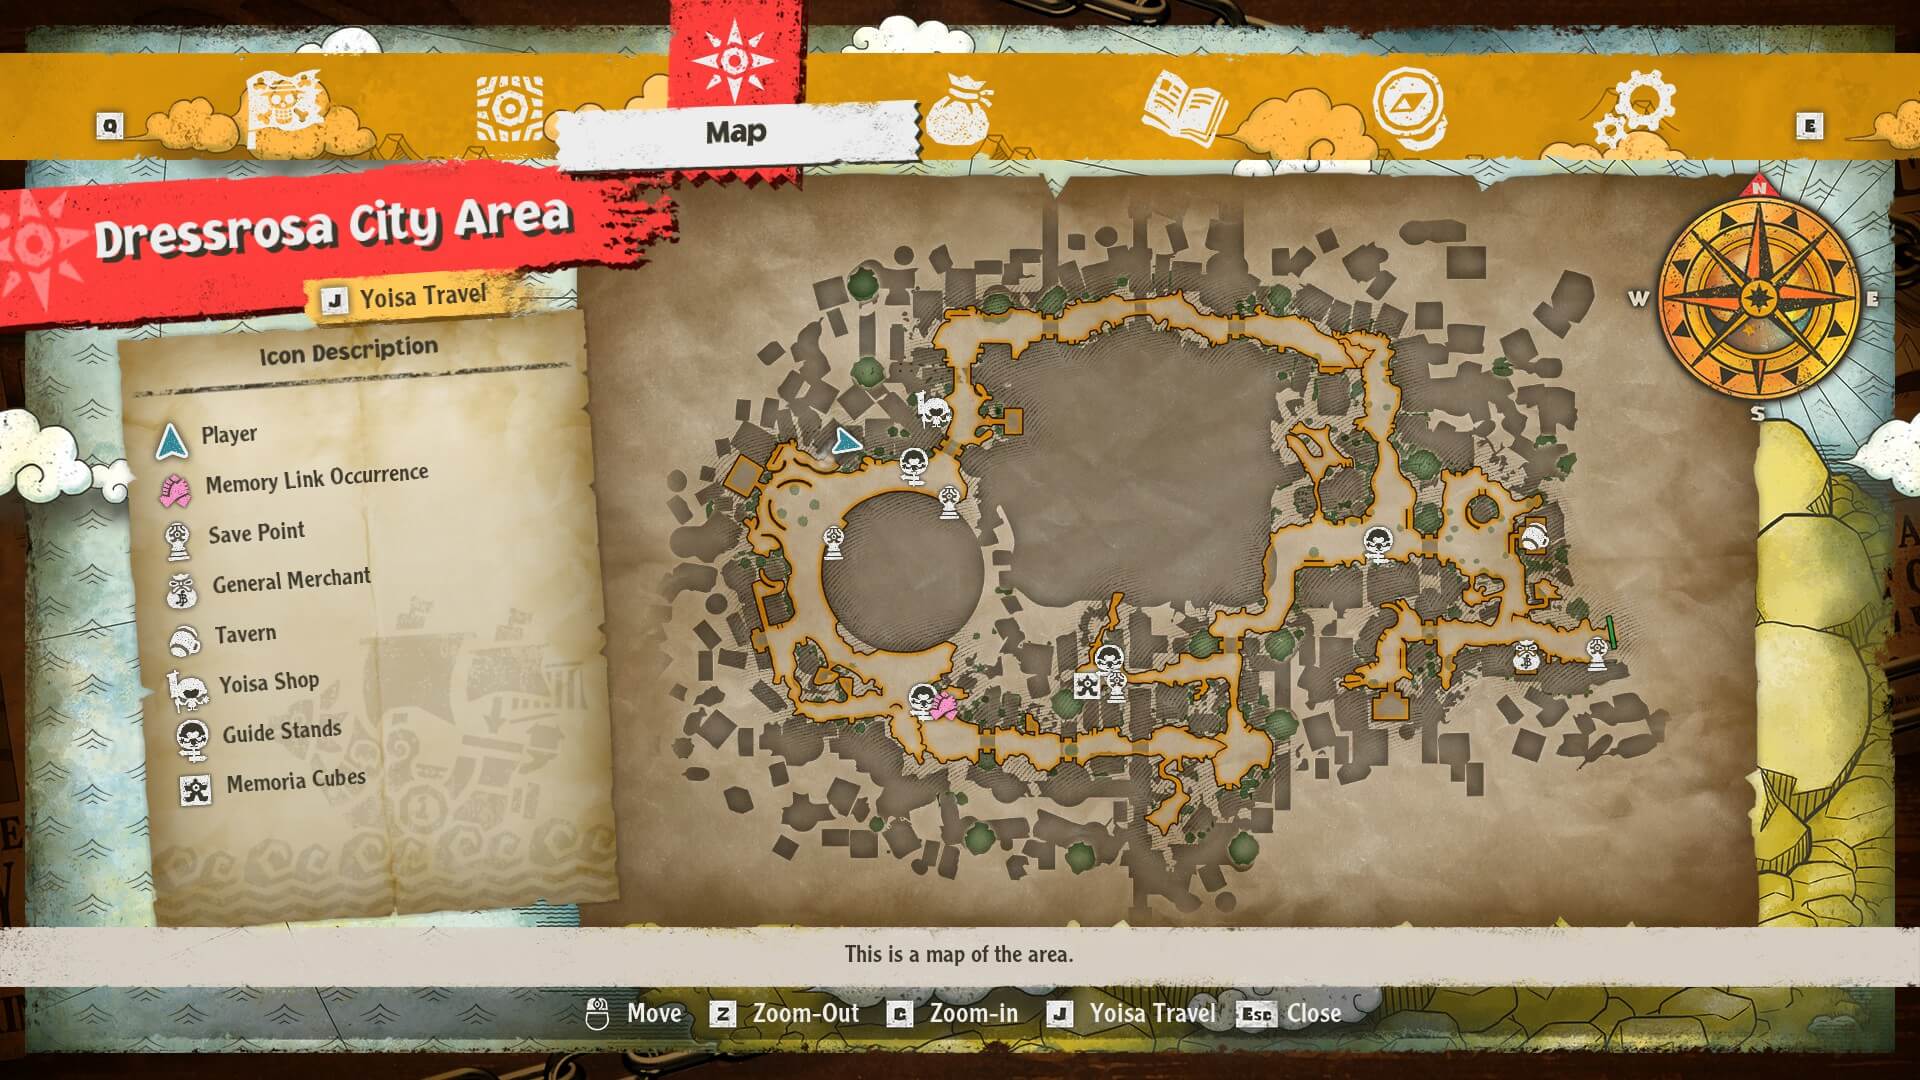
#3 - West of #2, hidden behind the stairs.
New Royal Plateau: Bottom Chest
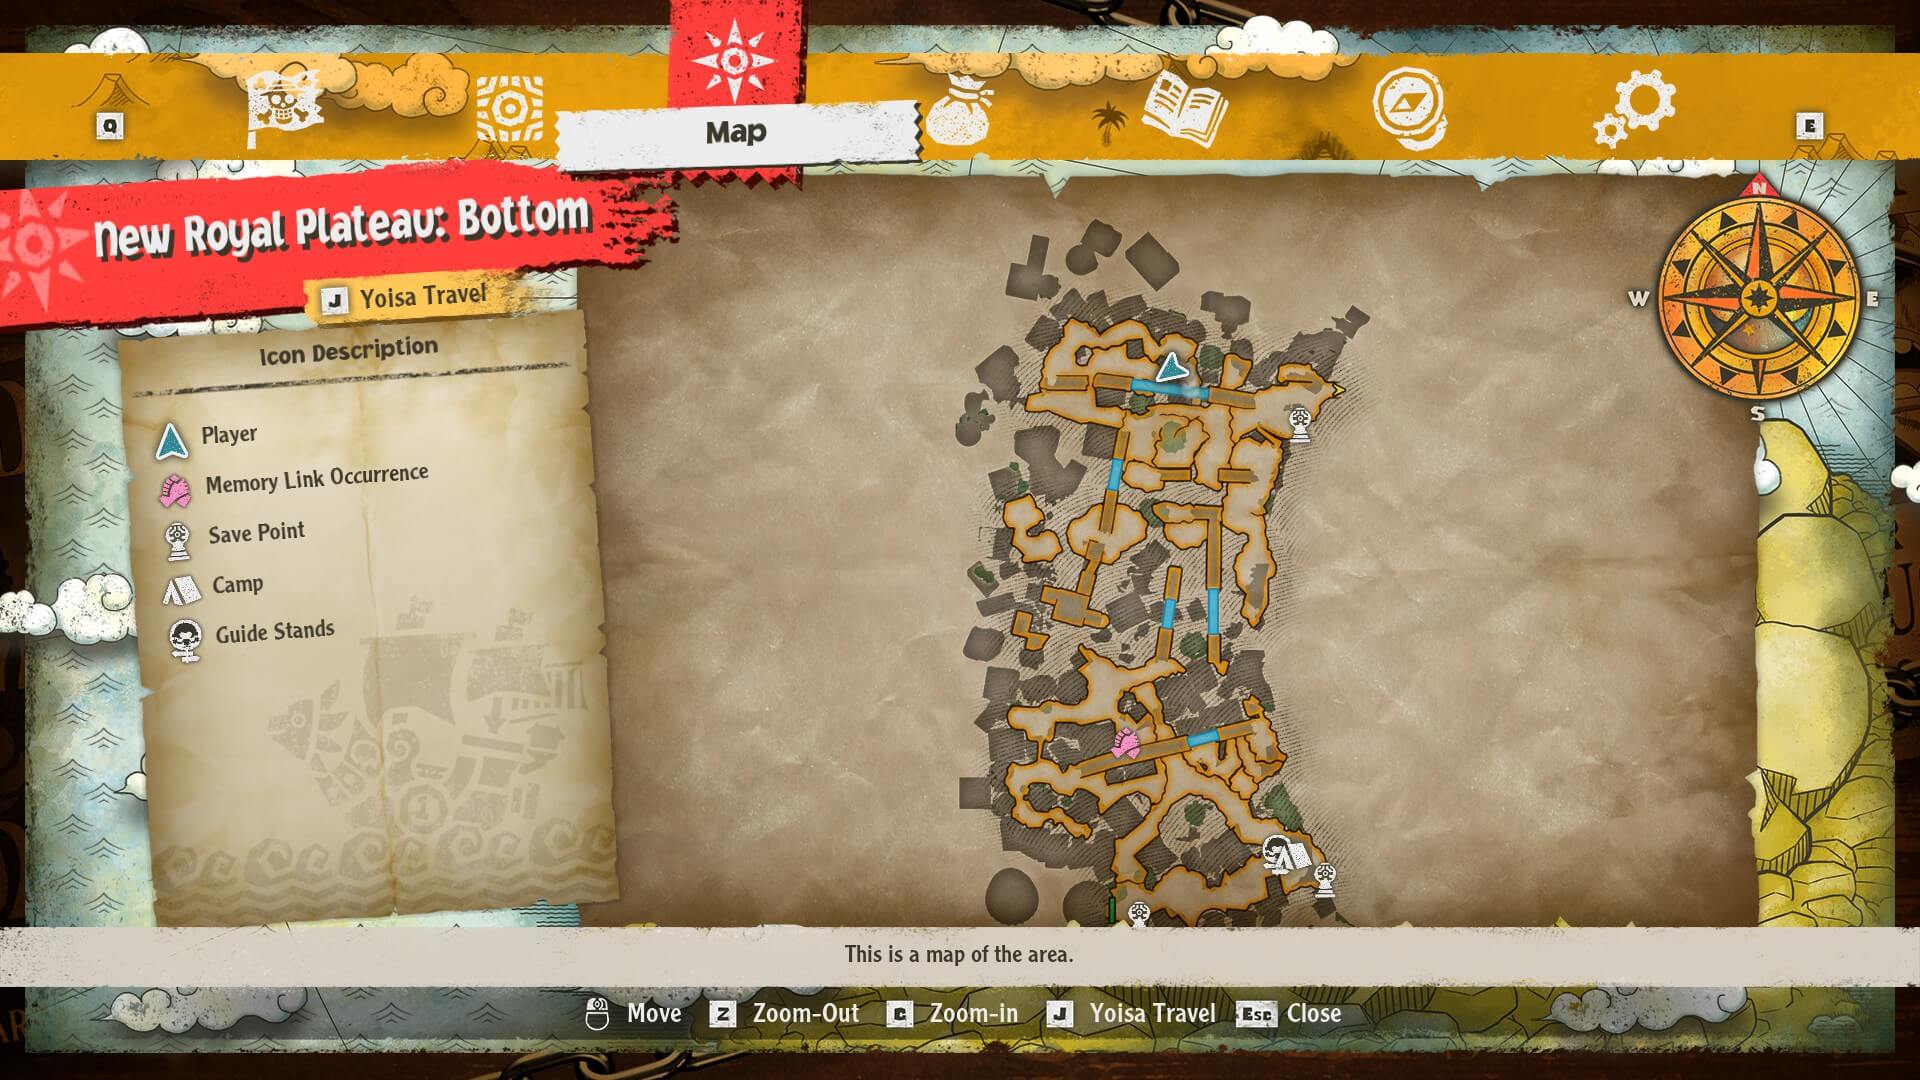
#1 - In the northern part of New Royal Plateau: Bottom's first section.
Have a tip, or want to point out something we missed? Leave a Comment or e-mail us at tips@techraptor.net
