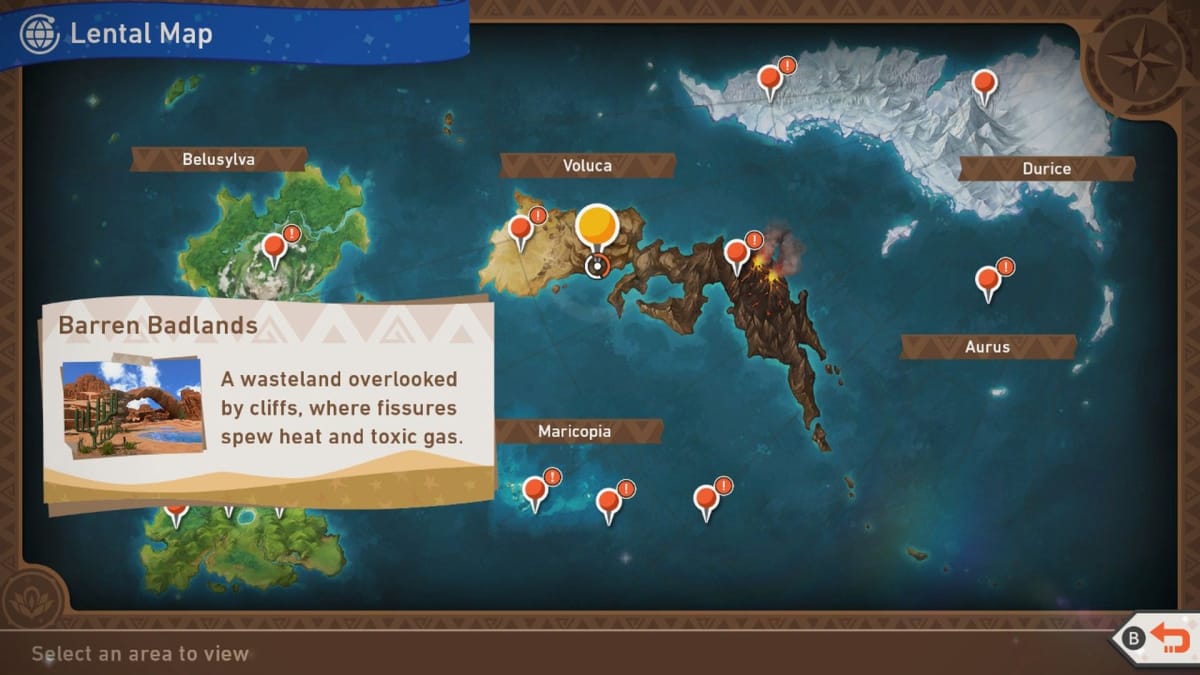
Today a new update for New Pokemon Snap was released. While there were a number of quality of life updates applied one of the reasons to be excited is the New Pokemon Snap Barren Badlands Level. Taking place on Voluca Island between the Sweltering Sands and Fireflow Volcano this new level brings with it new sights to see and most importantly new pokemon to take photos of. In this guide, we'll be going over which Pokemon you can see in the day and night variants of the level as well as how to get some of the 3-star and 4-star opportunities that we've come across.
New Pokemon Snap Barren Badlands Alternate Path
After reaching Research Level 2 in Barren Badlands you'll be able to unlock the alternate route. As soon as you're able to fire an Illumina Orb at the Crystabloom next to the teetering rock, chances are you've already knocked this rock down a couple of times but haven't figured out what it does. If you knock the ball into the water while you're still in front of the geyser you'll be able to take a pathway that leads to the left around the rock, and up another geyser.
At night on Research Level 2, Minior won't be obliging enough to shoot down the rock. Instead, you need to in the opening segment throw Illumina Orbs at 4 Diglett underground (shown by the dirt moving some), and surfacing them. Once at least four have been awoken, throw an Illumina Orb at the Crystalbloom to get them to knock it down.
New Pokemon Snap Barren Badlands - Day
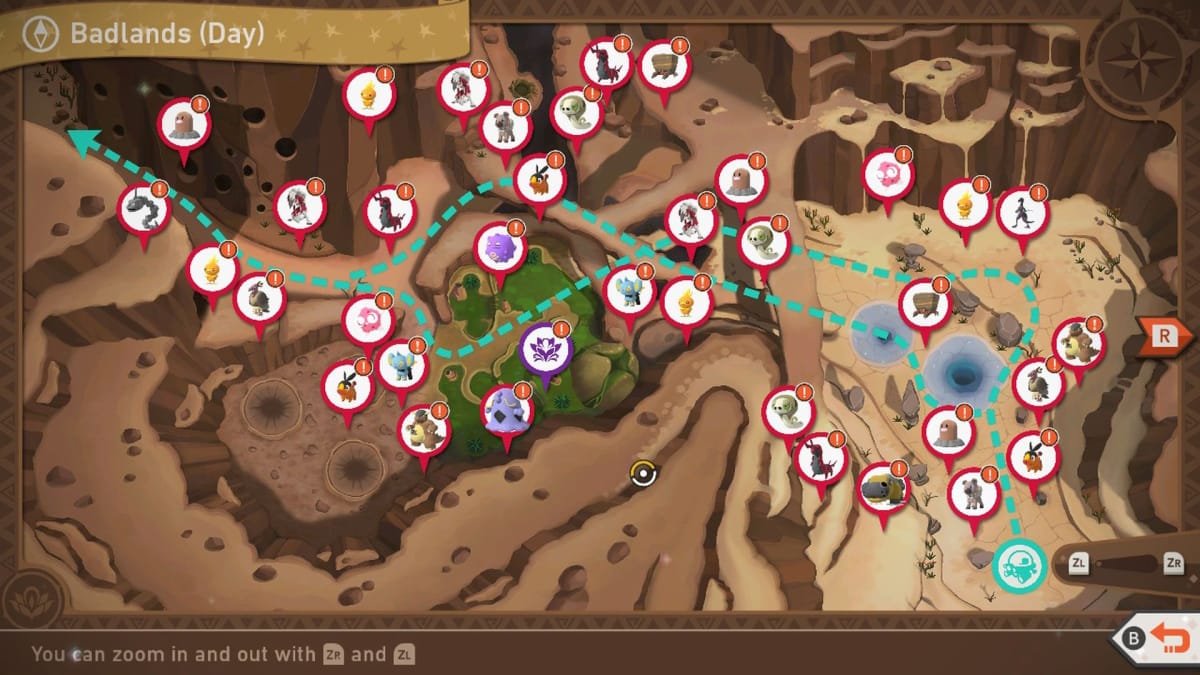
Below is a list of Pokemon you can find in this area:
- Diglett
- Tepig
- Onix
- Crustle
- Mandibuzz
- Hippowdon
- Silicobra
- Koffing
- Swalot
- Shinx
- Lycanroc (Midnight Form)
- Minior
- Torchic
- Rockruff (RL 2)
- Kangaskhan (RL 2)
- Scolipede (RL 2)
- Salazzle (RL 3)
3-Star Opportunities
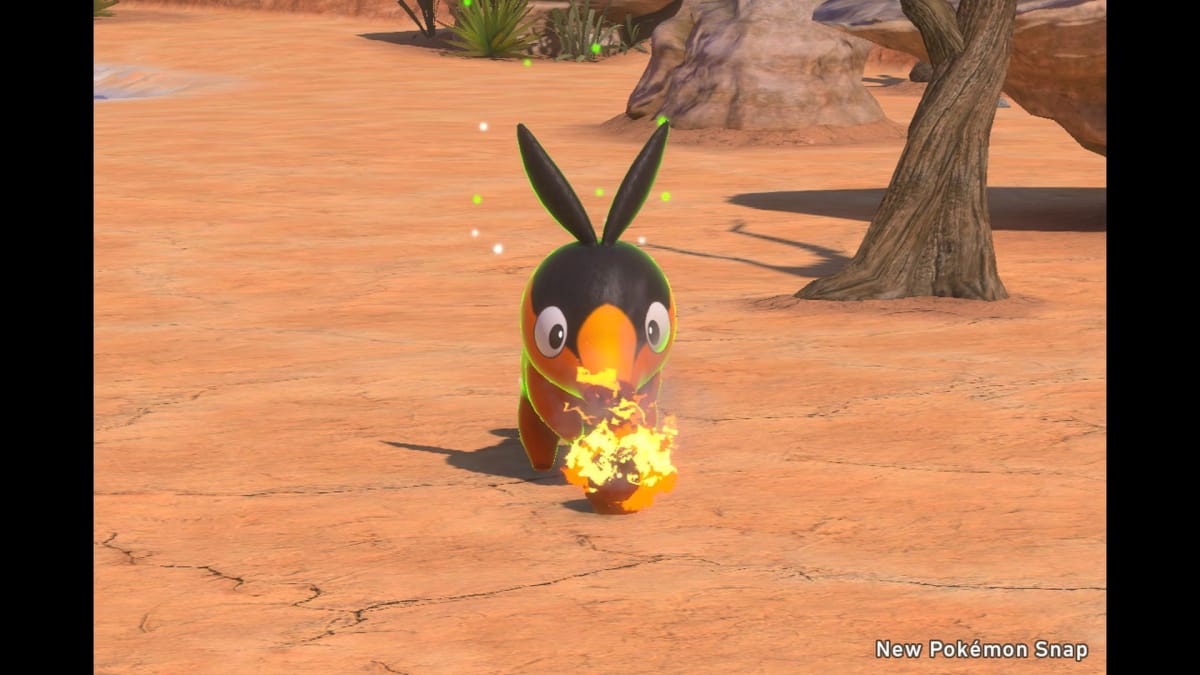
Tepig - RL 1
Throw a fruit in front of Tepig and he will run up to it and torch it. Take a photo as he’s cooking his dinner and you’ll get an easy 3-star
Lycanroc - RL 1
Trow a fruit at the Lycanroc and he’ll walk up to it. Instead of eating it he’ll pick it up, look at it, and then throw it away. Take a photo at any point during this time for it to count as a 3-star.
Crustle - RL 2
On the far side of the geyser at the start of the level you’ll see two Crustle off in the distance hitting each other. Get a good photo of them colliding for a 3-star photo.
Scolipede - RL 2
At the beginning of the level look to your left and up and you’ll see a Hippowdon and behind that is a Scolipede chasing after two Silicobra. Take a photo of it in pursuit and you’ll earn a 3-star photo.
On RL 3 if you take the alternate path you’ll be able to find two Scolipede butting heads with one another. Take a photo of them now for a 3-Star.
Rockruff - RL 2
Take the alternate path and follow it to where the Rockruff and Lycanroc are together. Keep an eye on the Rockruff and at one point he’ll sit down and smile at you. That’s the perfect time for this 3-star photo.
Mandibuzz - RL 2
After the poison pool once you're about to reach the Onix rock walls there will be a Mandibuzz on the ground in front of you. Toss it a piece of fruit and snap a photo while it's eating for a 3-star picture.
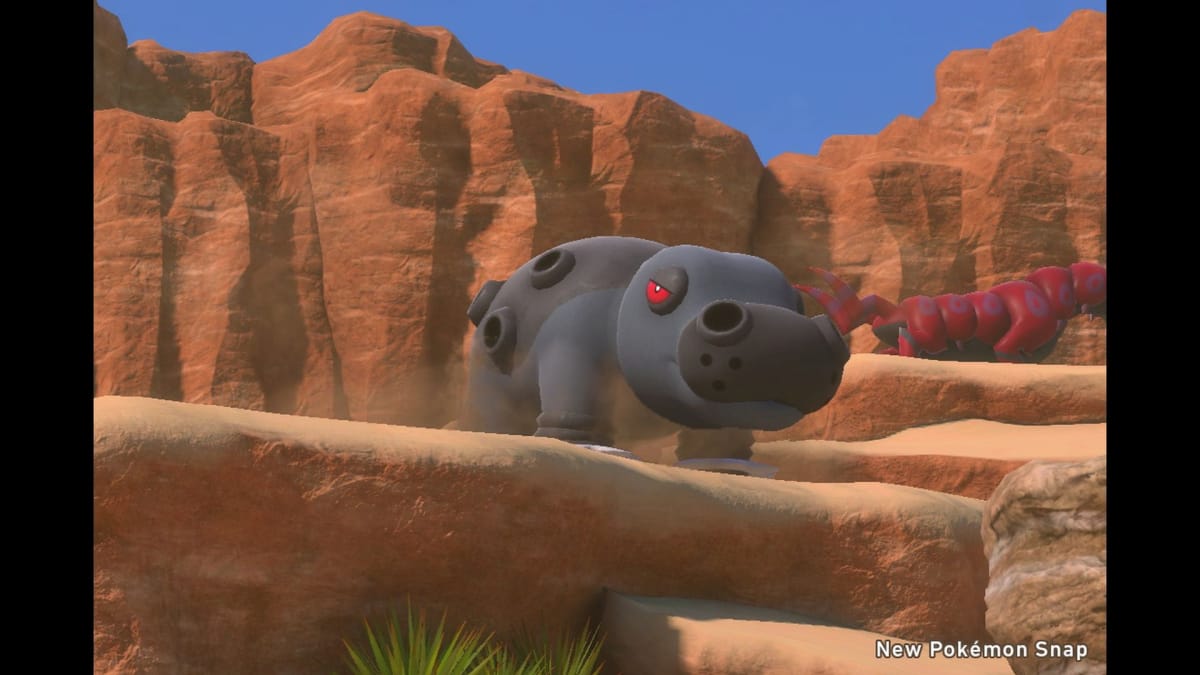
Hippowdon - RL 3
Immediately to the left as you begin you’ll see a Hippowdon on a cliff. Watch it and wait for it to shoot sand out of its holes to get this photo.
4-Star Opportunities
Torchic - RL 2
Wehn you are coming past Minior to the point where the two paths meet, looking back along the other path you'll see Torchic, as well as a Shinx, and Tepig. Toss out a fluff fruit near Torchic and to get it he'll jump in the air and fry it, giving you a 4-star image for this air frier.
Scolipede - RL 3
Take the alternate path by using the Crystabloom to tip the giant rock into the pool. From there follow the path till you get to the two Scolipede fighting one another. Wait until after they’ve finished butting heads and they’ll lean in and roar at one another, take a photo here for the 4-star.
Crustle - RL 3
When you are coming down the entry, and see the two Crustle's bashing each other, give one of them an Illumina orb. Watch as it knocks the other down, and starts celebrating... and take a picture of the crab rave to get a 4-star image.
New Pokemon Snap Barren Badlands - Night
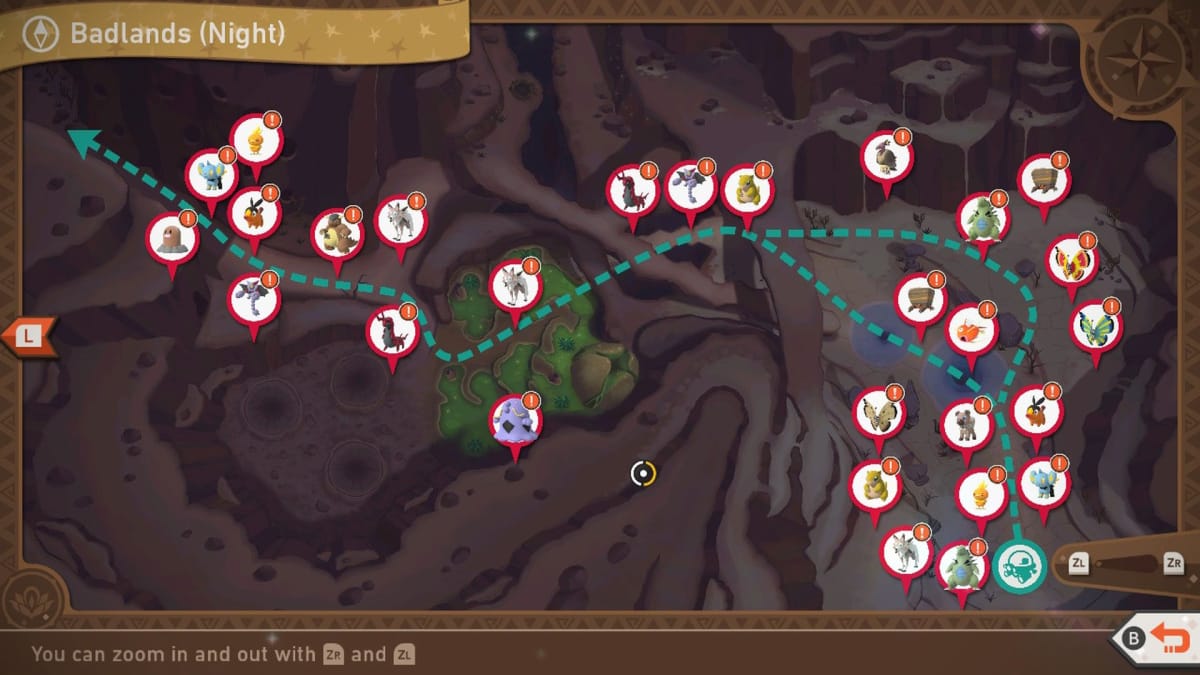
Below is a list of Pokemon you can find in this area:
- Tyranitar
- Torchic
- Rockruff
- Lycanroc
- Vivillon
- Shinx
- Mandibuzz
- Tepig
- Crustle
- Scolipede
- Swalot
- Kangaskhan
- Magikarp (RL 2)
- Sandshrew (RL 2)
- Gliscor (RL 2)
- Diglett (RL 2)
- Zeraora (RL 2)
3-Star Opportunities
Swalot - RL 1 and 2
In the poison swamp area, the Swalot are all under the poison lake. Illuminate the Crystabloom and Swalot all over will burst to the surface. Take a photo of one mid-jump and you’ll get your 3-star.
Kangaskhan - RL 1
After the poison swamp area, you’ll go down a slope towards the final stretch of the stage. While you’re here you’ll see a sleeping Kangaskhan, wake it up, and watch as it walks towards the Lycanroc. It will scare away the Lycanroc, take a photo while it’s shouting for the 3-star.
Scolipede - RL 1
Watch the Scolipede in the poison swamp area. If you hit the Crystabloom he’ll approach the poison water and roll around in it.
Tyranitar - RL 2
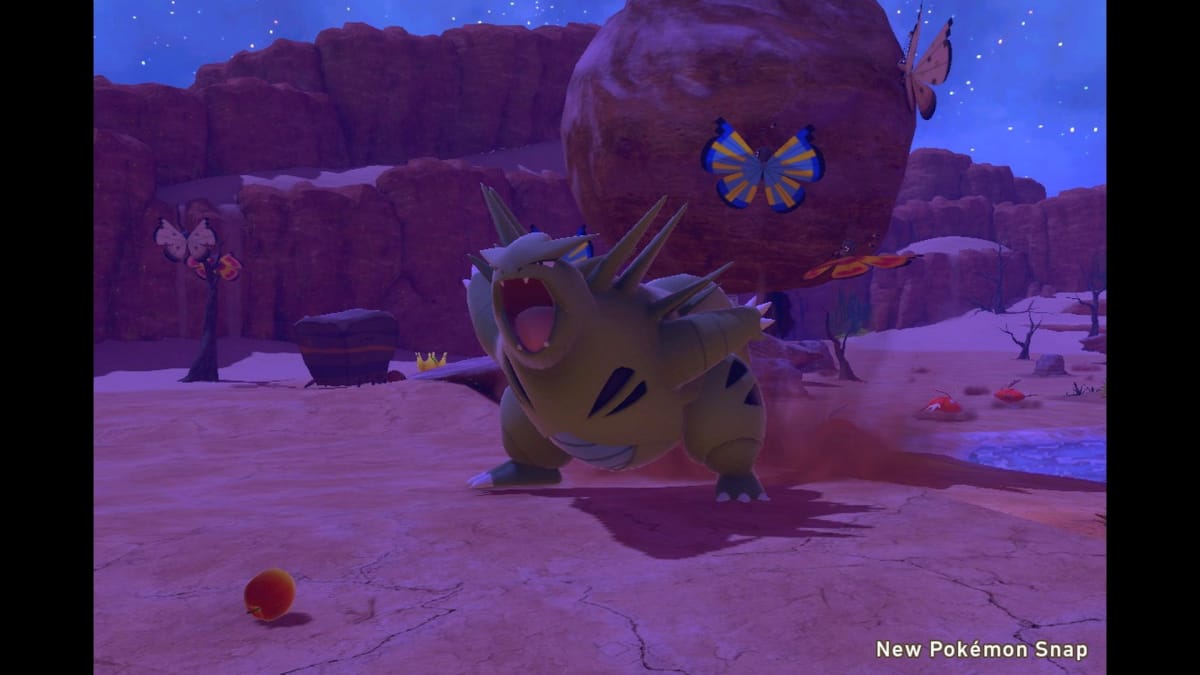
Wake the slumbering Tyranitar along the path and watch as it throws a tantrum. With it’s hitting its tail on the ground and roaring, or when it chases after the NEO-ONE and gets all up in your face you can get a great 3-star Alternatively, you can take pictures of it roaring at Zeraora if you trigger their fight for a 3-star image.
Vivillon - RL 2
Take a photo of a Vivillon that’s on the boulder and it should count as a 3-star.
Gliscor - RL 2
Wake up a sleeping Gliscor. As it’s beginning to move and stretch its arms you can get a 3-star photo of it.
Sandshrew - RL 2
Keep an eye on the Sandshrew between the geyser area and poison pool area but don’t do anything to it. After a while it will sit down on its butt. Take a photo of it while it takes a rest there.
Diglett - RL 2
Early on, before you can head down the alternate route, after you have awoken with the Illumina orb at least 4 Digletts, and throw an orb at the crystabloom, watch under the rock that gets knocked own and take a picture of the Digletts working together to knock the boulder over. This can be a tough one due to the timing, and angles, but once you get it, you get a 3-star image.
Rockruff - RL 2
On the alternate route, as you come across the final chasm, you'll see at the far end a foursome of Rockruff, Torchic, Sphinx, and Tepig sleeping. As Mandibuzz approaches, wake up Rockruff with a Fluffruit, and then light him up with an Illumina orb. Take a picture of him defending his friends for a 3-star image.
Mandibuzz - RL 2
On the alternate route, after Rockruff has faced off Mandibuzz, it will go to the nearest Kangaskhan. Light it up with an Illumina Orb and it will take out its bad temper at an ignoring Kangaskhan.
Zeraora - RL 2
Before the alternate path, wake up Zeraora, and let it run up the cliffs. Then, while you're out of sight of Tyranitar, wake it up. Being annoyed, it decides to kick up a sandstorm... and Zeraora doesn't like this. Take a picture of Zeraora while its jumping around, or intervening for a 3-star picture.
4-Star Opportunities
Vivillon - RL 1
To the right of the tippable boulder, there is a Vivillon on a branch that has the savannah pattern. Take a photo of it for a 4-star shot. Alternatively, on the boulder, there are a number of Vivillon's. Get one with its wings out wide with the Savannah pattern on the rock for a four-star image.
Shinx - RL 1
During the final section of the level, each of the small pokemon you’ve been seeing through the level will keep popping out of holes. Take photos of them as you go and at the end of the stage, they’ll be waving to you, take photos of Shinx and then snap the final one.
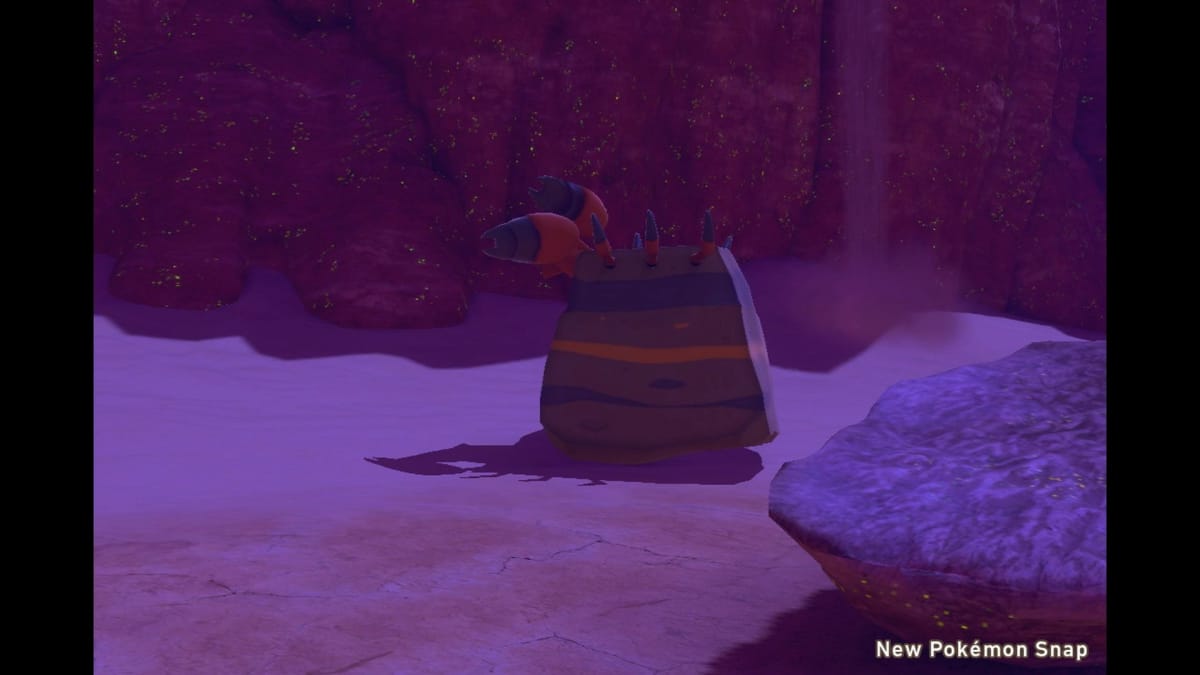
Crustle - RL 2
Wake up the sleeping Tyranitar from a distance, instead of attacking you it will instead attack and flip a Crustle nearby. Take a photo of the Crustle while it’s upside down and you’ll get your 4-star photo (poor Crustle)
Tyranitar - RL 2
The other side of the Crustle image above, when you wake up the sleeping Tyranitar from a distance, take a picture of it roaring and attacking Crustle, and you'll have a 4-star Tyranitar image. Alternatively, you can take pictures of it fighting Zeraora if you trigger that for a 4-star image.
Kangaskhan - RL 2
After the poison swamp area, you’ll go down a slope towards the final stretch of the stage. While you’re here you’ll see several sleeping Kangaskhan. Wake one up, and let it stand up a bit then toss a fluffruit in front of it. It will pick it up to feed to the little baby in its pouch.
Rockruff - RL 2
Following standing off Mandibuzz before, Rockruff will turn to celebrate with his friends. Take a picture of this good boy on his hind legs to get a 4-star image.
Zeraora - RL 2
Exactly like in the three-star image, you need to wake up Zeraora, let it run up the hills, and then wake up Tyranitar while out of sight so it kicks up a sandstorm. Zeraora will come down to stop it, and this time you want to take your image while it's attacking Tyranitar for a four-star image. Alternatively, hitting it with an Illumina Orb at the start can also provide some good images.
If you get it while it has lightning, this also completes the 'Illusion of the Badlands' request.
Have a tip, or want to point out something we missed? Leave a Comment or e-mail us at tips@techraptor.net
