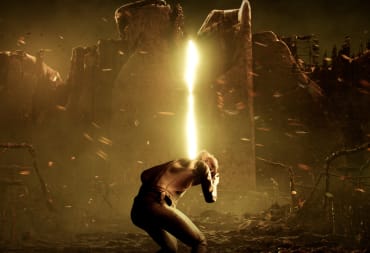
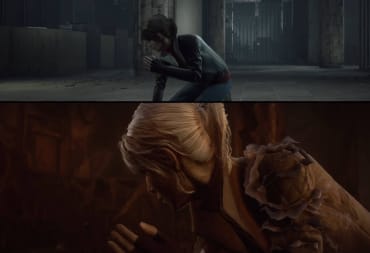
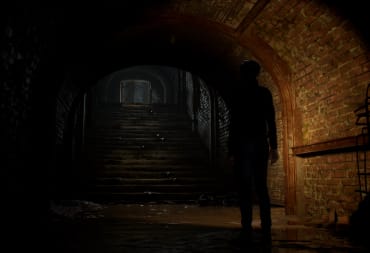
The Medium is Bloober Team's new atmospheric horror title. You play the role of Marianne a medium making her way through a mysterious hotel with a dark past. Along you're journey you'll come across a number of collectibles that serve to deepen you're understanding of the world and the characters in it. One of the collectibles is The Medium Troubled Man's Notes.
Why should I collect The Medium Troubled Man's Notes?
These 19 documents tell the backstory of Thomas, while most are found near the end of the game you can see them throughout the whole story so you'll need to keep your eyes peeled, or follow the guide below. Much like the other collectibles though you'll earn two achievements for collecting all of these items. The achievements are as follows:
- A Dangerous Method - You found a note from a troubled man
- An Unknown Outcome - Find all of Thomas' notes in a single playthrough
How do I find all of The Medium Troubled Man's Notes?
Troubled Man’s Notes #1 - A Peaceful Place
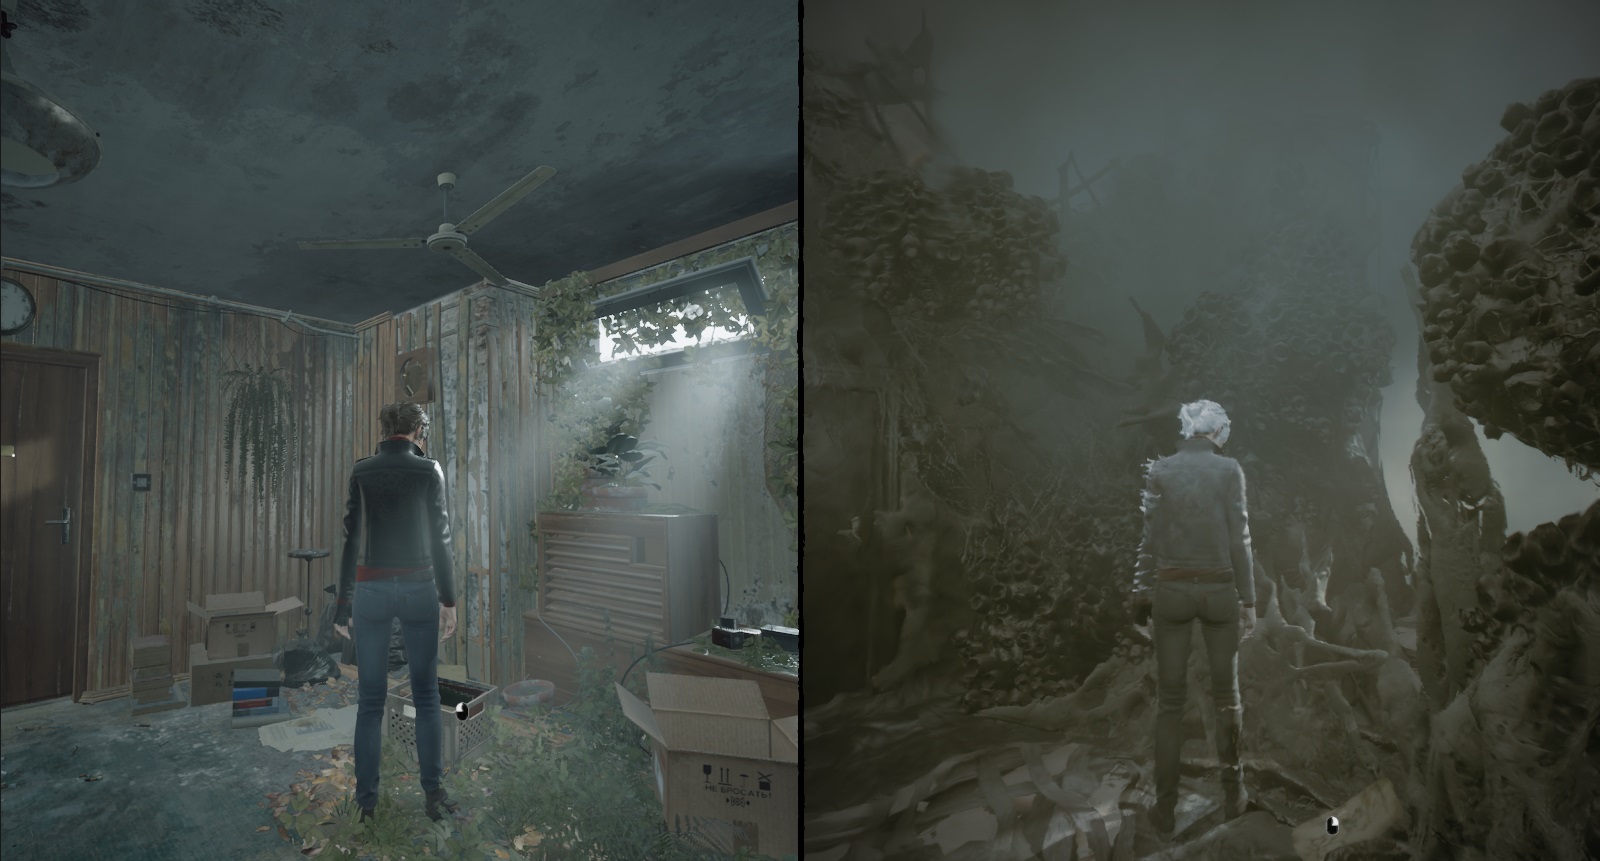
After you’ve burned through a hallway's worth of wasps for the second time there will be a room immediately to your left. Inside the room go to the far right and there will be a milk crate you can interact with. Inside is an invoice, that we don’t really care about, and your first of the Troubled Man’s Notes collectibles.
Upon picking up this document you’ll also earn the A Dangerous Method Achievement.
Troubled Man’s Notes #2 - To-Do list
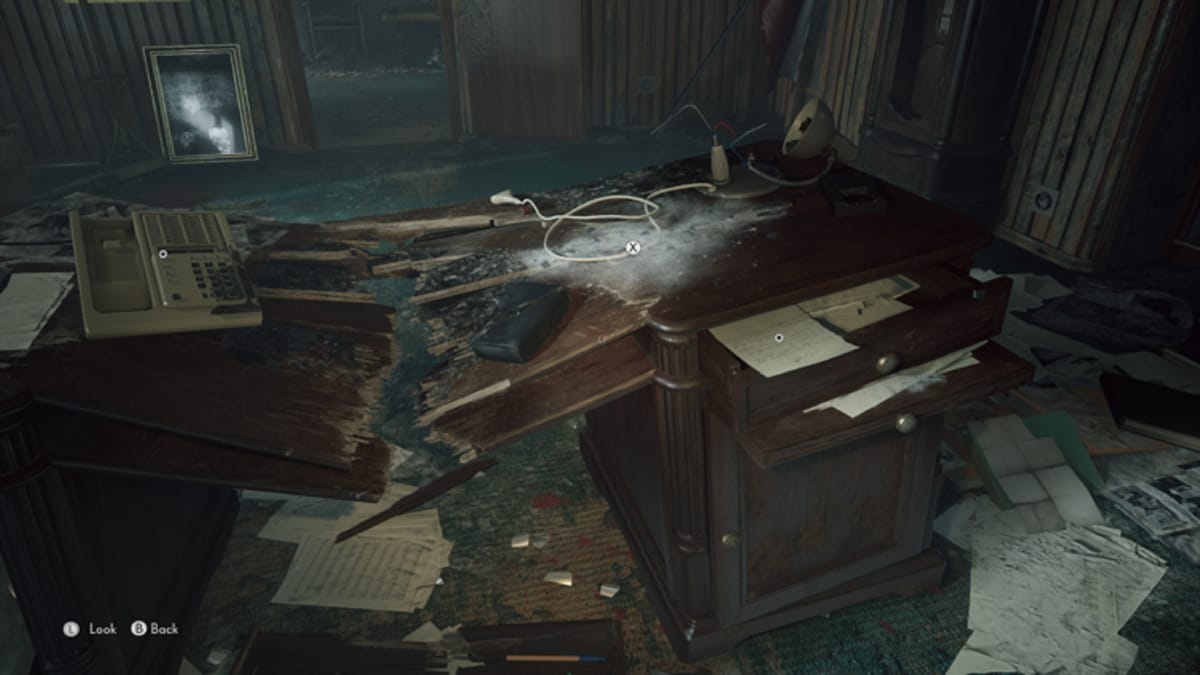
When you walk into Thomas’ office and inspect his desk for the key and flashlight in the top right drawer you’ll find the second of the Troubled Man’s Notes.
Troubled Man’s Notes #3 - Getting Stronger
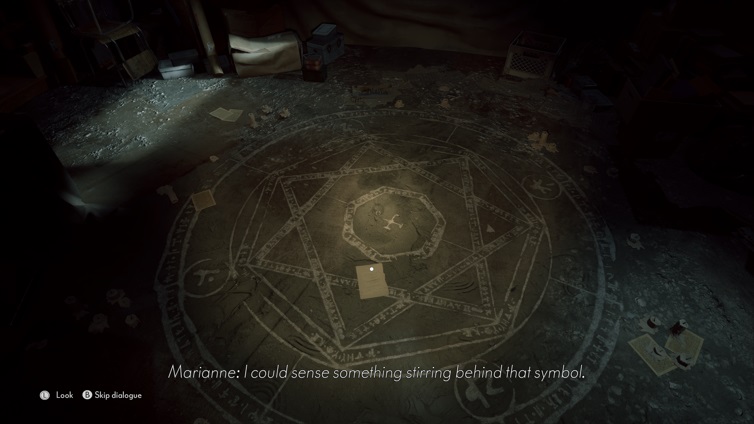
Once you find your way into the darkroom at the back of Thomas’s office in the middle of the circle on the floor you’ll find this collectible.
Troubled Man’s Notes #4 - Fever Dreams
After being told by Sadness to find the Dayroom follow the lights through to the entrance of the Lobby. After passing through a set of double doors you’ll find yourself in front of the Dayroom doors. Walk up the stairs to the right and then to Marianne's left (towards the camera when the perspective changes) and you’ll see the collectible on the ground.
Troubled Man’s Notes #5 - Good Old Frank
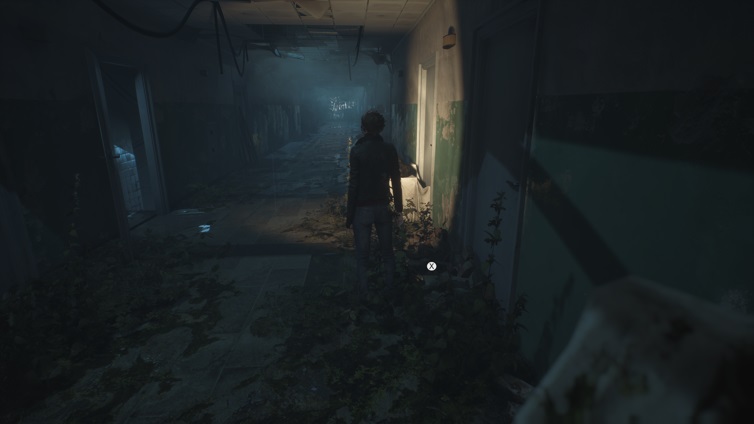
After walking up the stairs at the end of the pool/bathrooms area just across from where you emerge into this hallway will be a small pile of items. Inspecting it will earn you another of the Troubled Man’s Notes.
Troubled Man’s Notes #6 - Dust and Death
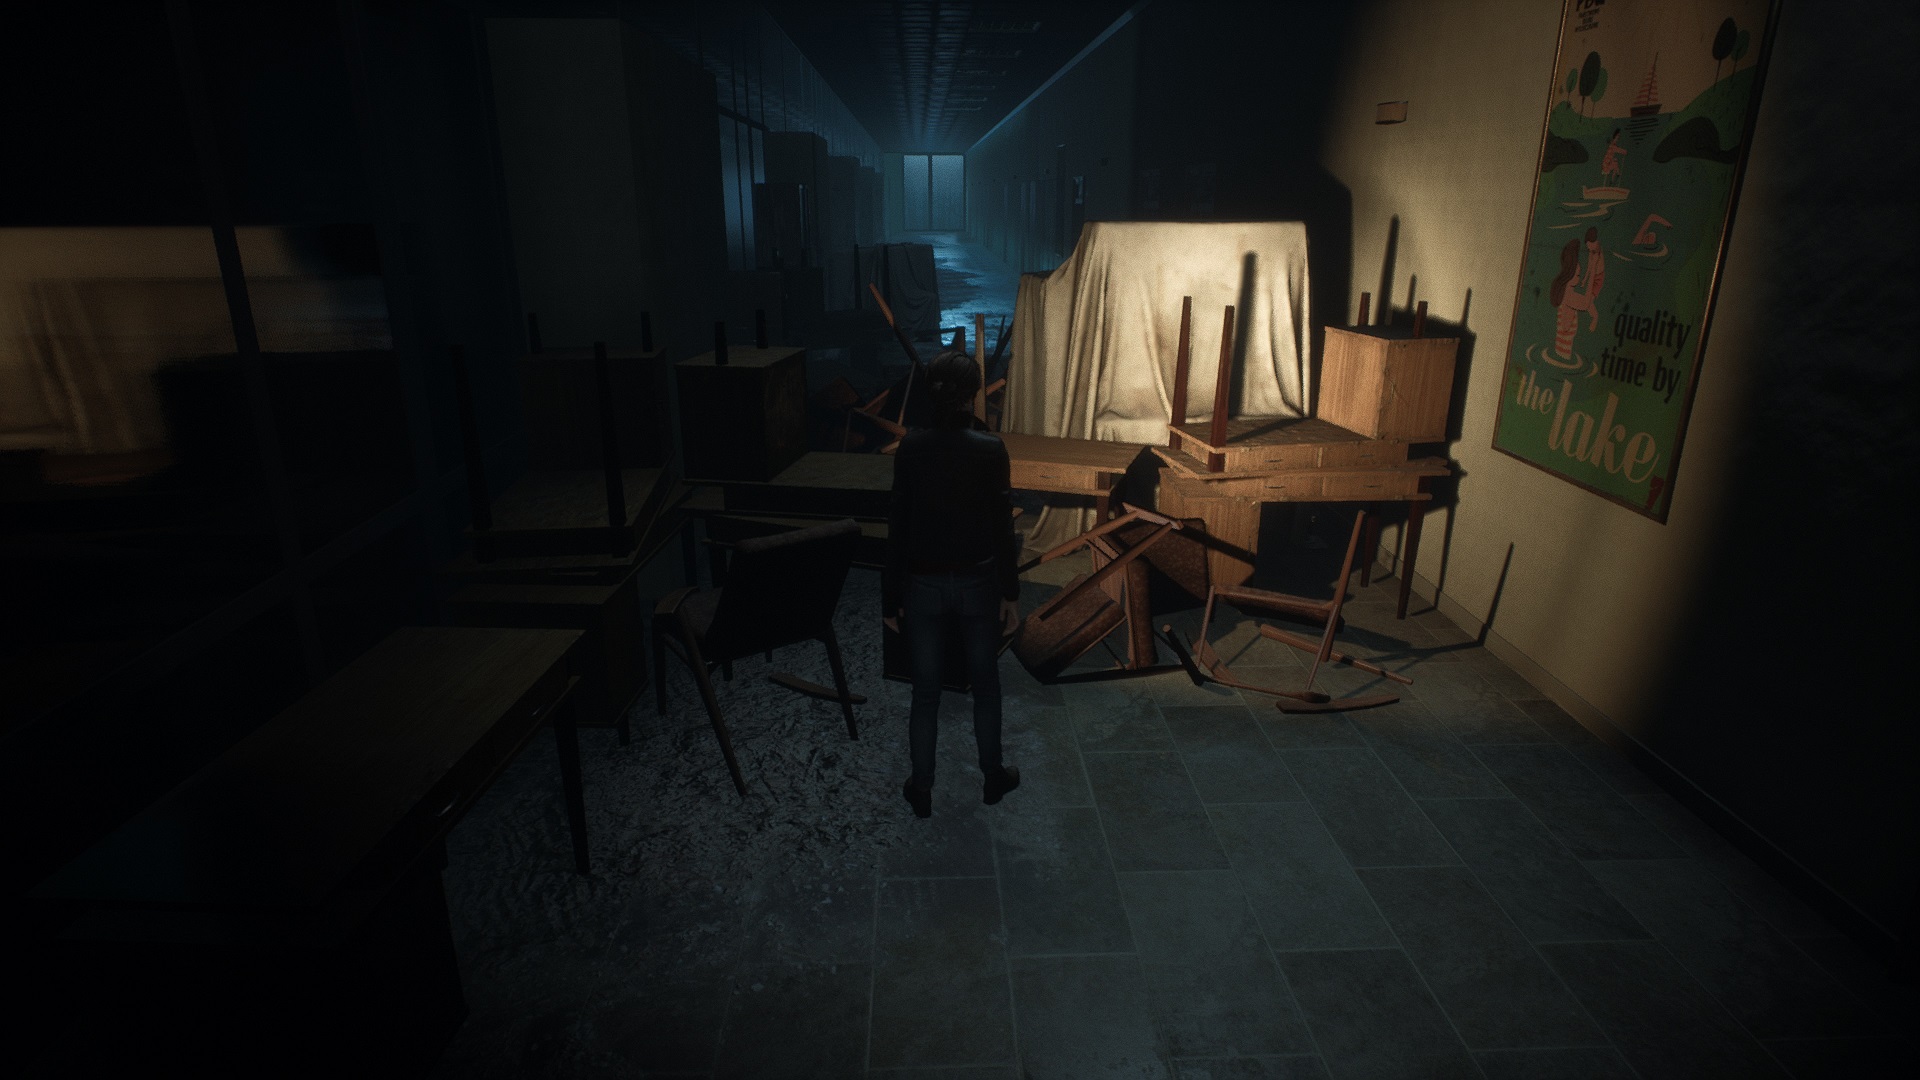
After you have access to the Bolt Cutters and have returned to where you can enter the Day Room DO NOT ENTER. Instead, turn around and head back into the hotel lobby. Walk all the way through the lobby to the gate that you tried opening before Sadness appeared to you for the first time and use the bolt cutters on it. On the table, at the end of the hall, you’ll find this document.
Troubled Man’s Notes #7 - Hell’s Angel
After you have seen Sadness at the playground continue forward and enter the Tool Shed interact with the bench on the left. There will be a toy wooden horse that’s an Echo but if you look up at the corkboard there will be a photo pinned to it that will be this document.
Troubled Man’s Notes #8 - Something Broken
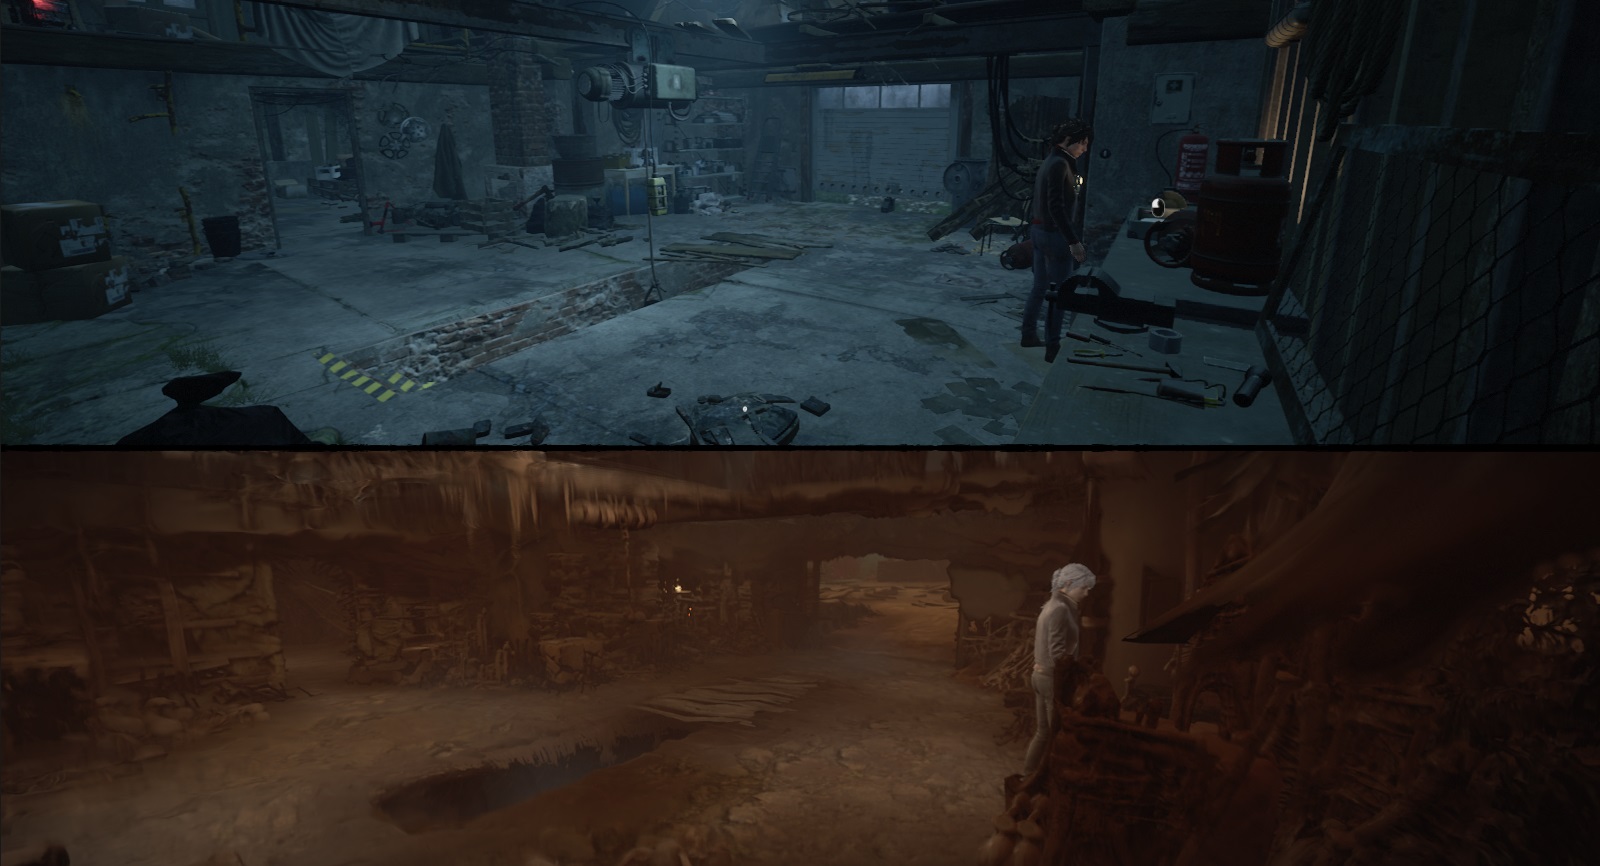
After making your way into the shed after seeing Sorrow at the playground walk towards the camera when you come into the second room. Interact with this hard to spot tool bench and the document will be in the lower right of your view.
Troubled Man’s Notes #9 - Demons
Once you go through another of Thomas’s memories and regain control of Marianne step into the charred house. Walk straight, past the broken staircase, and into the room on the right, this document will be right in front of you.
Troubled Man’s Notes #10 - A Different Kind of Sadness
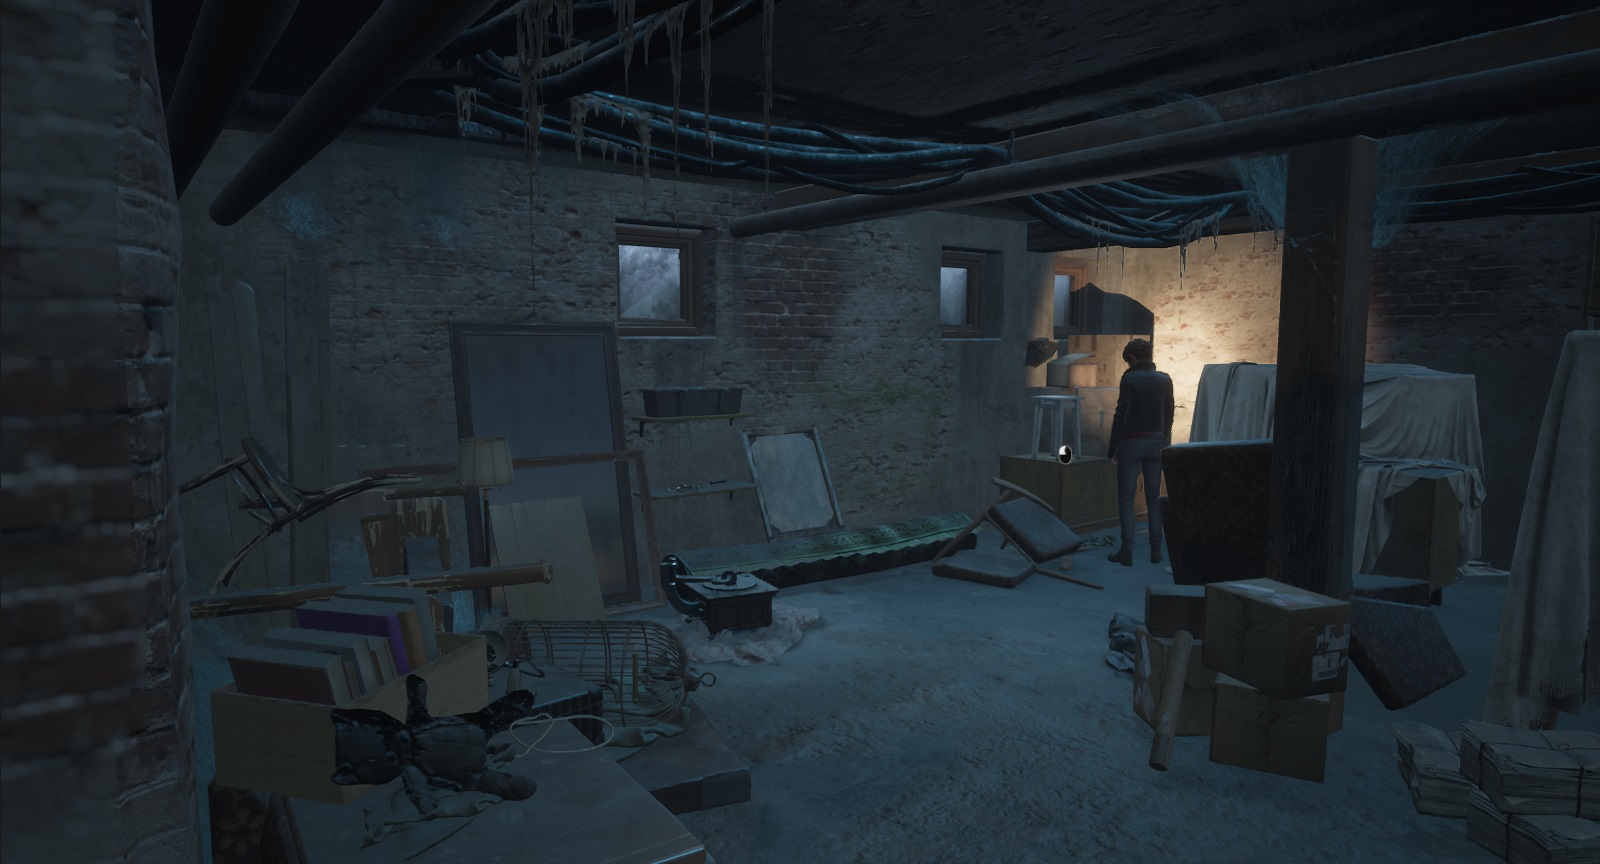
Once you reach the basement of the Red House and the camera shifts walk to the very far back left corner. You’ll walk by two Echos on the way and sitting on a table underneath a stool you’ll find this document.
Troubled Man’s Notes #11 - The Missing Piece
After you get to the bottom of the stairs into the basement of the Red House instead of walking away from the camera walk towards it. The camera will shift and you’ll find this document on some rusty furniture.
Troubled Man’s Notes #12 - Found a Way
From the last note head into the room on the right. The note is fairly out in the open here.
Troubled Man’s Notes #13 - Separation
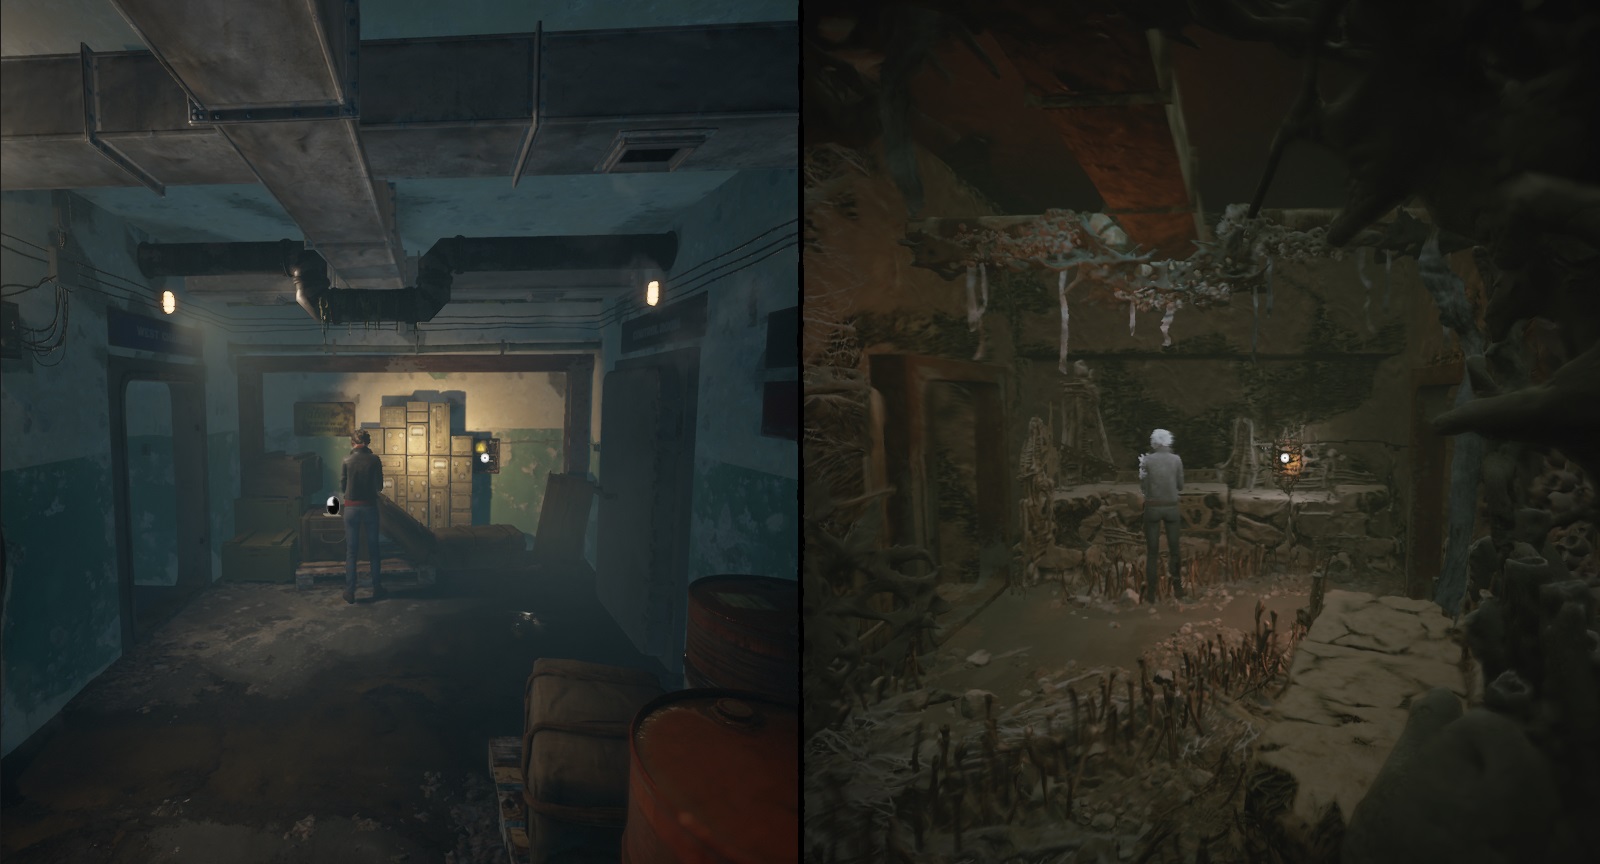
After getting through the secret door and getting chased by the Maw you’ll regain control again in a room where you can catch your breath. In this room on the table, you’ll find this document.
Troubled Man’s Notes #14 - A relic of the Past
After walking down into the fallout shelter Marianne will make her way through a few corridors and end up in the control room. You can find this document on the right-hand side of the center console.
Troubled Man’s Notes #15 - A Thin Line
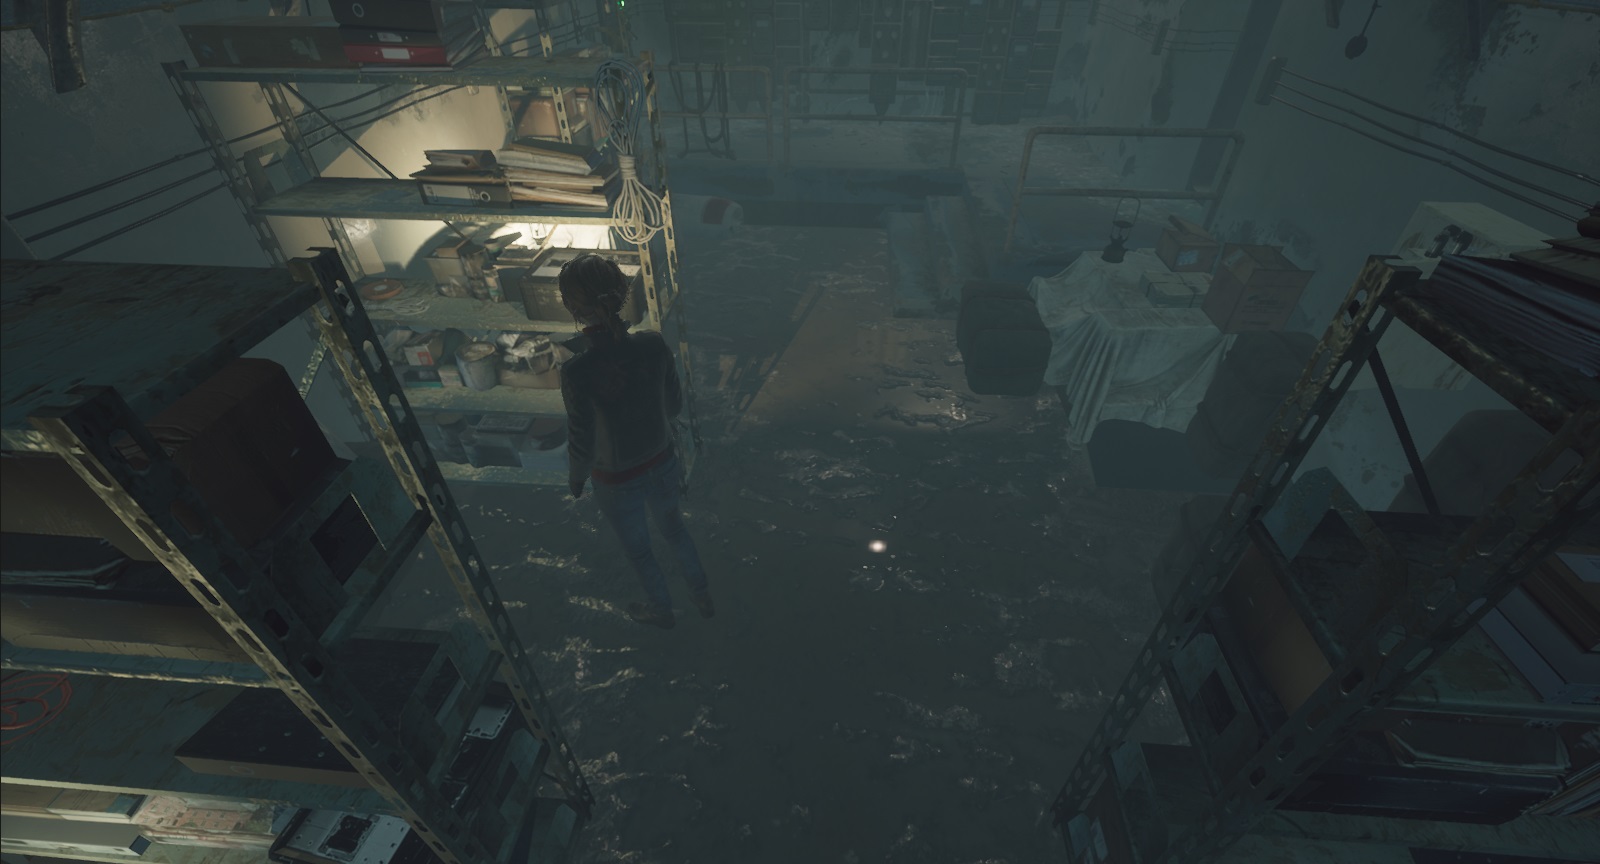
After opening the door out of the water plant continue down the steps ahead of you. Enter the room to your left with the green light and walk towards the camera. You should see this document on a shelf to the left.
Troubled Man’s Notes #16 - Just Me and Her
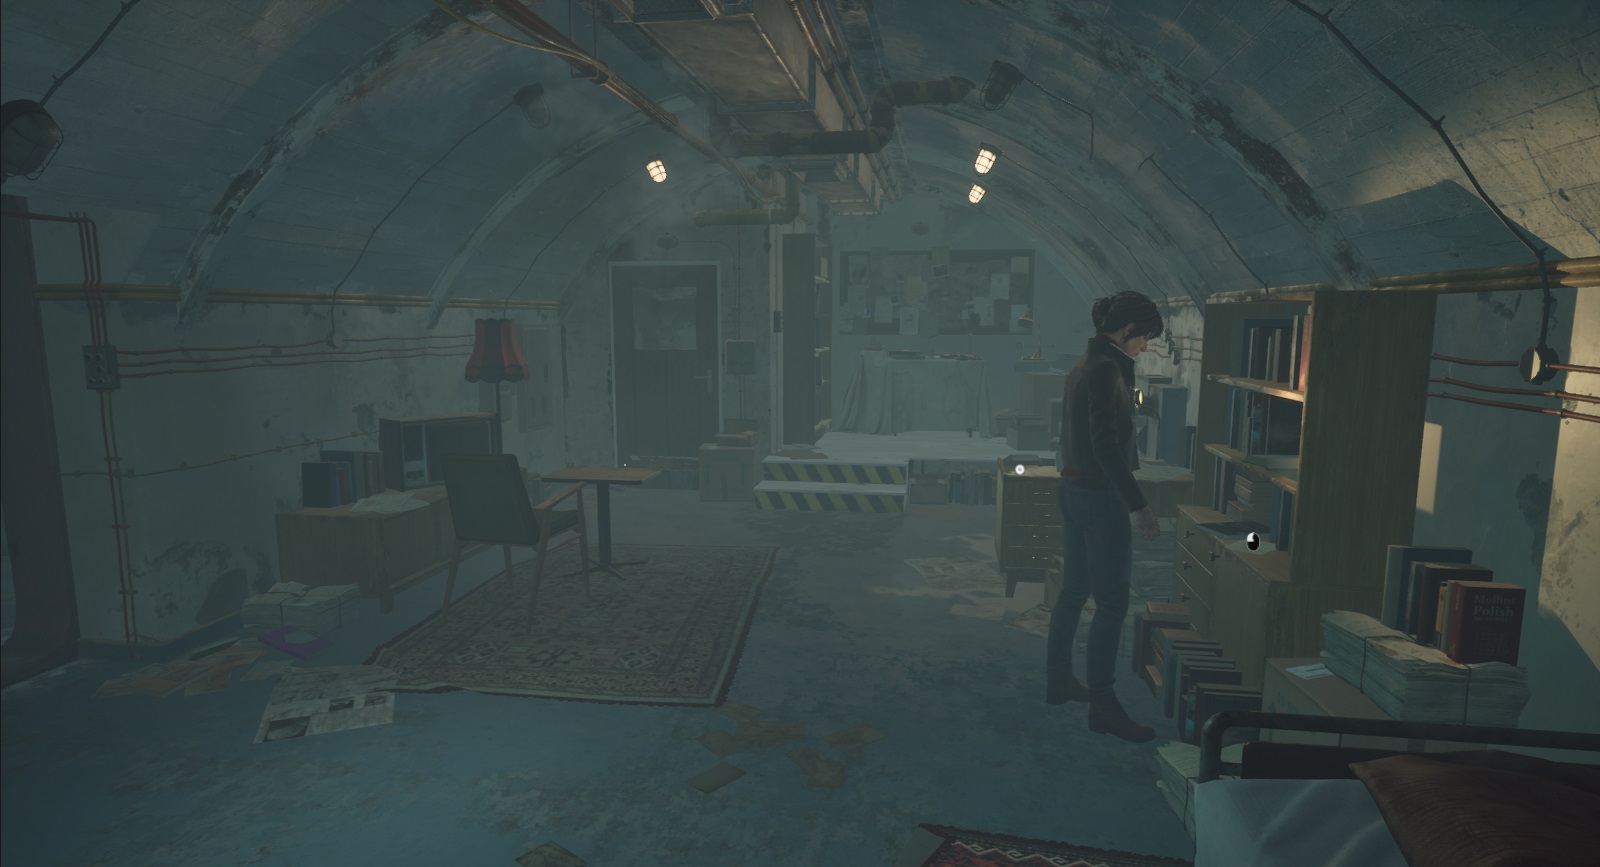
Once you return power to the bunker head across the hallway to the room that would have been on your right as you entered. Walk towards the camera to have the angle flipped and you’ll find this document next to some water jugs.
Troubled Man’s Notes #17 - Keeping Distance
As you head further into the bunker and skip the first left (Bathroom) and head into the second left (the Living Room.) Walk across the room to the bookshelf and you’ll find this document.
Troubled Man’s Notes #18 - Business Card
Just to the left of the previous document, you’ll find this Business Card.
Troubled Man’s Notes #19 - Alone
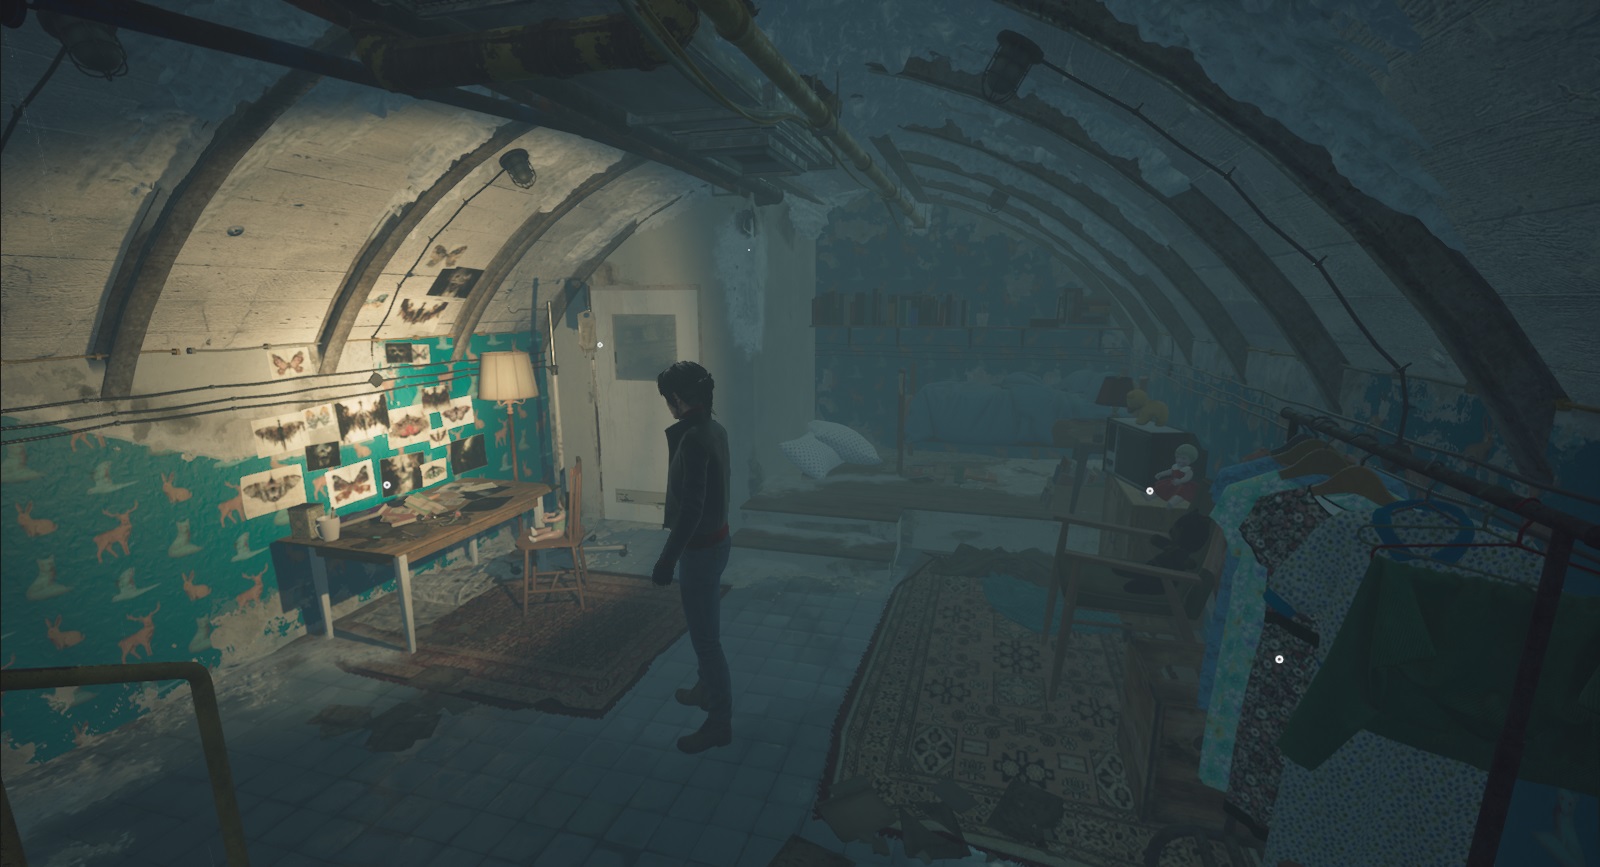
If you head to the very end of the bunker you’ll find a room adorned with butterflies. On the desk in this room is where you’ll locate this Document.
After picking up this last page you’ll earn the An Unknown Outcome achievement for “Finding all of Thomas’ notes in a single playthrough”
Have a tip, or want to point out something we missed? Leave a Comment or e-mail us at tips@techraptor.net
