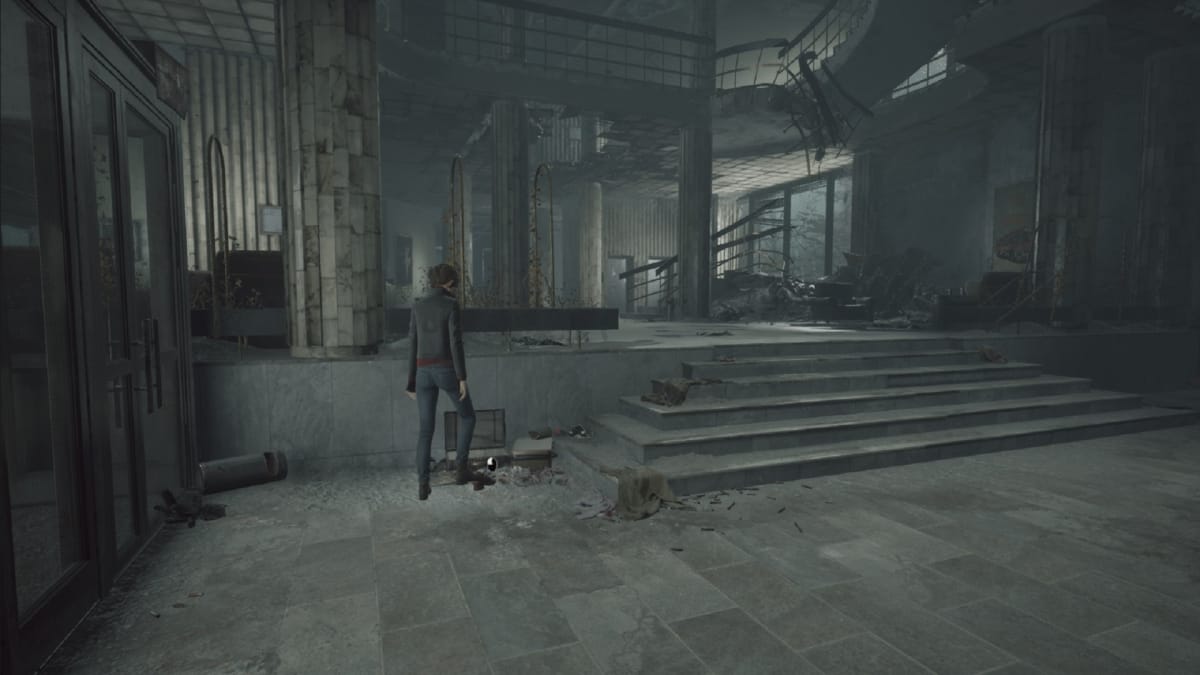
In The Medium, Echoes are the most plentiful collectible that you'll discover on your journey. These are remnants of people left on objects that you'll find scattered around the world. There are 32 of these collectibles in the game, starting as early as when you first set foot on the grounds of the Niwa Hotel, all the way to the final area of the game. Not only are there a lot of these, but they also like to hide in the darndest places.
What do I get for collecting all of The Medium Echoes?
There are a number of achievements here that are tied to collecting all of the Echos, they are as follows:
- Left Behind - You Found An Echo
- Caught the Scent - You Found An Echo Of A Mysterious Caller
- Calling Out To Me - Find all Echoes in a single playthrough
The last one will be the one you're gunning for. The full game takes 8+ hours so you don't want to miss out.
How do I find all of The Medium Echoes?
Echo #1
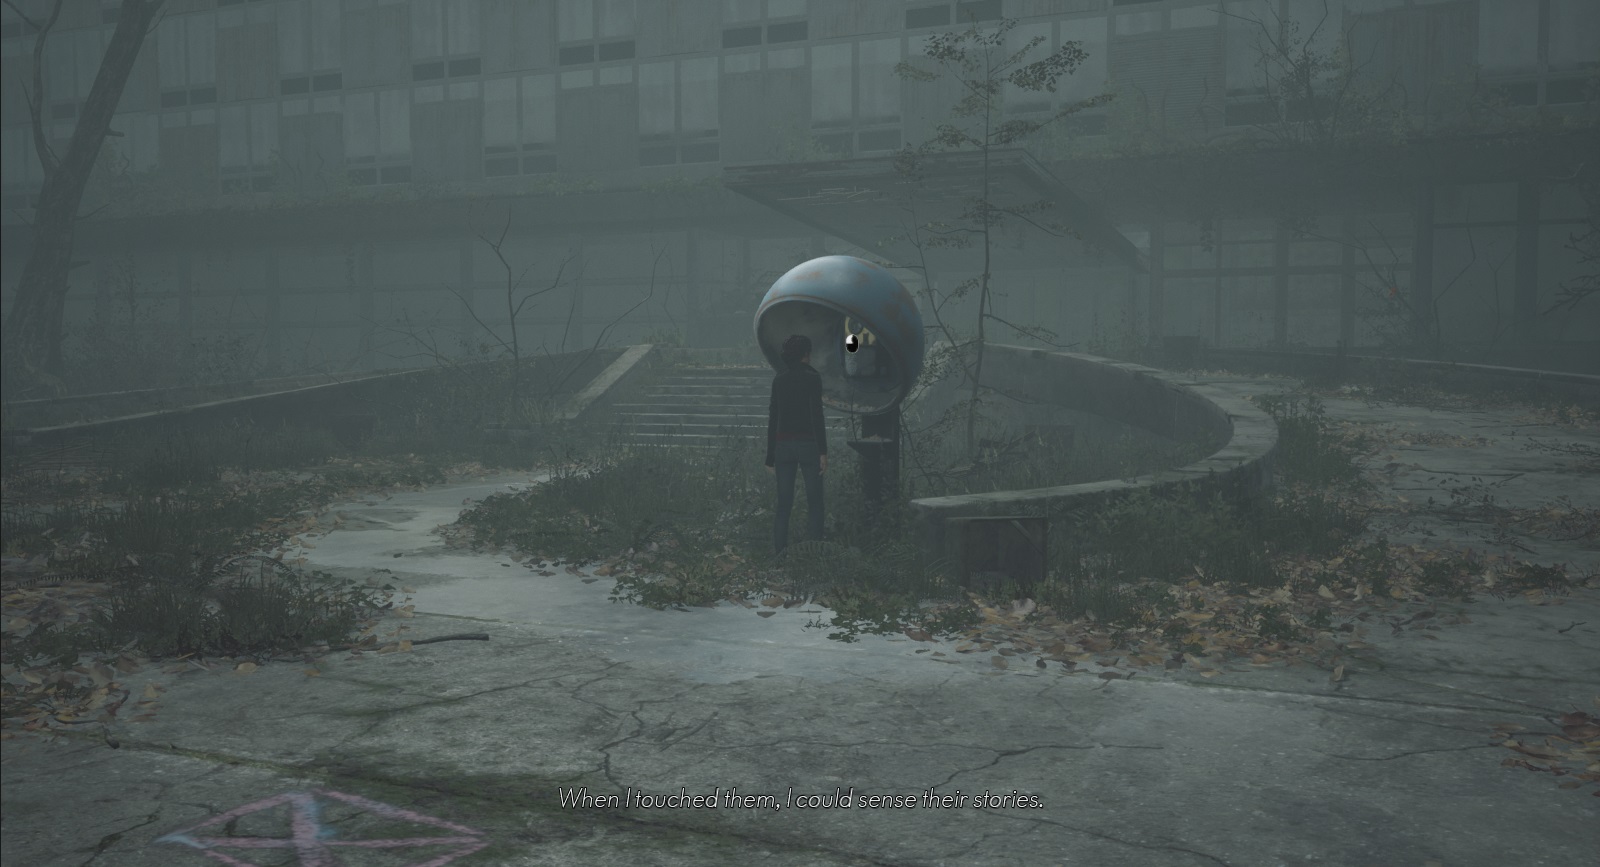
Out front of the Hotel Niwa you’ll see a payphone. As you approach it it will start ringing and Marianne will get a spiritual flash. Approach the phone and use your sense to find the mark on the handle of the phone.
For finding this first Echo you should also receive the achievements Left Behind and Caught the Scent.
Echo #2
Immediately after entering Hotel Niva and dropping into the lobby head to your left and there will be a shoe on the ground. Use your Insight to look at the back of the shoe to unlock this Echo.
Echo #3
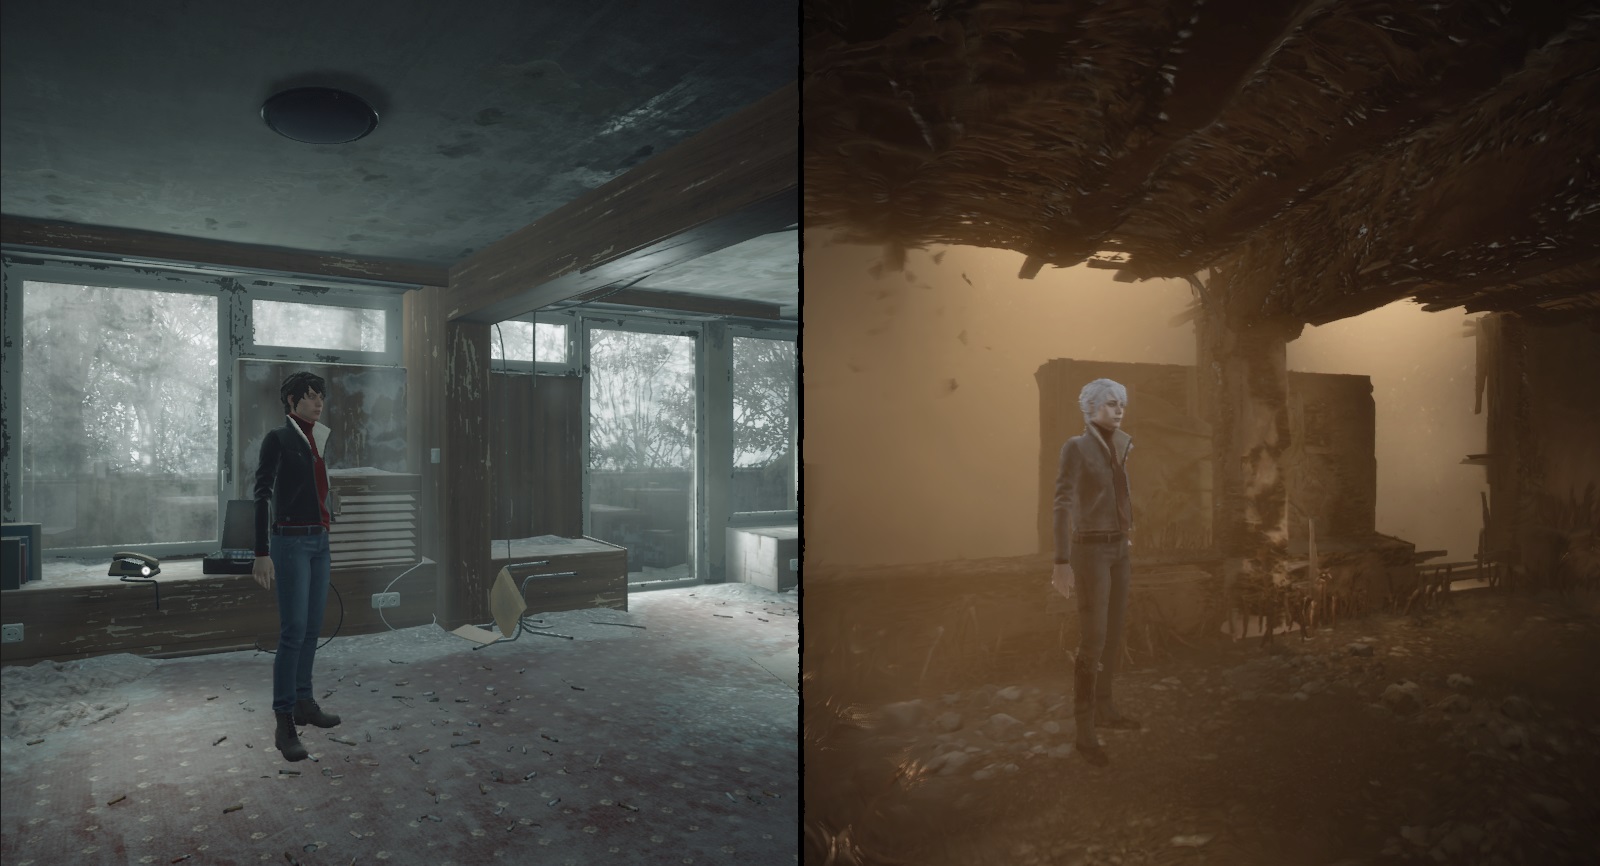
After obtaining the key and walking into the hotel room on the second floor turn immediately into the bathroom and past the broken walls into the adjoining room and take a right. You’ll be in a room with a large hole DO NOT INTERACT WITH THE HOLE. To the left is the phone you’ll need to approach for this echo.
Echo #4
After dropping down the hole to the room on the first floor (where you encountered Memory Shard #1) head to the right until you’re in a small hallway. Walking towards the camera you’ll end up in a bathroom, in the sink you’ll not only find Echo #4 but also Mentor’s Diaries #1.
This bathroom can be difficult to spot so just keep walking towards the camera.
Echo #5
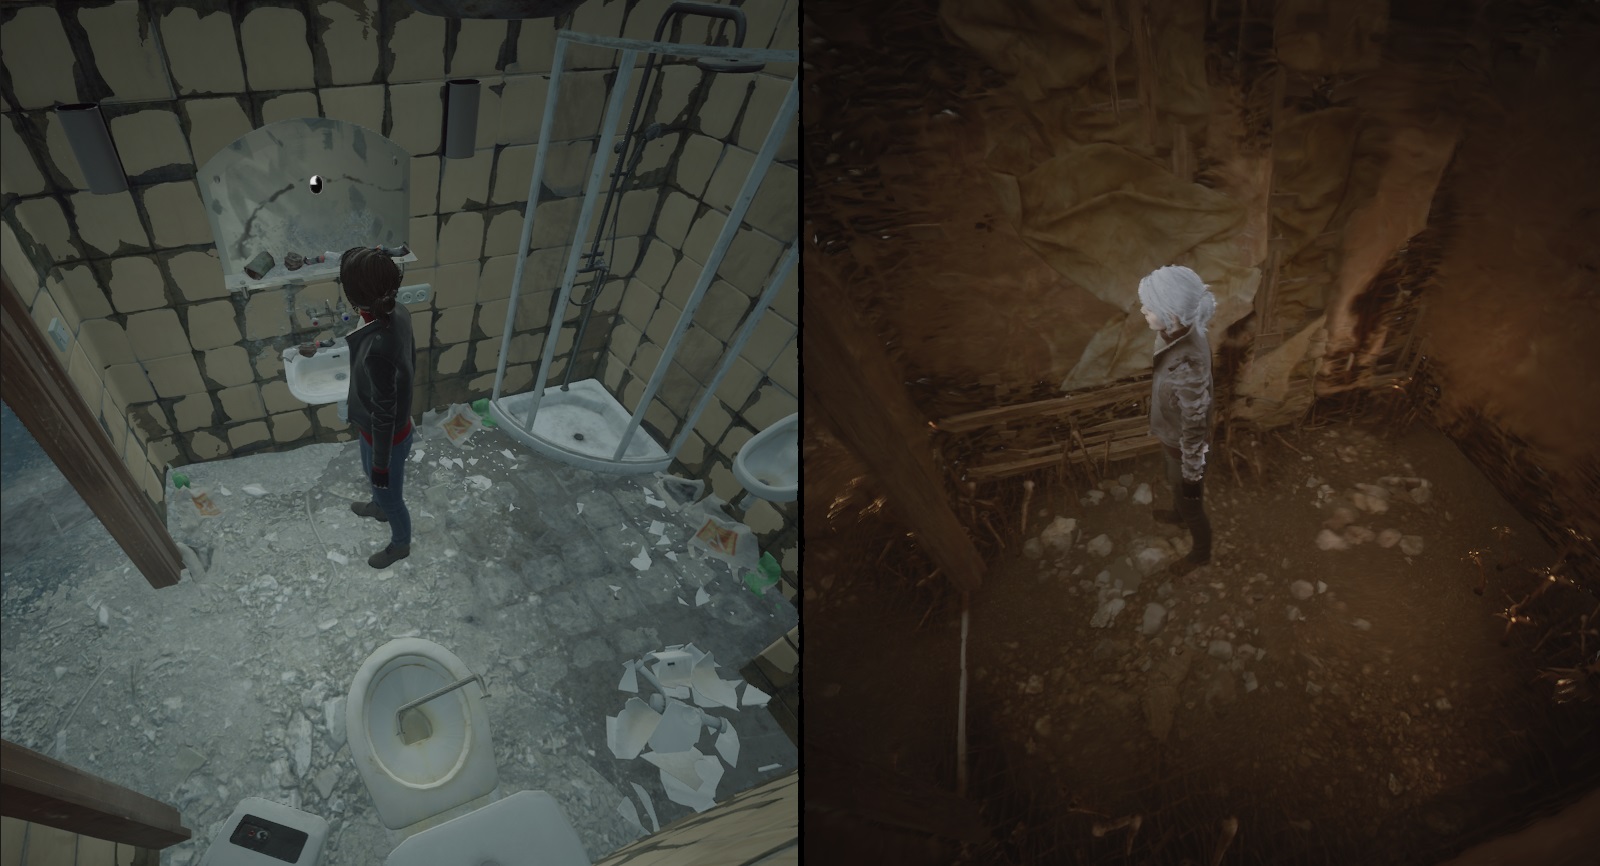
After cutting away the flesh blocking your way with the Razon and entering the next room over head into the bathroom. Hold down your Insight and look in what used to be the mirror over the sink and this Echo will pop.
Echo #6
Enter the large pool room and drop down until you’re on the floor level. From there head to the right back corner where you see barricade fences. Interact with it for Echo #6
Echo #7
Drop into the pool and head to the far wall of it. There will be another barricade like the one you just interacted with in Echo #. Interact with this one in the same way
Echo #8
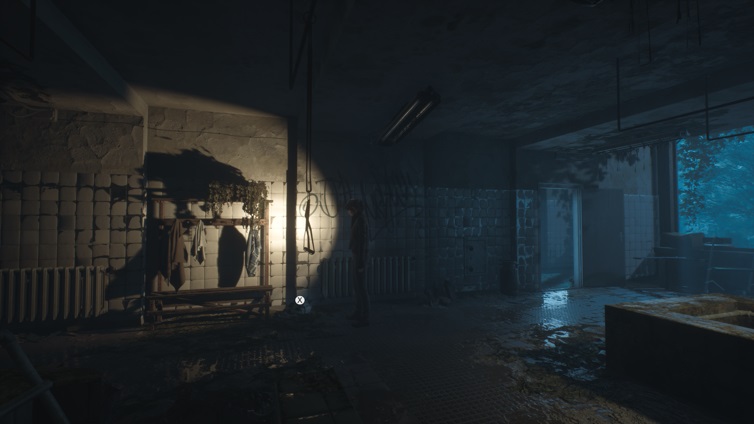
After leaving the pool area, crawling between bathrooms, there will be a pair of shorts right in front of Marianne that will trigger this Echo.
Echo #9
After seeing Sadness i the mirror and it cracks you can hold down your Insight and follow a trail that will lead you to a Spinning Top. Checking its underside will reveal it’s Echo scar.
Echo #10
Continuing to follow Sadness’ trail you’ll find yourself in the pool again. Inspecting the plush toy you’ll find another Scar.
Echo #11
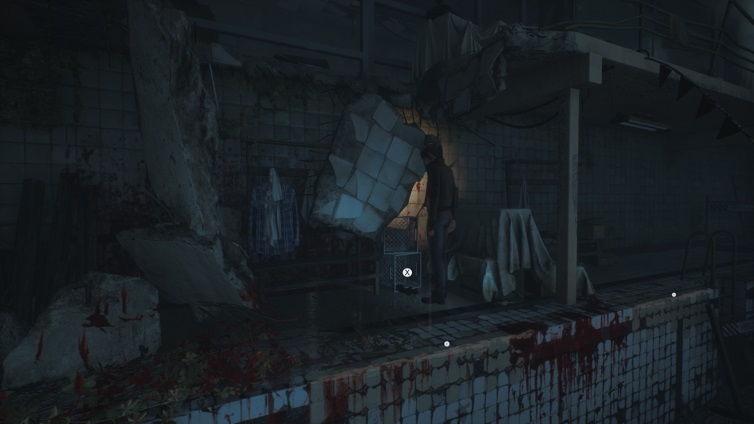
Following the spectral trail back the direction you came from there’s a stuffed bear that will earn you another Echo.
Echo #12
Head back into the first shower room. If you move the cart out of the way, you might have already done this, you’ll see another echo on the floor. This is the last of four required Echos that you’ll pick up here as part of the story.
Echo #13
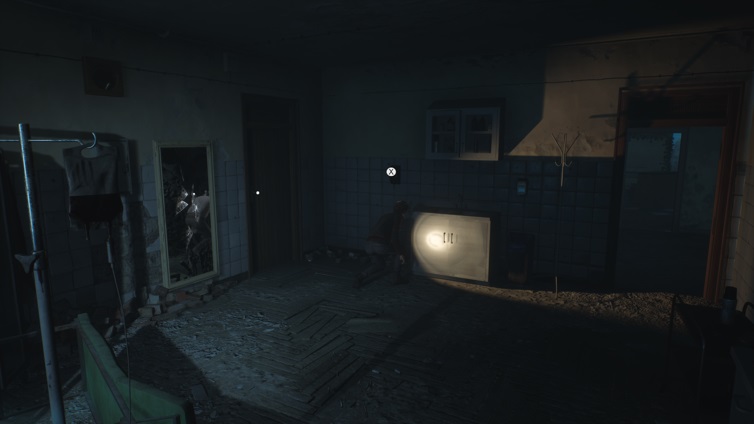
After you travel through the mirror back into the real world for the first time and escape the Maw head through the open door and across the hallway into the Examination wall. To your left, you’ll see a phone on the wall. This is the next Echo.
Echo #14
When given the choice to help the trapped soul on the left or the right you’ll find this one while searching for the mask on the right.
After avoiding the Maw you’ll end up in the bedroom of a ballerina’s manager. There is a table next to the bed with a poster for the ballerina on it. Scan it with Insight for this Echo.
Echo # 15, 16, 17, and 18
These Echos are all rapid-fire. After getting the torn scrap of paper from the foot of the ballerina’s bed and placing it back in the notebook you can interact with each of the four phone numbers present. Each will be its own memory.
Echo #19
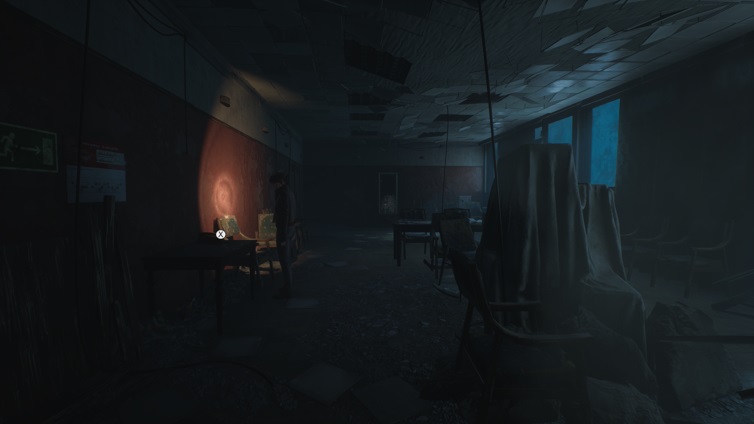
When you take the left path in finding the masks for the two stuck souls and you find yourself in the large conference room, check the phone that’s on the table on the left-hand side. It’s just a bit before the doorway leading out.
Echo #20
Once you’ve crossed the hallway from the board room to the meeting room (The one with the roll call at the head of the table) you can find this Echo at the end of the room closest to the camera. This echo is an ashtray.
Echo #21
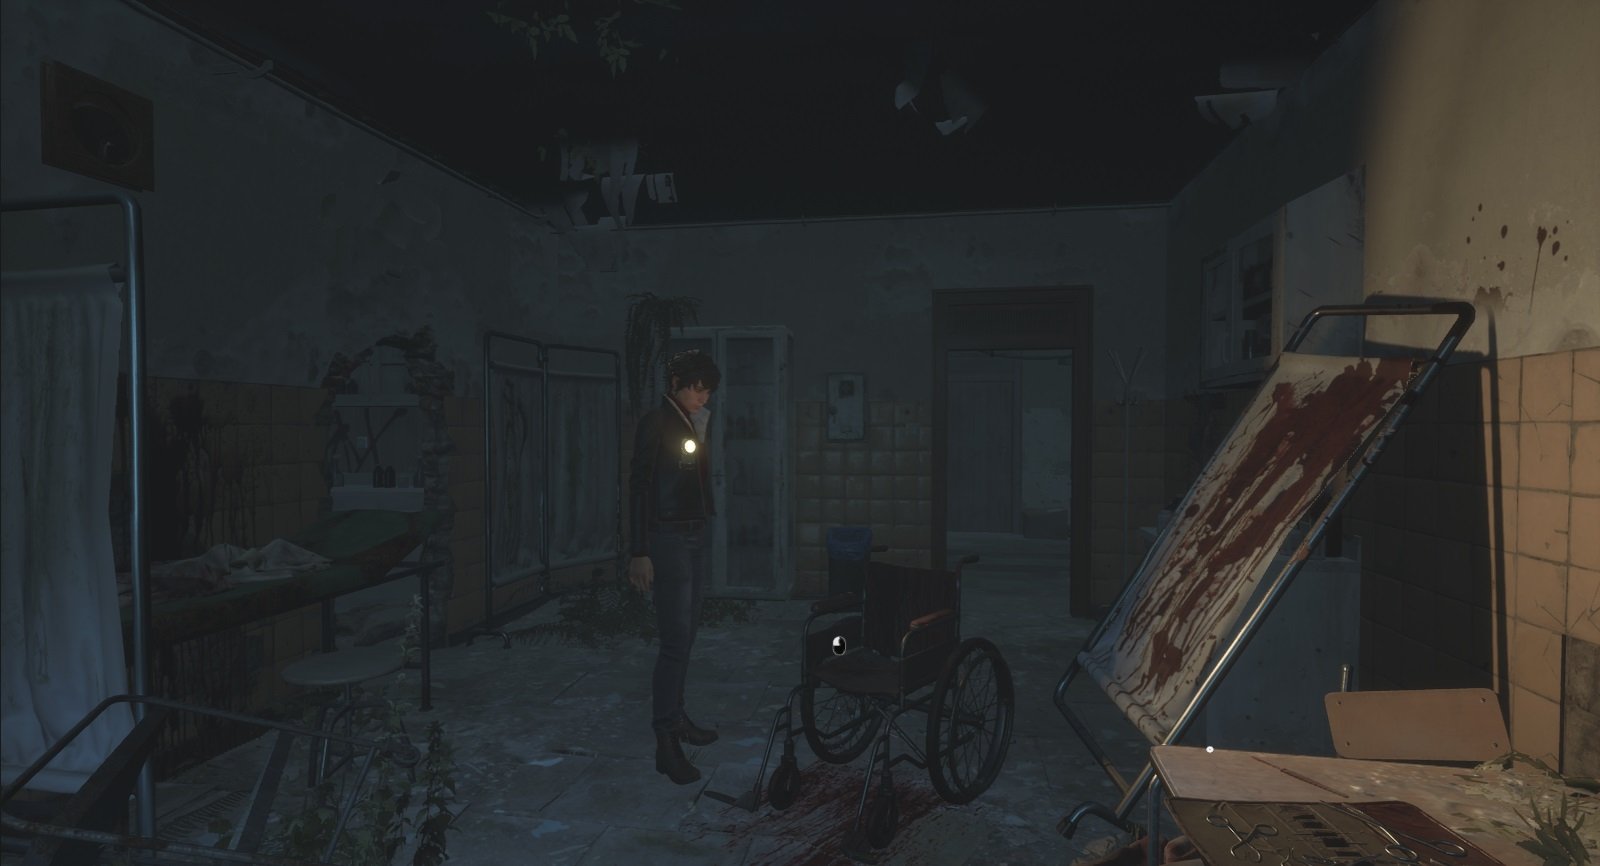
After freeing the two trapped souls and returning to the real world go through the hole in the wall next to the mirror. Interact with the wheelchair and use your insight on it.
Echo #22
Immediately after you enter the dayroom you’ll see a bookshelf and boxes of documents to your left. Interact with the single point there and you’ll see a picture of a horse. Use your insight on it for this Echo.
Echo #23
After entering the Teachers room directly ahead of Marianne is a pen case on a table. The echo point is on the top of the case.
Echo #24
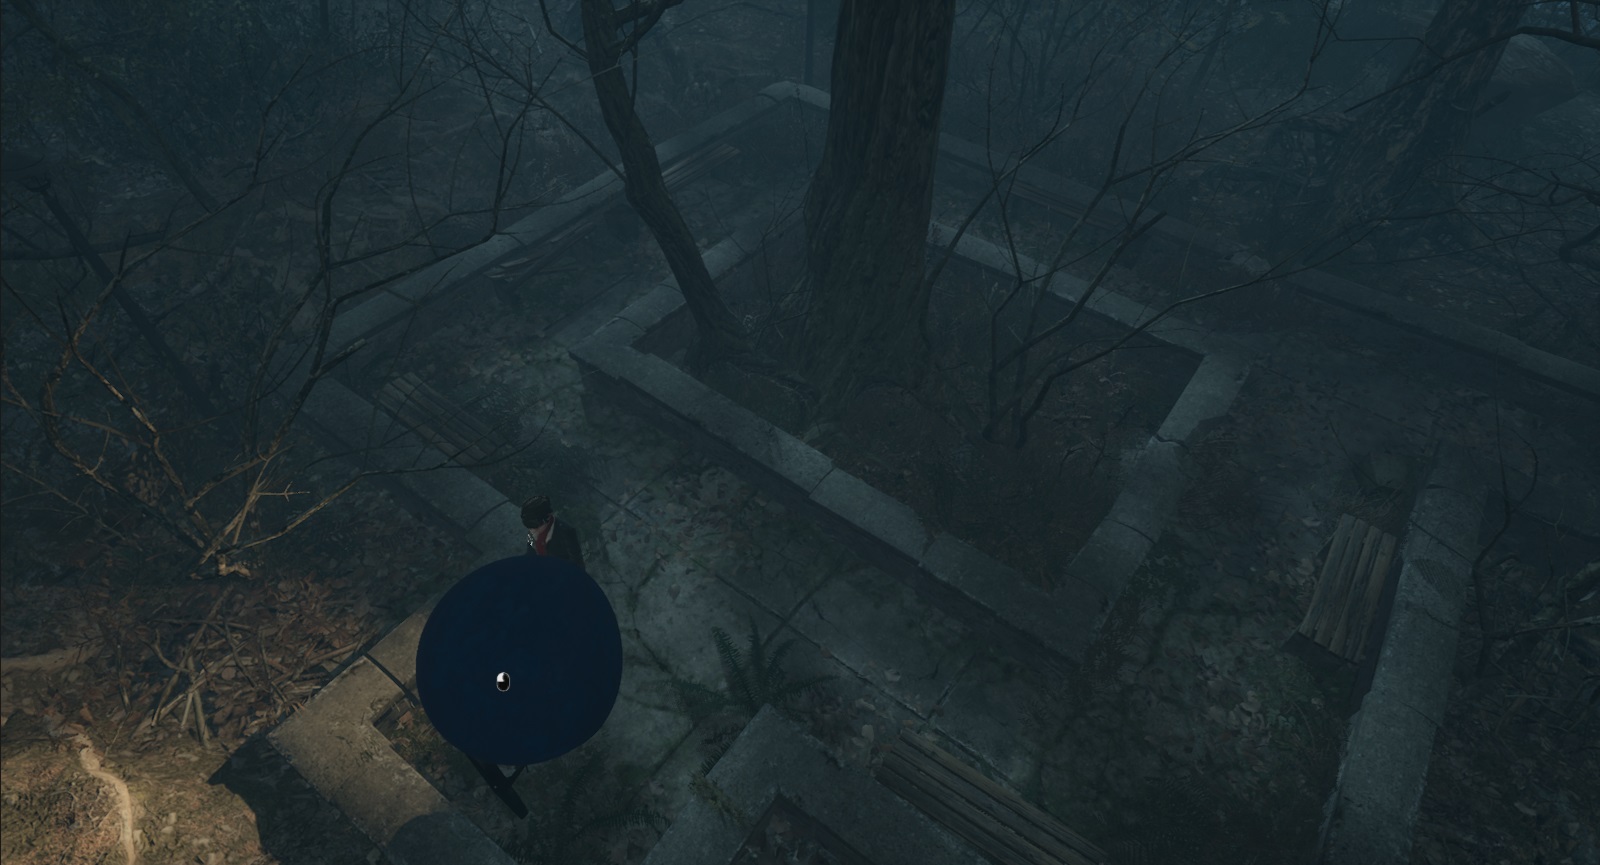
After completing the segment in Thomas’ memories and walking down the steps turn left at the first intersection. Walk by the park bench where the Postcard was and up to the phonebooth. This is your next Echo.
Echo #25
After speaking with Sadness in the playground walk forward until you walk into a fence. There will be a bicycle tire propped up against some rubble.
Echo #26
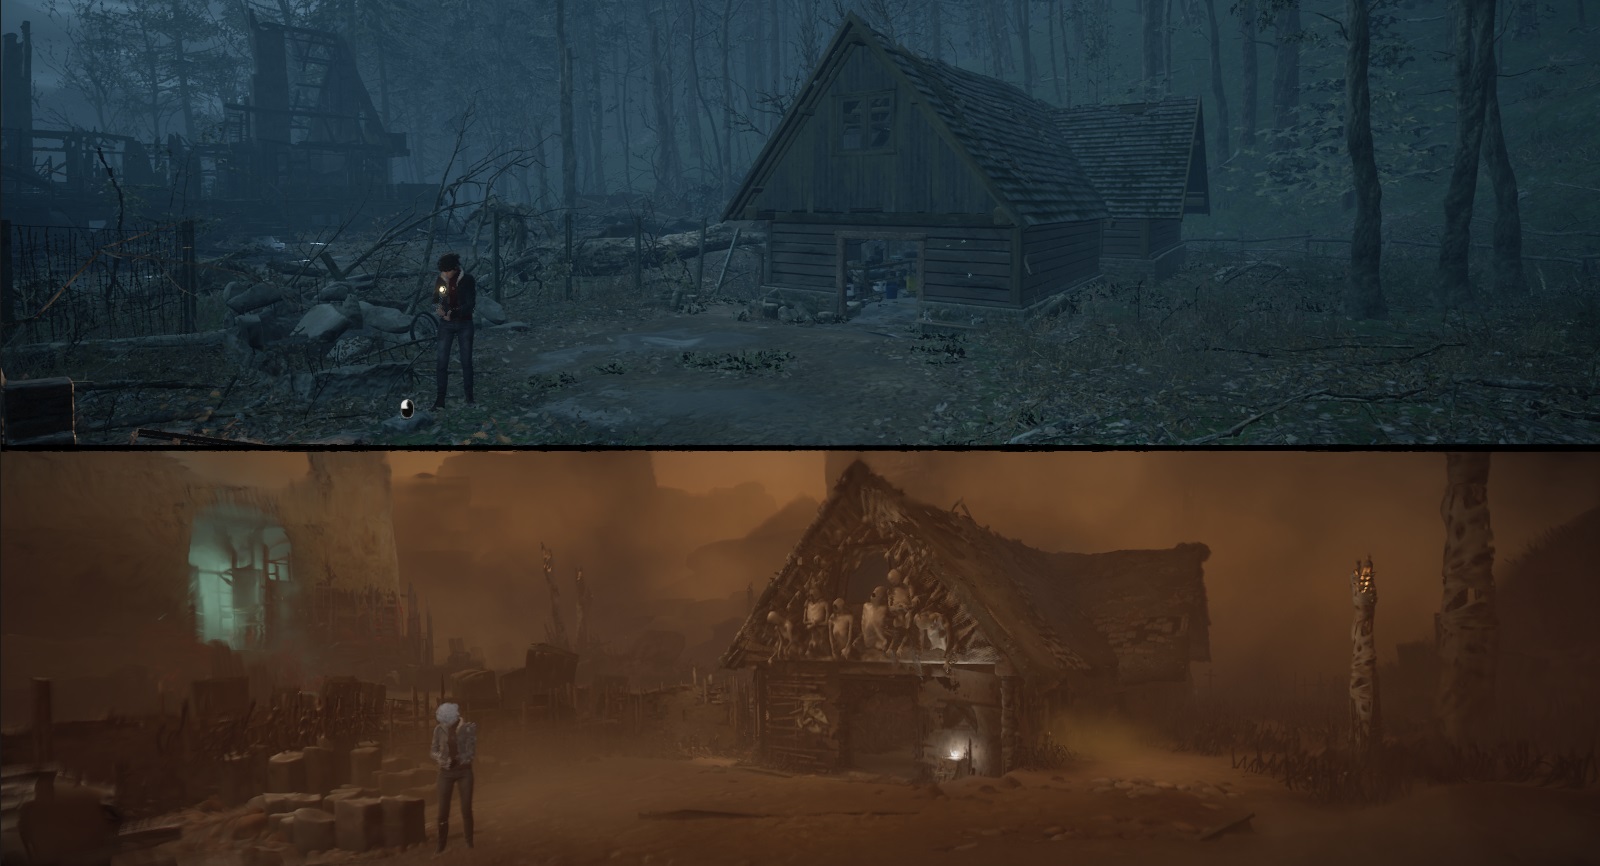
Just to the left of the previous Echo, there will be a pack of cigarettes on a rock.
Echo #27
To the right of the previous two Echos, there’s a small tool shed/shack. Once you enter this area approach the work bench on the left and you’ll see a wooden horse on the table.
Echo #28
Continuing forward deeper into the tool shed once you get into the open area and the camera shifts walk towards the camera as close as possible. On the floor amongst some rubbish you’ll see a tape recorder on the ground.
Echo #29
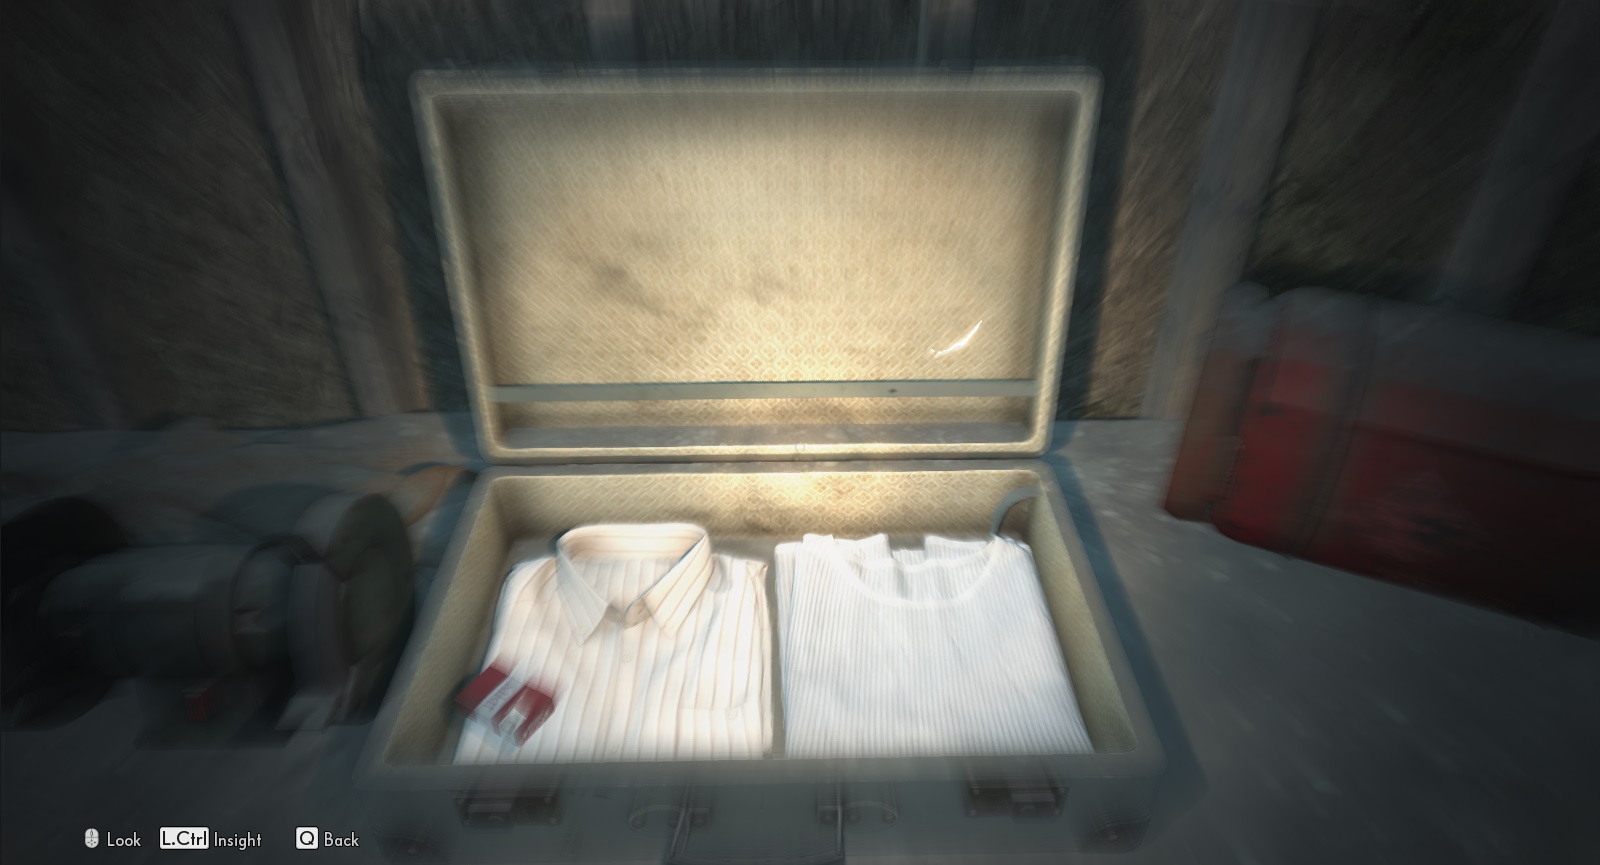
To the right of the previous Echo, there’s a tool bench. When you’re looking at this bench use your insight to spot the echo on the briefcase.
Echo #30
Once in the basement of the Red House head forward until you reach the back wall. There will be a teddy bear you can use insight on.
Echo #31
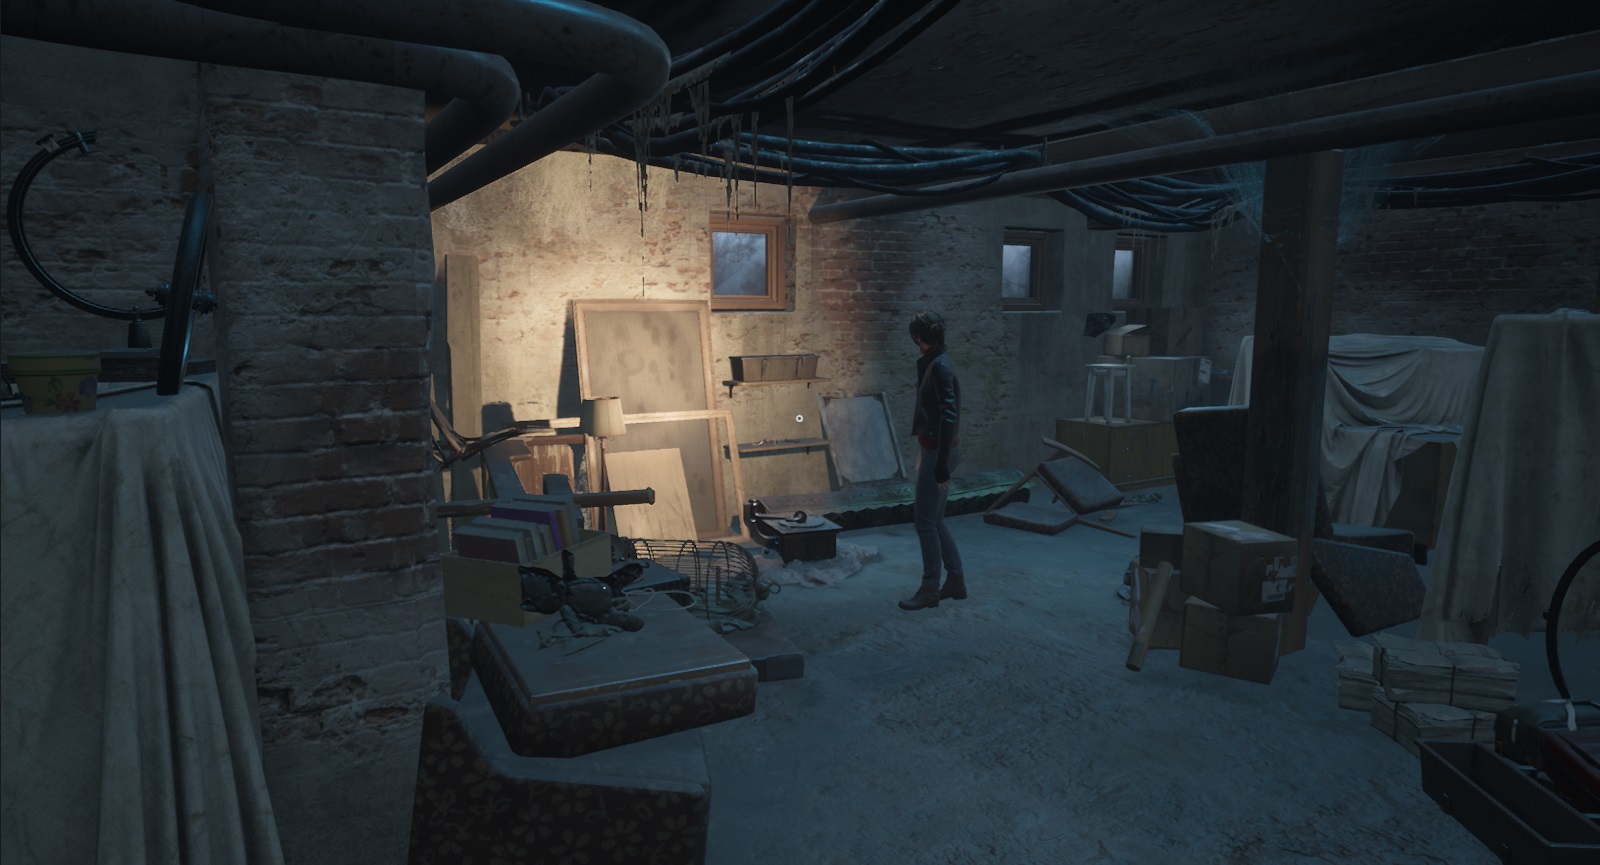
After scanning the teddy bear if you continue further towards the back wall you’ll find a syringe. This is another Echo.
At this point, I received the Calling Out To Me Achievement for Finding All The Echoes In A Single Playthrough even though there is still one to go. (If that happens to you too then let me know)
Echo #32
In the same room as the teddy bear and syringe walk as close to the camera as you can. On a broken chair, you’ll find a shoe.
Have a tip, or want to point out something we missed? Leave a Comment or e-mail us at tips@techraptor.net
