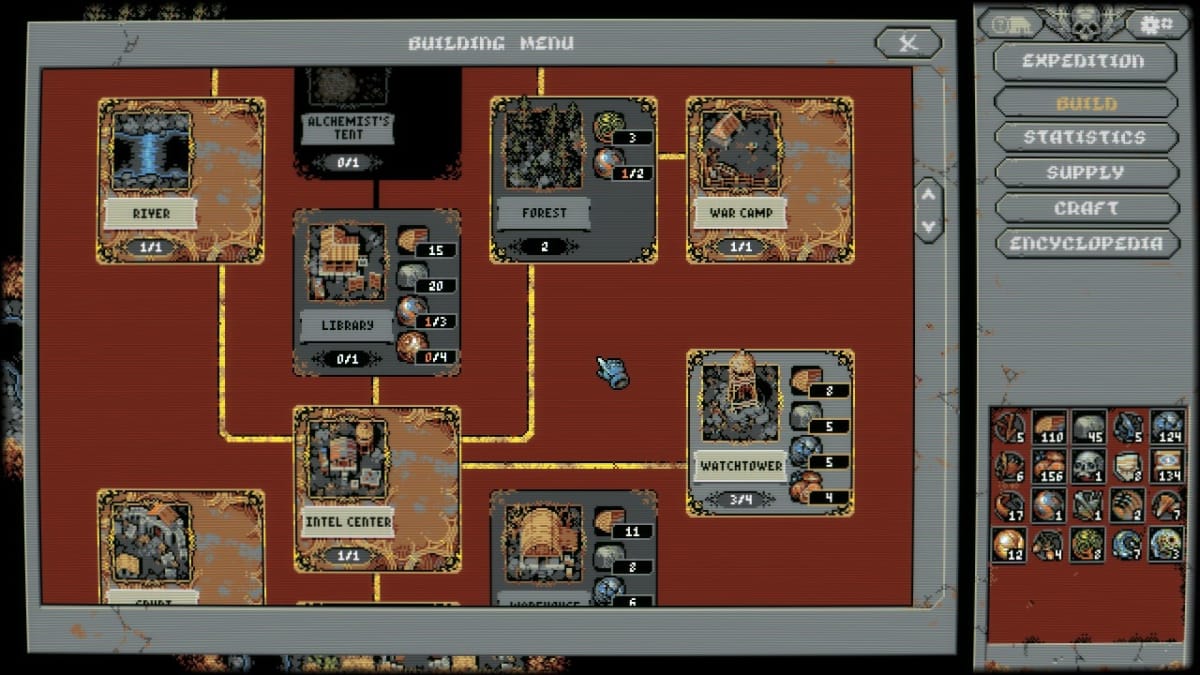
Chances are you've heard about Loop Hero at this point. It's a fantastic idle roguelike RPG that some areas have even called flat out addictive. But the surprising thing about the game is how in-depth it's various systems can be, and how very little it explains to you. Luckily, we here at TechRaptor have put more time into Loop Hero than reasonably healthy people should, and we got some tips and tricks to help you get through the first major boss battle and potentially beyond.
Loop Hero Guide – The Basics
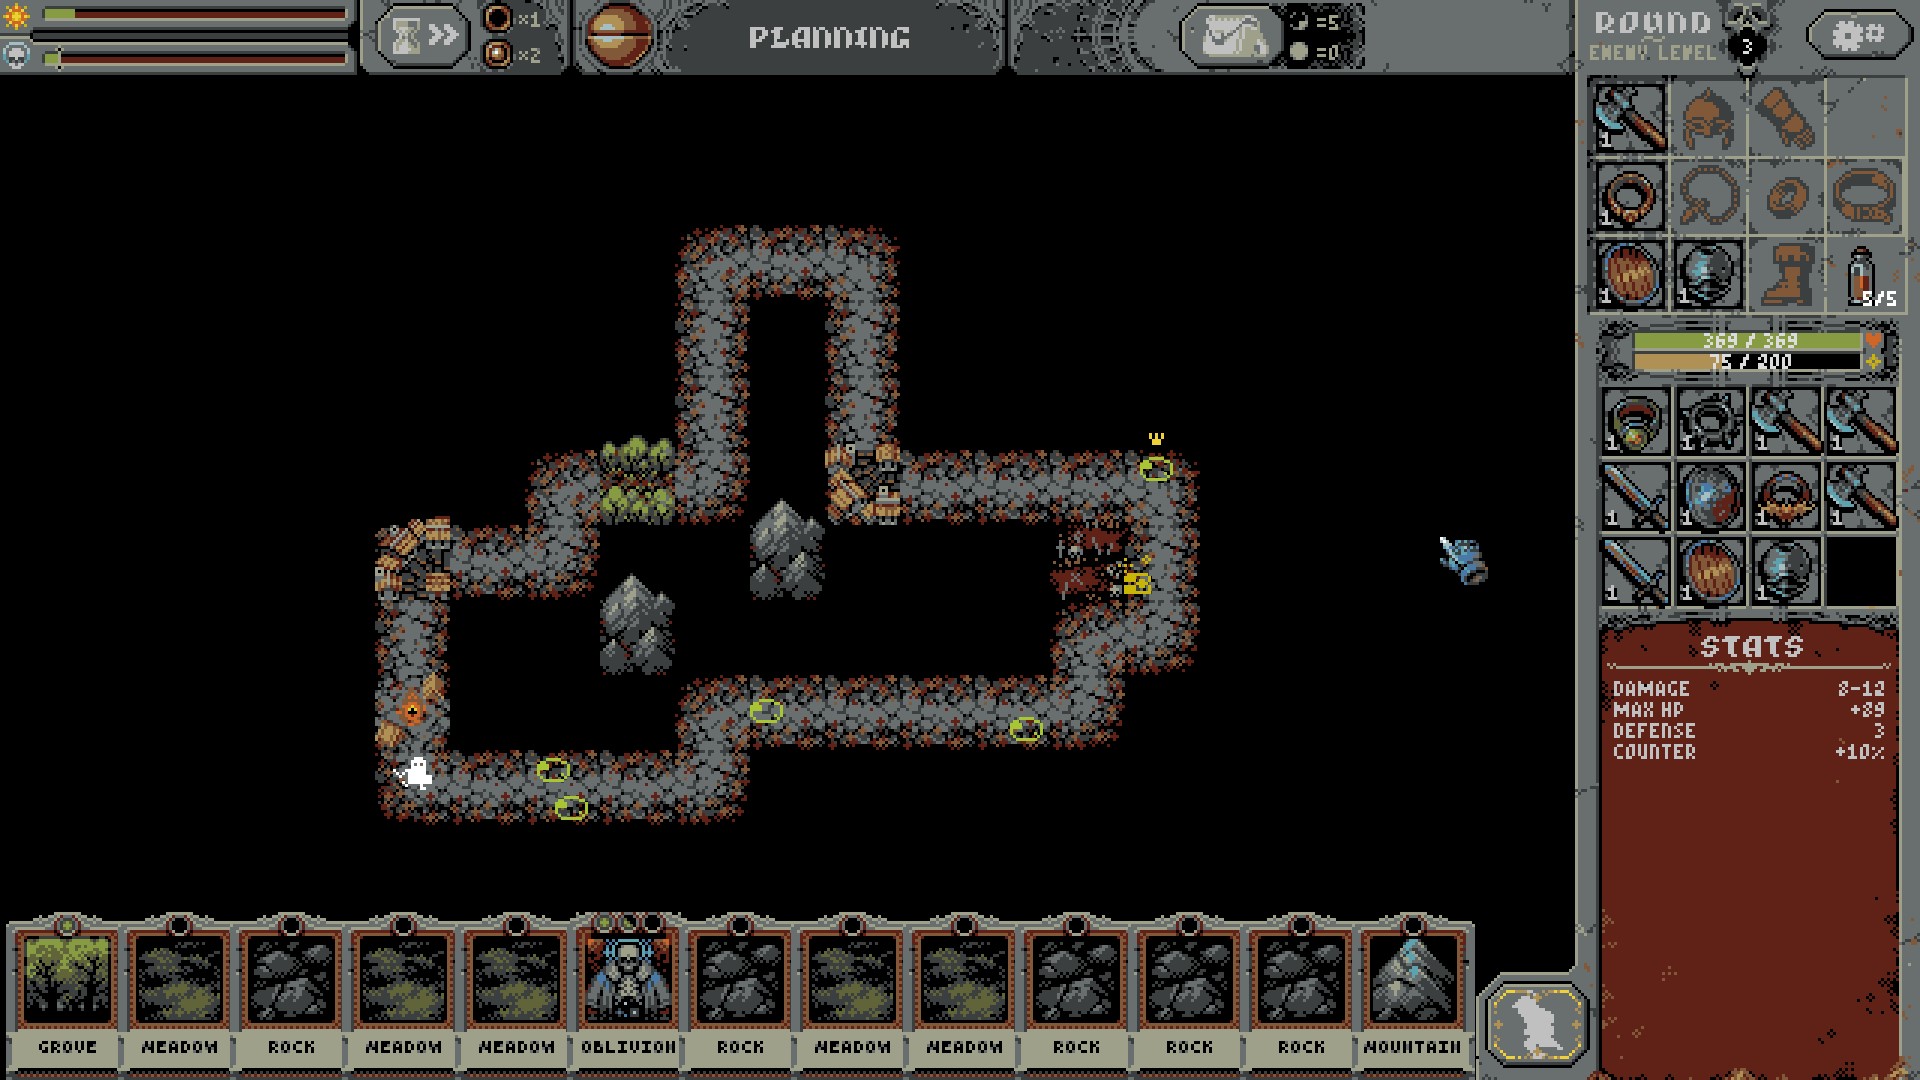
For your first few expeditions in Loop Hero, I just have two simple words: pace yourself. Your starting deck of terrain cards aren't exactly stellar, mostly piling on monster encounters that will overwhelm you if you're not careful. But if you play all of the cards in your hand immediately, it will escalate the encounters as well, causing additional enemies to spawn. Finally, playing a card will make a green bar go up in the upper left corner of the screen, right below the day/night gauge, once that fills, your base camp is replaced with the boss battle, at which point you're screwed. At the same time, you don't want to be too frugal with these cards, since playing them gives you passive bonuses, some of which are improved if you play them adjacent to other cards. Plus there is a maximum hand limit, meaning you'll lose it if you don't use it.
Try to think like a tabletop dungeon master when you're applying cards, spreading out areas as evenly as you can across your loop, but knowing when to back off and just let your hero farm stuff. As for the gear you obtain during these runs, try to have an idea of how you wish to build your hero and then stick to that as best as you can. As loot drops become more and more sophisticated, it can be way too easy to equip a different item just because it's of a higher rarity or base level than what you have on, but it could drastically change your stats and lead to an early death. When in doubt, look at the visual design of the item and its associated stat of importance (Defence, Evasion, Attack Speed, etc.).
This is all important because, for your first crucial runs, you aren't trying to win, but farm resources for base building. Loop Hero runs heavily on RNG, so the best thing you can do in the early game is start grinding up resources. Play as many area cards as you can at the start. Place Groves in the path to gather wood, and then Meadows near Rock and Mountain tiles to get bonus materials. Fight monsters until you have a comfortable build going, then end your run early by selecting Retreat when you get to your base camp. This is important because you get considerably more resources if you willingly end your run compared to dying and retreating.
Loop Hero Guide – Basebuilding Essentials
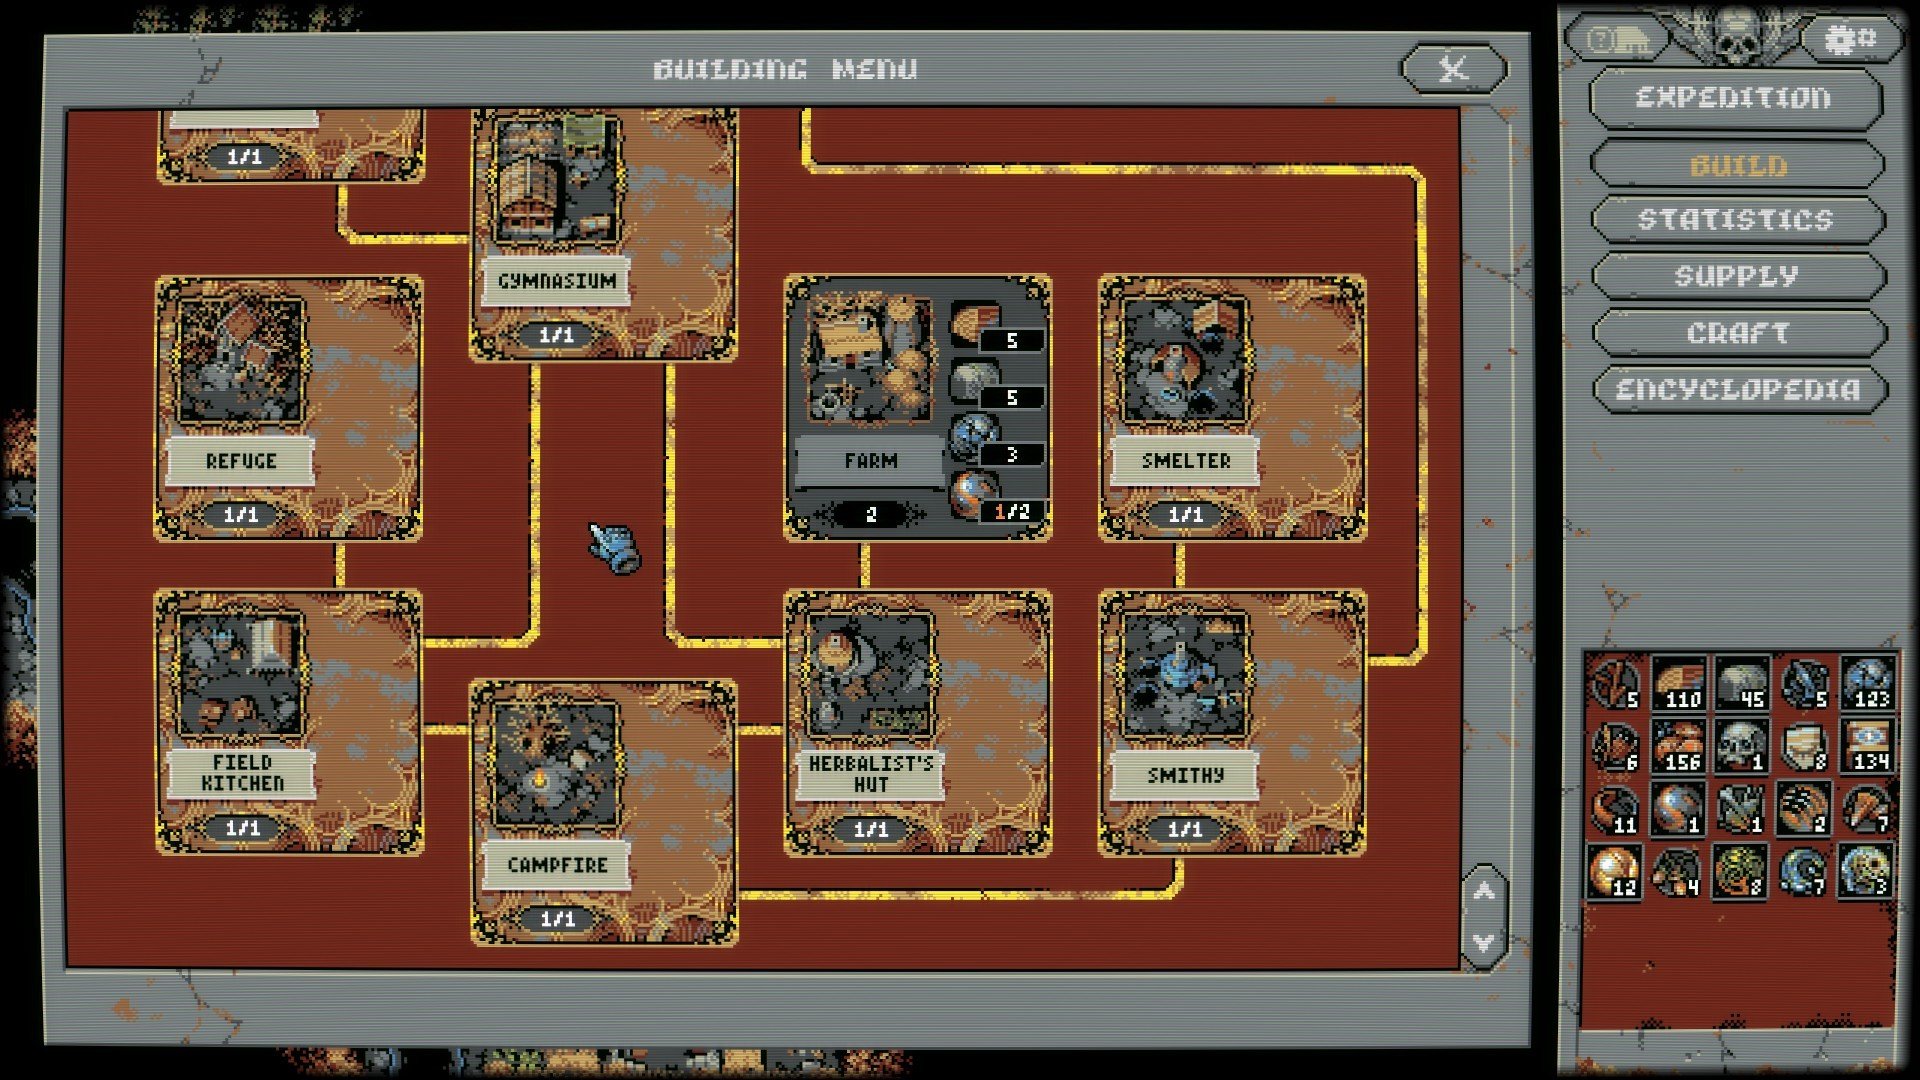
Now that you have some resources, I have some strong recommendations to help stack the deck in your favor. The first big things you want to build first are the Herbalist's Hut and the Gymnasium. The Herbalist's Hut gives your character healing potions that they'll use if their health gets too low. Better still, some of those potions refill when you get back to base camp at the end of a loop, drastically increasing your survival rate. This also unlocks the Swamp cards for deckbuilding, but since that actively punishes you for having vampirism builds, it's way too situational to get into here.
As for the Gymnasium, it unlocks the most beloved of RPG abilities: levelling up. Kill enough monsters and you'll get to choose one of three randomly generated perks. These can range from getting super attacks, having a chance to stun enemies, or getting bonus defense that stacks with each successful loop. Secondly, you'll unlock Village cards, which not only heal you a bit when you enter but give you quests. These quests reward you with additional items, experience, or even health, if you kill a certain amount of enemies. Add this to your deck as soon as you can. It's a great way to give you some survivability against certain encounters and it'll help you get the most out of the new perk system.
Go back and farm up some more resources, hopefully, those perks and Village cards made it a lot easier to stock up, because now we got a few more areas to build. Build a Smithy and a Field Kitchen as soon as you can. Both of these will increase how much health you gain when returning to base camp, give you a set of starting armor and weapon at the start of each run, and give you access to the Blood Grove card. Pair this with the Grove card in your deck for future runs since it'll make all enemies in its area of effect die when they're down to fifteen percent health or less. It'll also summon a flesh golem monster every few loops, think of it like a miniboss, that drops stellar loot when defeated. Try placing a grove near a wide corner of the loop with the Blood Grove in the center for maximum coverage of this effect.
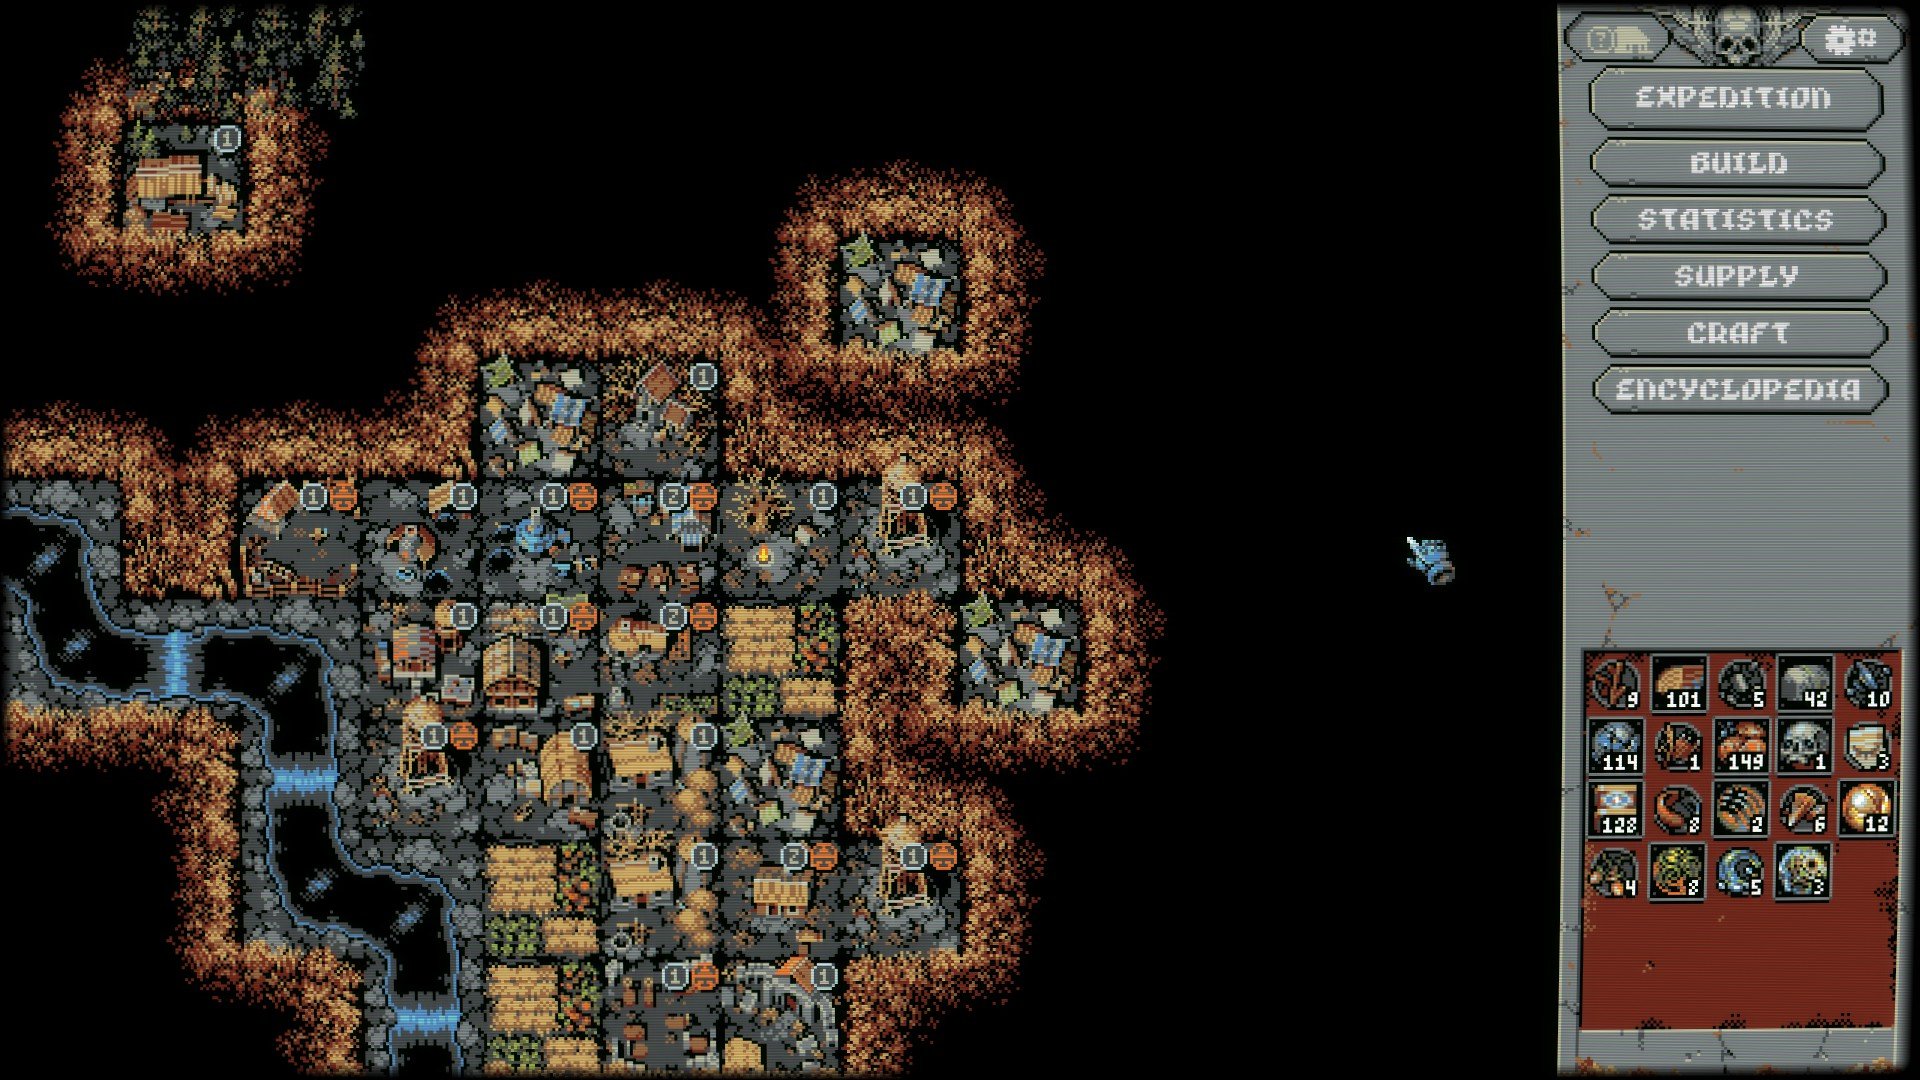
The last crucial areas to build are the Supply Depot and Mud Huts. Supply Depot will let you collect artifacts at random on your runs. These artifacts can have many different small benefits like healing a little more at base camp or doing bonus damage to the boss. By themselves, these artifacts are negligible, but that's what the Mud Huts are for. By ending your runs with these artifacts, you can then store them in the Mud Huts. This will give you your own supply of artifacts where you can equip whichever ones serves you best.
There is a limited inventory at first, but that extra five per cent bonus can be the difference between victory and defeat. Just remember to equip these artifacts in the Supply menu before you start your next run.
Loop Hero Guide – Advanced Map Management
At this point, you should have a solid foundation for consistently making it to the first boss battle of Loop Hero. But what if you're still struggling and need a few more crucial tricks to help push the favor of RNG? Believe it or not, some benefits can come from the very placement of terrain cards.
First, if you really want to grind resources, put the Treasury card in the deck. Once you get it in your hand, place it on the map, then immediately cover the eight tiles around it in other terrain cards. Generally speaking, do this with Meadows next to Rocks and Mountains; this will cause Meadows to bloom and grand more resources. Once the Treasury is surrounded, you'll be gifted with a ton of resources and some loot. But, this will cause the Treasury to become abandoned and start spawning gargoyle enemies on the map. You've been warned. Furthermore, try to spread out your Treasury placements since they can't be put anywhere near other tiles. Worse still, if you can't place eight tiles' worth of stuff around the Treasury, you won't get your payout, so keep that in mind.
If you need some more maximum health, start stacking Mountain cards on top of each other. If you place nine Mountain cards in a three-by-three square, they'll combine together to form a larger mountain, which will grant you an even larger bonus to your maximum health. The trade-off is that harpies will start spawning on the map.
The most devious combo available however is the Oasis combo. This is a very advanced element, chances are you'll be past the first boss by the time you have the supplies to get these, but everyone plays at their own pace and this is too good of a combo to pass up. First, you'll need the Intel Center and the River built at your base camp, then add the Desert, Dune, and River cards to your deck.
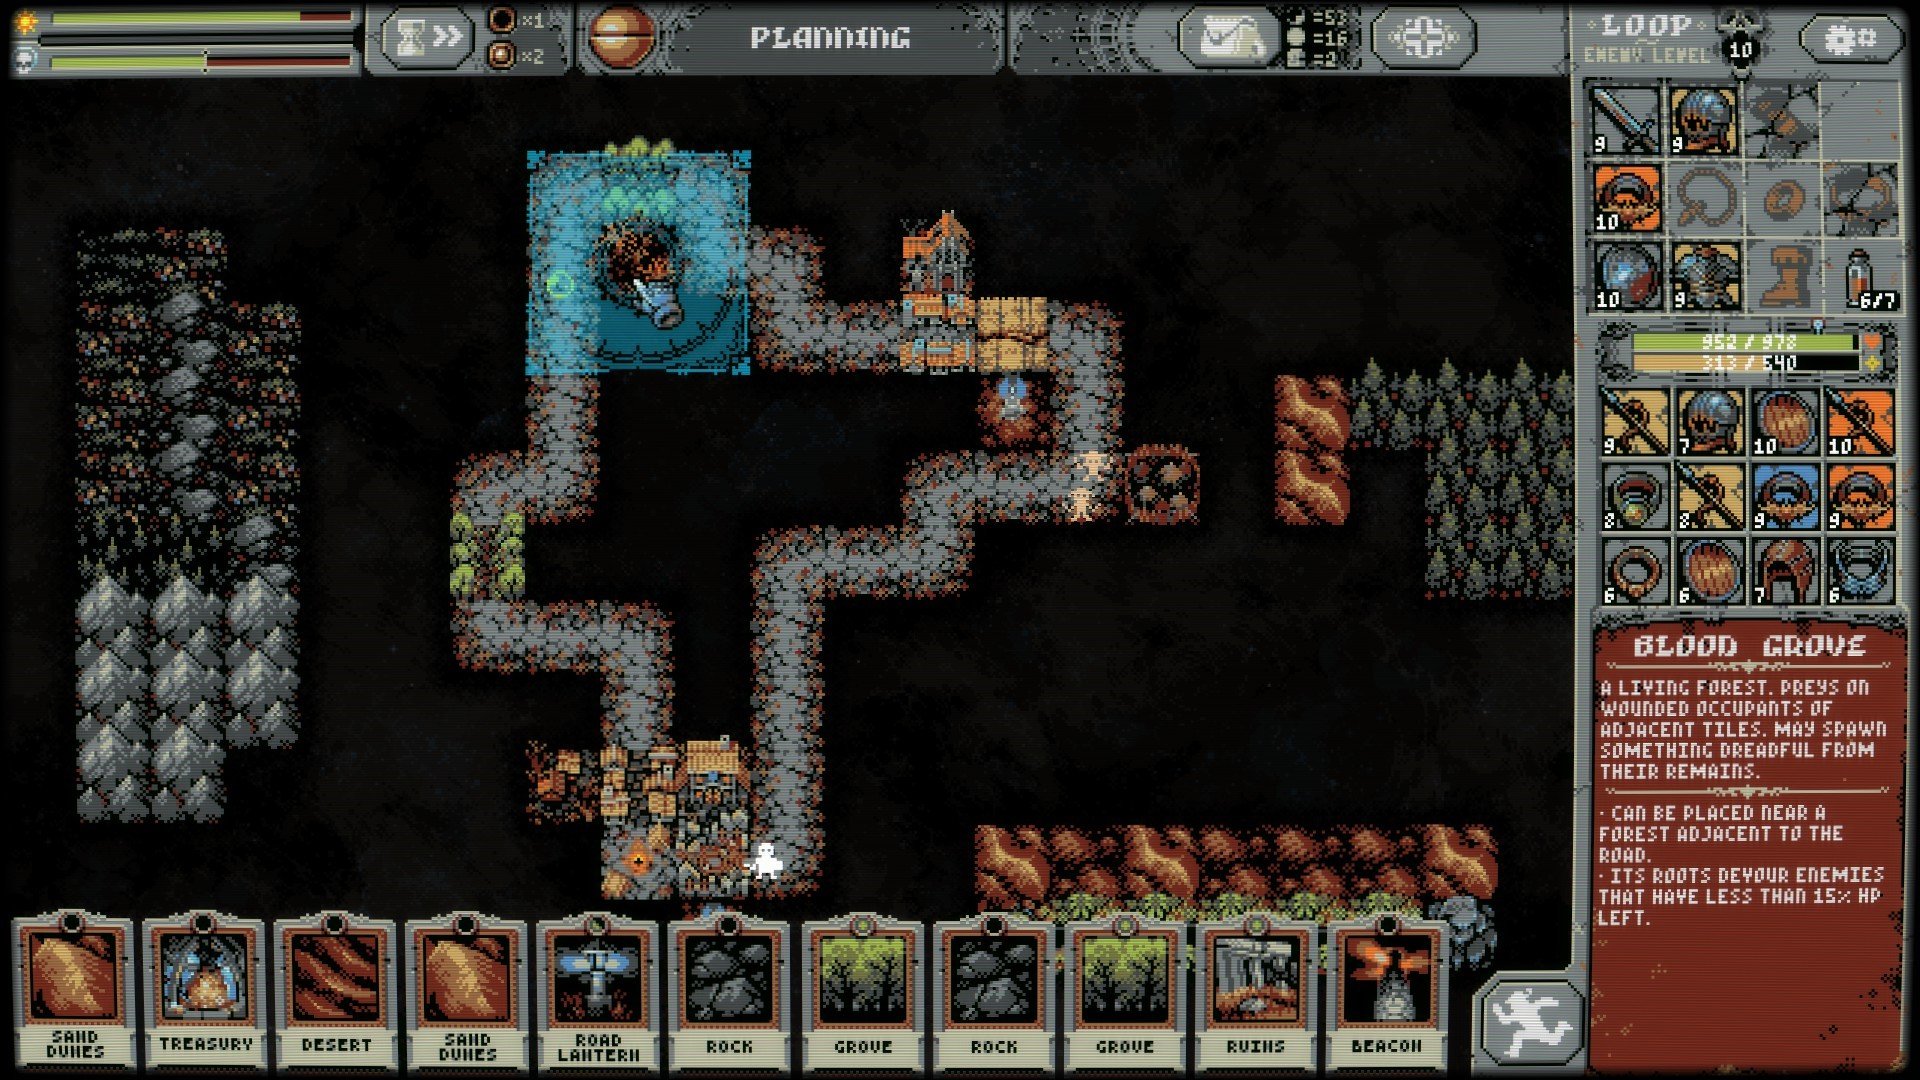
By themselves, these cards are quite potent. Playing Dune and Desert cards reduce the maximum health of all monster encounters, and River cards double the effect of any tile cards put next to it. The only problem with the River Cards is they can only start in the farthest corners of the map, and once they go in one direction, they can't change course. However, if you place a Dune or Desert card next to a River tile, in addition to the benefits mentioned before, it turns the river into an Oasis tile. An Oasis lowers your attack speed by 0.5 % but lowers enemy attack speeds by 1%. If you build to mitigate this penalty and just layer on these cards, you'll fight not just weaker but slower enemies.
Last but not least, know when to use Oblivion cards and Road Lanterns. Simply put, playing an Oblivion card lets you remove an area from the map, it even ticks back that progress bar that signals the coming of the big bad. But the last thing you should use these cards for is removing stuff you've placed. Instead, hold on to them for when areas spawn in response.
For example, after your second or third Village card is placed, a Bandit Camp might spawn nearby. This is dangerous because not only does it spawn enemies in a spot that's supposed to be a rest stop, those bandits run the risk of stealing items from you mid-battle. It could be that underwhelming chestplate you got, or that epic level magic ring that doubles your base defense while giving you insane health regeneration and a high chance of counterattacking. Worse still, you cannot get these items back. This can doom your run. Instead, wait until you have an Oblivion card in hand before you put down your second Village card, then erase that camp if it pops up like cosmic whack-a-mole.
If you don't have an Oblivion card at the ready, Road Lanterns are a more economical alternative. Basically, placing a lantern reduces the maximum number of monsters that can occupy that space at any given time. Better still, these effects can stack. Imagine a situation where a Goblin Camp pops up in a spot near a Cemetery full of skeletons that also just happened to get overrun with harpies and gargoyles. All of those encounters back to back are a bottlenecking nightmare. But with a single well-placed Road Lantern, having to deal with four enemies in a single square is dropped down to a manageable three, or even to a reasonable two if you stack another.
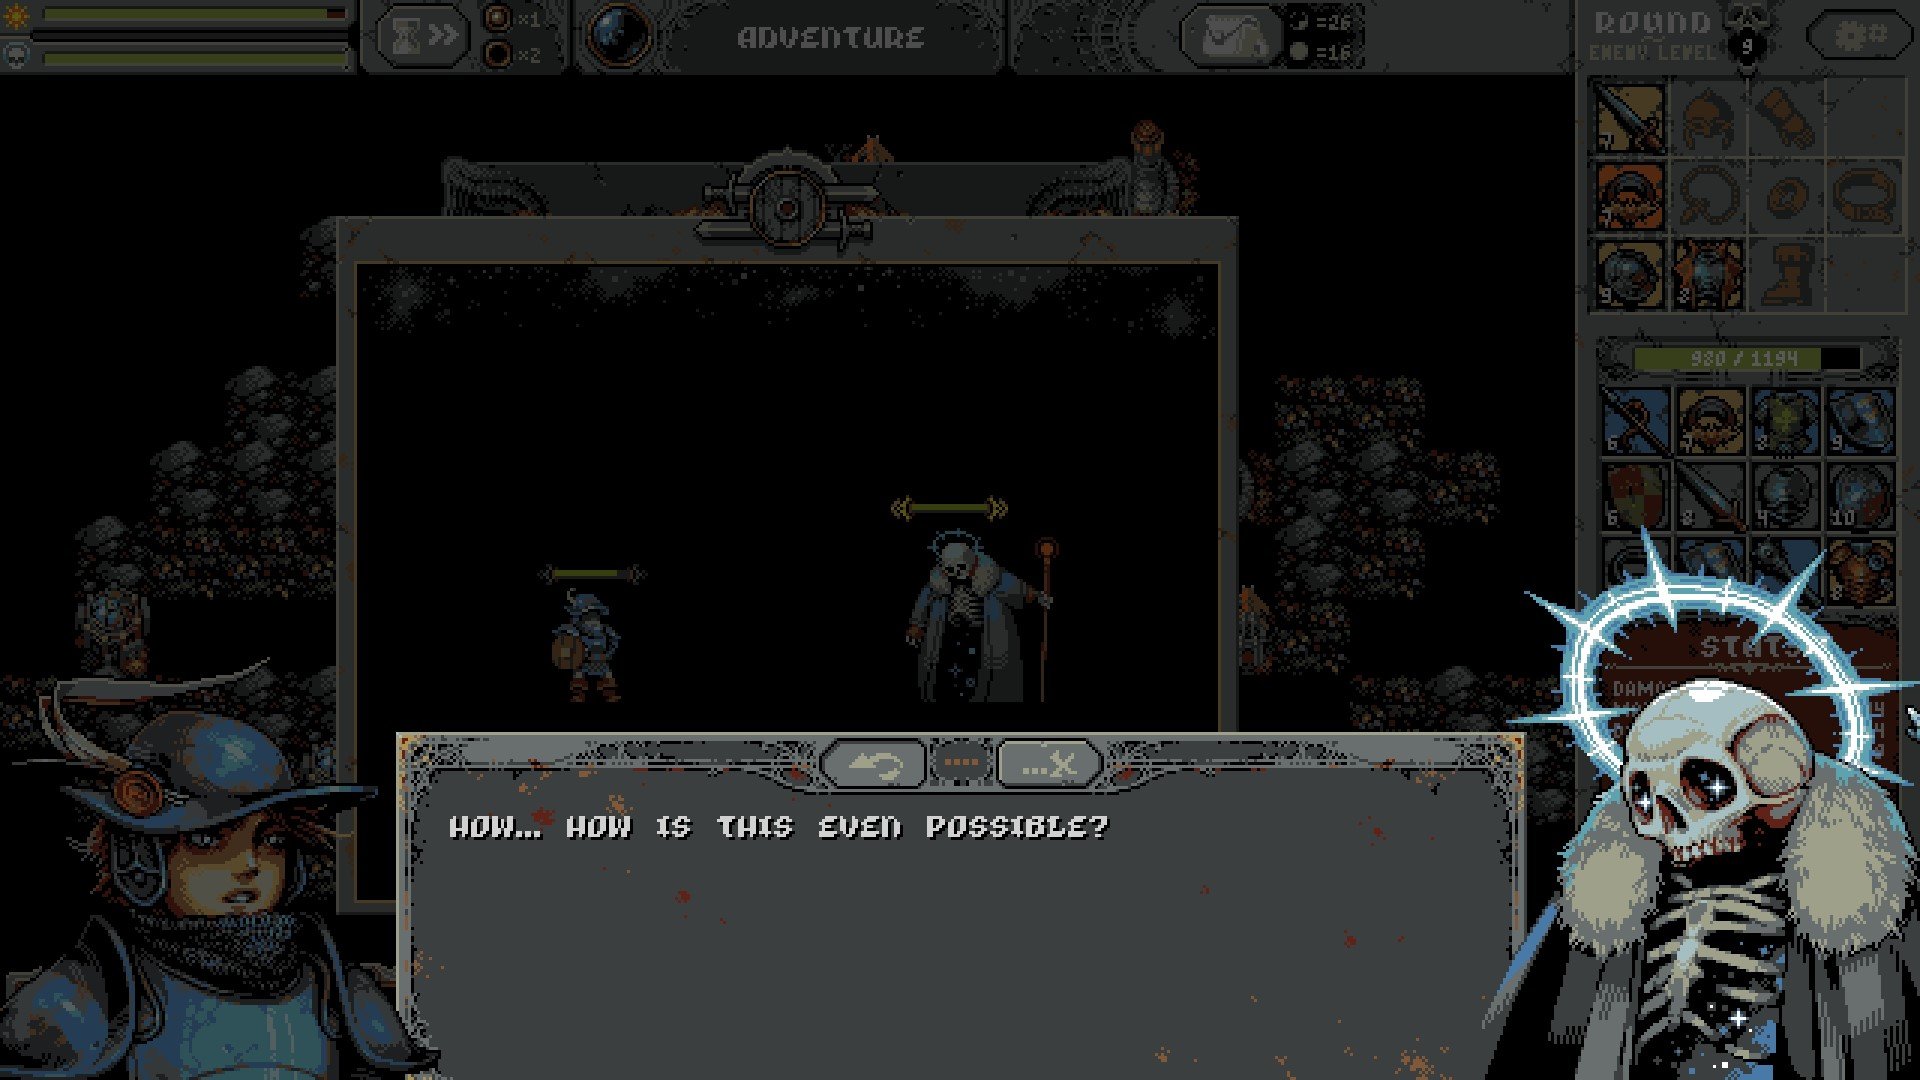
With that, you should have a solid foundation for continuing your nonstop adventuring in Loop Hero and even got a few advanced tricks under your belt. This still hasn't scratched the surface of what can be done in this game and if you want more guides on those subjects, stay tuned.
Have a tip, or want to point out something we missed? Leave a Comment or e-mail us at tips@techraptor.net
