Hello card gamers. If you've been following our past guides, you should have a firm grasp on the fundamentals of Inscryption as well as have Leshy's puzzle cabin figured out. But what about that final push? Those last major challenges Leshy puts in your way? What strategies will you need to defeat the boss battles along your way? Well, this Inscryption boss guide is for you.
Inscryption Boss Guide - How to Beat The Prospector
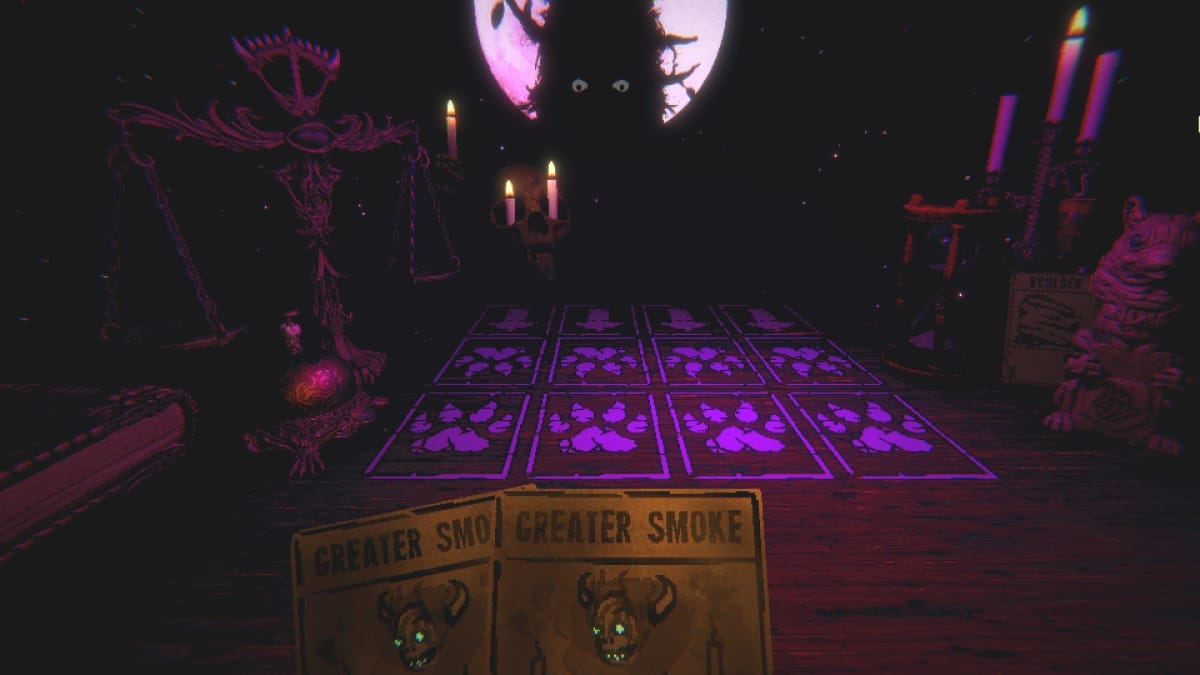
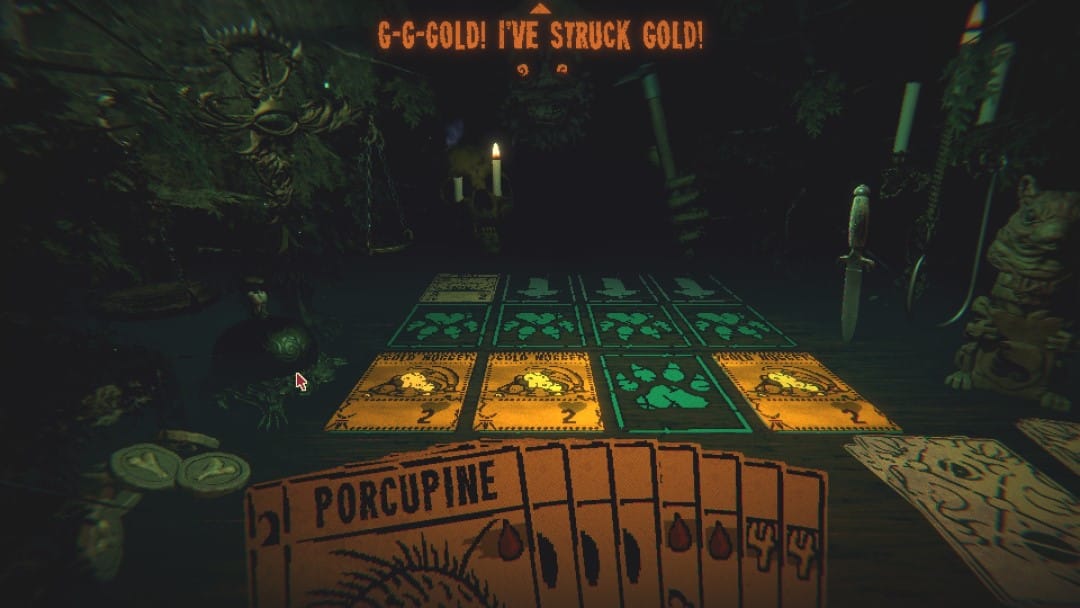
Starting things off is The Prospector. If you go into a boss battle with more than one life left (represented by lit candles on the table), you'll immediately drop to one candle and be given the extinguished smoke as creature cards in your hand to start the fight. Alternatively, Leshy himself will light some candles to represent different phases of the boss fight. You get one life, and the boss has multiple. So take things slow.
The first phase of The Prospector plays out like a straightforward match. He'll summon canine creatures, mostly coyotes, to hammer away at your defenses. In addition, there will be a pack mule card on the row. It has no attack value and five health as well as the sprinter sigil. This means it will move around Leshy's attack row at the end of each turn, potentially blocking your attacks.
The two major things you want to do in this fight are as follows. First, take out that pack mule. It will open up The Prospector for more of your heavy hitters. Additionally, defeating the pack mule will unravel a hidden pack of additional creature cards (selected at random) that will be added immediately to your hand.
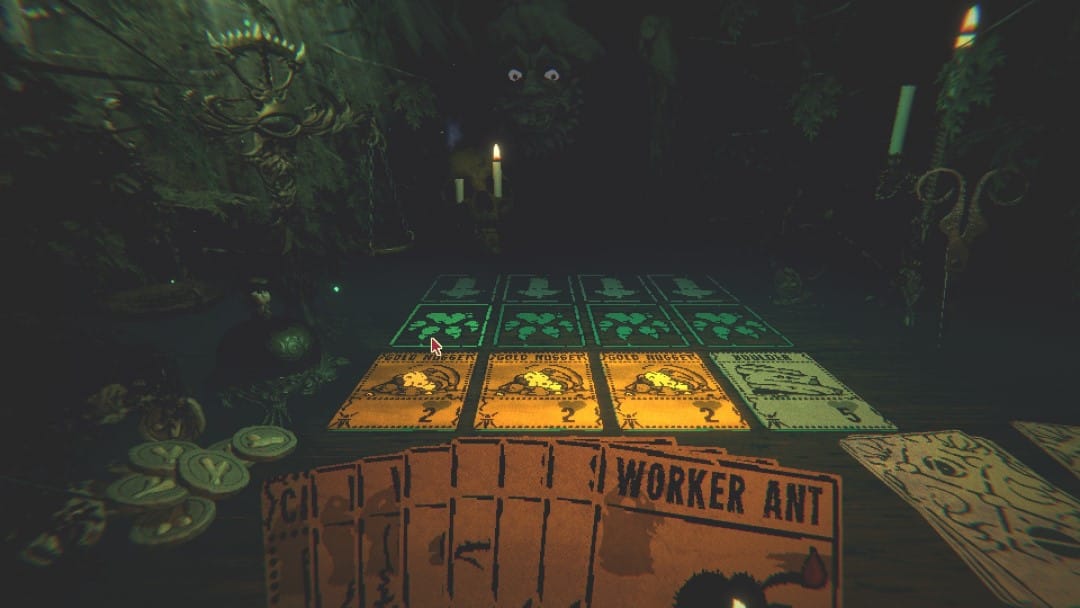
Once that is done, the next step is simple: pace yourself. Hold on to some of your big hitters or high cost cards and don't completely fill your row. As tempting as it is to go in for the kill, it's a trap.
This trap is sprung when you reach The Prospector's second phase. Once the scales and board reset, The Prospector will immediately kill all of your creatures, turning them into gold nugget cards. These nuggets cannot be sacrificed and have no attack value. Following up on that, The Prospector will start playing bloodhound cards. A 2|3 creature is bad enough, but its sigil ability will cause it to immediately go to the space of any creature card you play. Add to this your limited spots to play creatures and you have a deceptively dangerous bottleneck to work around.
There are two solutions to this. The first is if you stuck to single high damage creatures in the first phase and have some breathing room, use that to your advantage. Play a low cost creature then play a squirrel to get the bloodhound's attention. Keep drawing from the resource deck if you have to. Eventually the tide will turn.
Alternatively if your entire row is completely filled with gold nuggets, the best thing you can do is wait. If you got the pack mule cards, just keep drawing squirrels until The Prospector's creatures break through the nuggets. Once you have an opening, start making up for lost time by playing then sacrificing those squirrels. Poisonous adders, undying cockroaches, and high damage wolves and grizzly bears are your friends here.
Inscryption Boss Guide - How to Beat The Angler
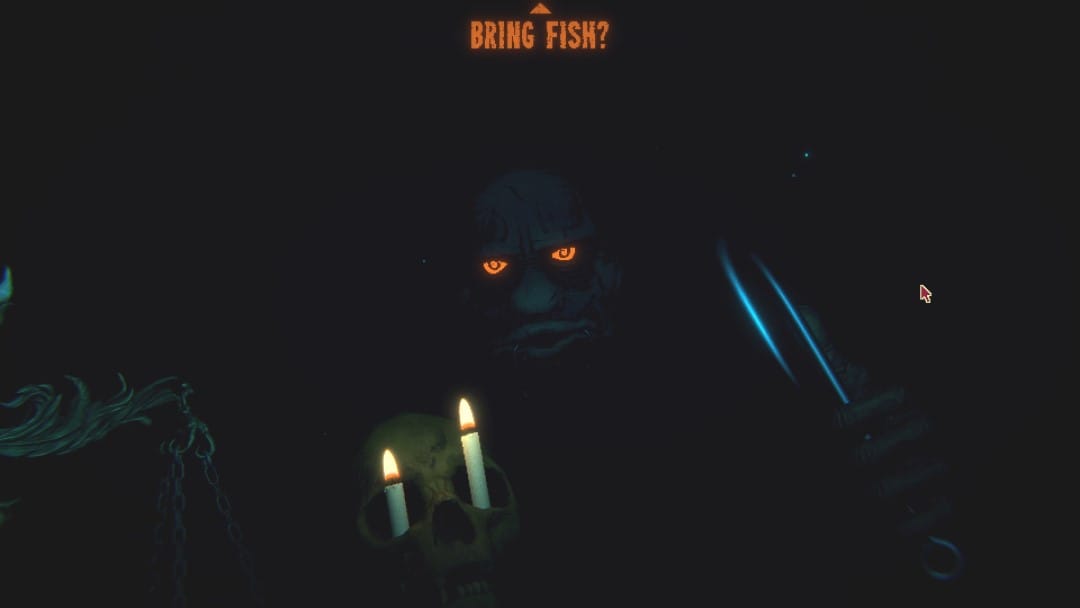
Next up is the Angler, the boss awaiting you at the end of the Wetlands map. As the name implies, The Angler's whole deck strategy involves cards with the dive ability like otters and the kingmaker. Once they attack, they dive, which means their cards are flipped over. On the one hand this means they can't block any of your creatures. On the other, you can't attack them directly... but they can attack you when it's The Angler's turn.
There are a few abilities to work around this. The obvious ones are creatures with high health and the spike armor ability will let you chip away indirectly at them. Alternatively, you can take advantage of the lack of defense with high damage cards to just drop The Angler's first phase immediately.
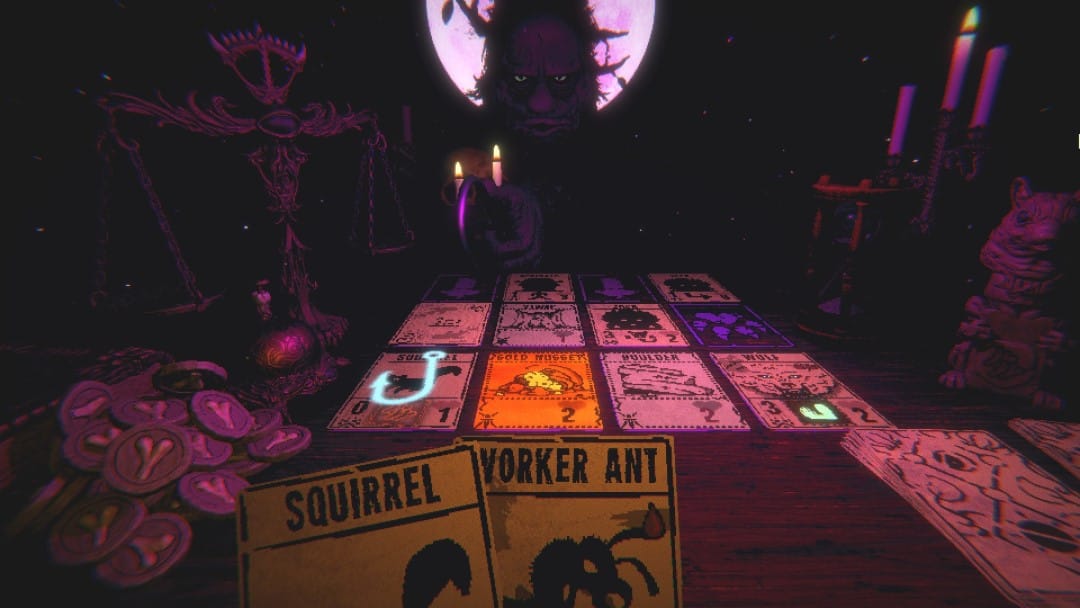
But there is one unique mechanic The Angler pulls out during this phase to watch out for: his hook. Every other turn, The Angler's hook symbol will glow over one of your creatures. If you play a new creature, the hook will float over it instead. Once your turn ends, the hook will come down and drag your card to The Angler's side of the board.
Thankfully, there is a cheat. Just draw a squirrel and make sure the squirrel is the last creature you play before you end your turn. The Angler gets a dud card that can't hurt you, and you can continue laying into him with your creatures.
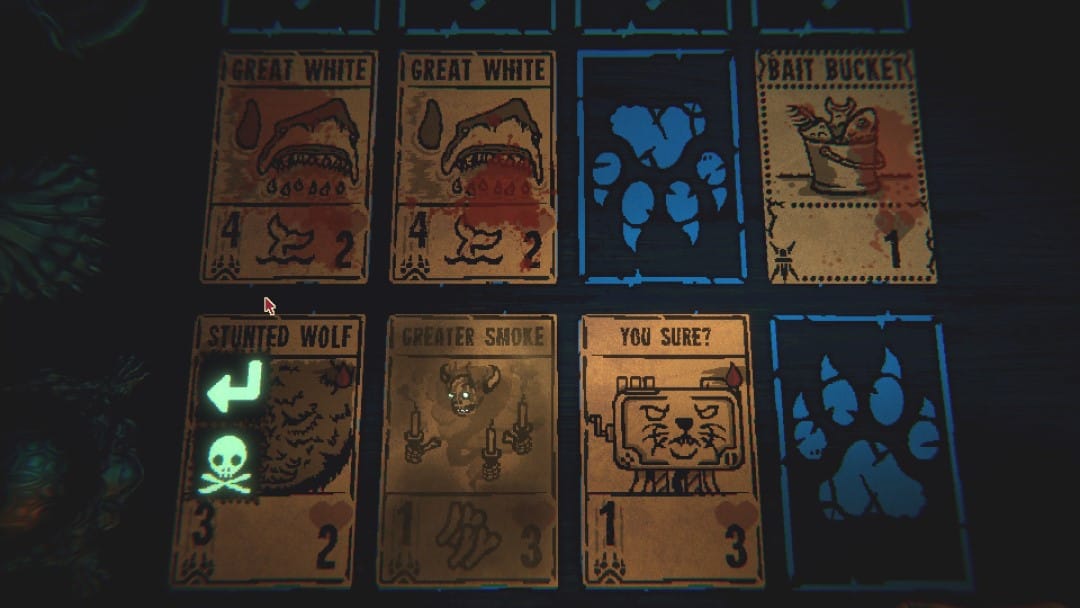
It's when the second phase rolls around that things get dangerous. Once The Angler's board resets, he'll spawn a fish bucket card in front of each of your creatures. If you can help it, do not destroy those fish bucket cards. If you do, the bucket will immediately spawn a great white shark card. The stats on it are 4|2 with the dive ability. It hits hard, you can't hit it back, and depending on how stacked your board is, you might be two turns away from instant death.
My advice? Flyers, high defense blockers, and cards with multiattack abilities. Flyers can bypass the fish buckets for easy hits. High defense spike armor can hold off the great whites for a while, although this is more of a stalling tactic than a counter; The Angler can play more fish buckets. Finally, multihitters, bifurcated strike in particular, strike the areas to the left and right of the board respectively. Position them just right and you can avoid a shark attack all together and flatten The Angler in one sweep.
The good news is once you beat The Angler once, you get to his hook ability as a single-use item. You start each future run going forward with it, so have fun fishing.

Inscryption Boss Guide - How to Beat The Trapper and The Trader
Next up is the penultimate boss fight before the end found at the end of the snowy mountains map. At first, The Trapper doesn't seem that impressive. His attack row is full of strange mechanical frog cards. Aside from the name, they're no different than the bullfrog cards; 1|2 and they can block flyers. But there is another creature card on the field, called a leaping trap.
This phase will take some more deliberate play. Much like his namesake, hitting the frogs or the leaping trap will cause your creature to instantly die and have a pelt card added to your hand. Hold on to your big hitters and stock up on resources. In essence, this is the fish bucket strategy from The Angler boss fight: look for and exploit gaps in the line-up. The added wrinkle is you might need to make those gaps yourself with some sacrifices. But don't think of those offed cards as wasted. Furthermore, keep the pelt cards in your hand.
This is because once you go to the second phase of the fight, The Trader shows up. If you've looked at our Beginner's Guide about areas of interest on the map, you'll recognize this is consistent with how these vendors work. Except in this boss battle, you'll directly exchange the pelt cards for cards shown on The Trader's rows. But once you've exchanged all of your pelt cards, the creatures you didn't choose will come after you under The Trader's control. You'll still need the proper materials to play these cards, so keep costs in mind as you play.
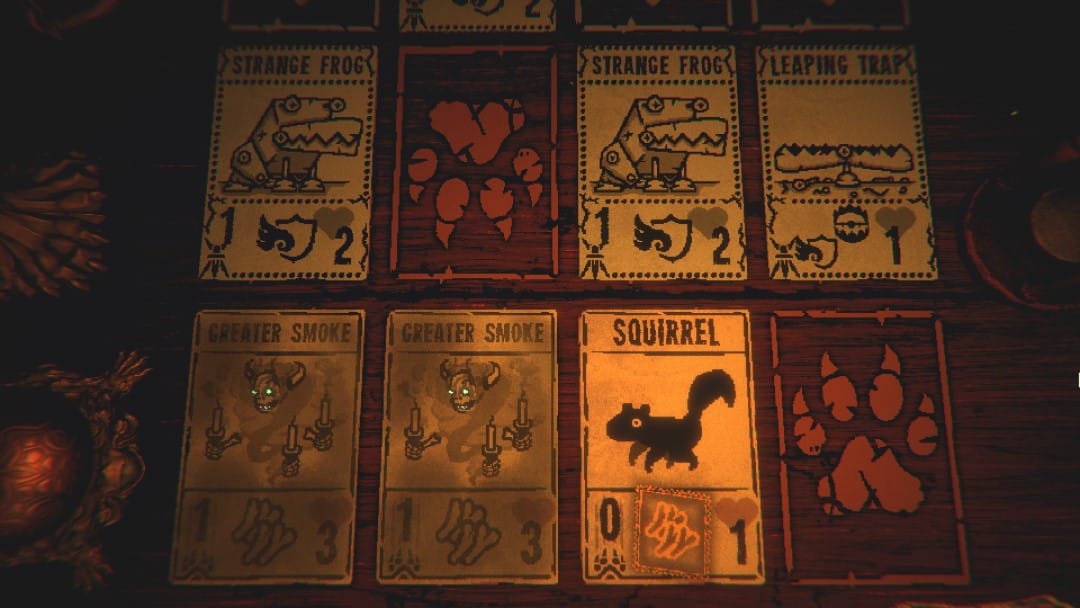
Otherwise, just pick cards you know that will work well with whatever items and totems you have selected for this run. If you can also make some gaps in The Trader's defenses with your choices, that would be even better.
The first time you beat The Trapper and The Trader, a new permanent effect activates. All of The Trapper's pelts get a major discount, making it easier for you to buy and exchange them in future runs.
Inscryption Boss Guide - How to Beat Leshy and The Moon
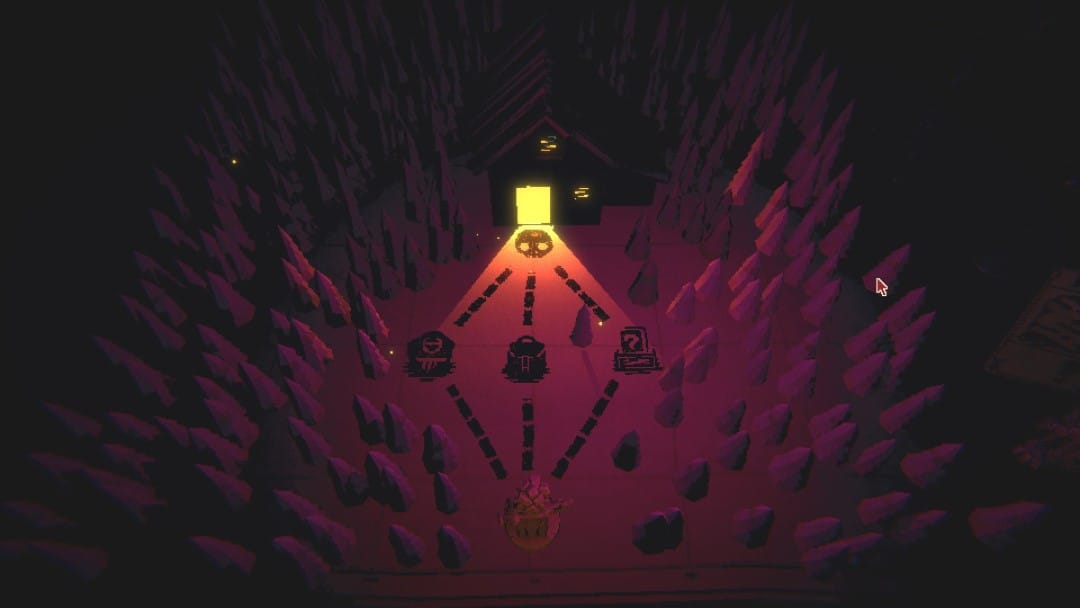
Here we are, the final fight of (this part of) Inscryption, and it's against Leshy himself. No masks, no characters, just you and him. And it is a doozy.
First, you get two more trials. These are more extreme versions of the cave dweller challenges. However, if you managed to get the ring from the cuckoo clock as shown in our Cabin Puzzle Guide, you'll automatically pass one of them. Furthermore, these boosts are significant ones like starting the fight with 8 bones or with a black goat already on the field. If you use a lot of cards that cost bones or have been sticking with sacrifices, you'll know which one works better. In addition, there is a boost that lets you draw twice each turn. Be careful with picking this one, you don't want to deck out.
Once all of that is said and done, Leshy sets up the board and the fight begins, Unlike the other bosses in the game, Leshy gets three phases instead of two, so get ready for the long haul. As for the first phase, it's basically a remix of all of the past bosses' mechanics. Leshy will jump back and forth between instantly turning cards into gold, hooking one of your cards, or leaving instakill traps. In final boss fashion, just remember how you got past them before and play conservatively.
The second phase of the fight is where things get strange. Some tree stump cards are added to Leshy's front row...and a collection of Deathcards you've made in past runs pop up behind them. That's right, this phase is making you literally face your past failures. Much like The Angler's fish buckets however, you can bypass these fights with flyers or multihitter cards. If you do have to face the Deathcards however, just keep in mind what each sigil does and try to be proactive with your plans. What doesn't help is that Leshy's constant rotation of past mechanics will continue even here. Be careful.
The third and final phase however is where things become genuinely insane. Leshy pulls out his camera and transforms the moon that's been behind him throughout the entire fight into a card...then plays it on the board.
Yep, you are fighting The Moon. It has 40 health. It blocks flyers (duh, it's a flipping moon). But above all, it automatically attacks every single creature you control for one damage each turn. This is where you can very easily just get ground down into nothing through shear numbers and resource exhaustion. And on the surface, this is not an easy fight. Besides a few very rare cards with some abilities attached, no creature card can even deal double digits of damage.
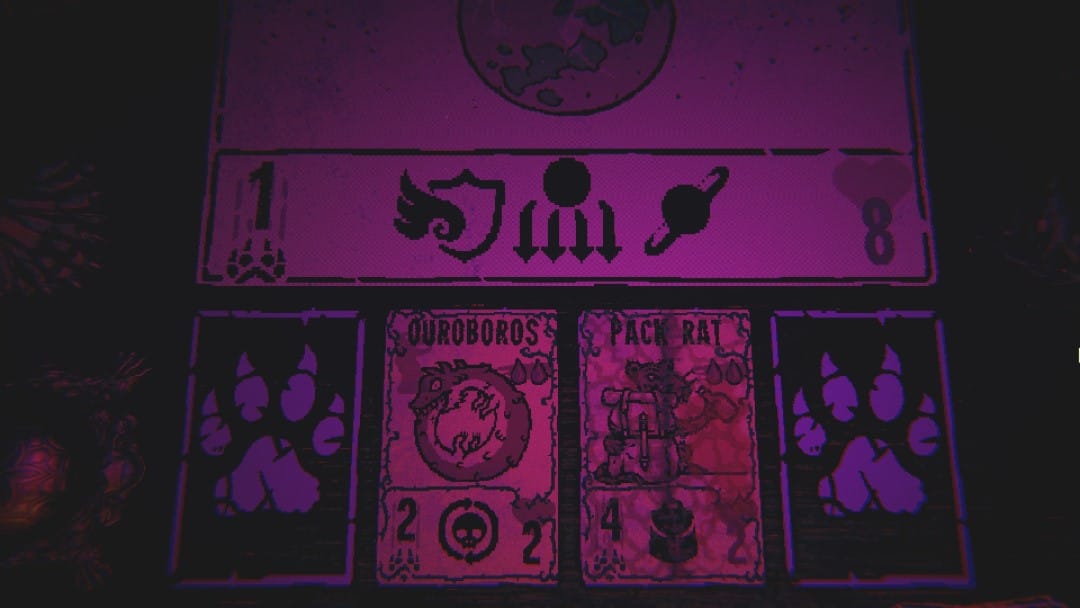
However, there are a few quick and dirty tricks to completely destroy the moon. The quickest and easiest one is hold on to a pair of scissors throughout your run then just use them to cut up the moon. The second more hilarious option is to play a card that has the foul odor sigil. The Stinkbug card has this ability by default. This will completely remove the moon's offense, at which point you can just keep chipping away until it is dead. Even Leshy will comment that it makes no sense. The third exploit is get a creature with poison to attack. By the game's own rules, it dies instantly.
However, if you don't have any of these strategies ready, you are in for a slog. During the second phase, start stocking up on resources. Squirrels, black goats, bones, whatever you use to get your big hitters out, get them ready. Once that moon drops, summon two of your big hitters and let them wear it down. During the intermediate turns, draw squirrels until your hitters are dead, then do it again.
If you get into the right rhythm, you should be able to wear down the moon without burning out. Once the moon is defeated, just swing at Leshy for the killing blow and enjoy your prize.
Have a tip, or want to point out something we missed? Leave a Comment or e-mail us at tips@techraptor.net
