So you've made your way to the far west coast but are having trouble with the Horizon Forbidden West The Long Coast Relic Ruin puzzle. Either you're having trouble finding it on the map, or need some assistance with figuring out the puzzle found in that ruin. Thankfully, we have the guide for you right here.
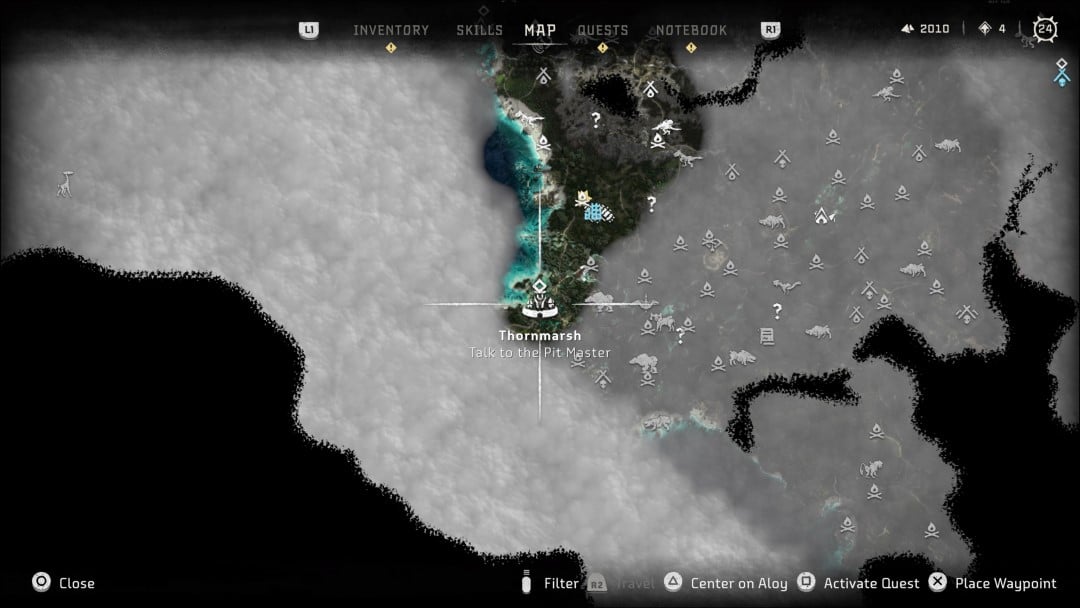
Horizon Forbidden West The Long Coast Relic Ruin Guide – Where Is It Located?
As the name suggests, The Long Coast Relic Ruin is on the far west of the map. Specifically, it is tucked away in a small forest grove northeast of the settlement of Thornmarsh.
While it is very likely you'll already have this tool at this point in the game, it must be stated that you will need the Igniter tool to solve this puzzle. If you have just been filling up the map to this point and haven't been doing main story missions, clear the “Death's Door” story chapter, get the Igniter, then make your way to the Relic Ruin.
Horizon Forbidden West The Long Coast Relic Ruin Guide – Solving The Puzzle Part 1
So this Relic Ruin doesn't hold your hand at all. There are no datapads or clues as to where the relic is in this area. There are no keys or keycodes you need to pick up either. But it's also a big open, long-abandoned industrial factory with a lot of moving parts.
First, let's orient ourselves. Once you make your way into the Relic Ruin, make your way further in until you come across a pool of water below a corrigated ramp leading upwards. You should be able to see some firegleam glowing on the wall nearby. Think of this shallow pool separating the ruin into two different sections. This will help make the ruin seem less daunting.
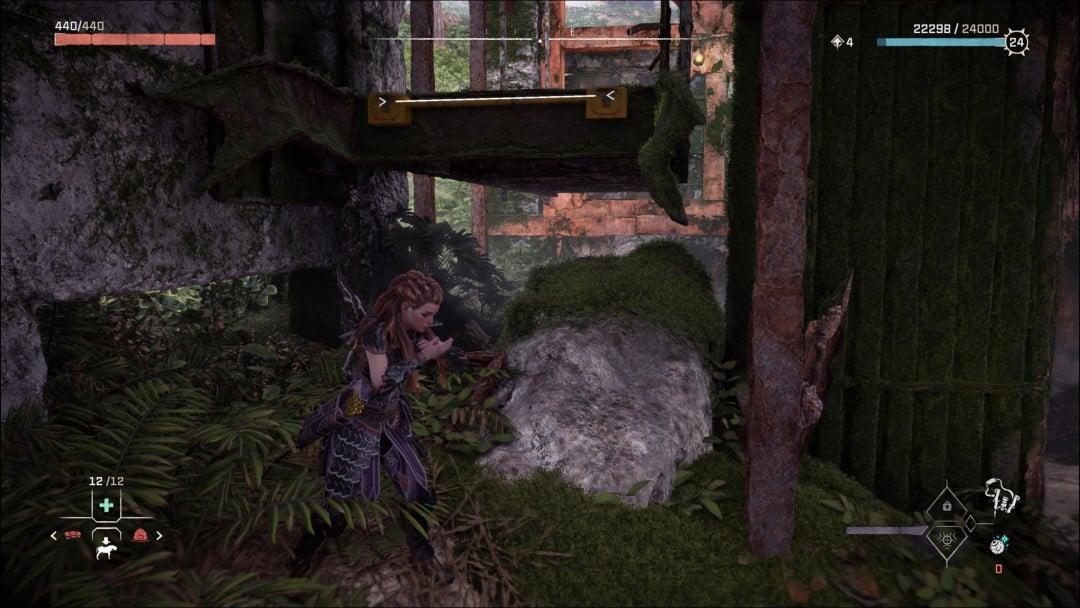
The first section of the ruin we'll start with should have you surrounded by rafters, raised platforms and pulleys. First look around near the sections of raised wall. You should see through a hole that there is some firegleam on the inside. In addition, you'll see a switch. If you flip it and look up, you'll see that it has caused multiple pulleys to swing around, then return after a few seconds. These are key since you can grapple to these pulleys with your pullcaster.
But before you do any of that, head away from the switch until you see a ramp of green moss on your left hand side. This should let you reach a platform with a chest inside. You should also spot some large climbable bolts on the girders. Climb them while moving to the right and you should be over that small boxed room near the pulley switch with a hole in the roof. Drop down inside and ignite the firegleam to give yourself an exit.
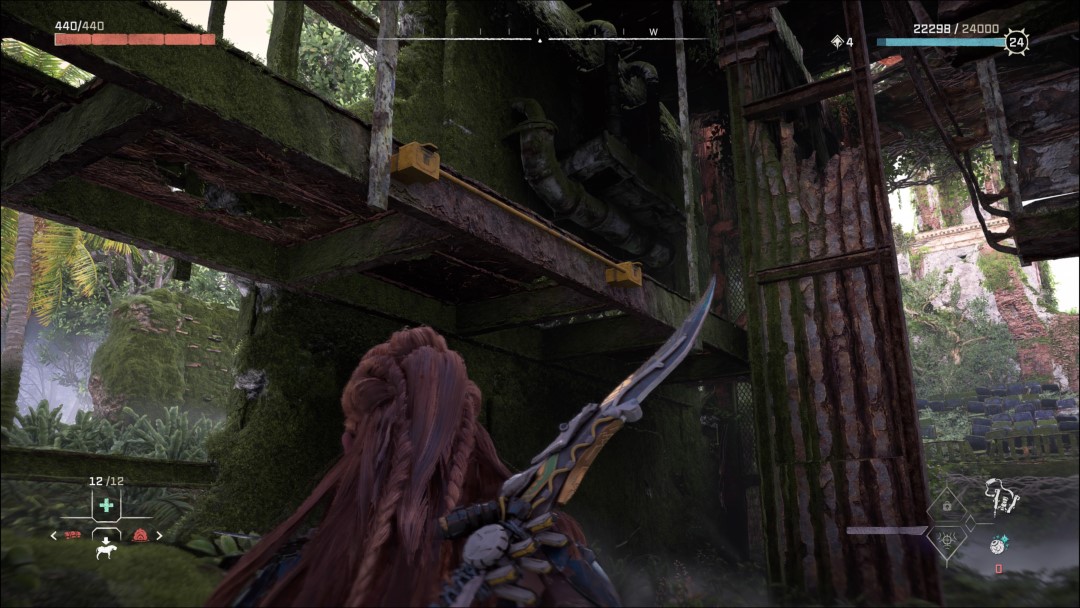
Now this is where the puzzle gets a bit obtuse. Believe it or not, you can actually throw the pulley switch using your pullcaster. This is because the lever has the distinct pullcaster blue hatch on it. Furthermore, you can do it through the hole in the wall, giving you some extra seconds for this next part.This is a detail that you could very easily miss if you came into this ruin at night or just didn't notice due to it being such a small detail.
Throw the pulley switch with your pullcaster then immediately run through the exit. Grapple on to the pulley then jump up on to the platform on the opposite side. You should see a crate to your right side. Pull it down to the ground floor and across the shallow pool under the busted ramp. There should be a slightly submerged doorway for you to carry the crate into the second part of the ruin.
Horizon Forbidden West The Long Coast Relic Ruin Ruide – Solving The Puzzle Part 2
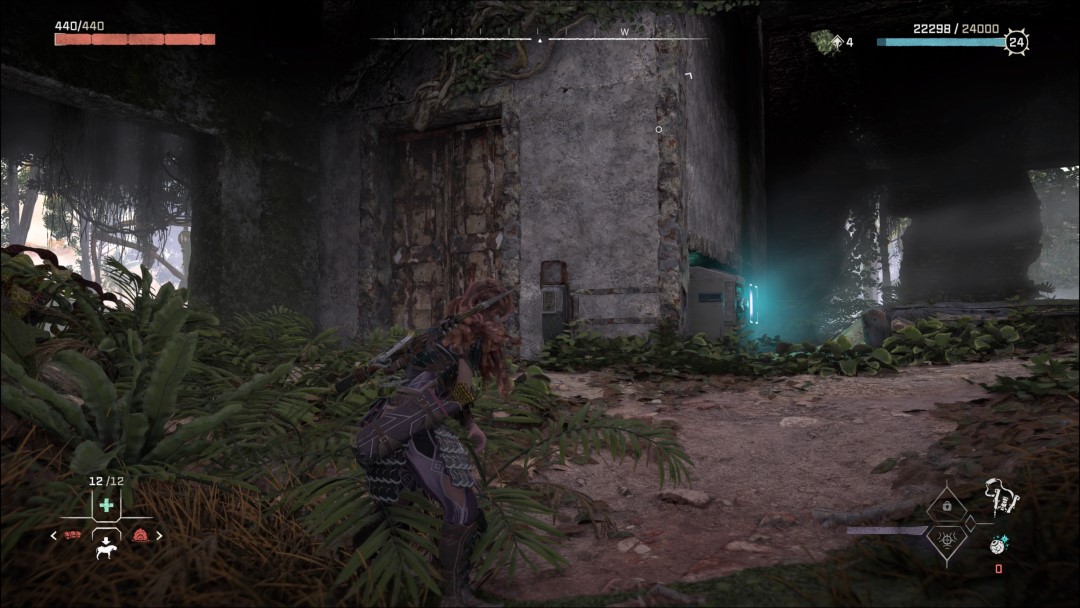
Next, we have the second section of the The Long Coast Relic Ruin: the elevator section. Once you've moved the crate to this section, you should spot an abandoned elevator along with a slot for a power cell. The good news is getting the elevator charged is simple. Turn around after facing the power cell slot and you should see some ancient staircases. Go up the flights and head left. You should spot an energy cell in the wall. Pull it out and move it as fast as you can to the elevator's power cell slot.
From here, go inside the elevator and press the button to go up. While in transit, look straight up. You'll spot a hatch you can yank off with your pullcaster. Do it now, it will save you some trouble later. Once you're on the upper floor, step outside and turn around. You should see some climbable ledges on the outside of the elevator shaft. Climb it as high as possible and move around the outside until you see a wall you can glide over. If you need help seeing where to go, do a quick scan with your Focus. It should highlight two small pillars with yellow ridges to show you can go there. Think of them as a football goal post and glide down the middle.
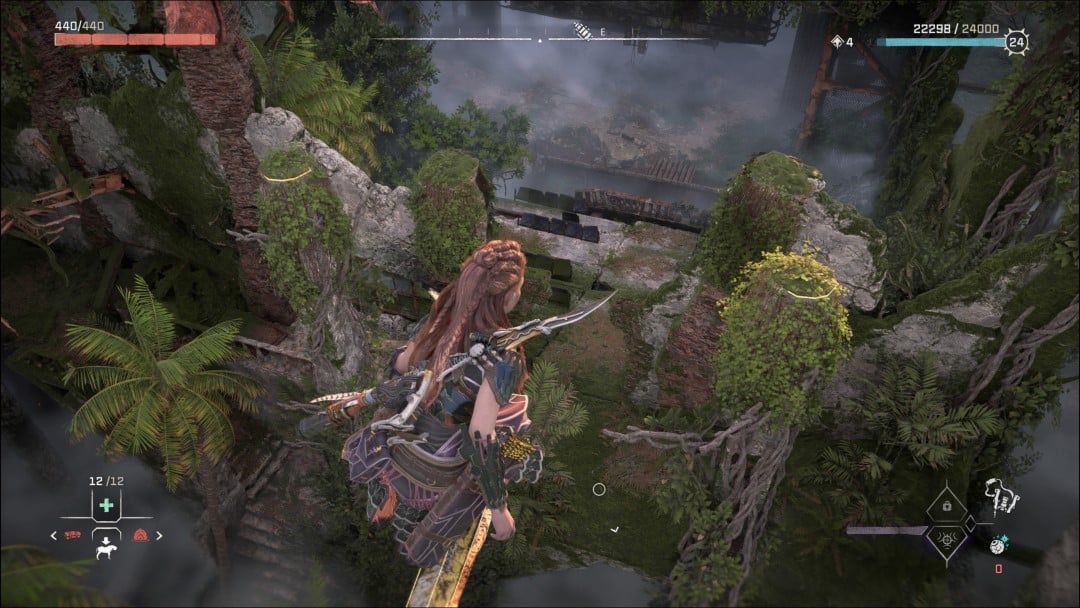
If you do this right, you should land on the rusted ramp over the shallow pool from the beginning. Look to your left and you should spot a second crate. Ignite the firegleam behind you and move the crate back to the elevator area.
Once all of that is done, you need to move these crates in a certain way. First, move both of the crates inside the elevator and ride it up. Keep one crate inside so you can climb up and out of the hatch you've opened. Next, push the second crate out of the elevator, drop down to ground level and recall the elevator. After that, use the pullcaster to grapple back up to the second floor and head up to where the second crate is. You should be able to push the crate on top of the elevator.
Finally, drop down to the ground floor and ride the elevator up. Next climb up the first crate through the hatch, then up off of the second crate to a set of footholds in the elevator shaft. Climb it all the way to the top, collect your relic, then use your pullcaster on the wall for a shortcut out.
Have a tip, or want to point out something we missed? Leave a Comment or e-mail us at tips@techraptor.net
