The latest deep dungeon content, Eureka Orthos, is now available as of Patch 6.35 of Final Fantasy XIV. It brings another 100 floors to delve through, either alone or with others. In our Final Fantasy XIV Eureka Orthos, we’ll go over how to unlock Eureka Orthos, and some of the things you’ll need to know.

Final Fantasy XIV Eureka Orthos Unlock Requirements
There are two main requirements before you can unlock Eureka Orthos. The first is that you’ve completely floor 50 of the first deep dungeon, Palace of the Dead. For this, you must complete the main story quest “Into a Copper Hell”, which is where you’ll take on the dungeon Copperbell Mines. From there, Palace of the Dead can then be unlocked via the NPC Nojiro Marujiro in New Gridania at X:12.0, Y:13.1. The other main requirement is completion of the final pre-patch Endwalker story quest, appropriately titled “Endwalker”.
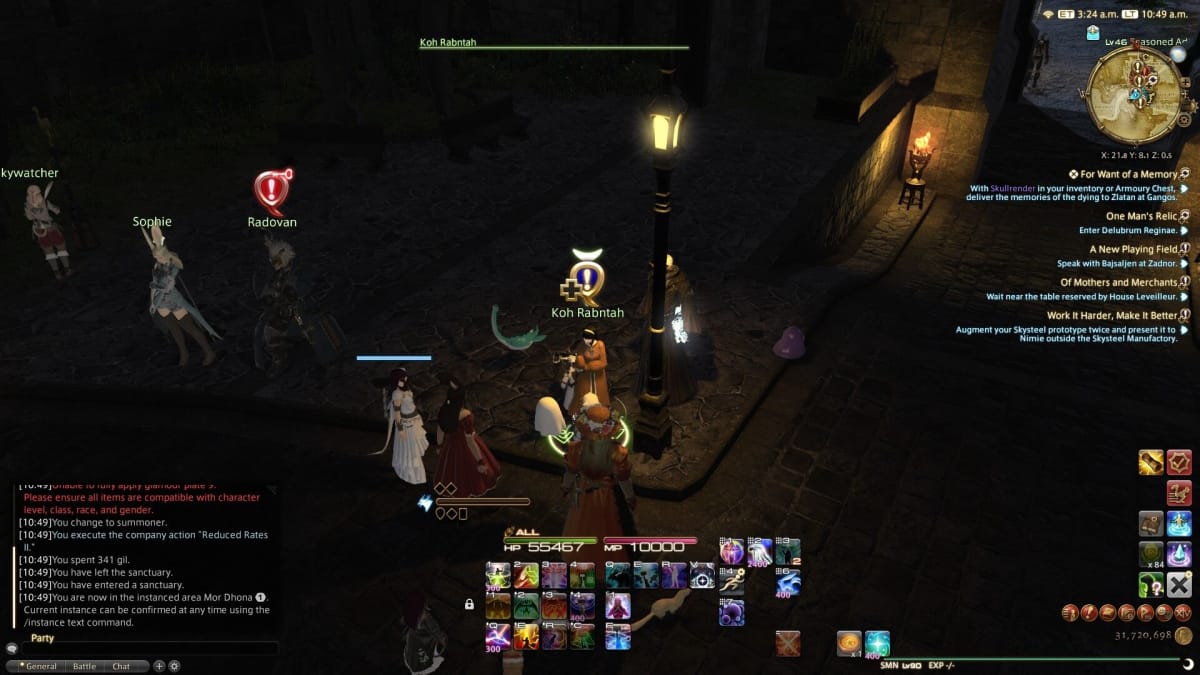
With both of those steps completed, talk to the NPC Koh Rabntah in Mor Dhona at X:21.8, Y:8.1 while on a Job that is level 81 or higher. This will start the quest “Delve into Myth”, which unlocks the first 30 floors of Eureka Orthos. As with this initial quest, delving into Eureka Orthos can only be done while using a Job that is at least level 81.

Final Fantasy XIV Eureka Orthos Basics
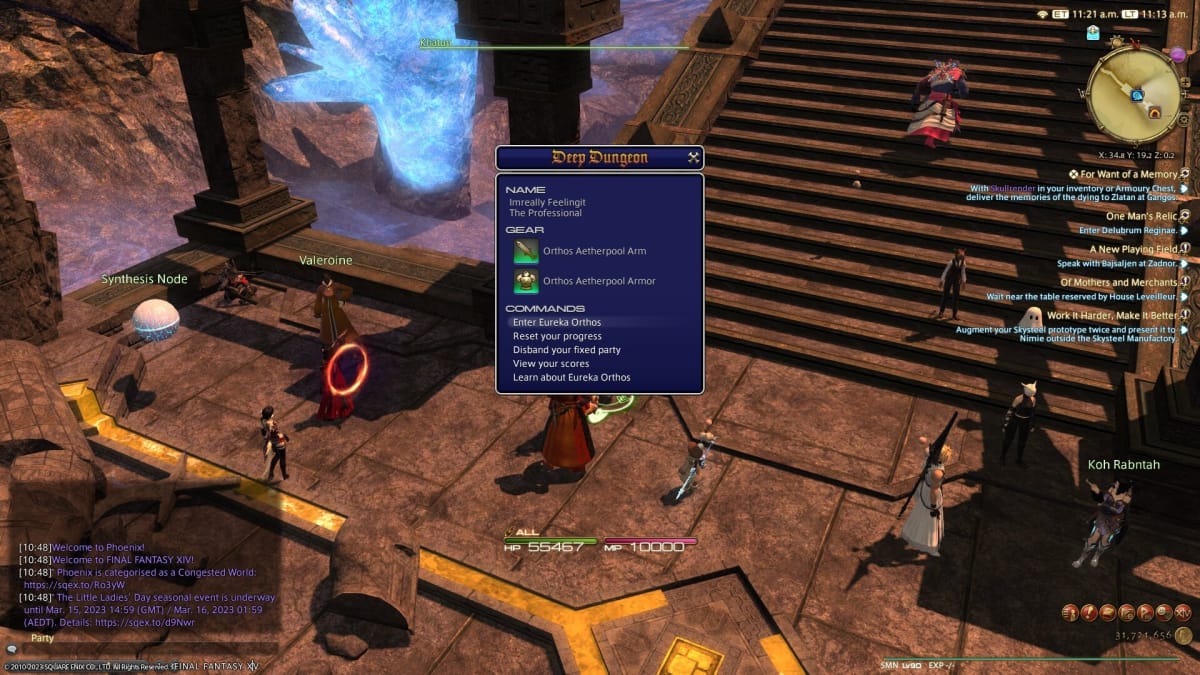
When you’re ready to enter Eureka Orthos, talk to the NPC Khatun near where you completed Delve into Myth. She’ll allow you to queue into Eureka Orthos either as with your current party (this also includes solo play), or via matching with others. If you queue with certain people, you must queue with them again if you want to make further progress at a later date. You have access to two save files at a time, and can delete each when necessary.
When entering Eureka Orthos, your level is set to 81 when you start at floor 1. Killing enemies will gain xp and level you up like normal, unlocking abilities as you go. You’ll need to do this leveling process every time you start again at floor 1, though this can be skipped by starting at floor 21 once you’ve finished the story section of Eureka Orthos (more on this later).
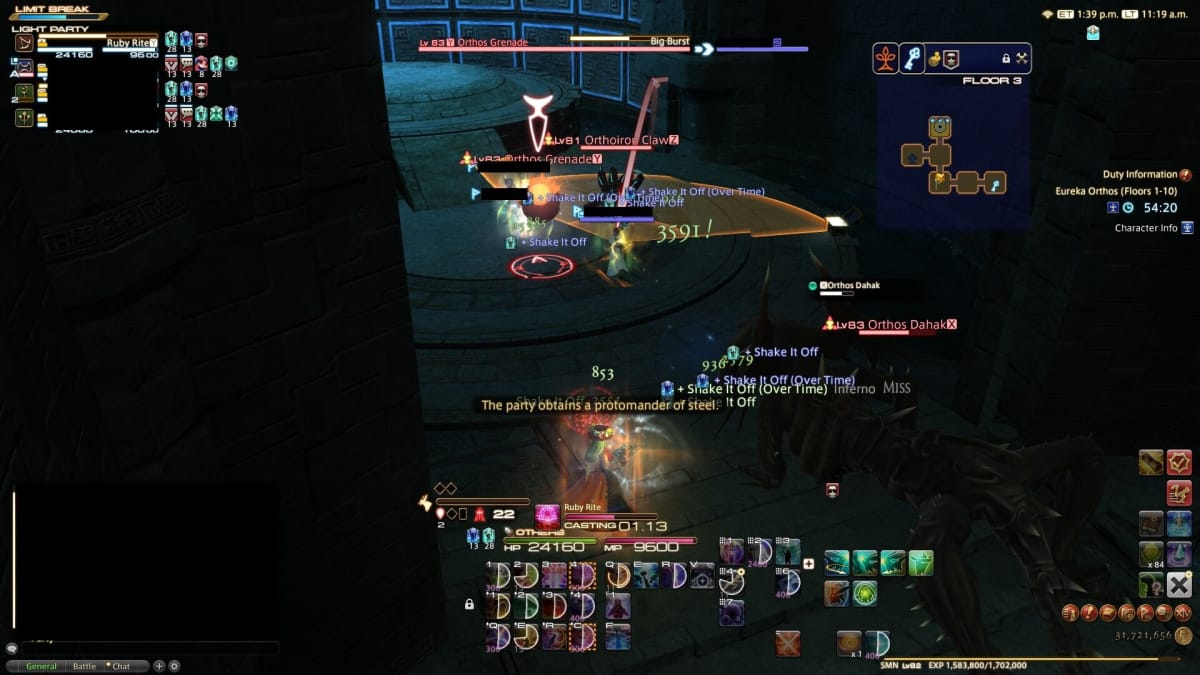
Gear meanwhile is made up of your Orthos Aetherpool Arm and Armor, both of which being exclusive to Eureka Orthos. These can be leveled up to a maximum of +99, with upgrades to each increasing your damage and defenses respectively. Your Aetherpool Arm and Armor levels are shared between save files, which means that you’ll still keep your stats even when deleting saves. Upgrading both is done via Silver Coffers found on the ground or by defeating certain enemies while in Eureka Orthos.

Final Fantasy XIV Eureka Orthos Guide
You’ll initially have access to floors 1 to 30 of Eureka Orthos. Floors are completed in sets of 10, with the last floor of the group being a boss battle. The whole party dying on a floor will cause you to fail the instance, but you can still restart from the beginning of that current section — i.e. failing on floor 26 will let you start from floor 21 again. This only applies up to floor 30, with floors after that completely resetting your progress on that save when you fail.
After completing floor 30 for the first time, you will now have the option to start from floor 21 when beginning a new save. This will also put you at level 90 upon entry, making this a good way to get into the higher floors quickly. To challenge floors above 30, you must have completed floor 30 on a save file with a fixed party, and without having any party wipes.
Eureka Orthos Map
Each floor of Eureka Orthos has a randomized layout made up of a few rooms connected by short corridors. To make it to the next floor, you must kill enough enemies to unlock the Beacon of Passage that is present on that floor. This is marked by a key icon on the map, with the larger key icon above that representing how close you are to unlocking it. Once unlocked, the entire party must stand within the Beacon of Passage’s glowing circle while not in combat.
The other icon above the map represents the Beacon of Return. This also unlocks by killing enemies, and will allow you to resurrect allies once interacted with. These are helpful if the party members capable of resurrecting allies are down (or if you’re running a party with no resurrection spells available at all).
Eureka Orthos Enemies
Enemies are plentiful during your dungeon diving, though they still follow the same rules as most regular enemies. They have a line of sight, and can be avoided if you walk behind them. However, unlike dungeons, it’s worth keeping in mind that your Orthos Aetherpool Arm and Armor will limit the amount of enemies you can pull at a time. This is especially true early on, where a low Aetherpool level could get you killed quite quickly.
The best strategy for dealing with enemies is usually to avoid them if possible, killing the ones that are in the way of treasure coffers or the Beacon of Passage. If you need to kill more to unlock the Passage, you can then search around for a few more to kill before moving on.
Eureka Orthos Protomanders and Demiclones
Protomanders and Demiclone Generators are helpful items that will aid you during tougher floors and boss battles. These are obtained by opening Gold Coffers found throughout Eureka Othos, and you can stack up to 3 of each Protomander at a time. Protomanders and Demiclone Generators are accessed from the deep dungeon window, which also shows progress on your Aetherpool gear and currently active effects.
Demiclone Generators work slightly differently, as these will create an Allagan clone that follows you around the dungeon for the current floor. They can deal damage or support the party depending on which one you use — the color of the Demiclone Generator represents its use, such as red for DPS and green for healing.
If you’re playing with a matched party, all Protomanders and Demiclone Generators will be lost after completing the final floor of your current run, so it’s often best to be liberal with their usage. If you’re planning to go beyond floor 30, then it’s best to save as many as you can. Of course, if you find a fourth Protomander of a certain type, it’s still worth using one in your inventory so you can pick it up.
Eureka Orthos Treasure Coffers
Treasure coffers come in three varieties. You’ll either find them in rooms (they’ll be marked on the map once uncovered), or after defeating enemies
- Bronze Coffers - These generally give items like potions, though occasionally you’ll also find Orthos Aetherpool Fragments. These can be traded for materia and other items.
- Silver Coffers - Silver coffers have a chance to increase the level of your Orthos Aetherpool Arm or Armor. The chance is random, with success mostly depending on the level of your Aetherpool gear and the floor you’re on (i.e. having low Aetherpool levels on a high floor almost guarantees a level increase).
- Gold Coffers - These drop Protomanders and Demiclone Generators. If you open one but can’t carry its contents, the item will remain in the chest and you can make space for it.
Treasure coffers have a chance at being a Mimic, which will attack the person who opened the coffer. It is also possible for a Mimic to drop a Treasure Coffer, and then have that coffer be a Mimic as well.
Final Fantasy XIV Eureka Orthos Rewards
Speaking to the NPC Valeroine once outside Eureka Orthos will allow you to trade in pieces of the Accursed Hoard for appraisal. The Accursed Hoard will sometimes appear on a floor, being indicated by a message once you arrive on the floor, and a small chest icon with a question mark above the map. To actually find the Accursed Hoard, you must use a Protomander of Intuition, which will mark the location of the hoard on the floor with a gold line. Standing on this line for a few seconds will reveal a chest containing a piece of the Accursed Hoard.
What you get from these pieces depends on the rarity, though you’ll often get gil, Chocobo barding, or items like minions. A lot of the available rewards are ones that you can get via other content such as Trials.
Upon completion of floor 30, the Synthesis Node outside Eureka Orthos will allow you to create Orthos Aetherpool Grips. Each one will reduce your Orthos Aetherpool Arm or Armor by 10 levels each. Three Orthos Aetherpool Grips can be traded to the Node for item level 620 weapons.
This Final Fantasy XIV Eureka Orthos Guide is a work in progress, and will be updated with more information as we progress through Eureka Orthos.
Have a tip, or want to point out something we missed? Leave a Comment or e-mail us at tips@techraptor.net

Isaac is a Staff Writer at TechRaptor, handling guides — and the occasional review — for games throughout many genres. Some of his more extensive work at… More about Isaac