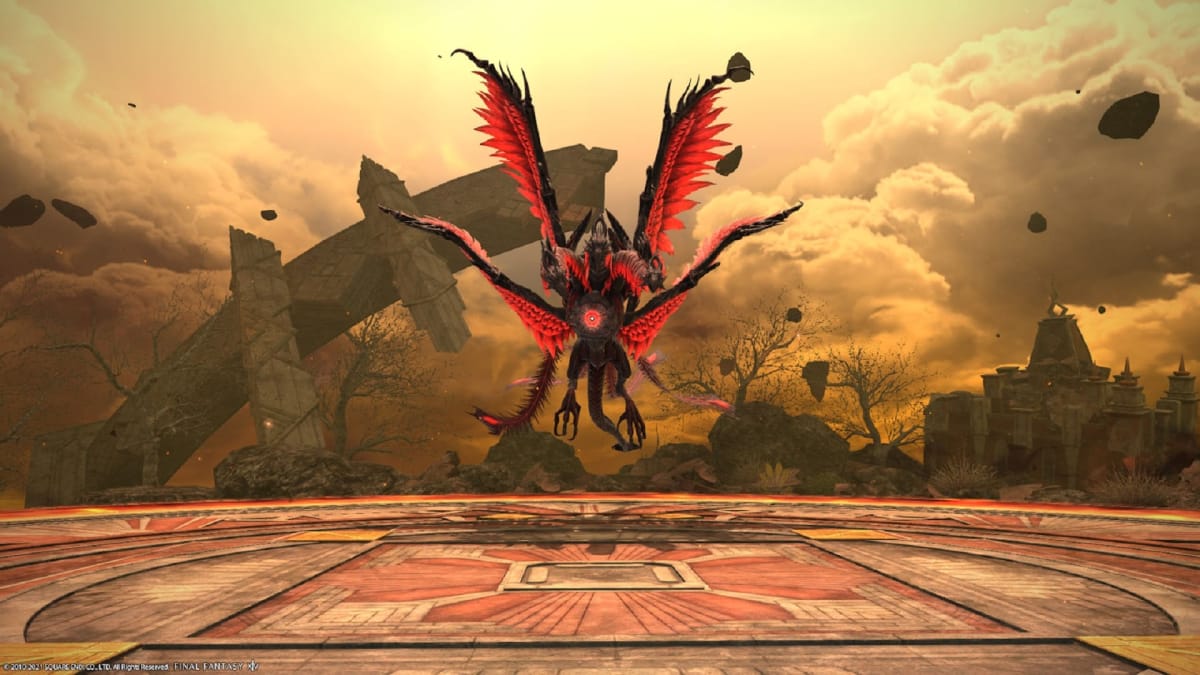
The third encounter of Pandaemonium: Asphodelos is a new spin on a familiar Final Fantasy XIV creature, taking on a more sinister form of the regular Phoenix. The similarly named Phoinix still makes use of many fire-based moves, along with some resurrection mechanics during the second phase. The main difficulty when attempting this fight for the first time comes from the attack animations and arena, which can be hard to read if you don’t know what you’re looking out for. In this Final Fantasy XIV Third Circle raid guide, we’ll give you a rundown of each Phoinix move and the best way to deal with them.
If you need it, we've got an Endwalker gear guide for 6.0,. as well as an Asphodelos unlock guide and loot table!
Final Fantasy XIV Third Circle - Phoinix Raid Guide - Attacks
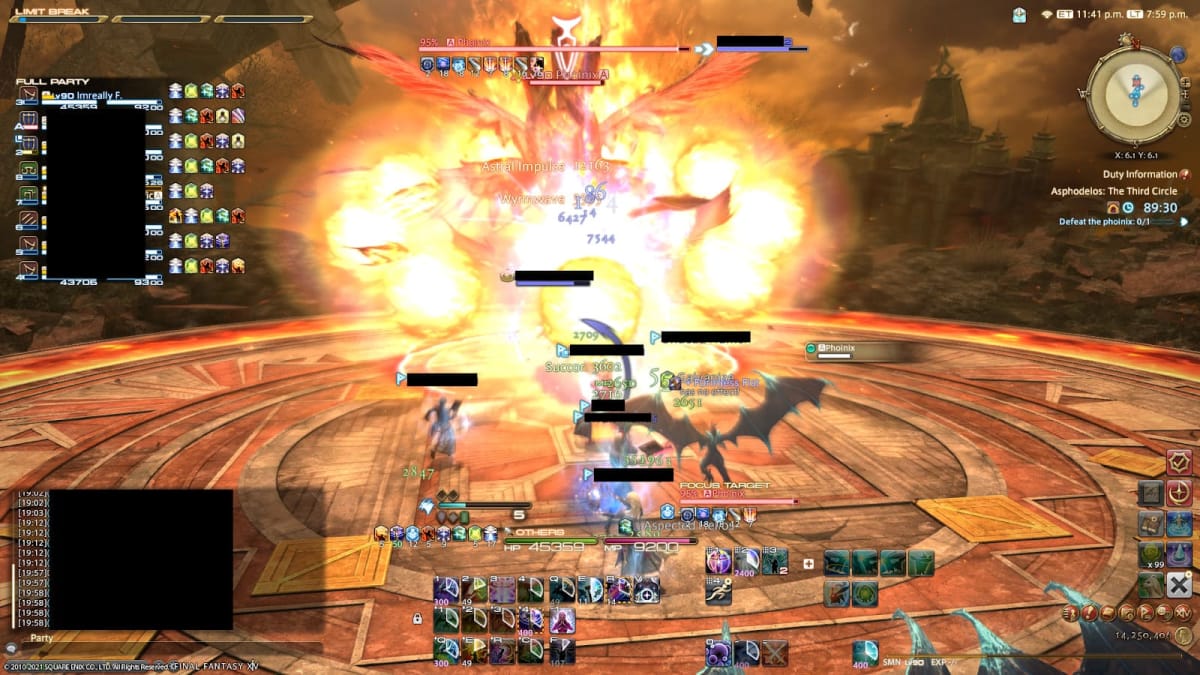
Experimental Fireplume
Experimental Fireplume is used throughout the fight, and will deal significant damage if not avoided. There are two variations to this attack, based on the animation that plays when its cast is finished.
One animation will be a large fireball above Phoinix’s head. A few seconds after this, the middle of the arena will be hit by a large AOE. Move to the edge before this goes off, taking care not to touch the edge — as with many encounters in Final Fantasy XIV, touching the edge equals instant death.
The second animation is a ring of smaller fireballs. This will then spawn two sets of small AOEs on opposite sides of the arena. As one set is about to explore, another set will appear (3 more times in total) in a clockwise fashion. Move to where one of the first AOEs exploded to avoid the larger AOE that will appear in the center.
Scorched Exaltation
This is Phoinix’s raidwide AOE that deals unavoidable damage. Caster DPS can use Addle to reduce this damage, with healer shields being recommended if there are party members with vuln stacks.
Heat of Condemnation
This targets both tanks with separate tankbusters. These can hit players that are nearby, so the tanks should stand on their own while using defensive cooldowns.
Darkened Fire
This move spawns Darkened Fire adds, which cannot be harmed with normal attacks. Instead, you must wait until four party members are targeted by Brightened Fire. Targeted players will have an AOE around them, with the amount of circles above them indicating the order they’ll be hit in. Each targeted player must move to a different Darkened Fire, which will be killed once Brightened Fire’s cast ends. There’s enough space for other party members to avoid being hit by these AOEs while still being in range of the boss.
Cinderwing
Cinderwing can come in left and right variants, hitting that side of the boss with an AOE once the cast ends. Move to the opposite side to avoid the AOE
Trail of Condemnation
Phoinix flies to the edge of the arena, and will hit with a long line AOE in front once Trail of Condemnation’s cast is completed. Move to either side of the arena to avoid this. Later in the fight, this is paired with circle AOEs that target multiple players. Spread out on the safe edges to avoid stacking AOEs.
Sunbirds
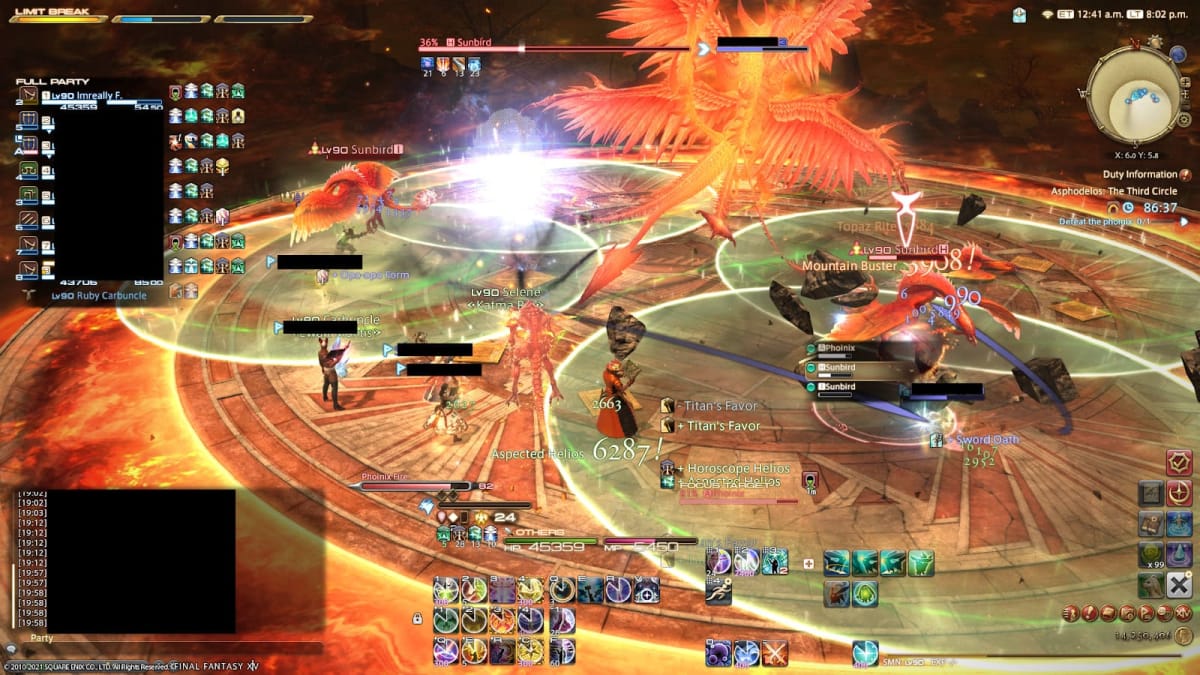
After Trail of Condemnation, the second phase will begin. Here, a pair of Sunbrids will spawn on opposite ends of the arena. Each tank should take one to different parts of the arena, where they can then be killed. After the first two die, another set will spawn. Again, both tanks should take one Sunbird each, and then move them away from each other, and the previously killed adds. All Sunbirds will use Rear Carve, which hits behind in a large 180 degree AOE.
The Sunbirds must be killed quickly and away from each other to avoid the Phoinix Fire gauge from reaching 100. This fills over time while the Sunbirds are alive, and any Sunbirds that were too close together on death will also add an additional amount to the gauge.
After all adds die, Phoinix casts Dead Rebirth. This does raidwide damage based on how high the Phoinix Fire gauge is — at 100, this will always kill. Top up everyone’s HP and use shields before the cast finishes.
Fledgling Flight
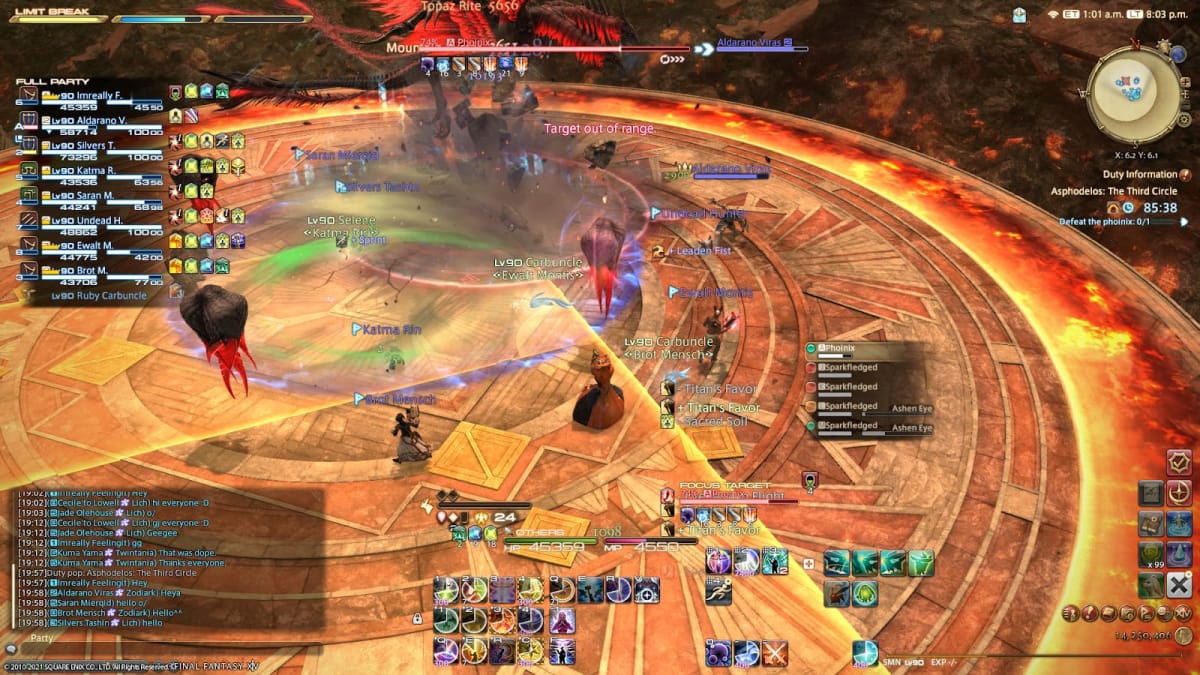
4 Sparkfledged will appear, each casting a large conal AOE in the order that they spawned. Move to either side of the first Sparkfledged, and then to the next one that appeared. From there, you can rotate around the area as each AOE goes off, ending in the safe area behind the third and fourth Sparkfledged.
Experimental Charplume
Every party member will be targeted with an AOE, requiring the party to spread apart to avoid taking extra damage. The marker used here is the same used for later Trail of Condemnations, though not every party member will be targeted during that move.
Devouring Brand
Devouring Brand causes four line AOEs to start moving in from the arena’s edge, eventually causing a plus shape. Once the plus shape is formed, the AOE will increase in size. This mechanic is paired with a couple of other attacks, either Darkened Fire or Experimental Charplume. Devouring Brand will disappear first, so you have time to spread or destroy the Darkened Fire adds depending on which mechanic is chosen.
Now that you've beaten Phoinix ownard to The Fourth Circle Raid!
Have a tip, or want to point out something we missed? Leave a Comment or e-mail us at tips@techraptor.net
