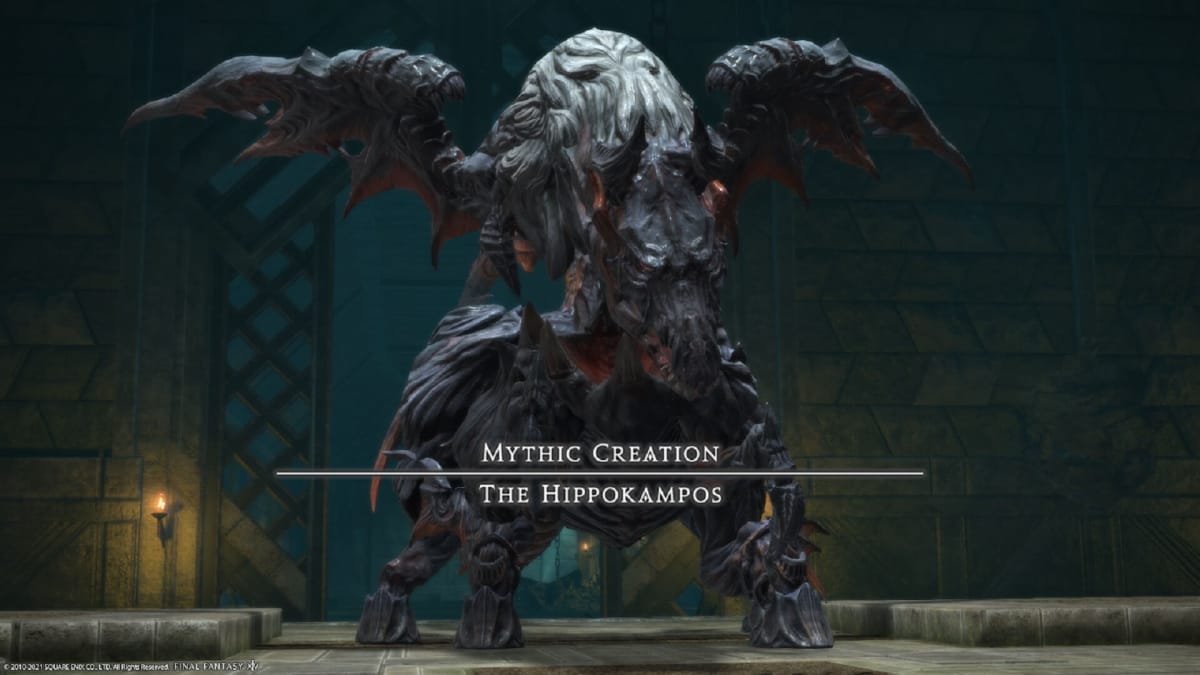
Pandaemonium: Asphodelos’s second encounter is the Hippokampos, a giant creature that can create multiple floating heads. This fight features one main mechanic, with most of the other attacks being repeats of ones seen in previous Final Fantasy XIV raids. In this guide, we’ll give you the info you need to take down the beast protecting Pandaemonium’s waterways. Read on for our Final Fantasy XIV Hippokampos Raid Guide!
Avoidable damage will once again give you vulnerability stacks if you get hit, which can be quite painful in The Second Circle due to the amount of AOEs. Be careful, and make sure to use your personal defense buffs if you have a few stacks (and aren’t a tank).
If you need it, we've got an Endwalker gear guide for 6.0,. as well as an Asphodelos unlock guide and loot table!
Hippokampos Raid Guide - Attacks
Murky Depths
Murky Depths is the Hippokampos’s raidwide AOE, dealing a decent amount of damage that must be healed before detailing with upcoming mechanics. The boss uses this move throughout the fight, offering up some periods of free DPS for non-healer jobs due to the lack of any movement mechanics during the cast time.
Double Impact
This is a shared tankbuster that must be taken by both tanks, or by one tank using their longest cooldowns like Paladin’s Hallowed Ground. Double Impact is the only tank mechanic that the off-tank must deal with during this fight, as there’s nothing else requiring two tanks during the rest of the fight.
Spoken Cataract
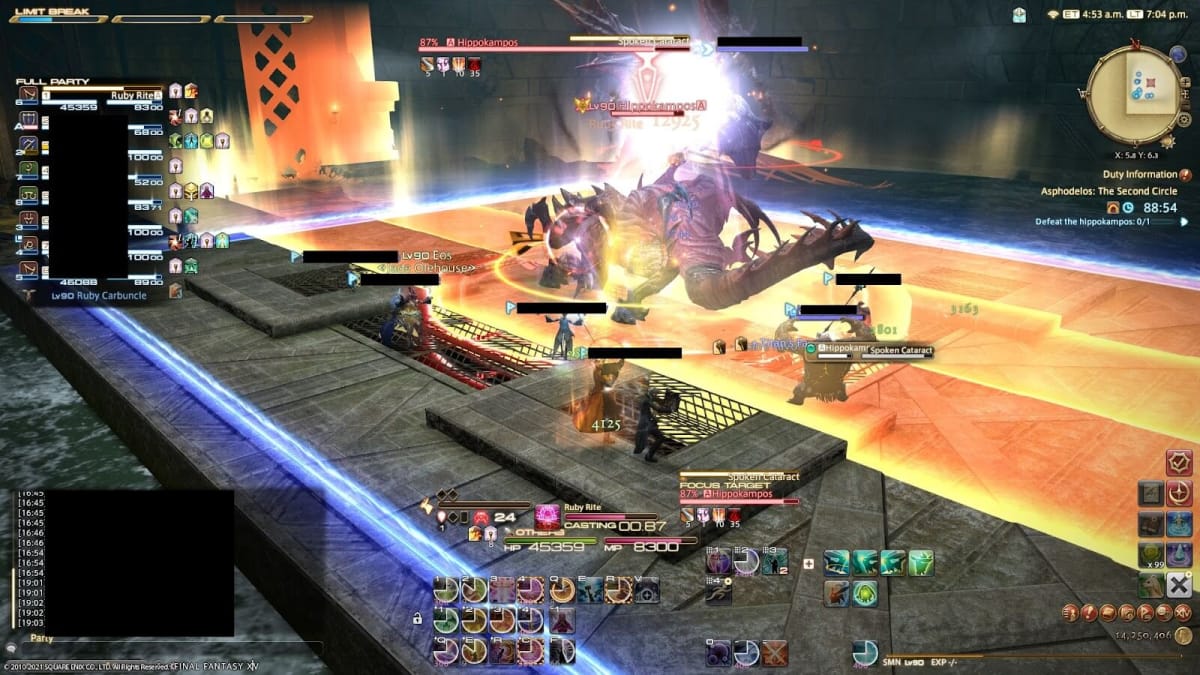
The Hippokampos is split into two parts, its body and its head, each doing something different for Spoken Cataract. The body will create a line AOE along the entire arena based on the direction it’s facing. Standing to the boss’s flanks will avoid this one.
However, at the same time, the head will be doing a large 180 degree AOE covering half of the arena in front of it. In practice, this means that either one side of the boss is safe, or a corner of the arena is safe, depending on the direction of each part.
Sewer Deluge
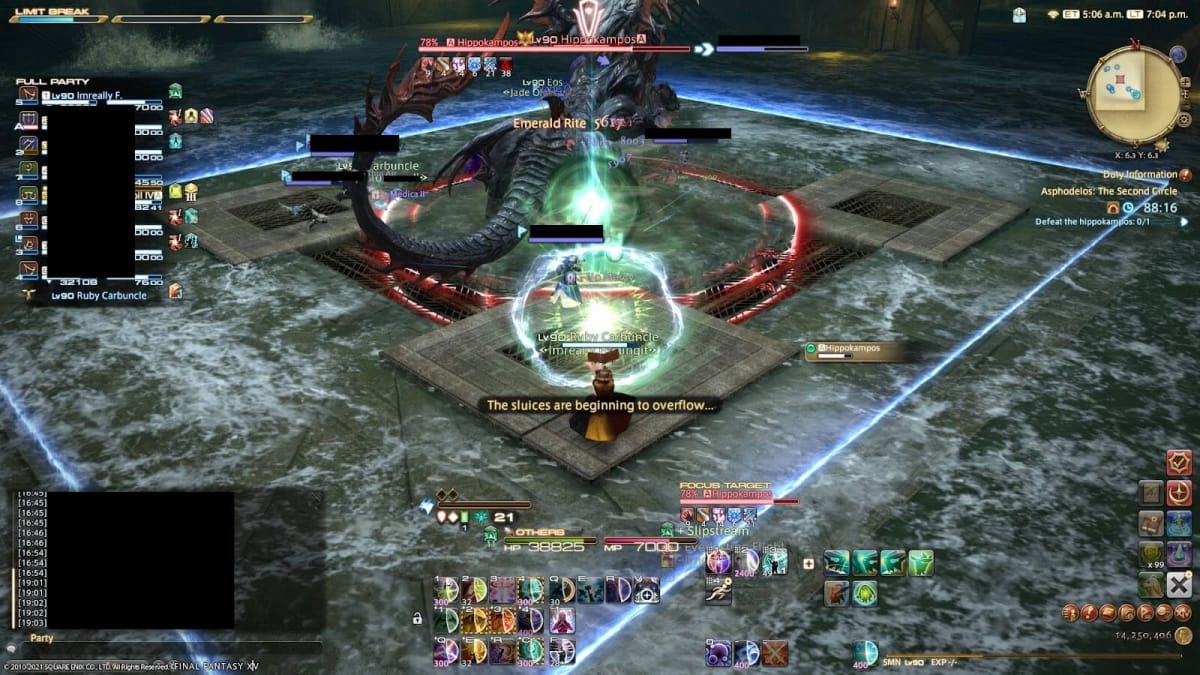
Sewer Deluge is another raidwide AOE, which also causes most of the arena to be covered in damaging sewer water. The only safe places are the grates and raised platforms, which create a square around the boss. While this is in effect, you’ll have to take into account the limited space when dealing with future mechanics.
Tainted Flood
Most players will be marked with circles, which detonate after a few seconds. You can avoid being hit by multiple AOEs by spreading out around the boss, while making sure that you don’t enter the water. Ideally, you’ll start spreading during the cast time, before the actual AOE markers are out.
Predatory Sight
All players are given the Mark of Easy Prey debuff, shown as a red/black arrow above their heads. These will damage players after around 6 seconds, unless they stack with another player. There’s no limit to how many players can stack on each other. However, due to the damaging water, one player should stay with the main tank so they don’t have to run far and turn the boss.
Shockwave
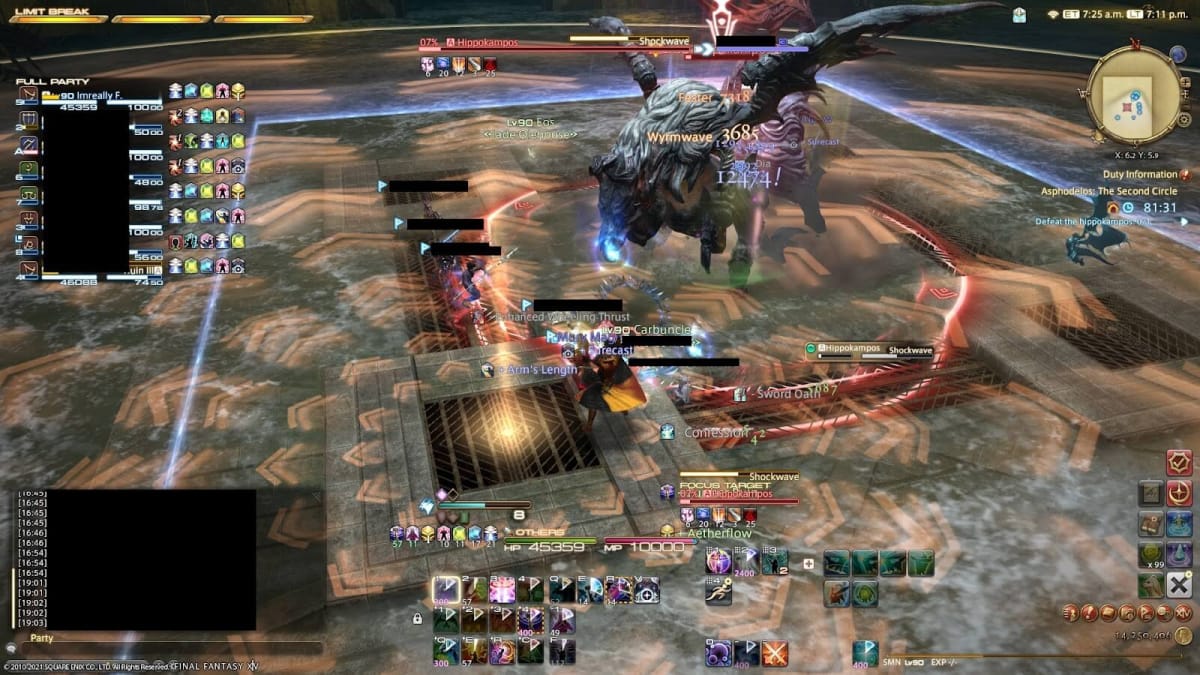
One of the raised platforms will be given a knockback marker at the start of the Shockwave cast. Position yourself to get pushed onto one of the grates, or use a knockback prevention skill to negate this attack entirely. The knockback distance isn’t actually too far, though stacking at the marker makes it easier for healers to top everyone up or apply shields.
Dissociation
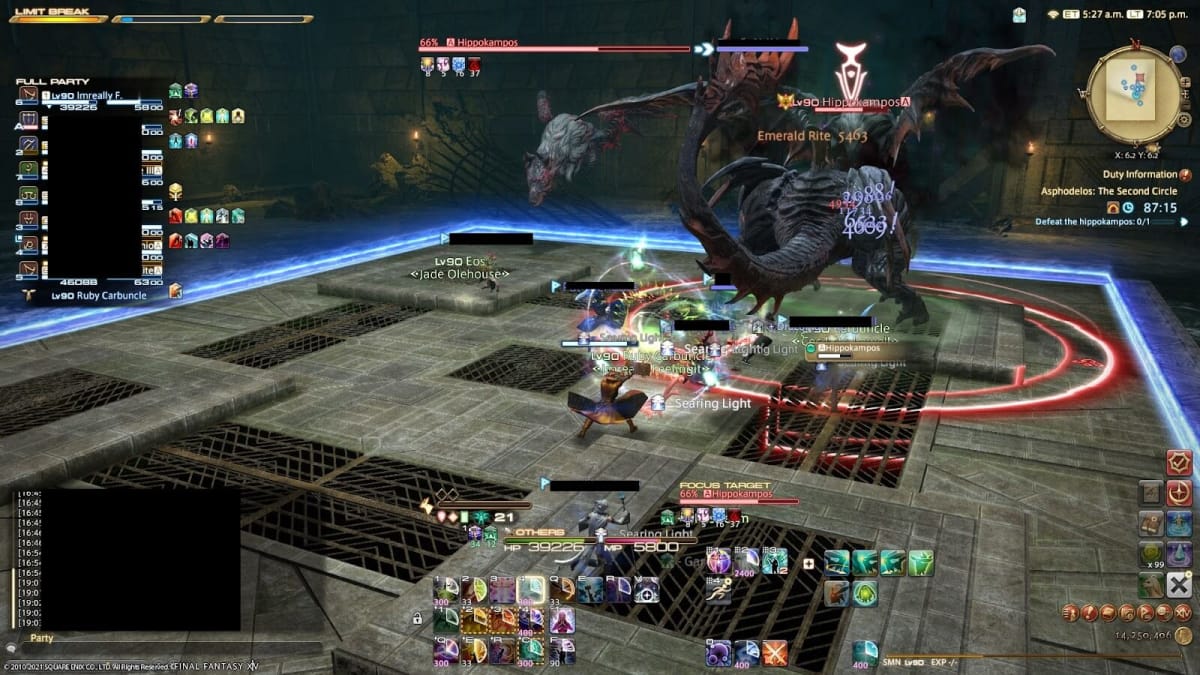
The Hippokampos will spawn a new head, which flies to the outside of the area. After some time, it will fly along the side of the arena it’s facing. This will hit exactly half of the arena, so move as soon as you see the head position itself.
This mechanic is eventually paired with Shockwave during the Sewer Deluge phase. Shockwave goes off first before the head hits half the arena, so you must position yourself to be pushed to the other safe half. Positioning yourself in the safe half and using knockback prevention skills also works in a pinch.
Coherence
Coherence is actually two attacks in one. The first is on the main tank, dealing a lot of damage to them while also dealing AOE damage to everyone else depending on their proximity. The main tank should use a defensive cooldown to minimize damage, though they don’t have to move away from the boss.
At the same time, another player will get a line AOE stack marker. All players aside from the main tank can stack at the back of the boss, and there’s enough time to shield up during the cast. The distance between the front and back of the boss also means that the first part of Coherence will do little damage to anyone that isn’t the main tank.
Sewage Eruption
After being cast, Sewage Eruption places AOEs under random players, requiring them to move to a safe spot. There’ll be three in a row, with short gaps in between. These can be hard to dodge if the party is already spread out, so stack up as best as you can before the cast time finishes.
---
Now, onward to The Third Circle!
Have a tip, or want to point out something we missed? Leave a Comment or e-mail us at tips@techraptor.net
