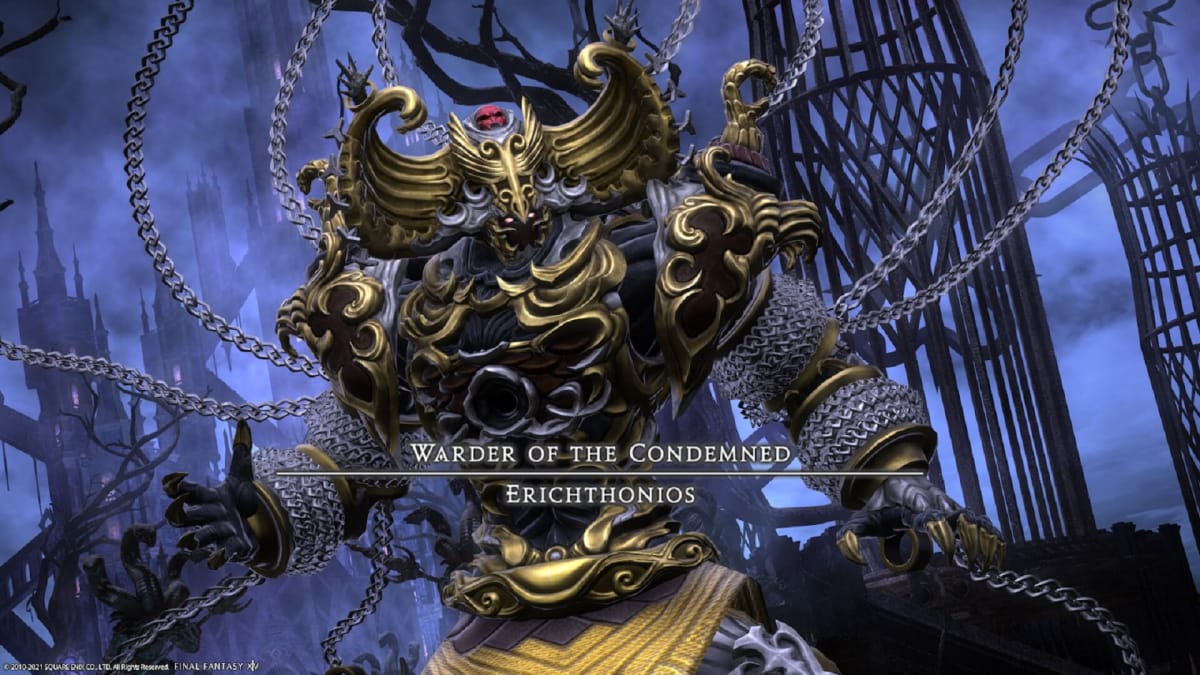
The first part of Pandaemonium: Asphodelos sees you facing off against Erichthonios, a man challenging you in a frenzied state the moment you arrive. As the entry level fight for this raid tier, he doesn’t have anything too crazy up his sleeves, though some mechanics might trip you up if this is the first time you’ve dealt with them. In this guide, we’ll go through each phase of the encounter, detailing everything you should watch out for. Read on for our Final Fantasy XIV Erichthonios Raid Guide!
As a general rule of thumb, being hit by any attack that is avoidable will leave you with a vulnerability stack. While these can be stacked into the double digits, you’ll usually die long before then.
If you need it, we've got an Endwalker gear guide for 6.0,. as well as an Asphodelos unlock guide and loot table!
Final Fantasy XIV First Circle - Erichthonios Raid Guide - Attacks
Gaoler’s Flail
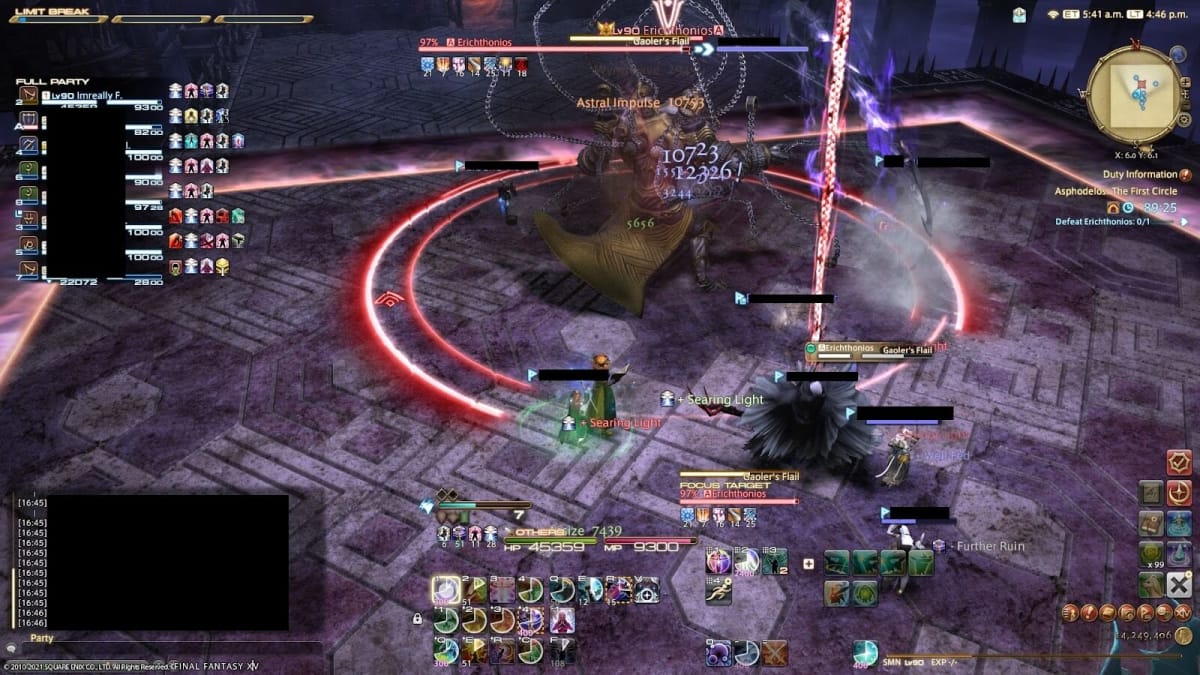
Gaoler’s Flail is a move that Erichthonios will consistently use during the fight, sometimes in conjunction with other moves. It has no AOE marker, instead requiring you took look at the boss's current animation. One he starts casting Gaoler’s Flail, Erichthonios will start to spin one of his flails in either his left or right hand. After checking which side he’s doing this on, move to the opposite one. One the cast ends, he’ll hit the entire side of the arena the flail was spinning on.
Warder’s Wrath
This does raidwide damage, simply requiring some AOE healing afterwards. Spells like White Mage’s Medica II are good here, as there’s enough time for the regen to heal everyone up before the next mechanics arrive. Pre-shielding will also reduce damage taken, though it’s not necessary unless there are party members with multiple vuln stacks.
Pitiless Flail
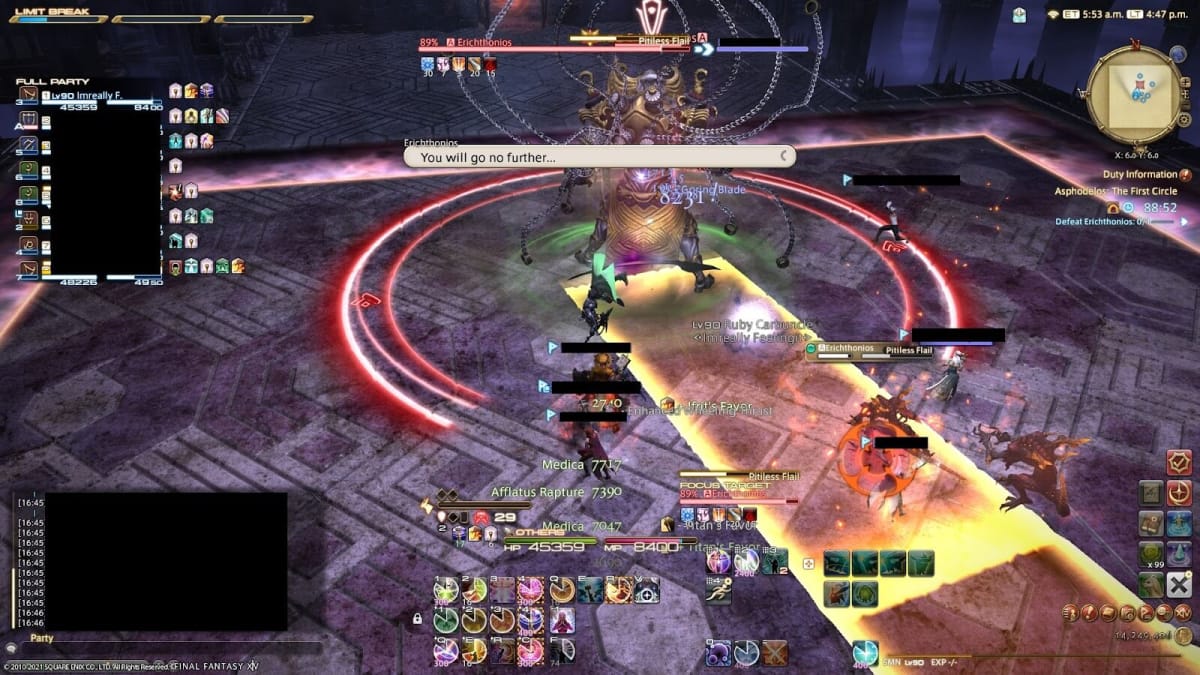
One party member is marked and then hit by a line AOE once the cast ends. It will also knock back anyone that is hit, so use Arm’s Length or Surecast to near the boss. While the marked player can’t avoid taking damage, everyone else can move out of the way during the cast. Because of this, the marked player should stand to one side of the boss, while the rest stack on the opposite side. The reason why you want to be stacked up is because of…
True Holy
Immediately after Pitiless Flail, the previously marked player will then be given a stack marker. All players must stack near the marked player to share the damage that is about to be dealt by True Holy. Pre-shielding is recommended, especially if some players are unable to stack with the group or have high vuln stacks. True Holy has no cast time and hits around 6 seconds after Pitiless Flail.
Heavy Hand
This is a simple physical tank buster. The main tank needs to use a defensive cooldown before the cast ends to minimise damage. Melee jobs are able to reduce its damage with Feint, though tanks will be able to survive Heavy Hand without it.
Intemperance
Once Erichthonios casts Intemperance, each party member will be afflicted by either the Hot Spell or Cold Spell debuff. The area will also be split into four squares, each containing a set of three cubes — red cubes = hot, blue = cold. The order of the cubes determines the order of AOEs that will hit each segment once the boss casts Intemperate Torment.
The aim is to be hit by the opposite AOE of your debuff i.e. when afflicted with Hot Spell, stand in a square that has a blue AOE. Being hit by the same colored AOE will result in you taking a good amount of damage, so make sure to alternate each time.
Later in the fight, the boss will start to pair the last set of AOEs with Gaoler’s Flail, though you do have enough time to resolve Intemperate Torment before the flair cast finishes.
As an aside, standing in the plus shaped area will instantly kill you when the other AOEs are happening, so make sure to always be standing in one of the four squares.
Shining Cells
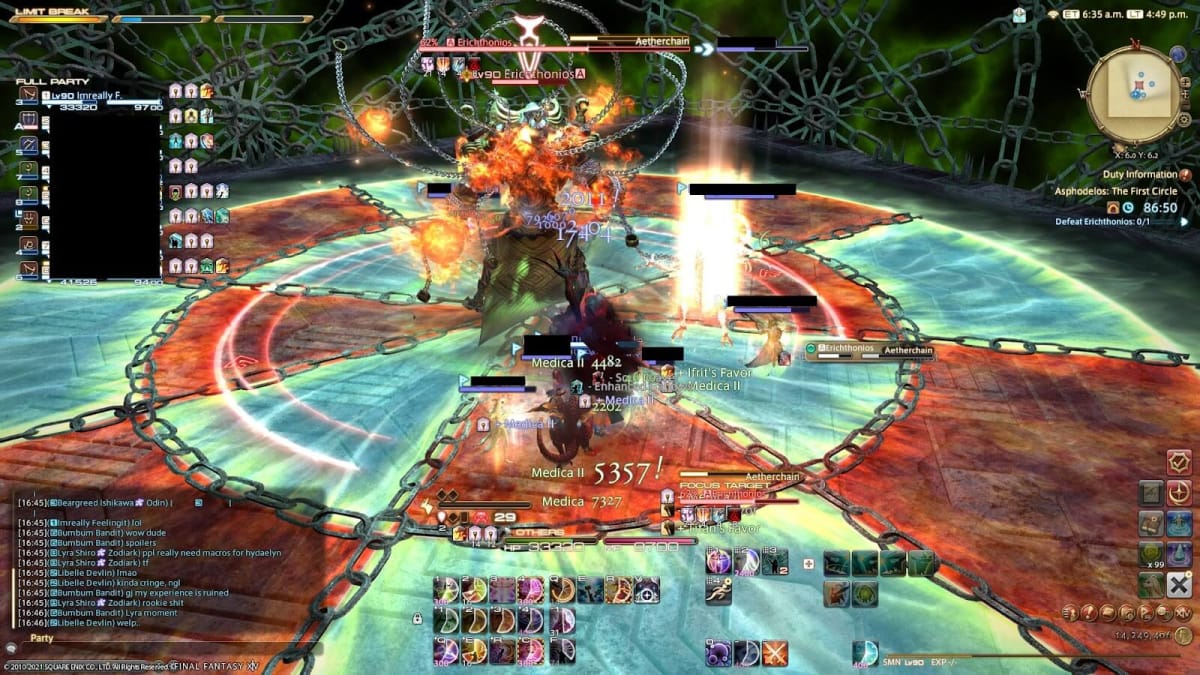
Like Warder’s Wrath, Shining Cells does raidwide AOE damage, requiring heals once the cast is finished. However, this also marks the beginning of Erichthonios’ second main phase.
Aetherchain
After Shining Cells, the area will be divided into numerous sections, each with a dark or light pattern. Erichthonios will then start to cast Aetherchain, which will cause orbs of light or darkness to float around him. Once the cast ends, the floor panels of the same type will explode, causing damage to anyone standing on them.
This will also occasionally be paired with Gaoler’s Flail, which starts part way through the Aetherchain cast. Pay attention to the orb colors and the side the flail is spinning on, then move to the appropriate section of the arena. Depending on the combination used and the boss’s facing direction, melee jobs might need to use True North to ensure that they can hit their positionals.
Slam Shut
Slam Shut marks the end of this phase, changing the arena back to its initial state. From here, the fight will repeat until Erichthonios dies. Since there are no new mechanics after this point, you’ve now seen every mechanic. Just make sure to watch out for Gaoler’s Flail during Intemperance and Aetherchain and you’ll be fine.
Next up, The Second Circle Raid!
Have a tip, or want to point out something we missed? Leave a Comment or e-mail us at tips@techraptor.net
