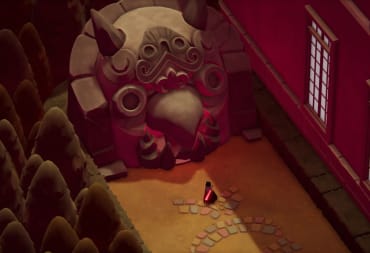
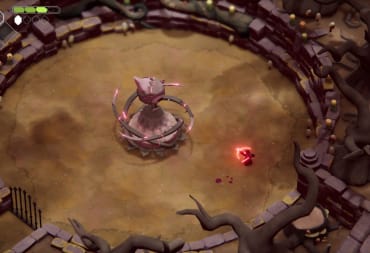
Death's Door begins with the crow's first day on the job. He's new and starts with only his Reaper's Sword, over the course of his journey though he picks up all kinds of interesting weapons and magical abilities. This Death's Door Weapon Upgrade Guide won't only go over the stats of the different weapons but how to obtain the most powerful sword in the game, and where to go to upgrade each of your magical abilities.
Death's Door Weapon Upgrade Guide - Weapons
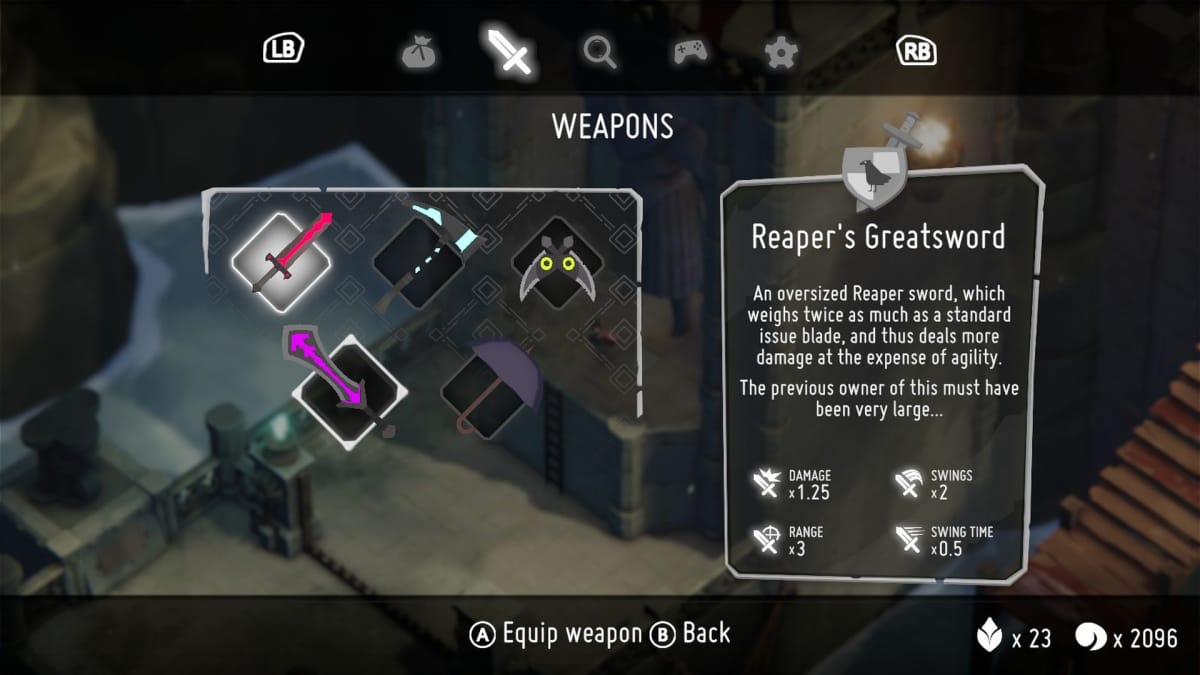
The majority of the weapons have their own pros and cons that will depend on your style. Reaper's Sword for all-around performance, Thunder Hammer will do well for crowd control but not as fast to swing, and the Rogue Daggers are fast.... but you'll be doing a lot more swinging. The best weapon in the game is the Reaper's Greatsword, while it gets one less swing its new range and damage more than makes up for it. Chaining it with other abilities such as the upgraded Hookshot also makes it a winning combo. The umbrella you'll mostly want to avoid except if you're going for the achievement to complete the game using only the umbrella.
Reaper's Sword
How to Obtain: Start the game
Stats
Damage: x1
Range: x2.5
Swings: x3
Swing Time: x0.4
Thunder Hammer
How to Obtain: Obtain from a cave in the Overgrown Ruin
Stats
Damage: x1.15
Range: x2.5
Swings: x2
Swing Time: x0.5
Additional Effect: Hitting enemies near others can cause electricity to chain outward
Rogue Daggers
How to Obtain:
Stats
Damage: x0.8
Range: x1.8
Swings: x6
Swing Time: x0.35
Reaper's Greatsword
How to Obtain: Complete the riddle sequence in the Stranded Sailor
Stats
Damage: x1.5
Range: x3
Swings: x2
Swing Time: x0.5
Discarded Umbrella
How to Obtain: Pick up in the Crow office
Stats
Damage: x0.5
Range: x2.5
Swings: x3
Swing Time: x0.4
Death's Door Weapon Upgrade Guide - Upgrade your abilities
Each of the base magical abilities will be earned through the normal progression of the game. What isn't explained is that each of these abilities has an upgrade hidden throughout the world. While some, like the Arrow and Fireball upgrades, are understandable but a bit boring the upgrades for Hookshot and Bomb are invaluable and will really help you deal some heavy damage.
Arrow Upgrade
This upgrade requires you to have access to every ability in the game. Travel through the door to the Lost Cemetary. Head south and into the doorway next to the ladder. Burning the webs on the archway you'll be able to drop down into a mini-spider dungeon. As you progress through you'll find yourself in a room with a timed fire puzzle. Complete this using all of your abilities and a doorway will open to the north that will lead you to the Arrow Upgrade Challenge. Defeat the Silent Servant inside and claim your Arrow Upgrade. You can now charge your Arrow for longer and it will deal higher damage.
Fireball Upgrade
From the platform where the old crow and Death's Door can be found head north-west to the mausoleum (how you normally travel to the Estate of the Urn Witch). Take the path on the left after entering and out through the door in the back of the room. There will be cobwebs so you'll need to burn them away. The Fireball Upgrade challenge is here. Defeat the Silent Servant inside and claim your Fireball Upgrade. Your fireball will now have an added burning effect on enemies.
Bomb Upgrade
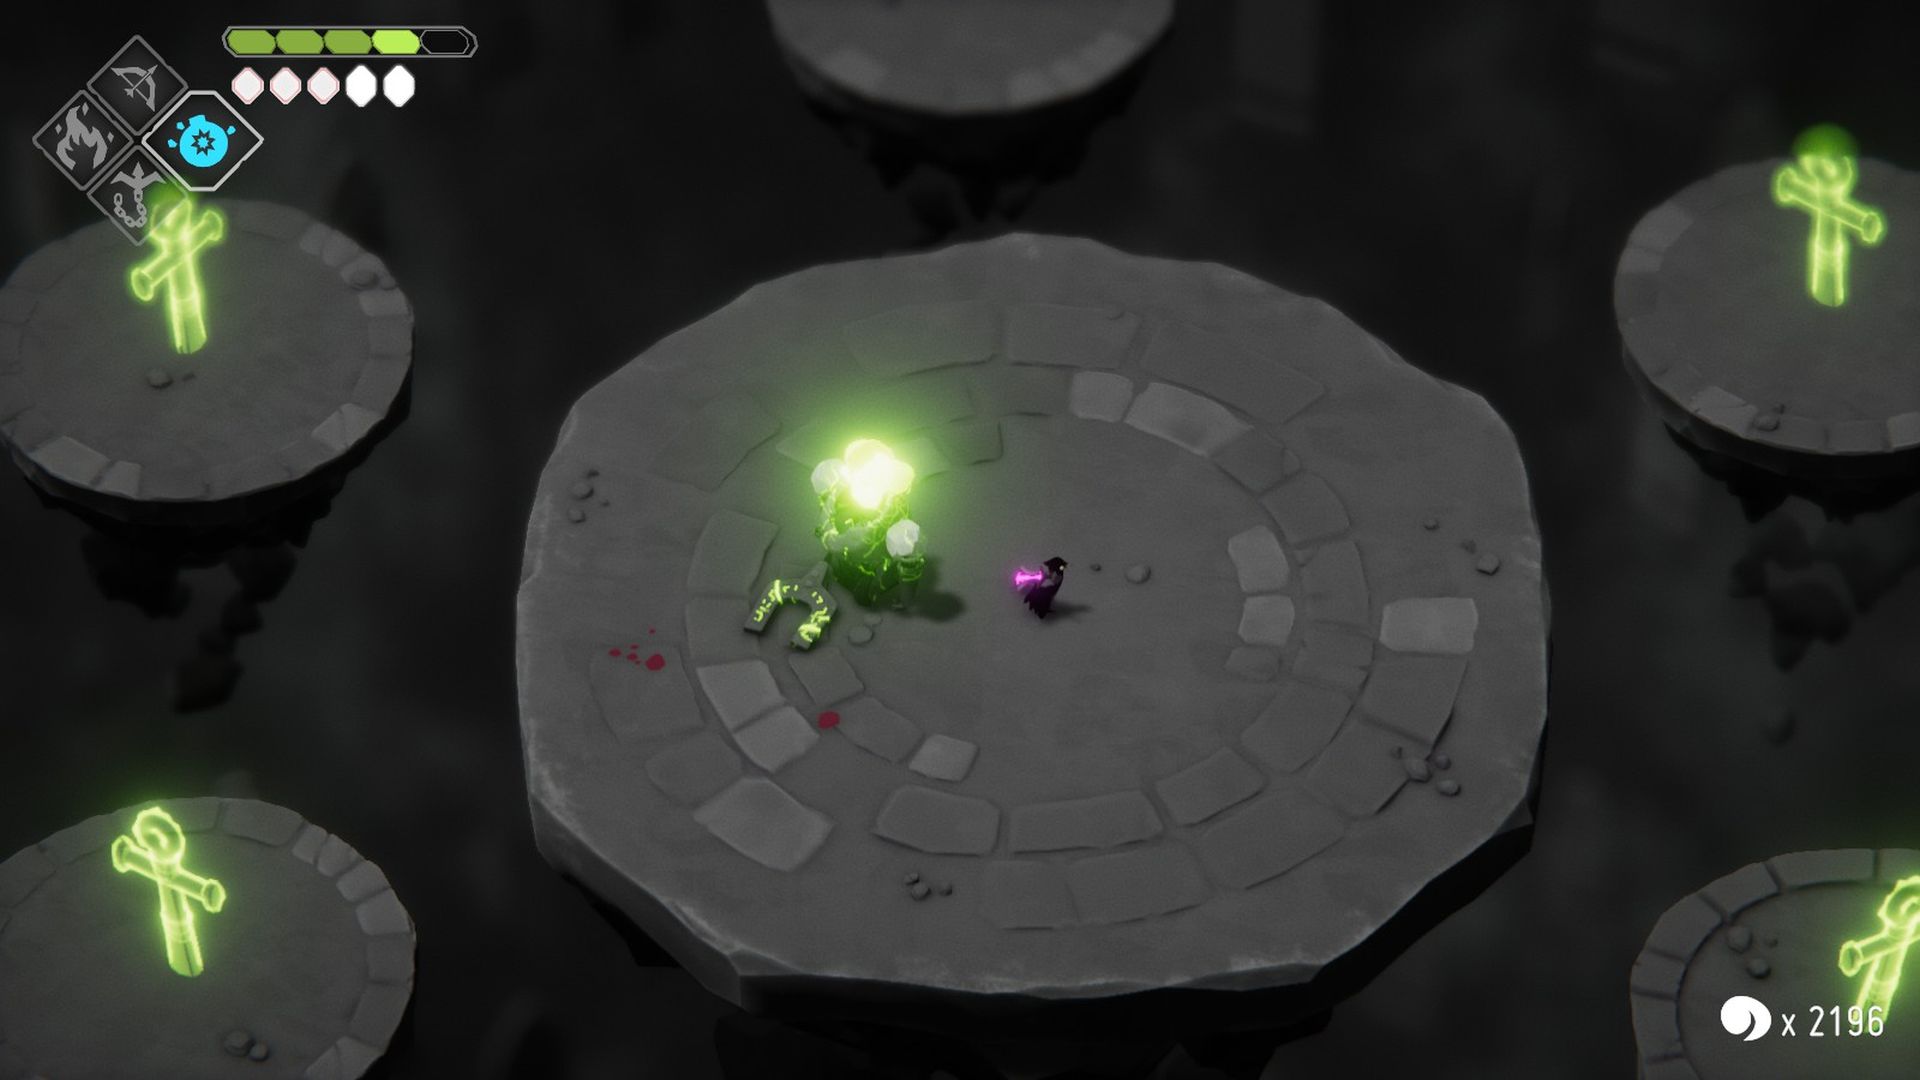
From the platform where the old crow and Death's Door can be found head south-east until you get to a bridge over a grassy field. If you look under the bridge you should be able to see a bombable wall. Drop down and destroy the rocks revealing a new chamber with the Bomb Upgrade Challenge. Defeat the Silent Servant inside and claim your Bomb Upgrade. Your bomb will now no longer deal damage to yourself if you set it off too close.
Hookshot Upgrade
Travel through the Stranded Sailor door. Go through the caves to the East, the way you originally came to get to the Stranded Sailor, and Hookshot to the island in the middle of this chamber. Flip the lever and a gate to the north will drop. Head through to see the Hookshot Upgrade Challenge. Defeat the Silent Servant inside and claim your Hookshot Upgrade. You will now be able to deliver a powerful slash while you're hooked onto an item and getting drawn in. This upgrade is HUGE as it effectively negates issues like slow charge/swing speed on weapons like the Reaper's Greatsword while allowing you to get in and out of enemy range extremely quickly.
Death's Door Weapon Upgrade Guide - How to unlock the Reaper's Greatsword?
Along your adventure and after getting the Hookshot you might have discovered a large purple glowing sword behind a locked gate in the Stranded Sailor part of the world. The only information you have to go off in this situation is the riddle that is presented. This questline will have you find four secret alcoves around the Stranded Sailor area to unlock the gate and grant you access to this weapon.
The first riddle is as follows:
"There are weaknesses in the walls that the eye can’t see...
Beneath a wooden walkway, a secret waits for thee"
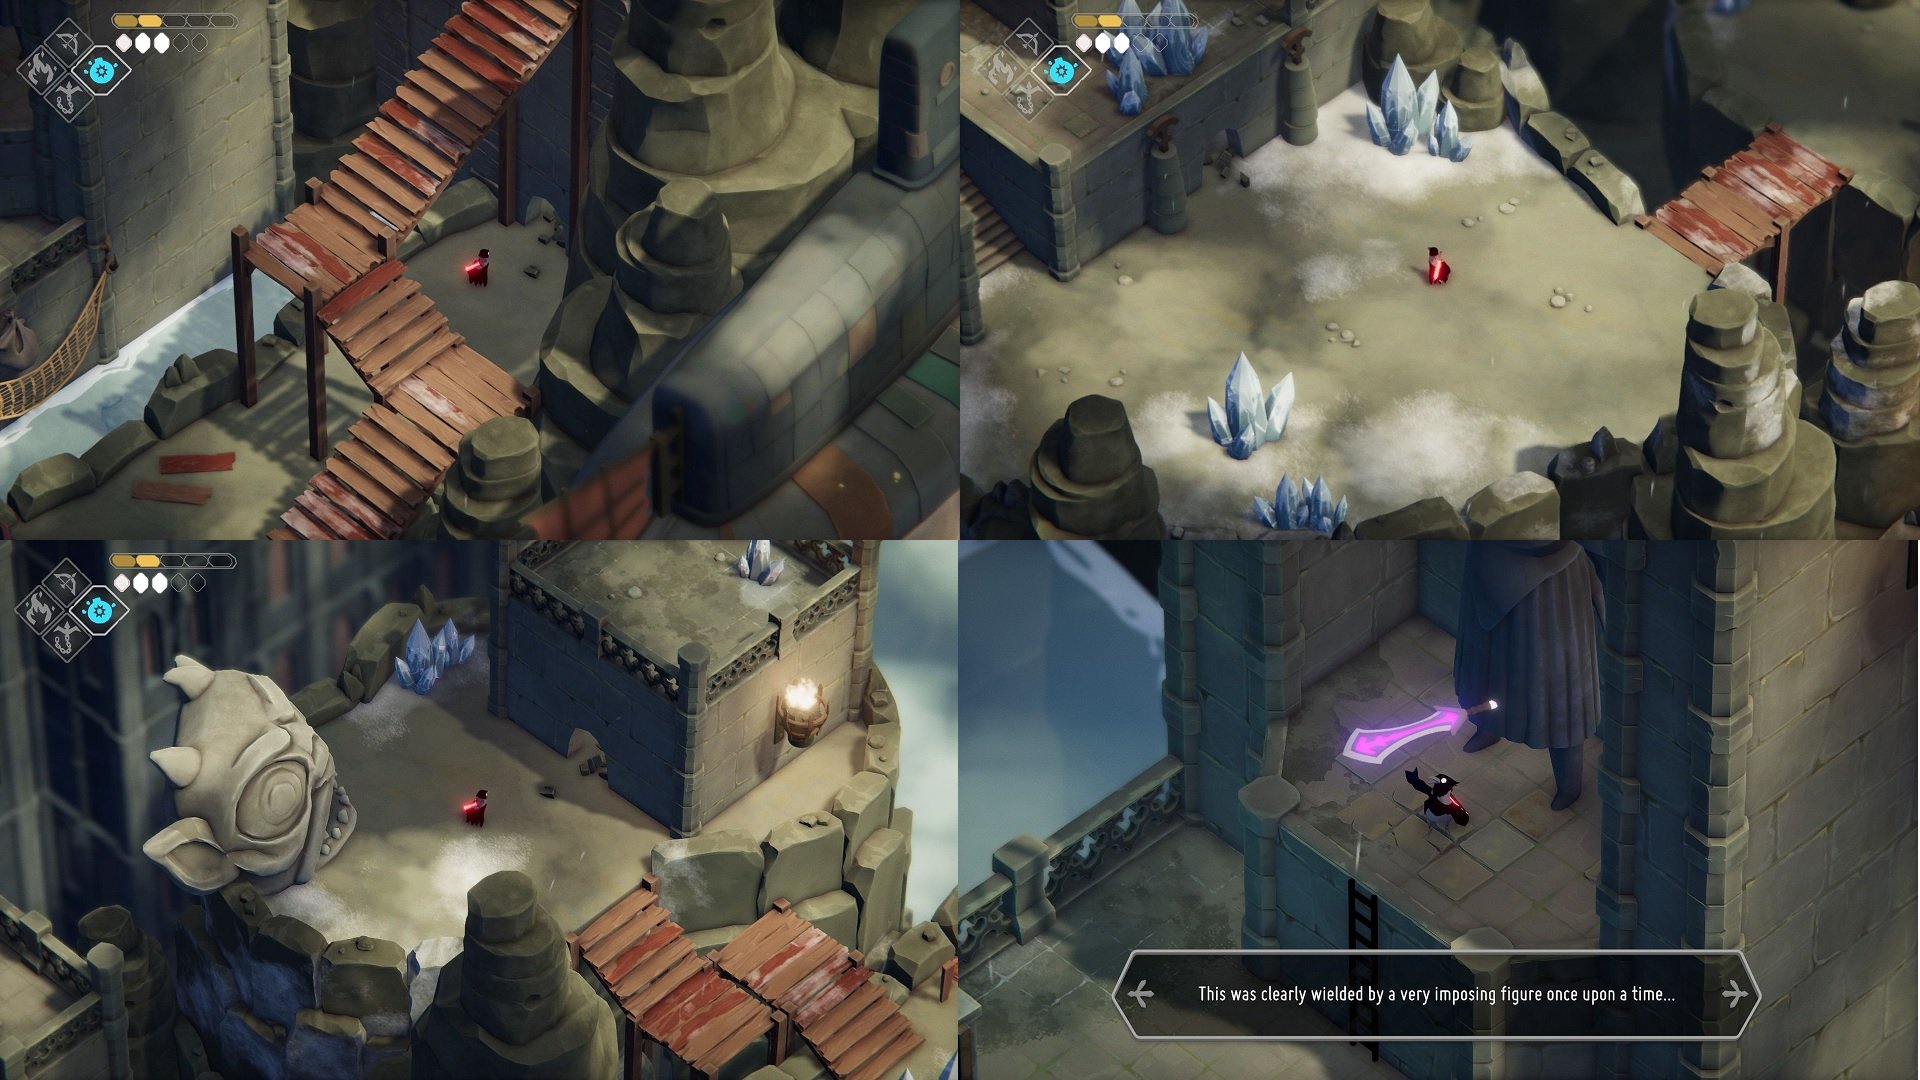
Return back over the bridges to the mainland. Directly to the North-East, you'll see a series of wooden steps leading up to the next part of the level. Instead, walk under the stairs and bomb the wall at the back. A small hole will appear that you can enter, hit the switch, and get the second riddle.
"There are weaknesses in the walls that the eye can’t see...
Behind twin columns, a secret waits for thee…"
Continue up the mountain path until you get to a three way split. For the next switch head to the left. After crossing a bridge you’ll see two pillars on the wall. Bomb between them to get the next switch and riddle.
"There are weaknesses in the walls that the eye can’t see...
Where a giant face stares, a secret waits for thee…"
Backtrack to the point in the mountain path where it split in three, this time head up the stairs to the north-west. Across from the giant face, there is a completely blank wall. Bomb the wall to reveal another hole and riddle.
"There are weaknesses in the walls that the eye can’t see...
Beneath a gargoyle, a secret waits for thee…"
Hop back down a level to the split path and continue up the stairs to the right, after destroying some crystals and going behind a tower the camera will shift around. Throw a bomb under where the gargoyle is and another secret passage will open with a switch and a final message.
"We exist to serve those who oppose the Lord of Doors."
With all four switches hit you can now return to the gate where you received the original message. You'll now be able to pull the handle to the side, unlocking the gate and allowing you access to pick up this might blade.
Have a tip, or want to point out something we missed? Leave a Comment or e-mail us at tips@techraptor.net
