Covered-in-blood simulator Back 4 Blood includes a card system that grants players perks. The opposite is true as well, since it metes out some pretty severe punishment. Back 4 Blood Corruption Cards will make your journey harder as they stack up. TechRaptor is here to help you understand what they do and, even better, how to work around them for a clean sweep. For help getting online, be sure to peruse the private lobby/crossplay guide. And get the other half of your squad with the unlock guide.
What are Back 4 Blood Corruption Cards?
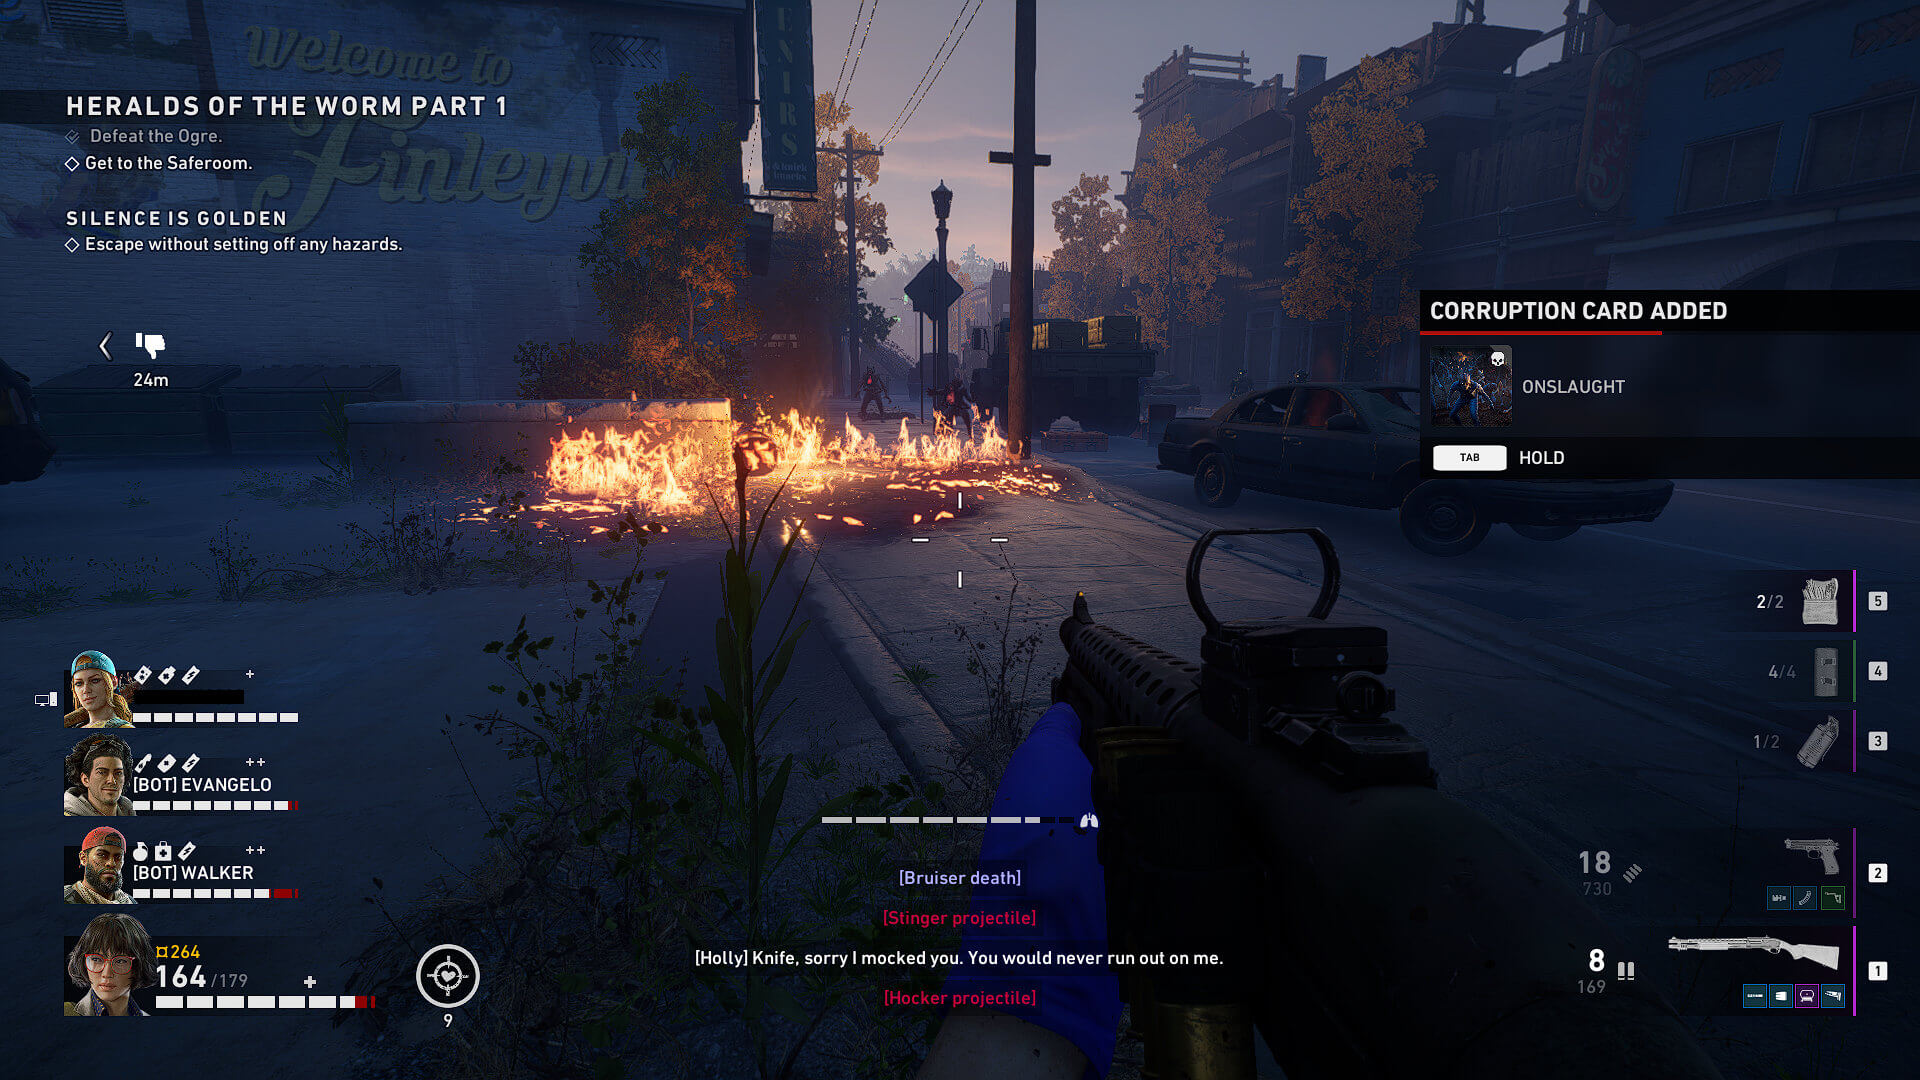
At the beginning of each map, the game spawns the Cleaners various cards. These empower them in some way, allowing you to build some powerful characters with the right combos. Back 4 Blood also spawns Corruption Cards, which complicate each map and increase replayability. Some are fairly benign, offering rewards for completing optional objectives. Others, though, require teamwork and adaptation to overcome. Since things can snowball very quickly in Back 4 Blood, having a plan before you leave the safe room can save your squad's precious Continue for a later day.
You do not have any control over which Corruption Cards spawn. Some, such as Finale and some Event cards, are fixed and give you objective information. Most of the time the game builds its deck against you. Lower difficulties have "nicer" cards in the deck, limiting the truly worst of the worst for Veteran and Nightmare. As you progress, the number of cards you draw increase from 1-2 to 5-6 by the end arc of Act 2. The game can also put cards into play mid-match to keep you on your toes. Be ready!
Back 4 Blood Corruption Cards: Common Infected
These Corruption Cards affect your basic enemies among the Ridden. While few drastically change the way you'll fight them, they will become more and more dangerous. More powerful variants will have additional spines and growths along their limbs. The types of Common Ridden, from slowest to fastest, are Shambling, Jogging, Running, and Sprinting.
Armored Ridden
SWAT armor was meant to protect against bullets, not devil worms. These Ridden are going to be harder to take down.
Armored enemies cover their weakpoints with armor. This is a pretty straightforward Corruption Card with simple counterplay: burst damage and explosives. Since many of the Special Ridden are already huge bullet sponges and hitting their weakpoints is the fastest way to kill them, this can prove problematic. If you draw Armored Walkers, Armored Joggers, or Armored Runners, they apply to slow, medium-fast, and fast common Ridden, respectively. Common Ridden wearing armor require headshots to put them down for good, as their armor covers their bodies. Knock their helmets off, then pop some heads. Combat Knife or a speedy melee build can make this easier, especially if they're fast.
Blighted Ridden
A Mutation has turned the Ridden blood into acid, they leave behind pools of caustic acid on death.
As you can imagine, this makes for an utterly miserable melee experience. Blender Hollys are left with mixed results, as they'll take a lot more damage than normal. If you're running Combat Knife, you may want to pick up a different secondary. Keep away from enemies and try to avoid getting surrounded. In scripted segments, such as the rush to the boat in Act 1 1-4, try to thin enemies out from a vantage point so you have less to deal with on the way to safety.
Charred Ridden
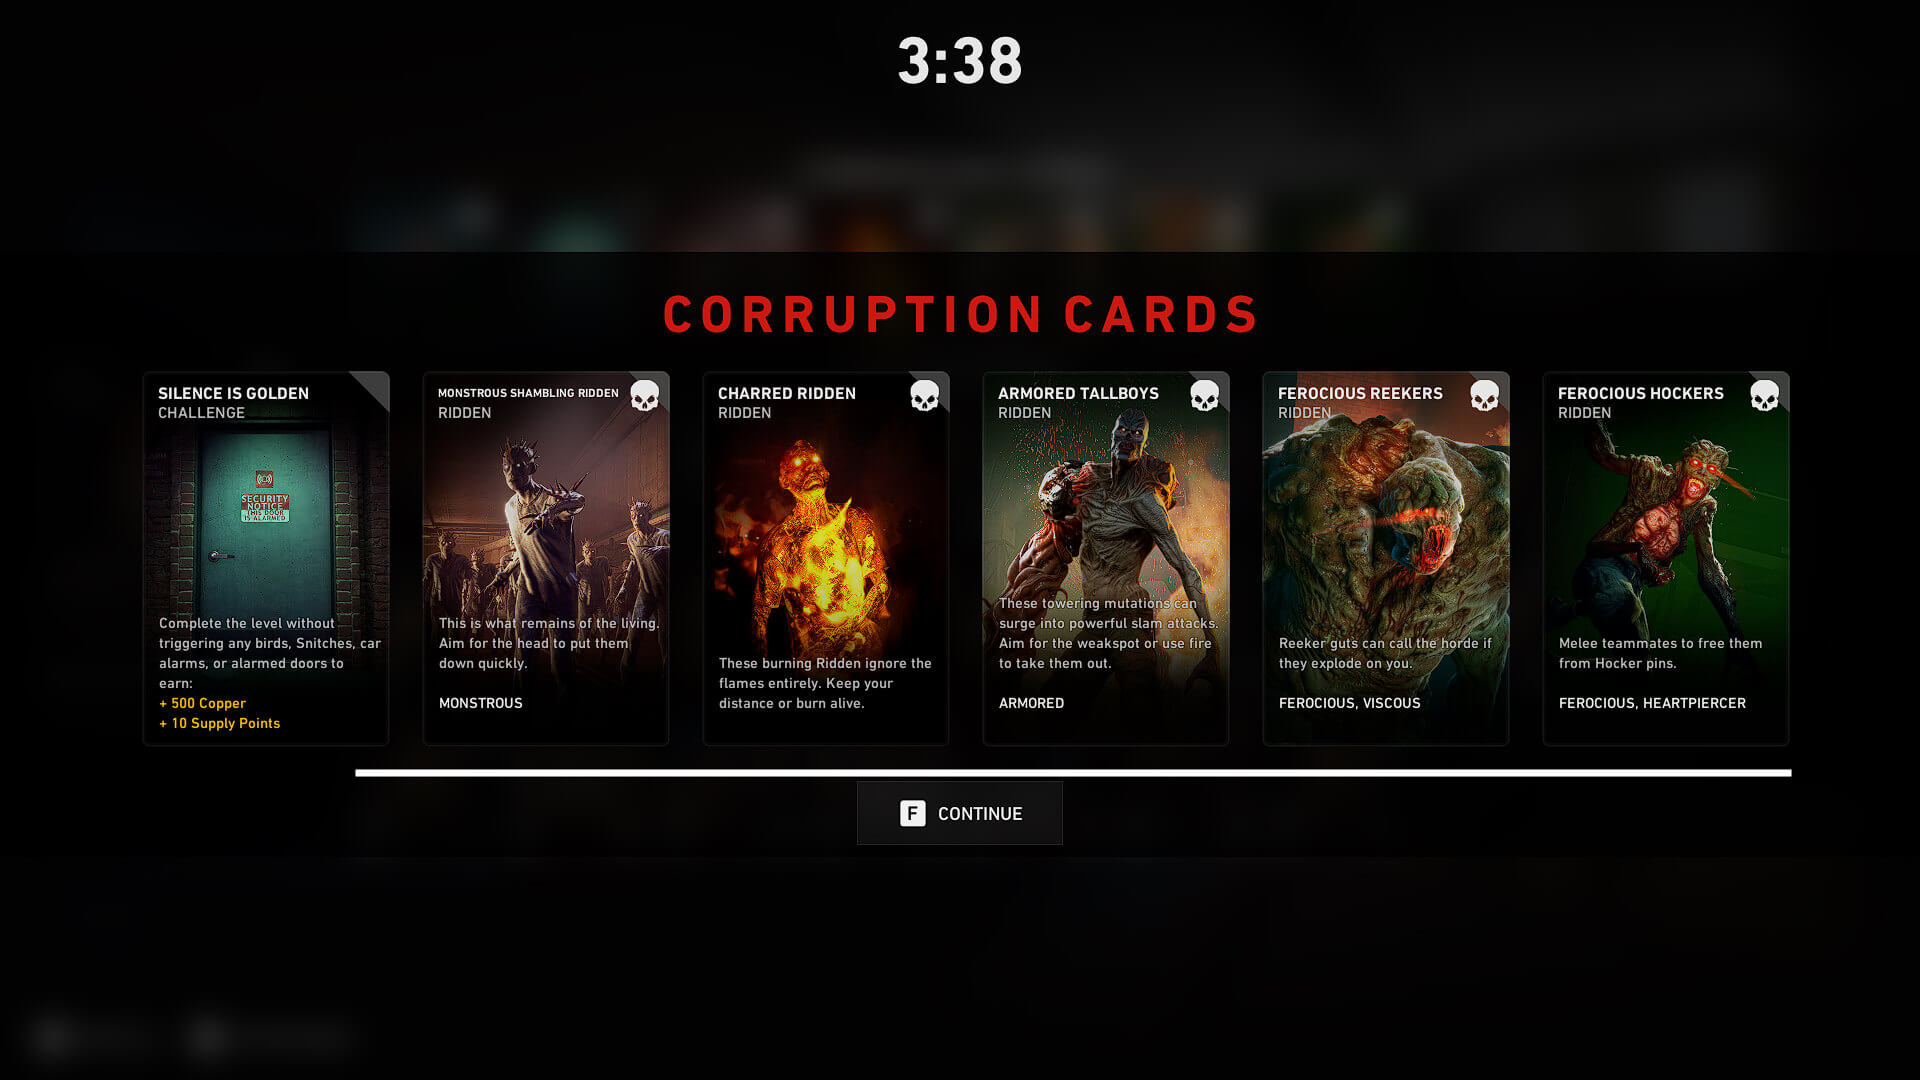
These burning Ridden ignore the flames entirely. Keep your distance or burn alive.
No Molotovs or gas cans for you! They deal damage in an AoE as long as you stay near them. Melee builds will suffer. Like Blighted Ridden, the same tactics apply: don't get surrounded and pick things off from a distance.
Hunted
There are rampaging hordes in the area. It’s only a matter of time before they find us.
Hordes will spawn every 3 minutes. There’s a helpful timer in the upper-left corner. As it finishes, prepare to form up and hunker down. Moving quickly through the level helps you conserve supplies and reduces the total number of hordes you’ll face. If you have an event that calls a horde, it may be in your best interest to wait until the timer refreshes before calling it as horde spawns appear to be additive.
Jogger/Shambling Ridden Swarm
Enemies are medium-fast/slow. The same tactics apply, adjusting for enemy speeds. Might trip you up if the other enemies have a different speed in the level.
Monstrous Shambling Ridden
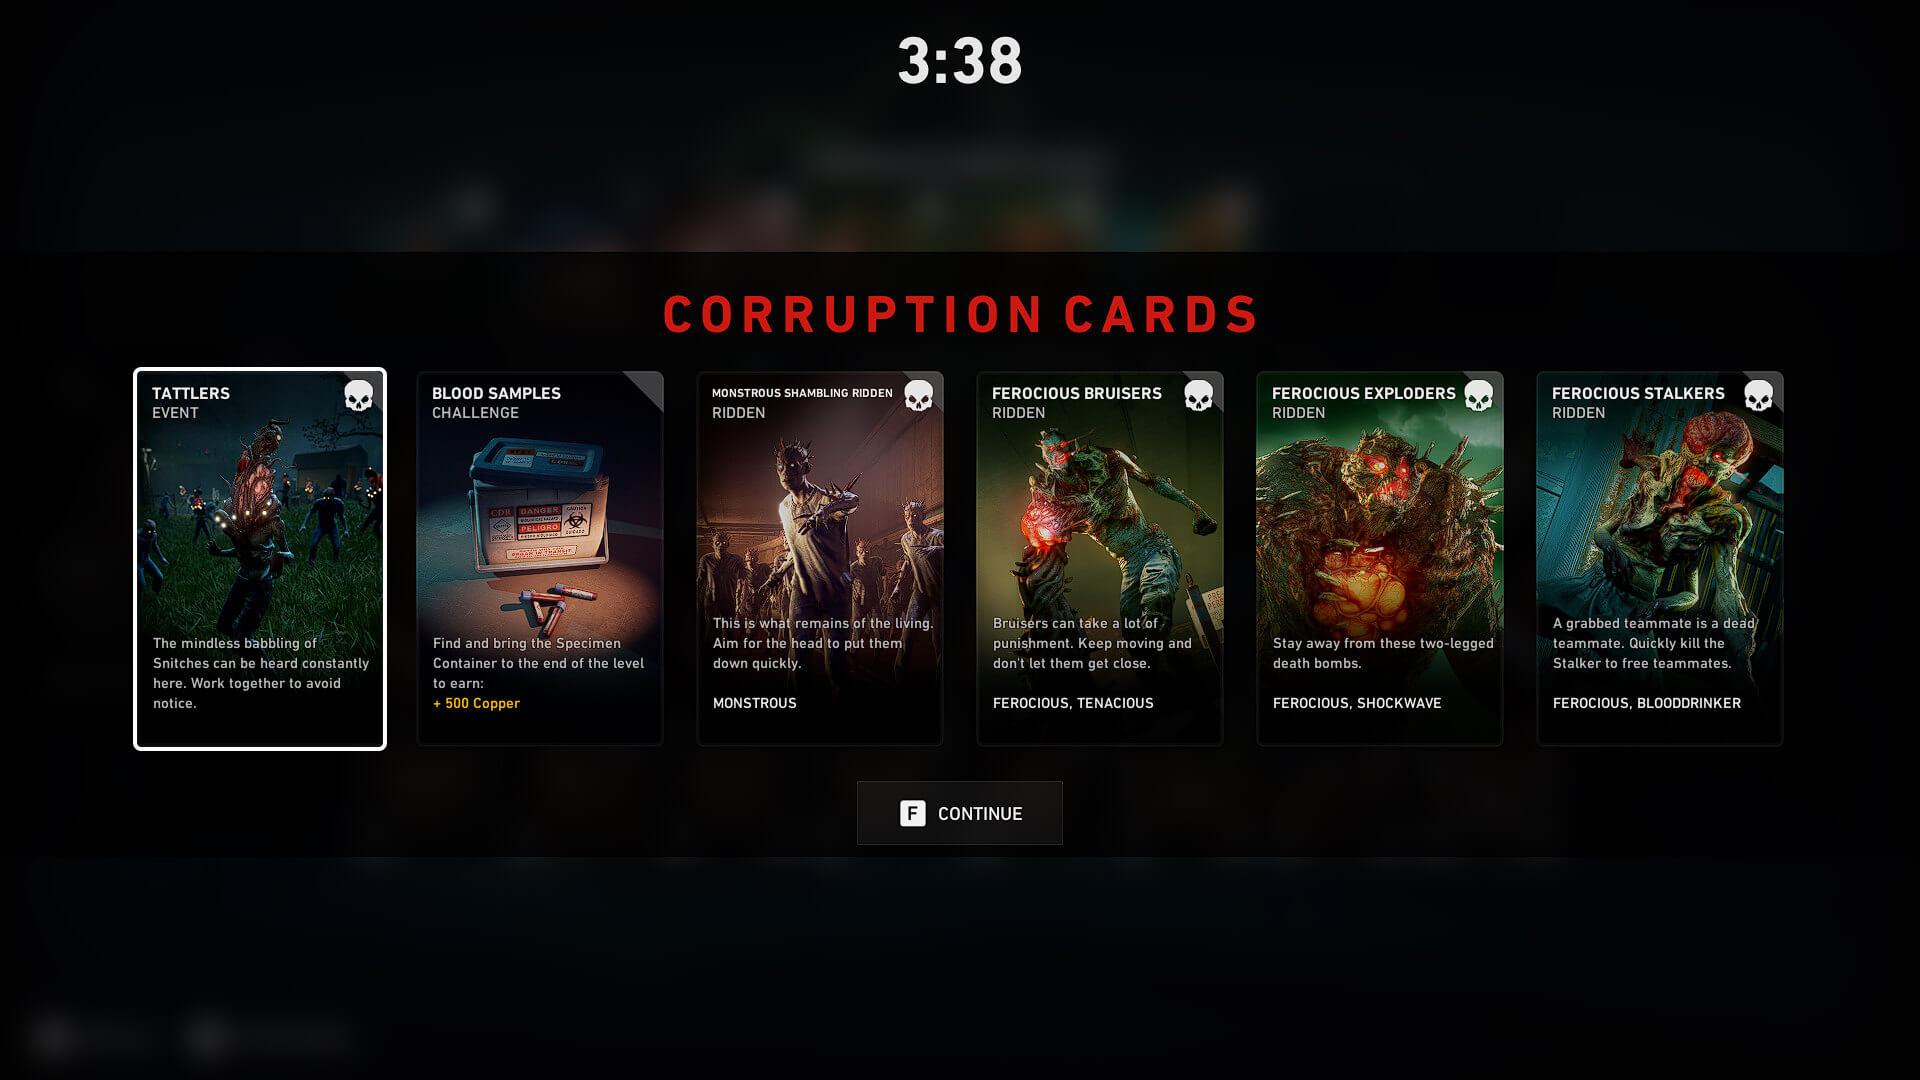
In exchange for slow speed, Monstrous Ridden have 50% more health and deal 4 more damage per hit. Common enemies are significantly more of a threat. Engage from a distance and don’t get surrounded.
Onslaught
The horde is fast on our heels. Move fast or be overrun.
Like other horde events, you’ll need to weigh stopping for items versus progressing through the level. Pipe Bombs and Firecrackers can get you some breathing room, especially if you can combine the latter with a gas can or propane tank.
Volatile Ridden
These Ridden have developed an Unstable Cyst on their Skull Cavity. Head Trauma will cause them to Explode Violently.
Similar to Charred or Blighted Ridden, this can be a drawback. However, the explosions let you damage other Ridden very close to the source. That can help you conserve ammo in the long run, and they don’t explode if you don’t shoot them in the head. Not all of the Ridden in the level will have this, so you can’t set off massive chain reactions, but this isn’t all bad.
Back 4 Blood Corruption Cards: Special Infected
These cards affect Tallboys, Stingers, and Reekers, as well as their variants. Sometimes a boss (Hag, Breaker, Ogre) will spawn, indicated by an appropriate card.
Armored Special Ridden
As Armored Ridden, but applying to one type of Special Ridden per card.
Ferocious
Bad luck, chief. Ferocious Ridden have 25% more health and deal 50% more damage than their normal counterparts. Focus fire on the affected Special Ridden. They also gain special effects, as listed below:
| Ridden | Name of Effect | Effect |
|---|---|---|
| Boss (Breaker Hag, Ogre) | N/A | Increased Health/Damage |
| Bruisers | Tenacious | While Frenzying, regenerates health |
| Crushers | Traumatic | Deal 100% more Trauma Damage |
| Exploders | Shockwave | Explosion Knockback increased 100% |
| Hockers | Heartpiercer | Pin deals 10 more damage on a hit |
| Jogging/Running/Sprinting Ridden | N/A | +2 damage (instead of 50%) |
| Reekers | Viscous | Additional 30% slow on explosion |
| Retches | Gunk | -35% Reload, Swap, Use Speeds on a direct hit with vomit |
| Stalkers | Blooddrinker | Regenerate health while grappling |
| Stingers | Congeal | Spittle blinds, greater slow effect |
| Tallboys | Hardened | 75% reduced damage from explosions |
This Corruption Card is painful. The only upside is each card is a separate card, so you likely won't see Armored on top of this.
(Timed) Reeker Hordes
All the fun of Reekers, now in horde form. This will spawn all of the three variants (Reekers, Retches, and Exploders). Like the Hunted card, a horde comes every 3 minutes. Try not to be caught anywhere where an opportunistic Exploder can send you to your death.
Slumber Party
The area is infested with Sleepers. Stay together and keep your eyes open.
Sleepers are the weird Ridden resting in the toothy flesh sacs you can find on walls and sides of trucks. They aren’t a big threat if you spot them ahead of time and plug them, but if you can’t see them they’ll pin you as you get closer. Sleepers have a pretty generous reach and angle of attack, often positioning themselves in areas you’ll need to move through. Check walls as you enter rooms and climb stairs, since they thrive on surprise attacks.
Stinger Hordes
As Reeker Hordes, but featuring Stingers and their Stalker and Hocker variants instead. While agile, they’re much more delicate than other Special Ridden. Prioritize any buffed by a Ferocious card first.
Tallboy Hordes
If there weren’t enough of these already, now you can experience even larger hordes of them. Explosives work particularly well in this situation, if you happen to have a frag grenade on you. Weep if you draw Ferocious/Armored on top of this.
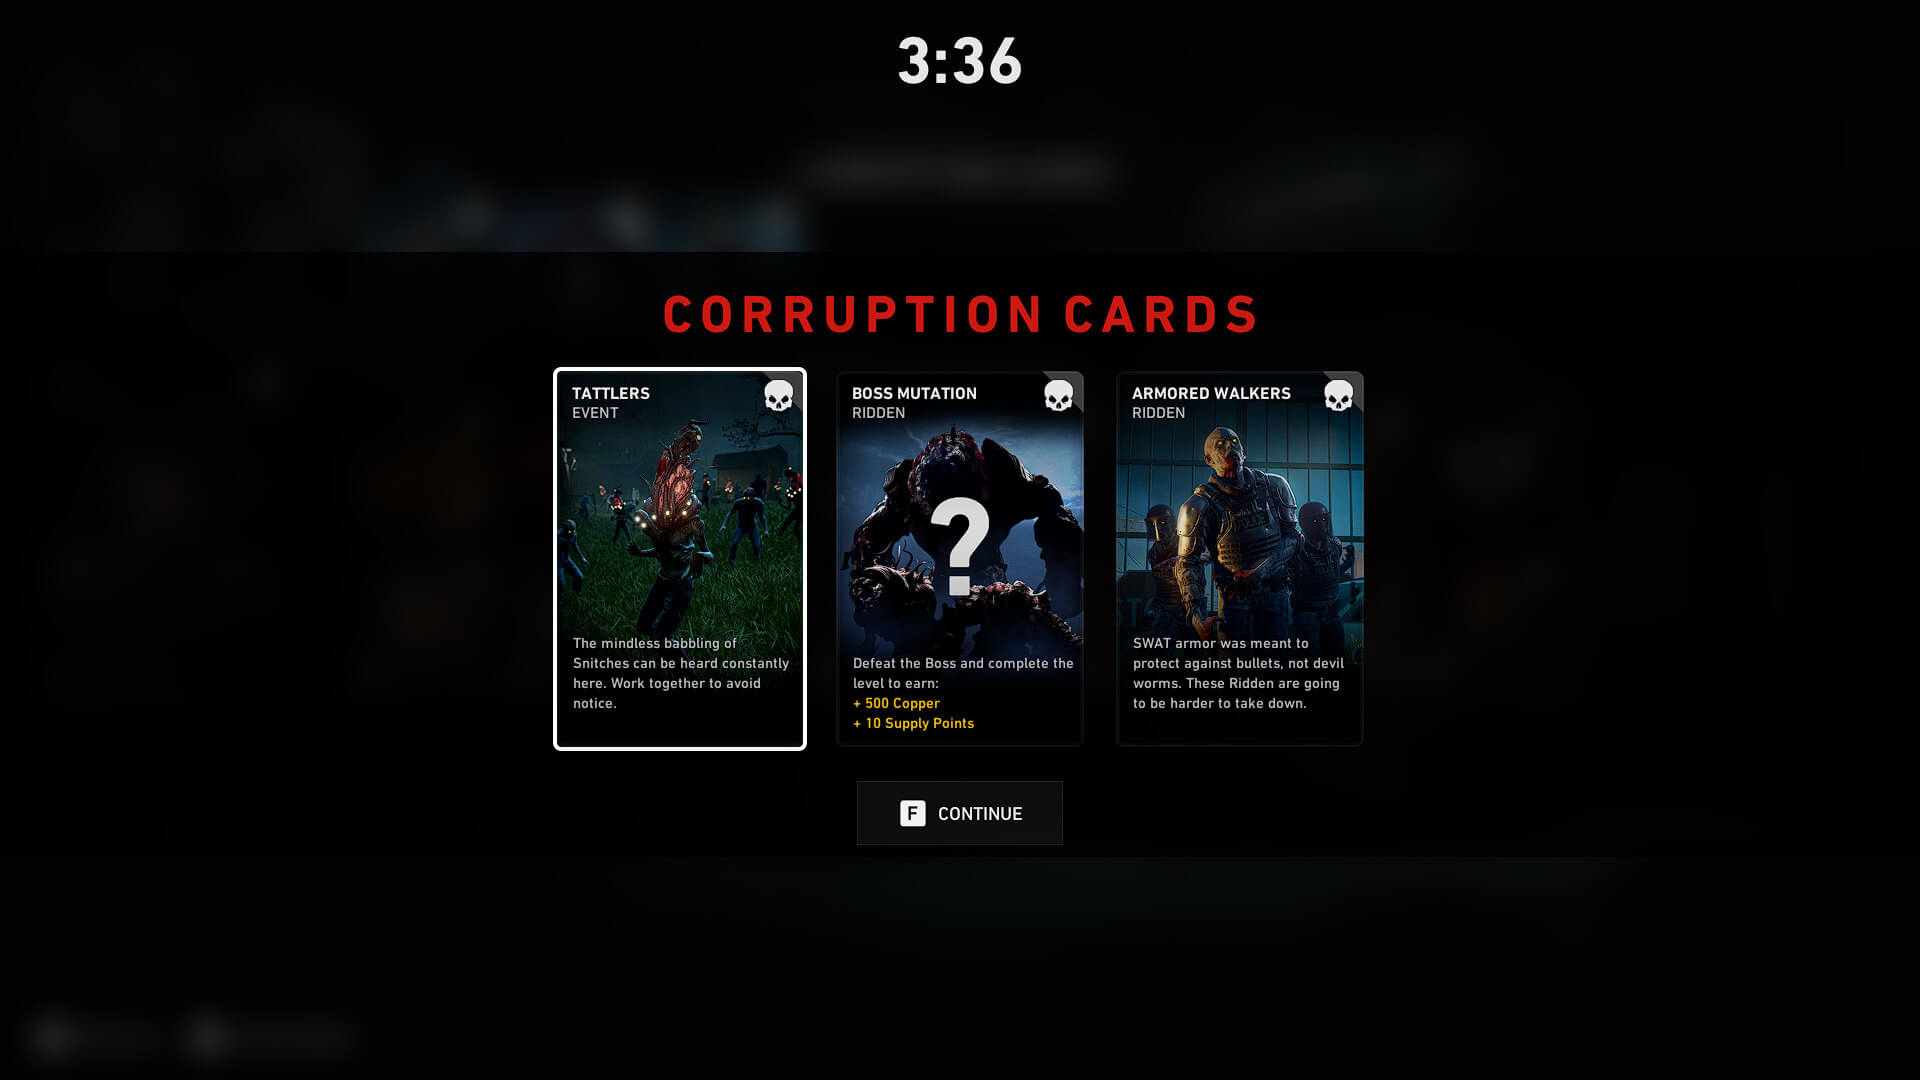
Tattlers
The mindless babbling of Snitches can be heard constantly here. Work together to avoid notice.
Snitches, but not necessarily a night map. You should ping these for your teammates so they can avoid them (if they don’t just blow it away). Bots will occasionally attack and kill a Snitch without any repercussions. Don’t worry if they get awfully close, since they can’t startle them.
Back 4 Blood Corruption Cards: Boss Infected
Boss Mutation
Spawns an Ogre, Breaker, or Hag. Defeating them and subsequently completing the level earns 500 bonus Copper and Supply Points. Depending on your team’s resources, this could prove difficult. If possible, utilize gas cans and propane tanks to stack damage. You’ll likely have to kill the boss anyway, so it’s rewarding you for doing something in your best interest. Can be combined with other objectives such as Speed Run.
Hag
A Hag is stalking you.
Hags are typically optional enemies. Defeating them earns a reward, but in most cases you can skip them. If they capture a Cleaner, be aware that if it burrows a hole and escapes they will be considered dead. This is a risk/reward situation where you’ll need to consider your group’s condition. Though it appears to be blind, the Hag has excellent hearing and responds to gunfire, movement, and voice lines. A Stun Gun or friendly Flashbang can save you from the grapple, the latter letting your team pour on extra damage. A Hag appears to always spawn in levels with The Fog card.
Ogre
You’ve drawn the attention of the Ogre.
Spawns an Ogre somewhere in the level. Act 1-2 has a fixed Ogre spawn towards the entrance and again midway through the level. Target the large, glowing pustules scattered along its body to deal more damage, but be on the lookout for spawns using the Ogre as a distraction. When it gets to about half health, it will attempt to retreat by burrowing into the ground. An Ogre will return later in the level if you didn’t kill it the first time around. Be aware that it can (and will) grab you through doors even if its huge body can’t fit inside.
Back 4 Blood Corruption Cards: Environment
Gloom
Power is out in most of the area. Only emergency door alarms remain active.
While not great, this isn’t too bad if you happen to have a Tool Kit on you. Buy some from the store before you leave the safe room and you should be able to manage with minimal pain. This may mean skipping rooms with additional loot or fighting a horde. Make a judgment call as a team depending on your other Corruption Cards.
Mist
An unnatural fog has settled on the area.
This one can be a doozy. With this card, your visibility is nearly nonexistent thanks to the weather. If you get too far from your allies, their healthbars will disappear and be replaced by a cloud icon. Long-range enemies like Hockers become much more dangerous, since they can be difficult to spot in the fog and attack with impunity. Keep an eye on each other and tighten your formation. Enemies like Exploders will be able to get much closer before detonating.
The Birds
Large flocks of crows have gathered in this area to feast on the dead. Startling them could call the horde down on you.
Birds will alert the horde if you shoot at them or get too close. Since at the moment hordes are additive this can spiral out of control. To get rid of a flock, you can toss a Flashbang at them without aggroing them. Hold down the fire key to preview the area of effect, then toss.
The Dark
The Power is out. The night is full of the chattering of Snitches, stay quiet and you may make it through.
Makes the map nighttime. Your flashlights will be on pretty much all the time, and Snitches will spawn. These wandering alarms will sound a horde if not properly disposed of, so give them a wide berth whenever possible.
The Fog
Beware of what awaits you in The Fog.
Reduced visibility, as in Mist. A Hag spawns on this level. Very fun. Carry a Stun Gun (for yourself) or Flashbang (for your allies) to free them from a Hag’s grab. Can and has appeared in the deck along with a boss, indicating that there can be more than one boss-type mutation in a level if you’re unlucky. Seems to be guaranteed for Act 1, 4-2 (Hell’s Bells) to introduce the Hag.
The Lockdown
Entering a High Security Area. Many of the Alarmed doors are still intact. Proceed with Caution.
Rarely do Alarmed doors spawn in your path (except for one instance in Act 1-2 which seems fixed). There’s almost always another way around, so you can explore a little. If you can’t, a Tool Kit gets the job done.
Back 4 Blood Corruption Cards: Reward
Blood Samples
Collect a Specimen Container and deliver it to the end of the level for a chunk of change. This is a great card to get, even if you can’t take time out to track down the Container. It’s one less bad Corruption Card, after all. The Timed and Expert variants combine this with Speed Run, and the Elite variant with Safety First. Survival requires all 4 Cleaners alive at the end of the level. The Sample will take up your Quick Slot, so be aware.
Cut the Red Wire
Complete the level within the time limit without triggering any birds, Snitches, Car Alarms, or Alarmed doors to earn 500 Copper.
Like Blood Samples, this one is a benign card to get. It rewards you doing things you should be doing. In this case, that’s avoiding unnecessary hordes. Not for PUGs.
Hasty Exit
Complete the level within the time limit with all Cleaners alive to earn 500 Copper.
Hasty Exit is another good card. It rewards your team for doing something they want to do anyway: finish the level in a timely manner with everybody alive. Even if you don’t manage to get the reward, it’s still preventing a much worse card spawn.
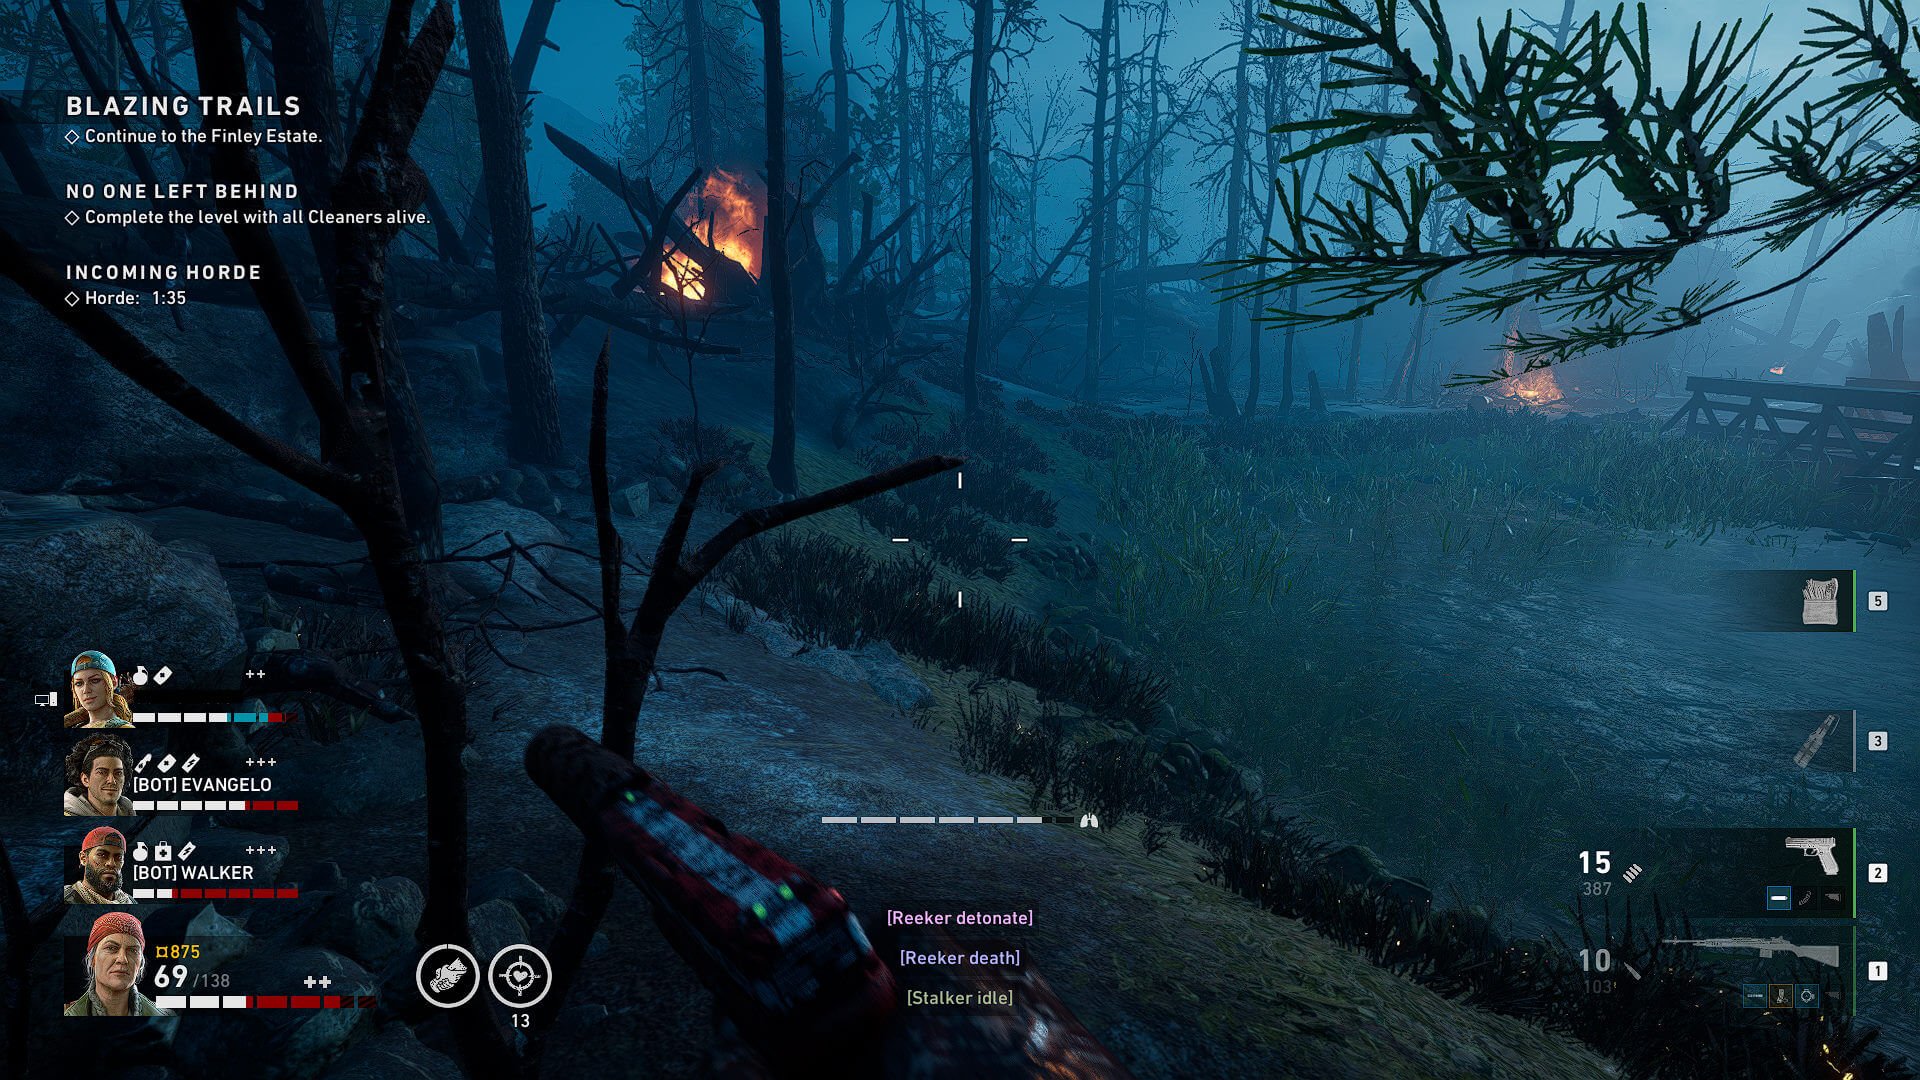
No One Left Behind
Complete the level with all four Cleaners alive to earn 500 Copper. +10 Supply Points.
Easy-peasy. This card rewards you for doing something you should try to shoot for anyway. Not a bad draw at all, with a modest Supply Point reward and some money.
Safety First
Complete the level without the Cleaners being incapacitated more than (number) time(s) to earn 500 Copper. +10 Supply Points.
Not too bad. This one is a bit tougher to do as the game progresses since more and more cards get piled on. Still, if you can manage it, that’s a good chunk of change for your efforts. Make use of Pain Meds and Bandages to stay up. There are variants that are more (or less) forgiving.
Silence is Golden
Complete the level without triggering any birds, Snitches, Car Alarms, or Alarmed doors to earn 500 Copper. +10 Supply Points.
Sometimes the spawns will screw you out of this, but this is otherwise a card that rewards good behavior. Like many of these, don’t expect to get the reward in a PUG and just be thankful it wasn’t something worse.
Speed Run
Complete the level within the time limit to earn 500 Copper. +10 Supply Points.
Most of the levels in Back 4 Blood are fairly short. Barring a few exceptions, this reward is pretty easy to earn. The timer won’t start until you open the Safe Room door. On Your Mark… can help you get an initial burst of speed.

Have a tip, or want to point out something we missed? Leave a Comment or e-mail us at tips@techraptor.net
